Craigslist Search Tips

Trying to decorate on a budget or curate a unique style for your home? Craigslist can be a trove of buried treasure if you know how to find what you're looking for! Here are some of my favorite tips and tricks for finding great pieces and scoring sweet deals! 


Looking for something in particular? Try these tips:

Broaden Your Definition – Not everyone knows what a “credenza” is, think about how else you might describe it and search using those words. For example, “dresser” “sideboard” and “side table” may turn up something new.

Be Specific – I know this seems like it contradicts the tip above, but if I am looking for a set of dining chairs I intentionally search for “chairs” with the “s” – if I’m looking for an accent chair and don’t want a matching pair, I leave it off.

Narrow Your Criteria – Personally, I only search for listings that include pictures. Descriptions can be misleading, but pictures don’t lie! (Well, sometimes they do, but you get the point.) Use a dash to exclude things you don’t want to see. A search for “rug –shag” will exclude any shag rugs from your search results.

Decide How Far You’re Willing to Drive – Sometimes when you’re on the hunt for the perfect _______ (fill in the blank) you would drive across the country if you found the one. I’m not necessarily suggesting that, but searching a town or two away might be worth the miles for the right piece and price.


Just treasure hunting? Give this a try:

Search by an Era or Style – If I’m just browsing, I’ll use keywords like, “mid century” or  “Danish” just to see what turns up. Using the name of well-known designer for a style you like is another sure bet. When searching under “Eames” I often get a seller describing something as “Eames era” etc.  and even if they're not authentic, vintage pieces, sometimes  I stumble across treasures I didn't even know to look for!

Search by a Material or Component – Again, you never know what treasures may be hiding behind weird descriptions. Try searching for elements of really great pieces! “Marble,” “velvet,” and “teak” are just a few examples of search terms that are likely to yield high-end treasures. Keep reading for a handy list of key words and terms! 

Search in Categories Other Than Furniture – I often peruse the furniture category of craigslist, and granted, while that’s where I have found most of my big wins, I’ve also had great luck poking around the Materials, Household, and General sections. You can also narrow the furniture category if you prefer not to see pieces by dealers. 

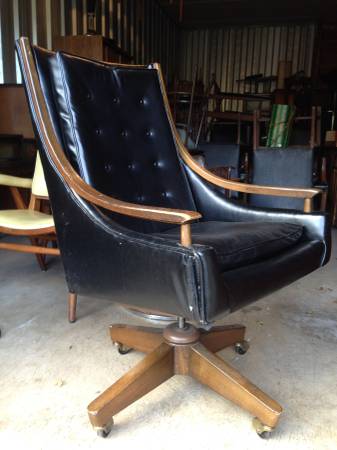
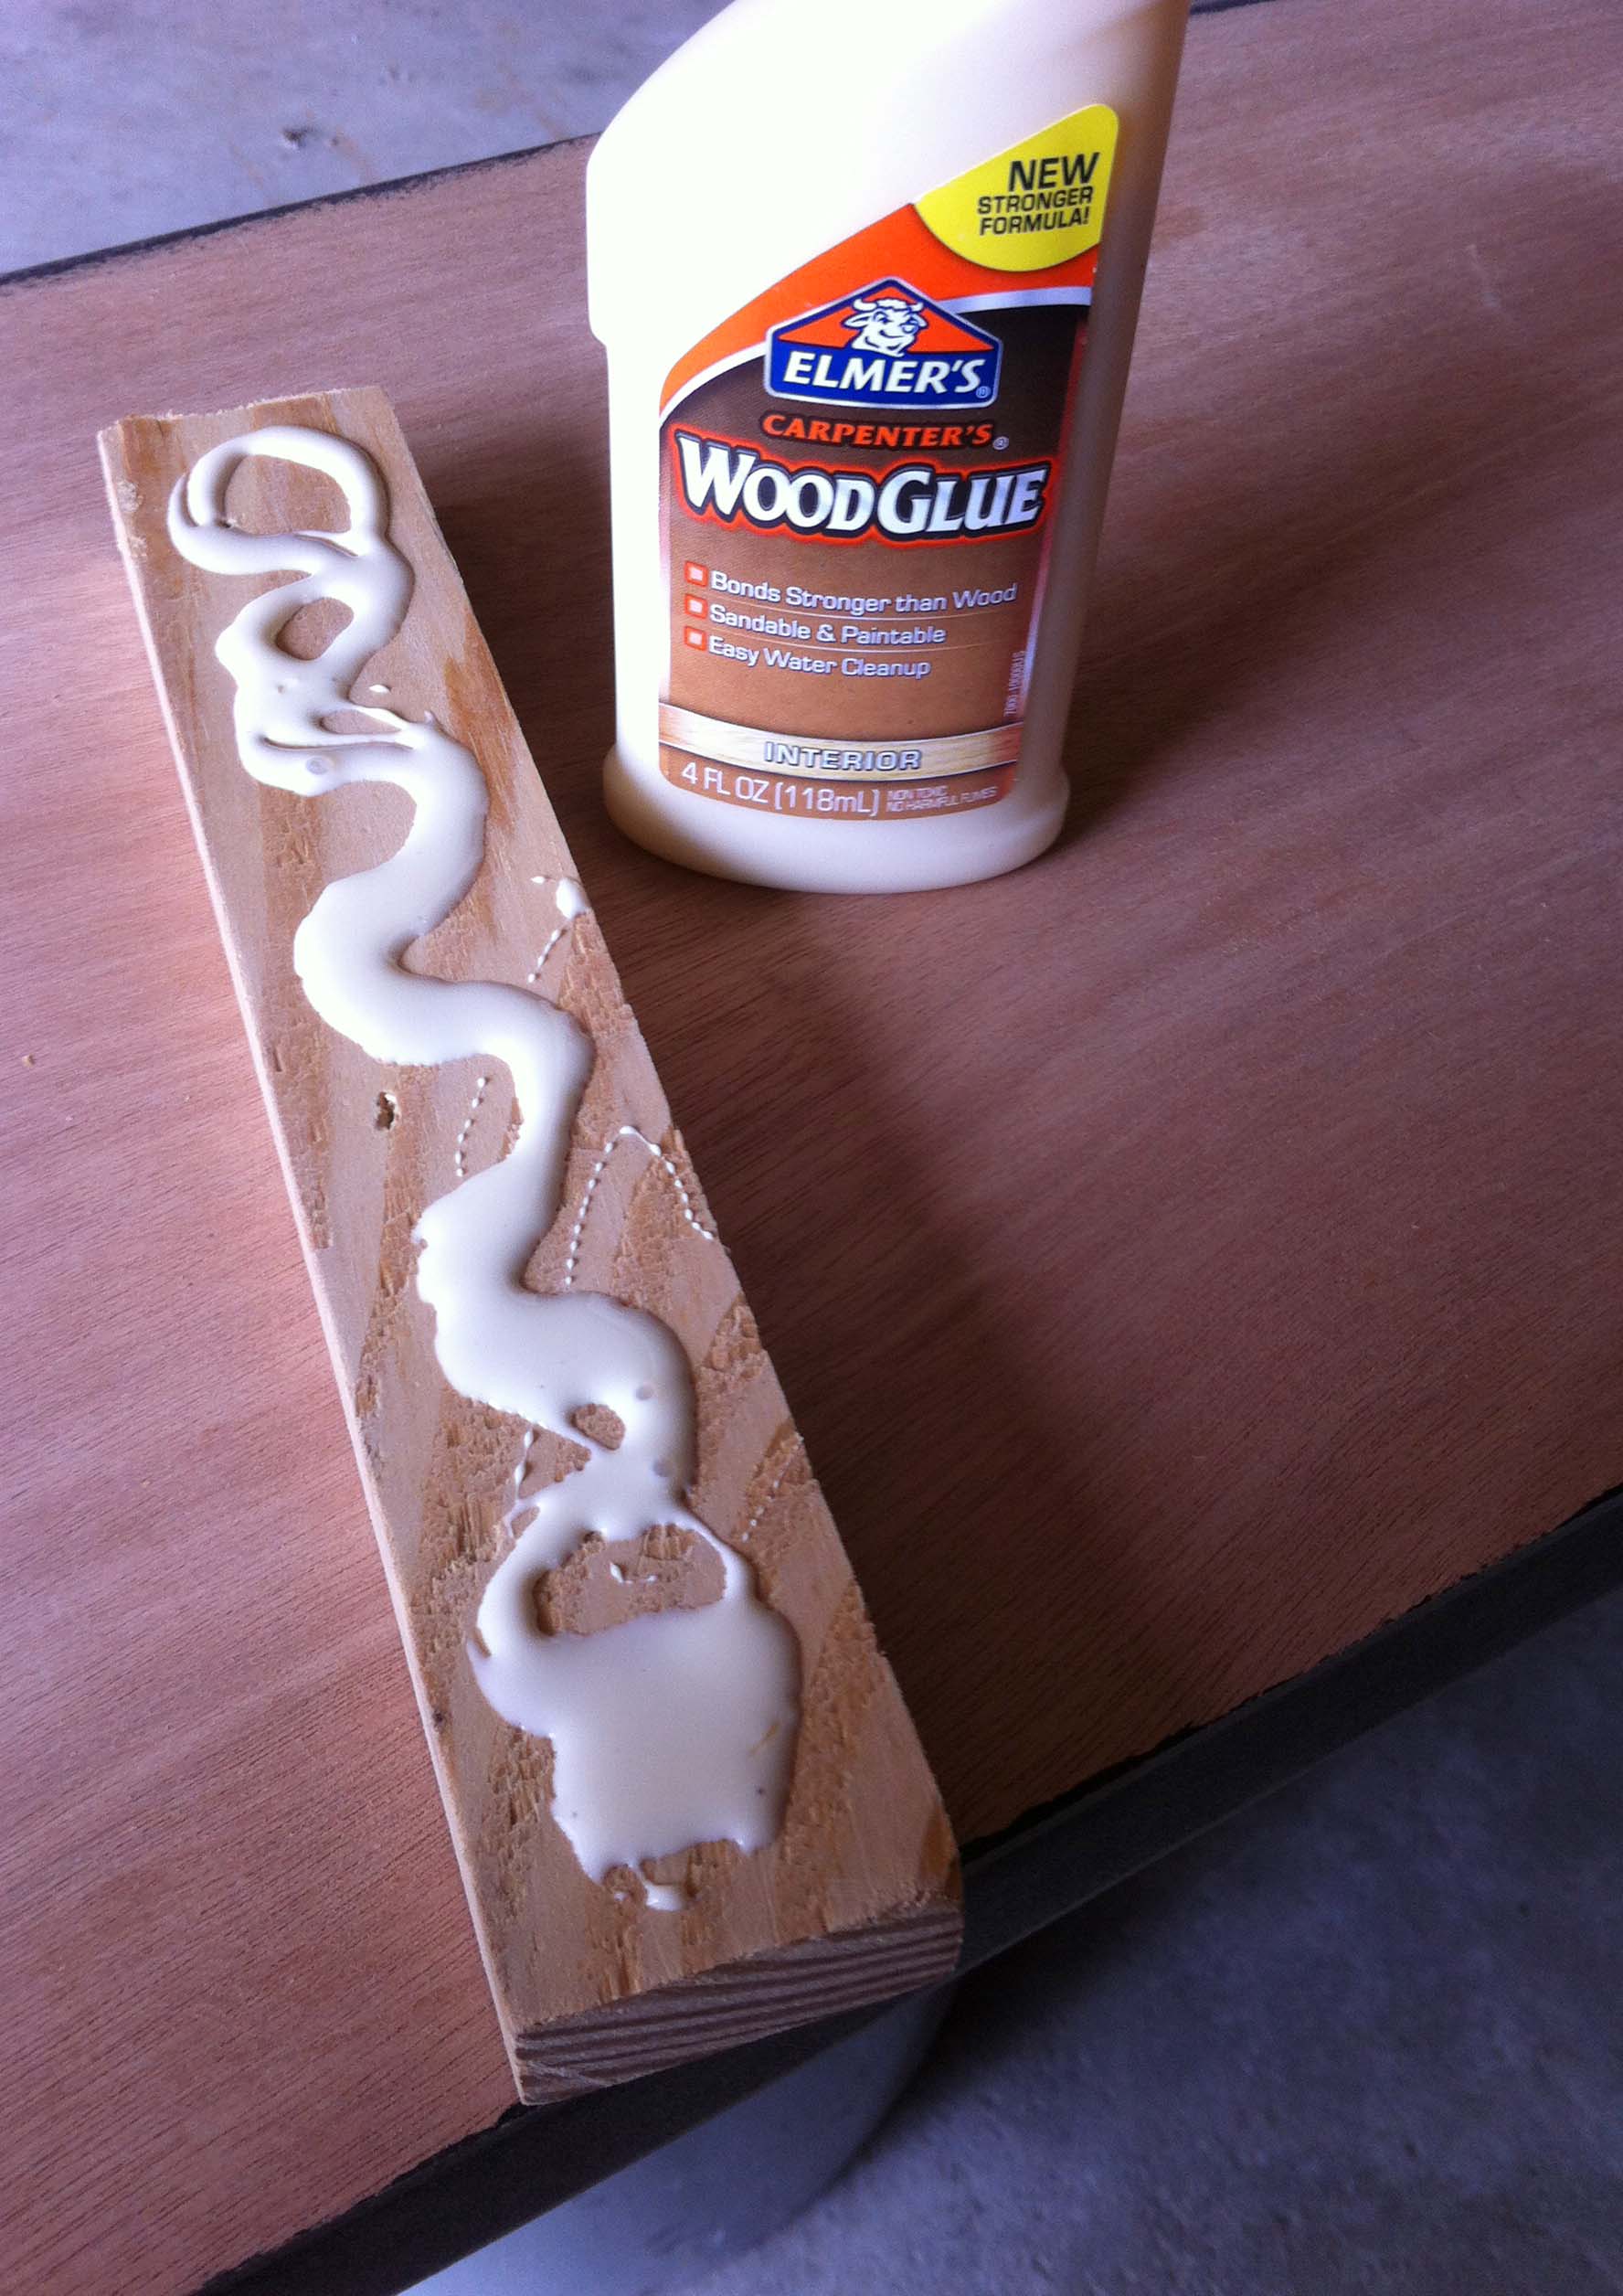
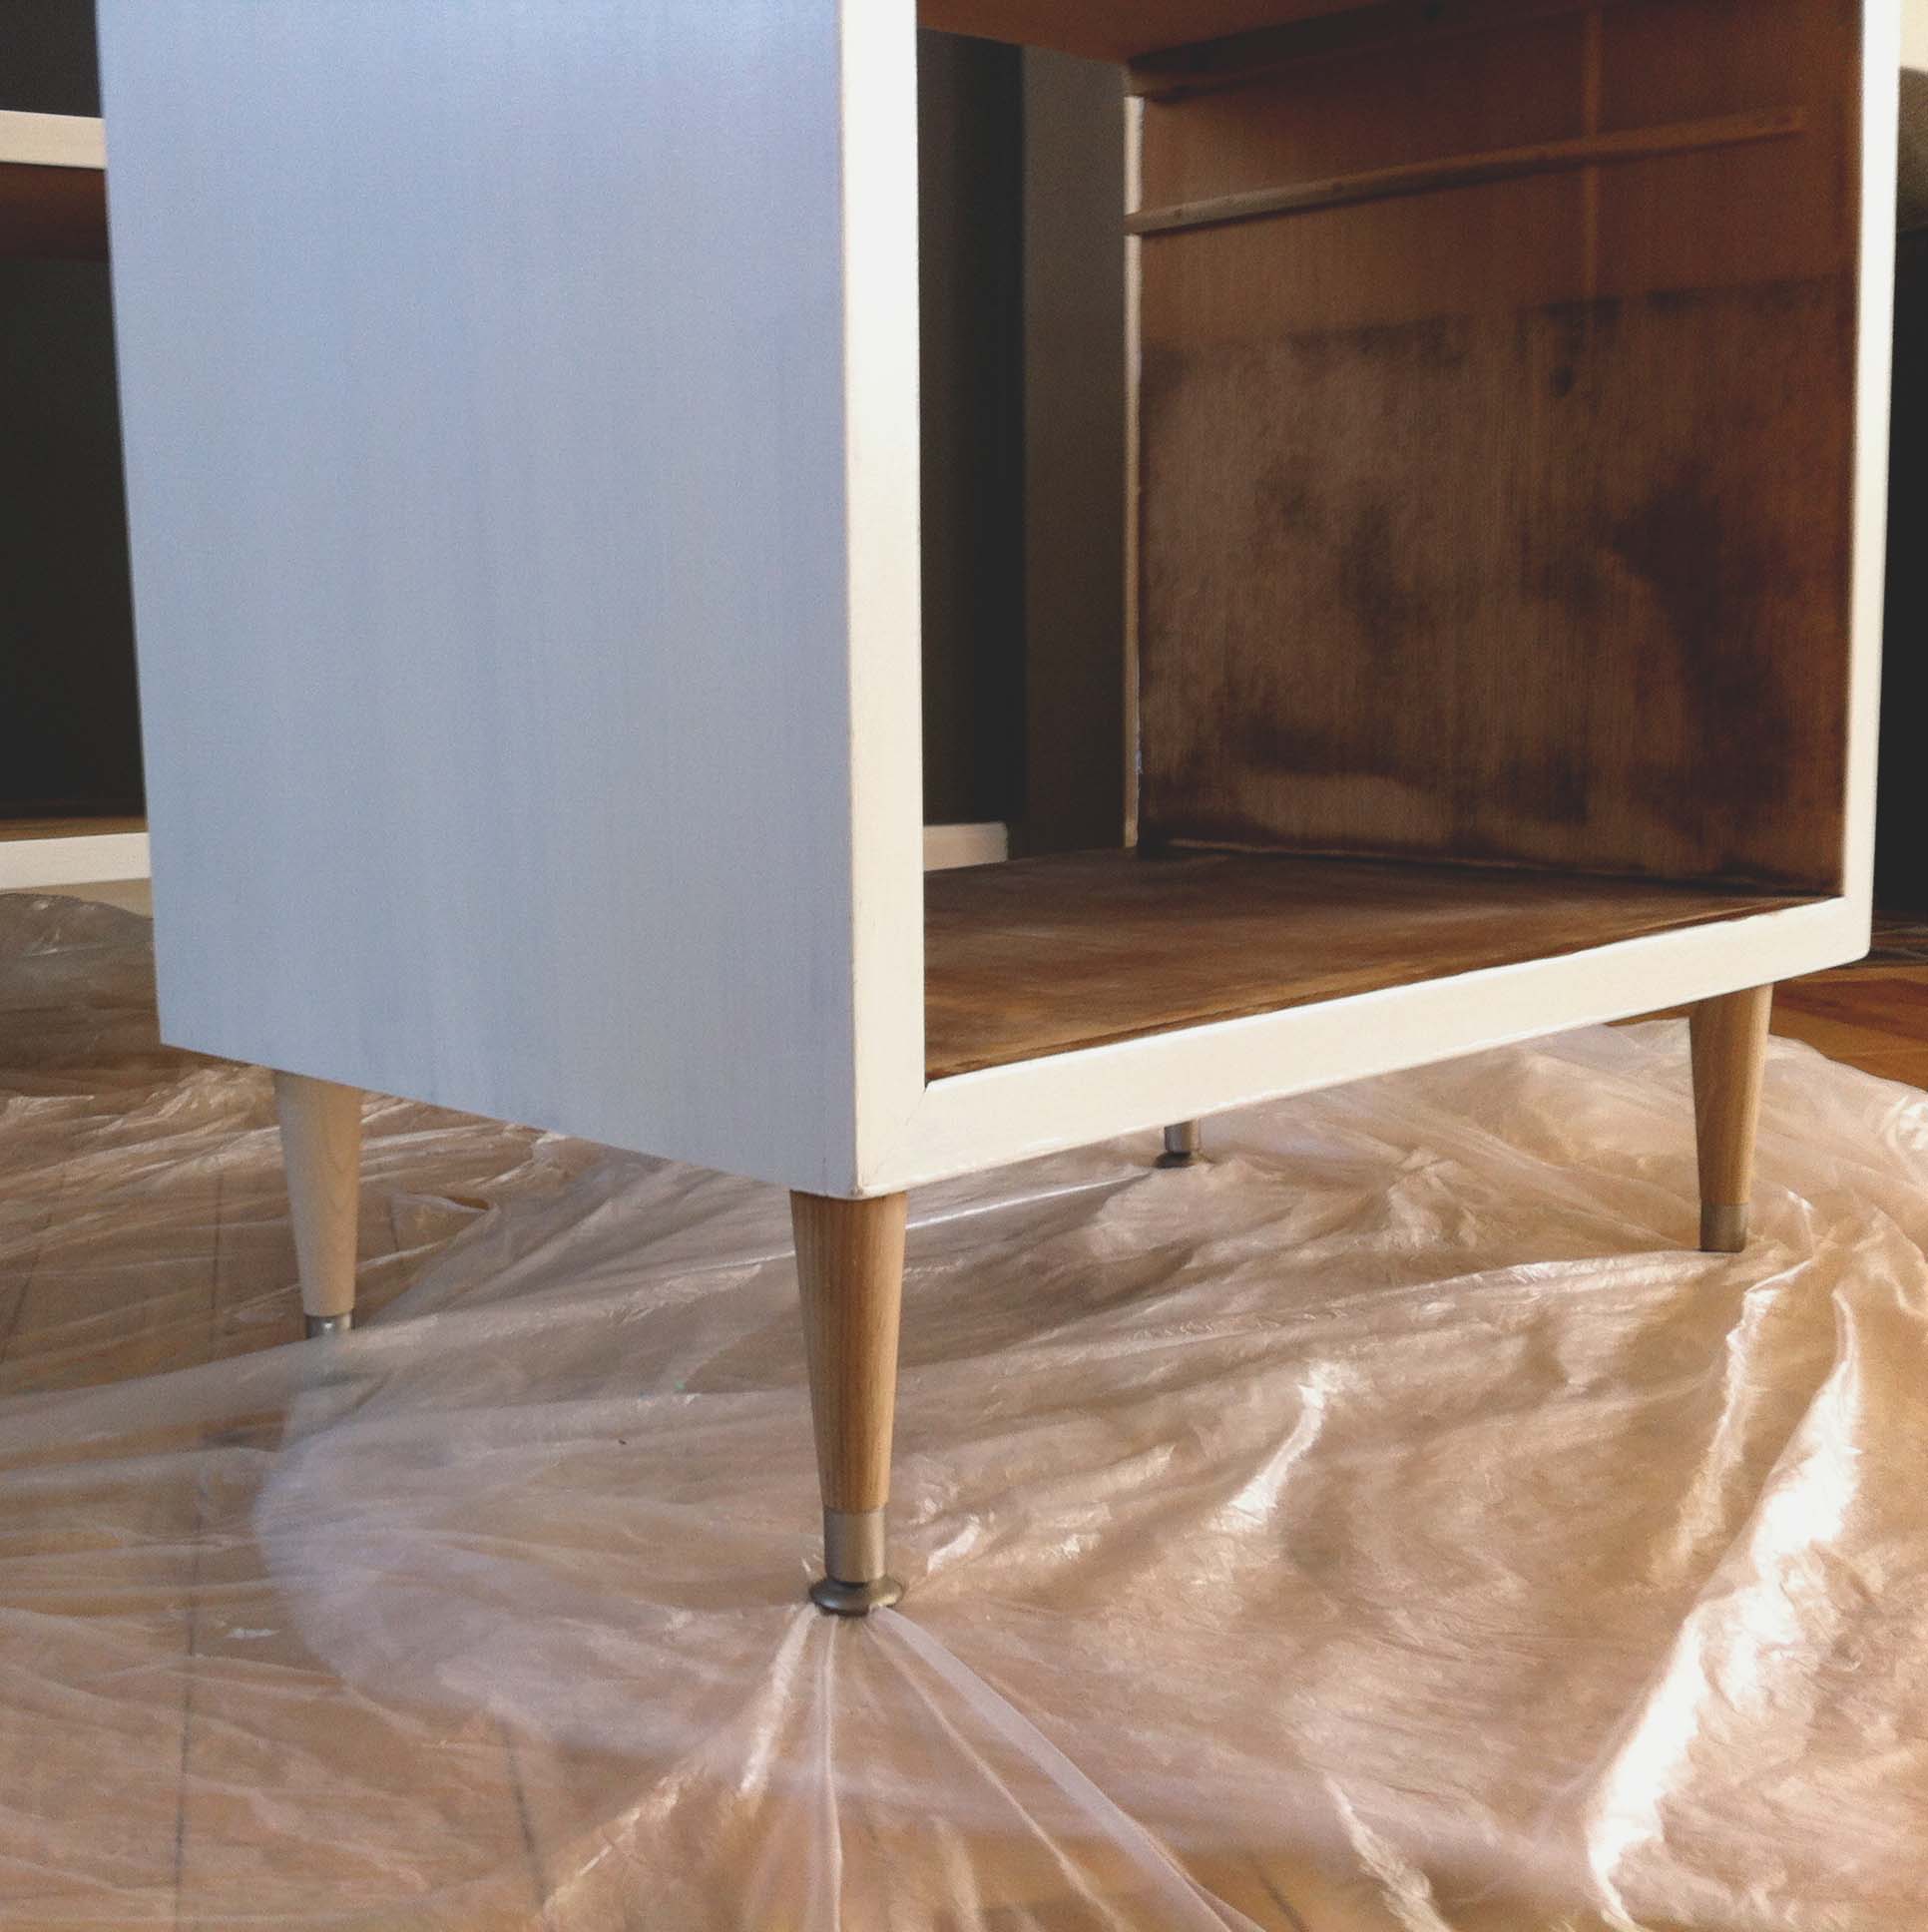
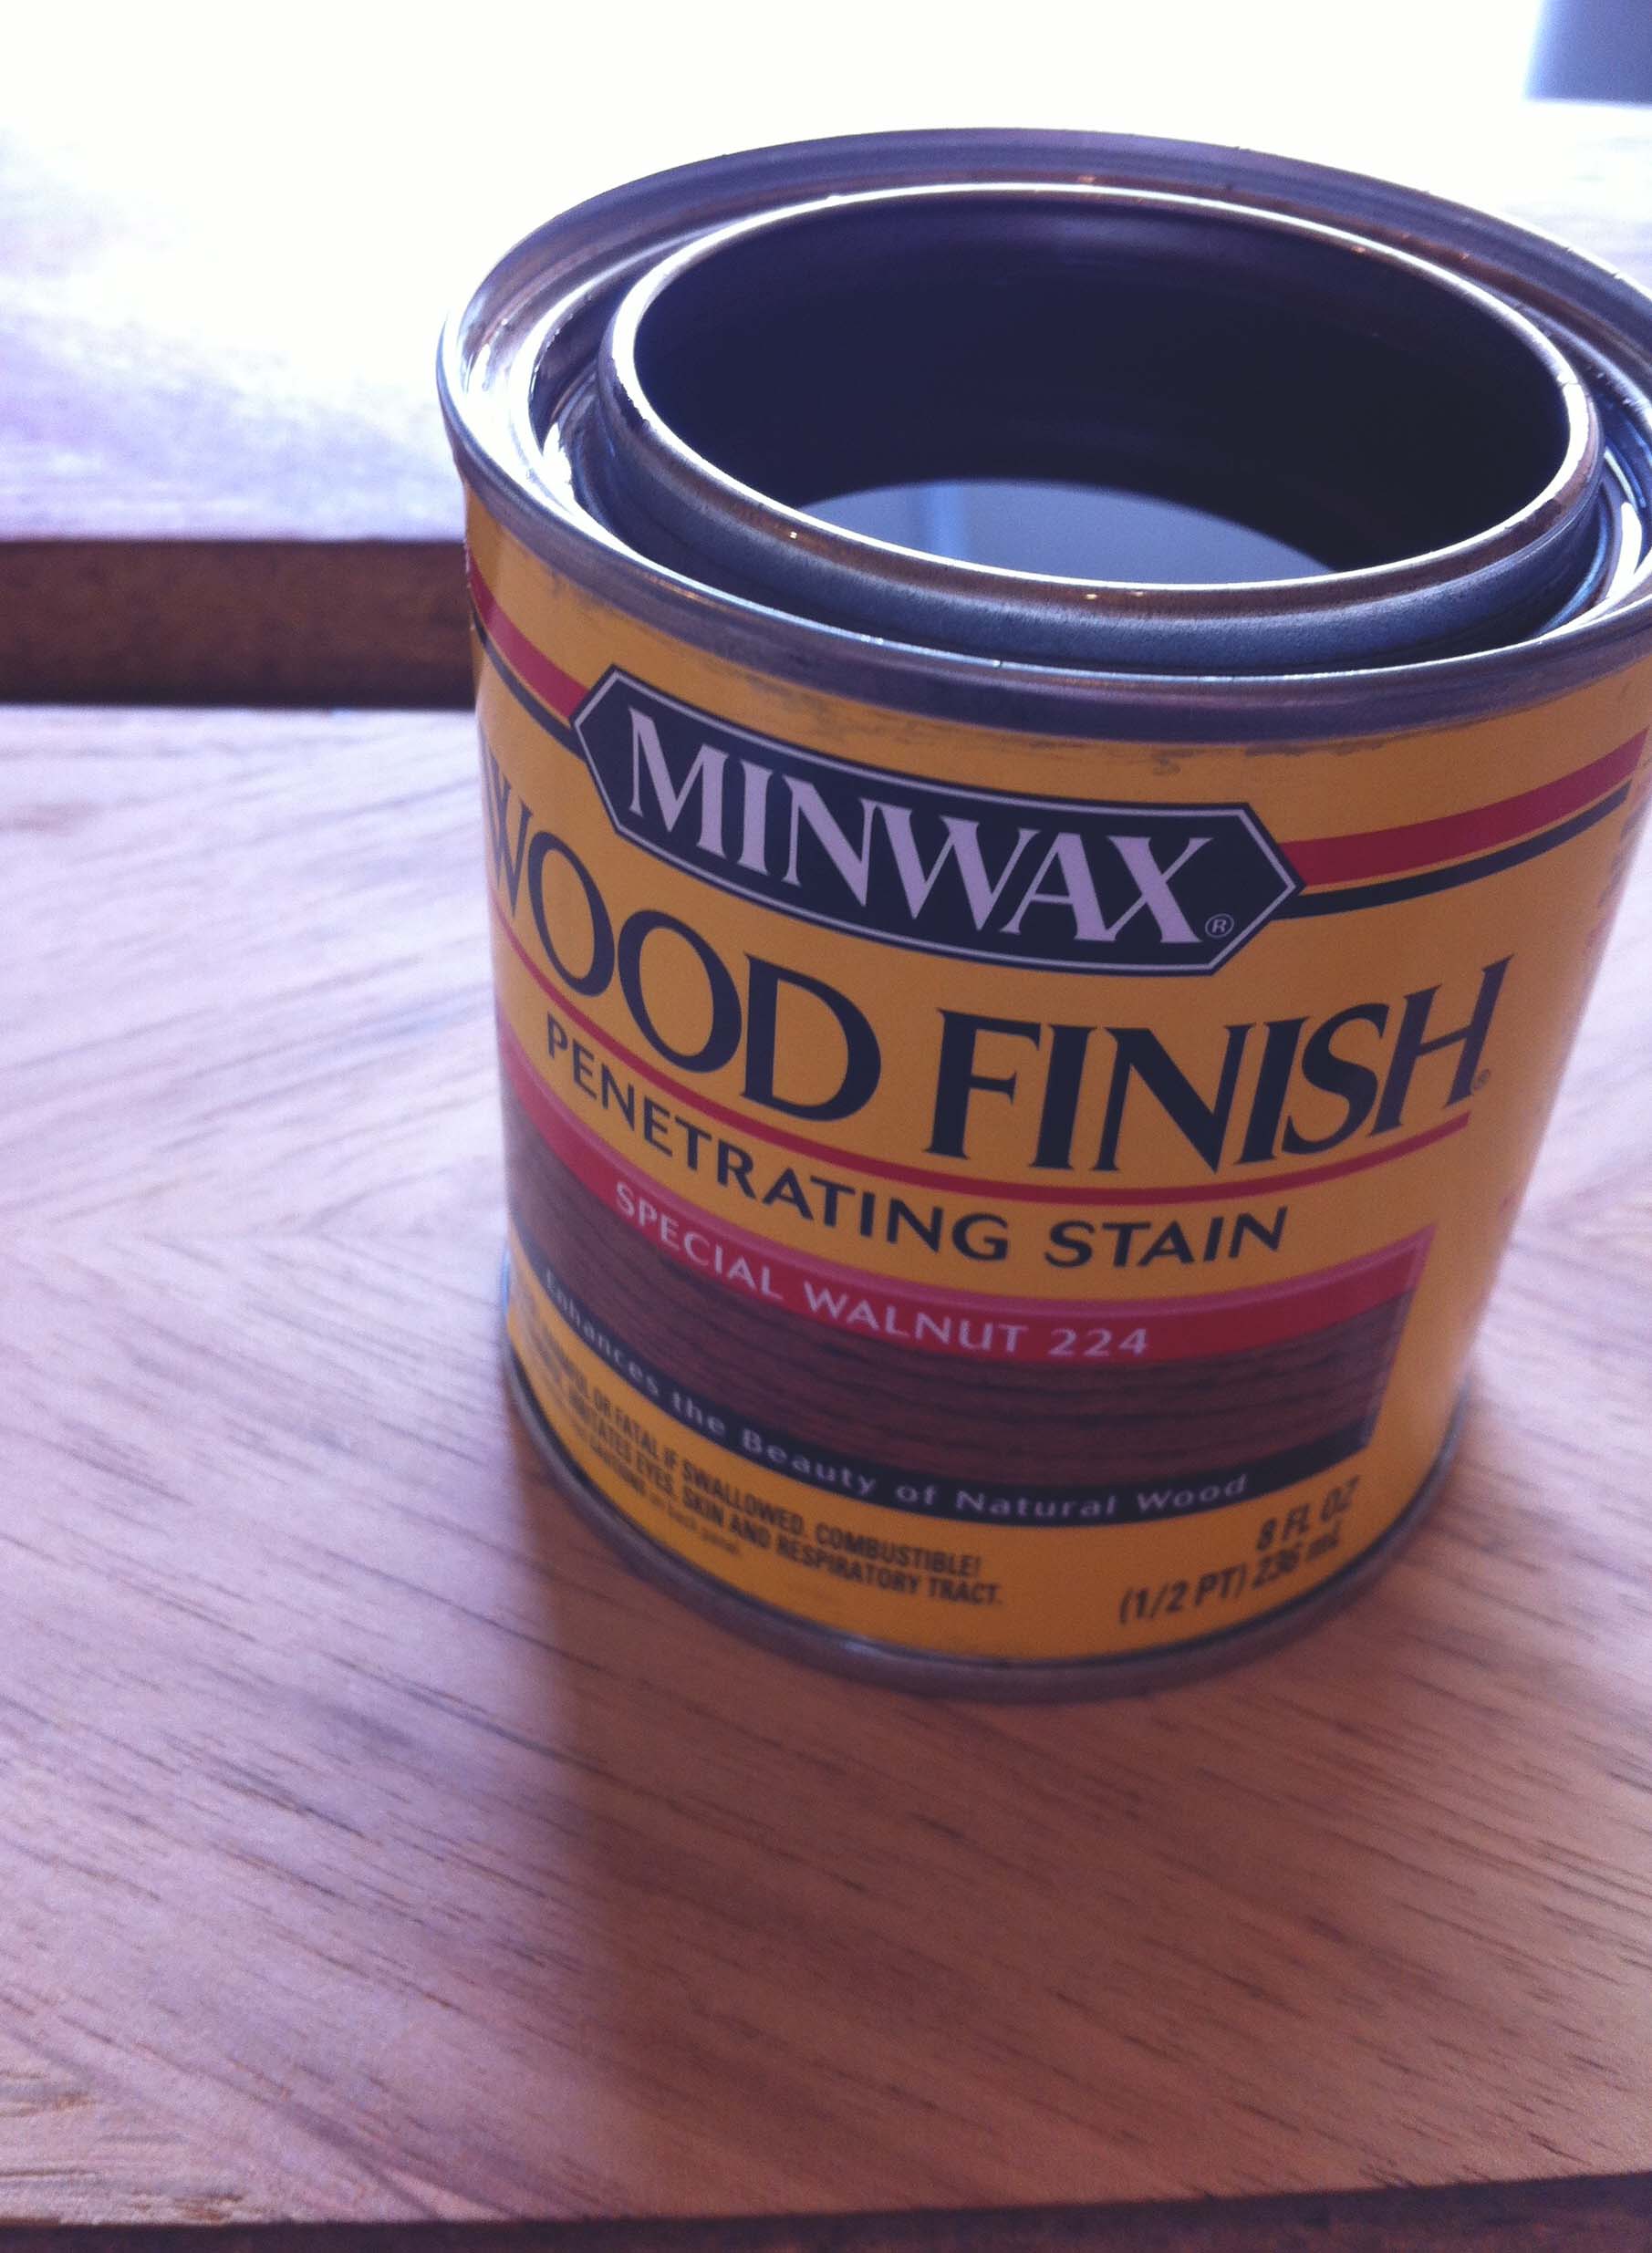
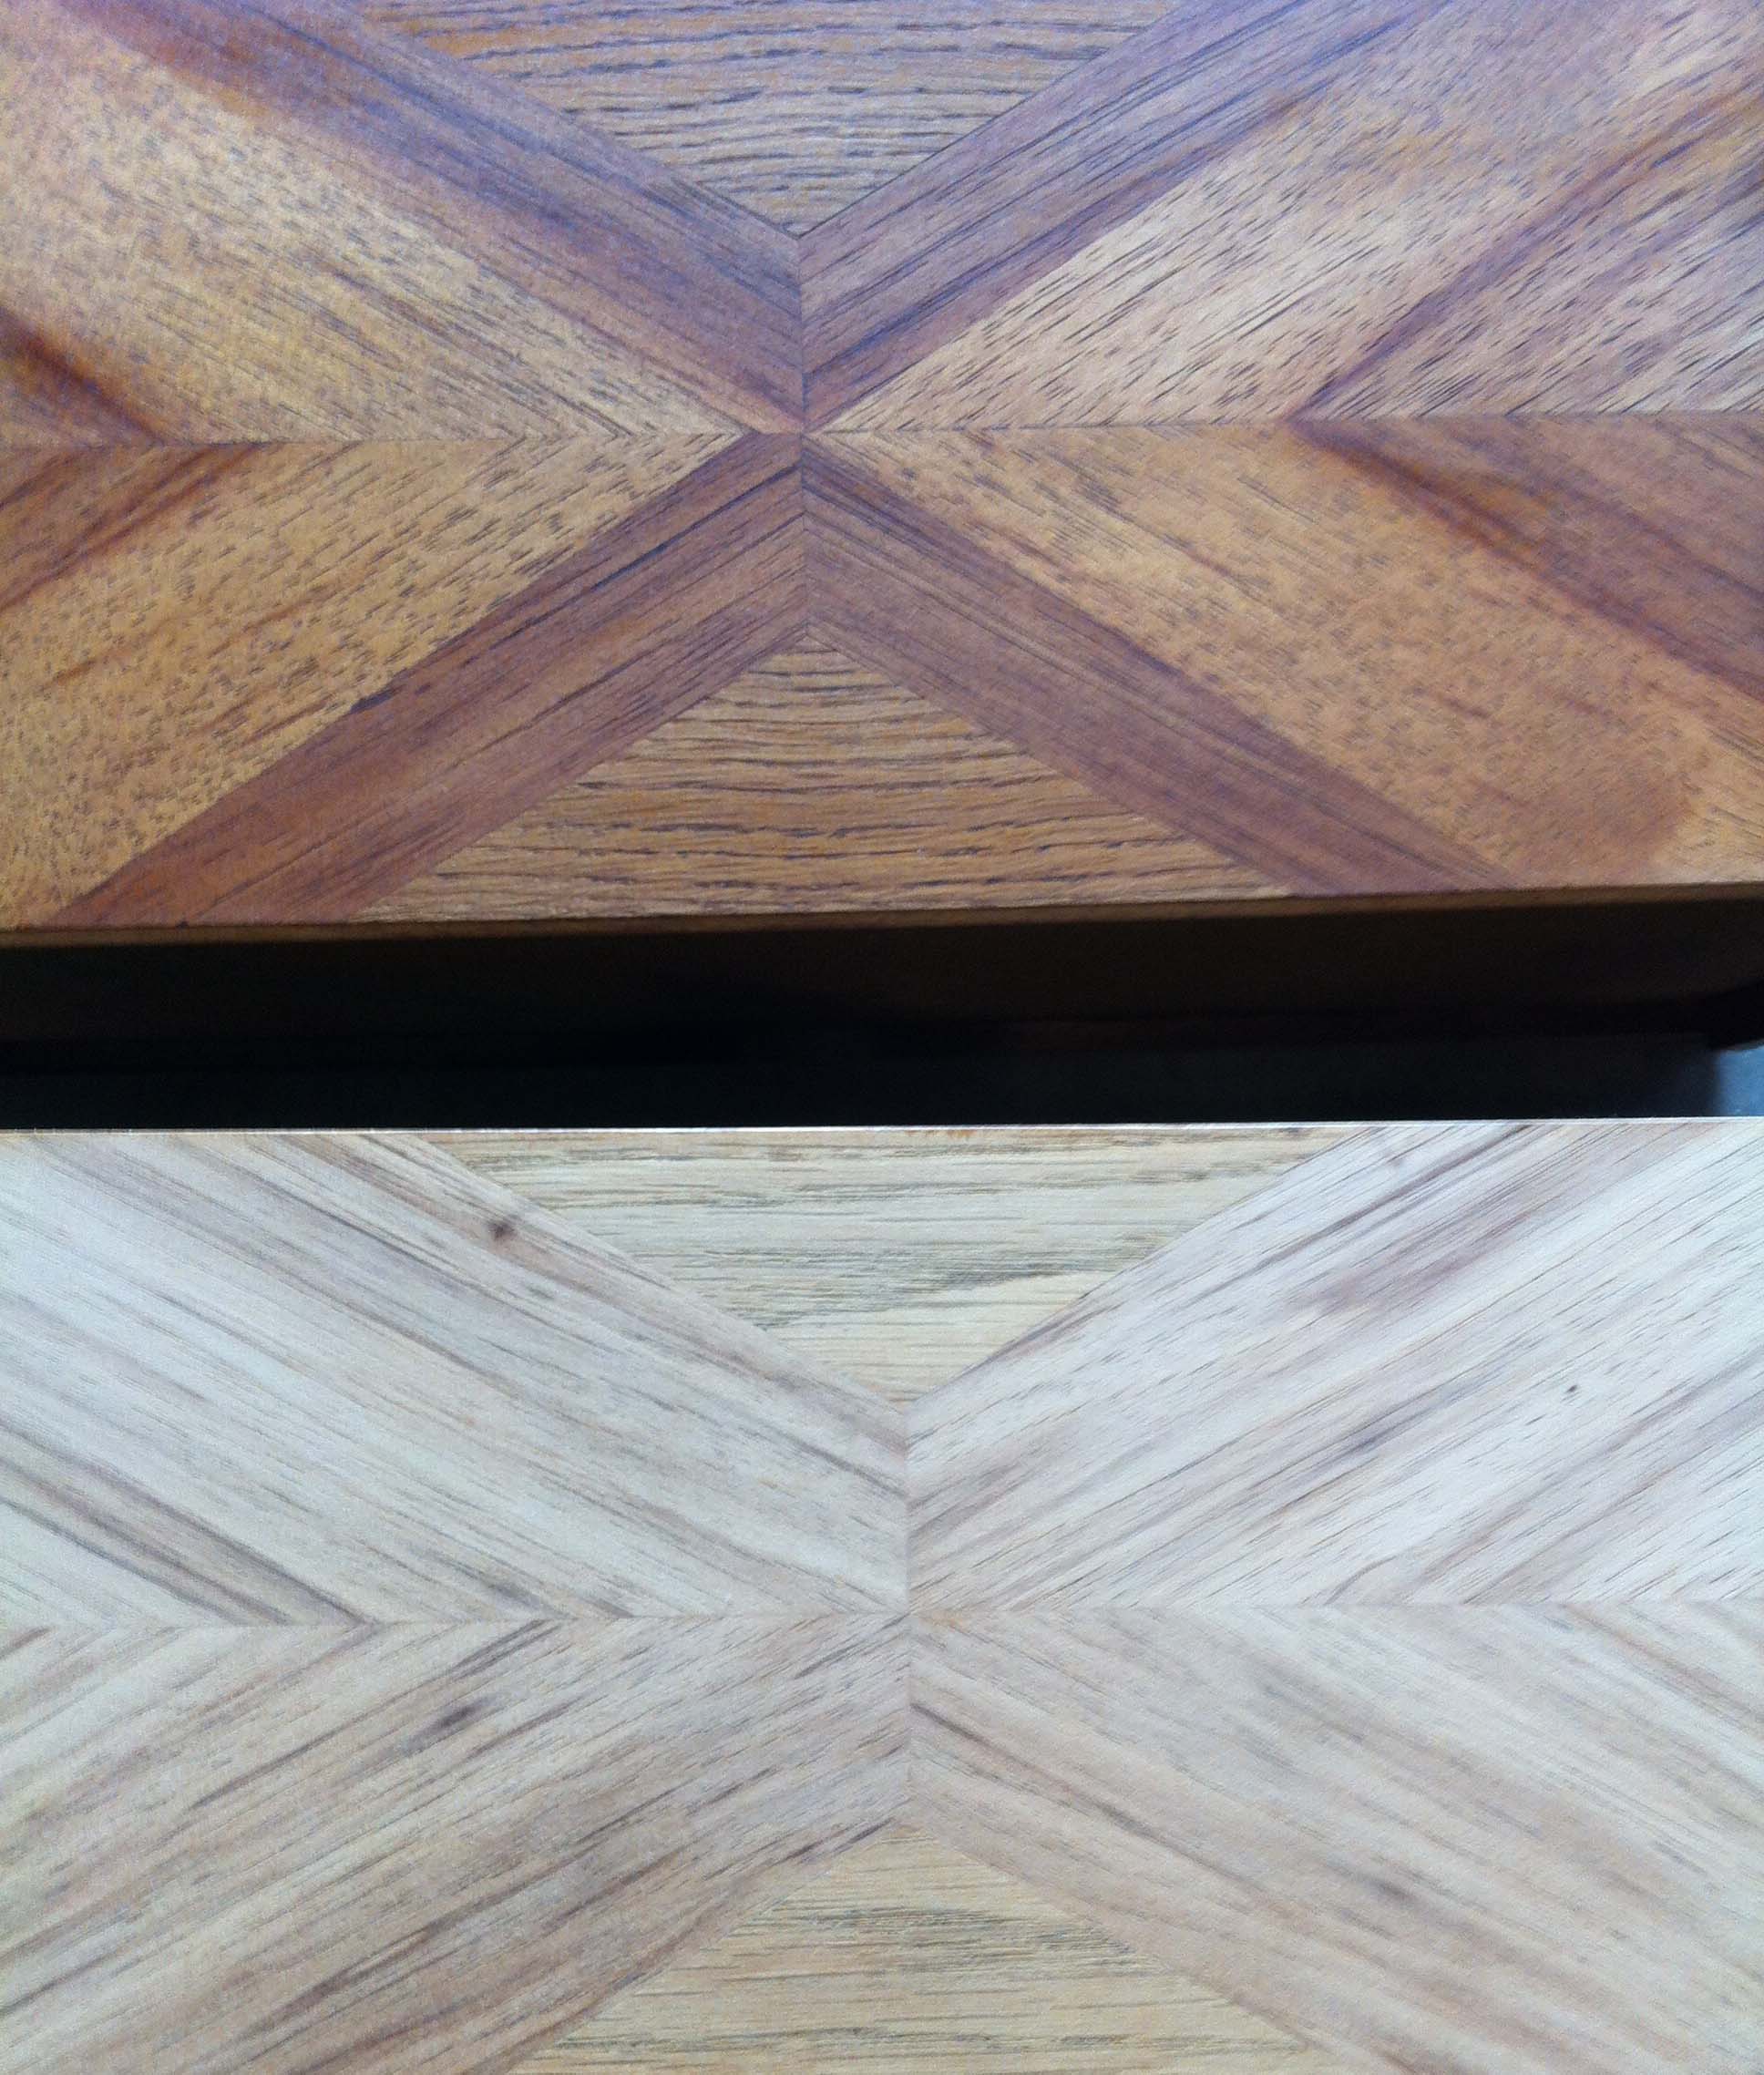
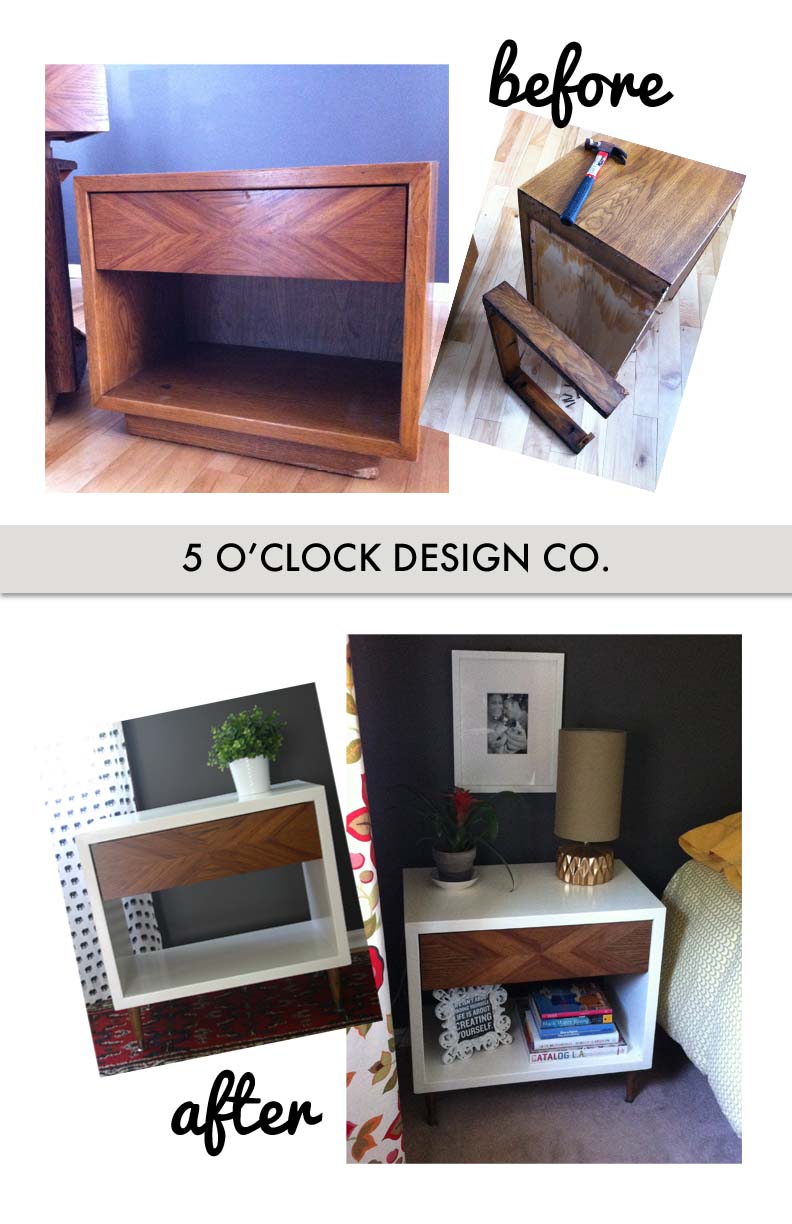
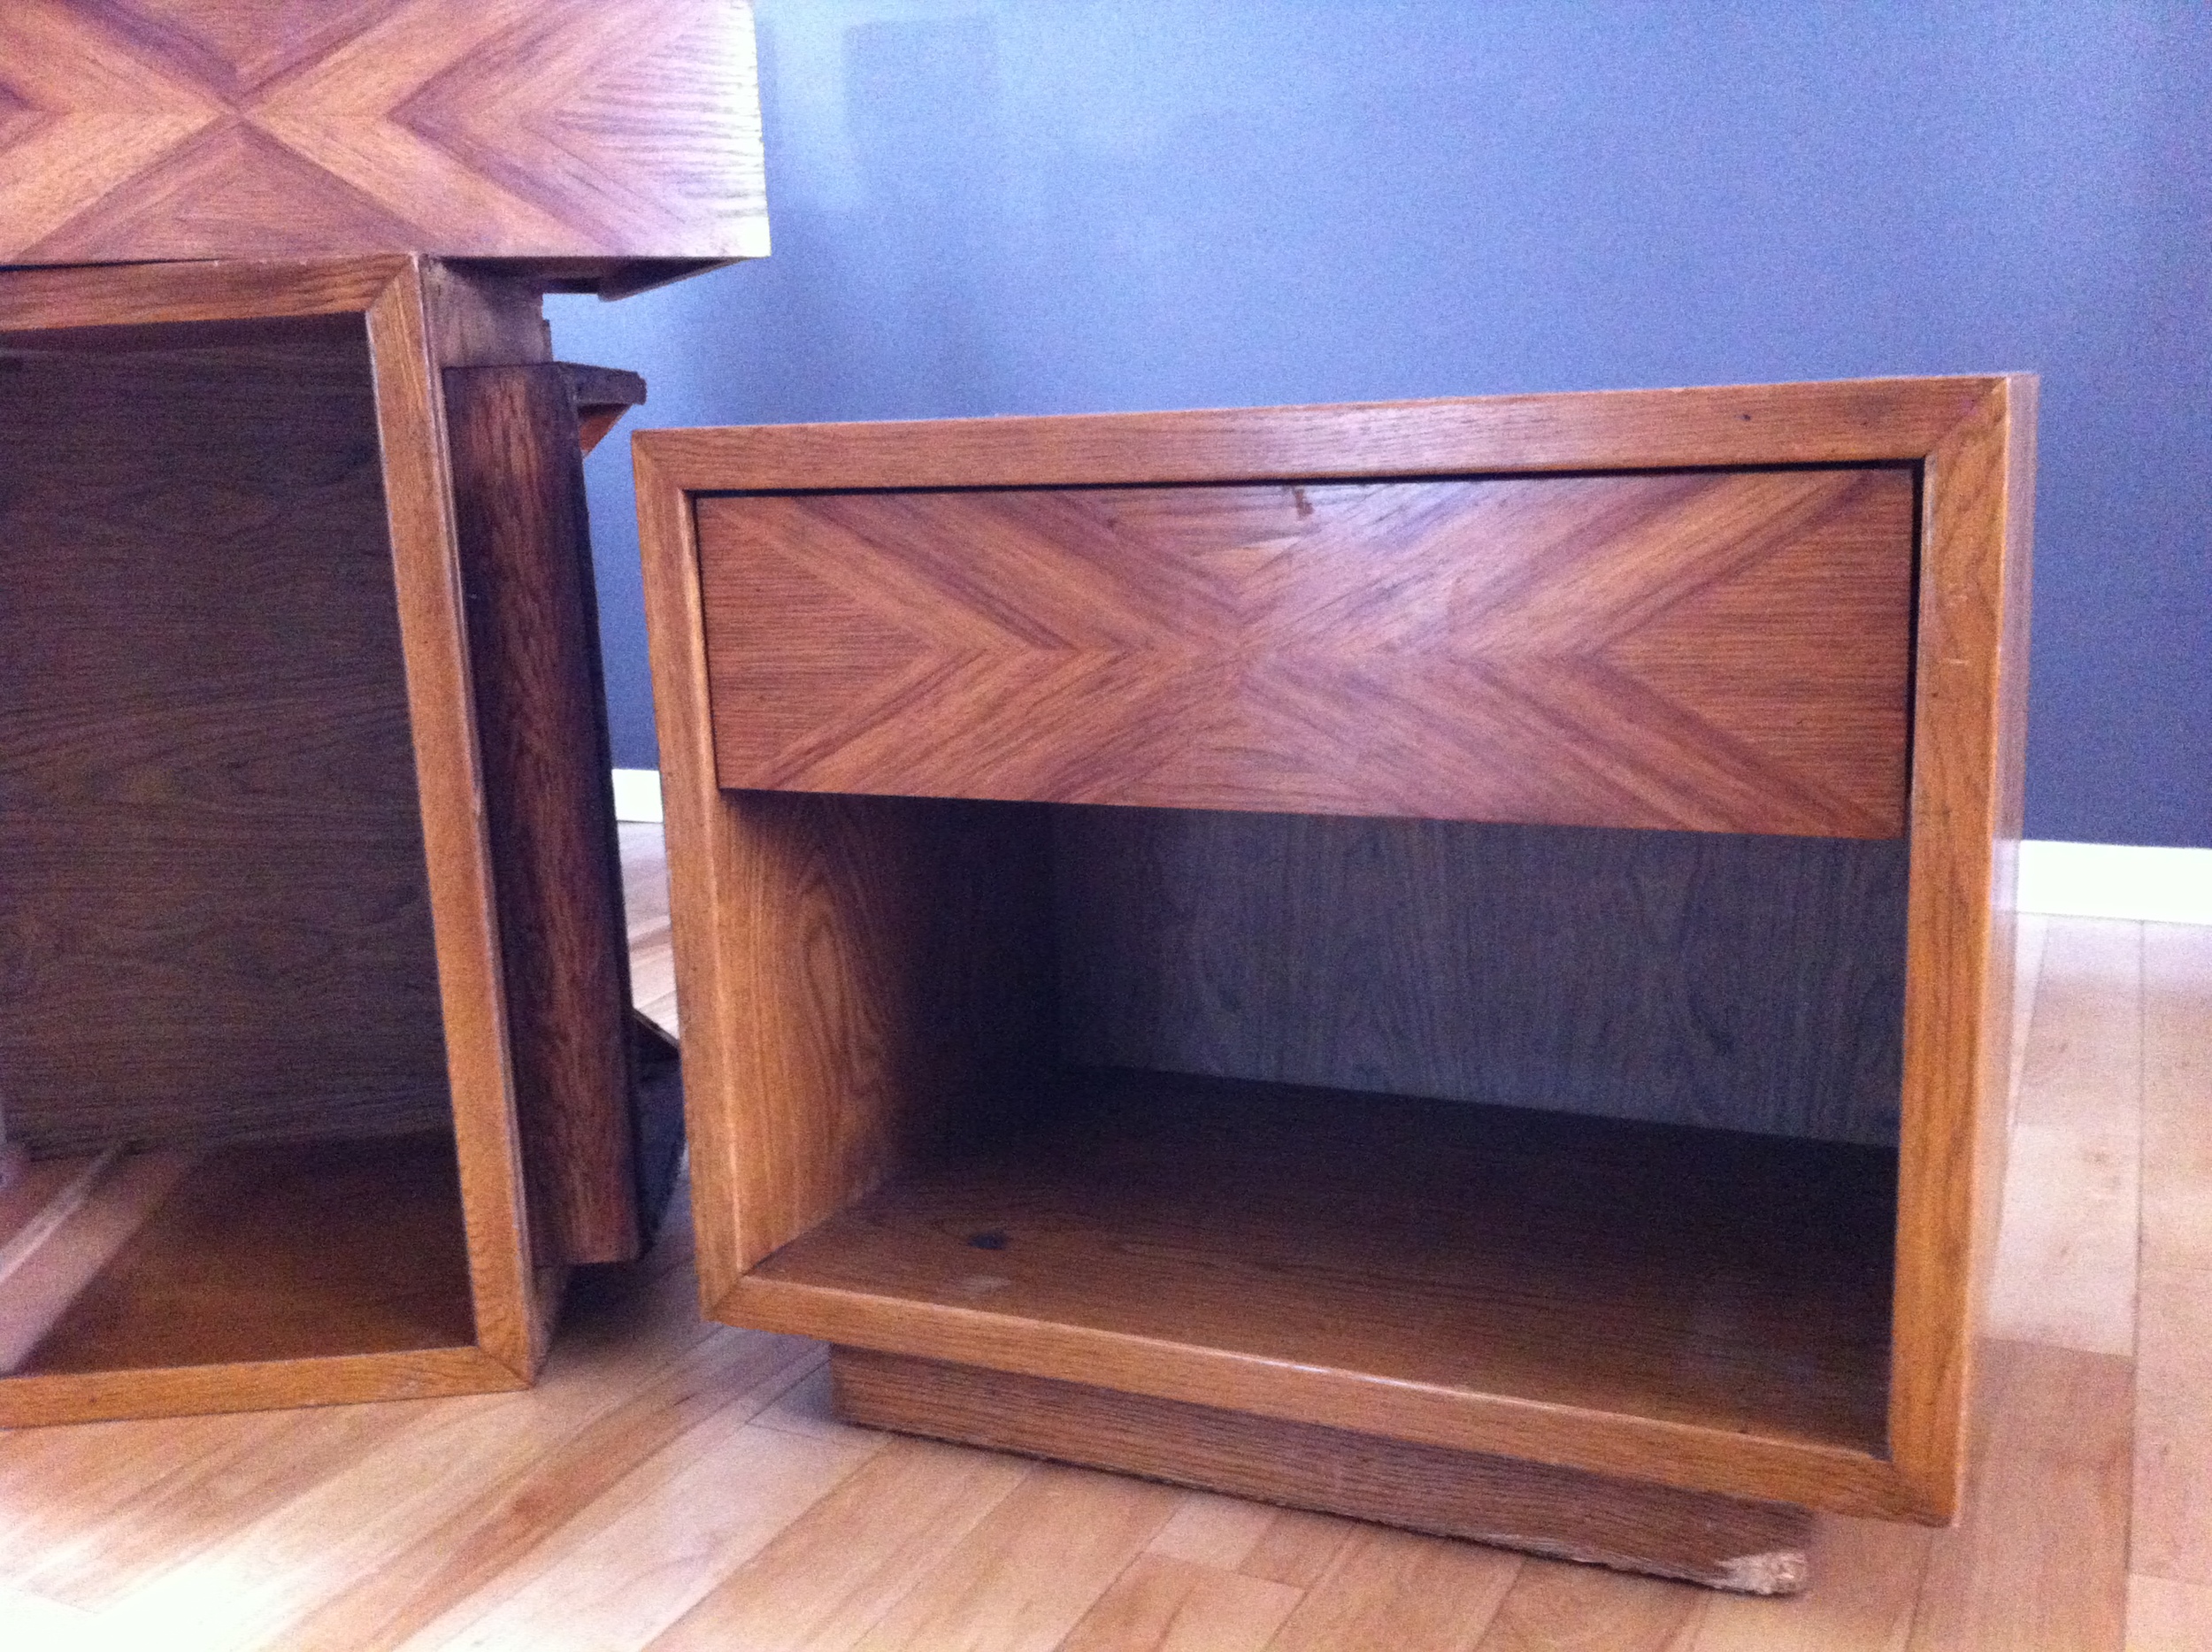
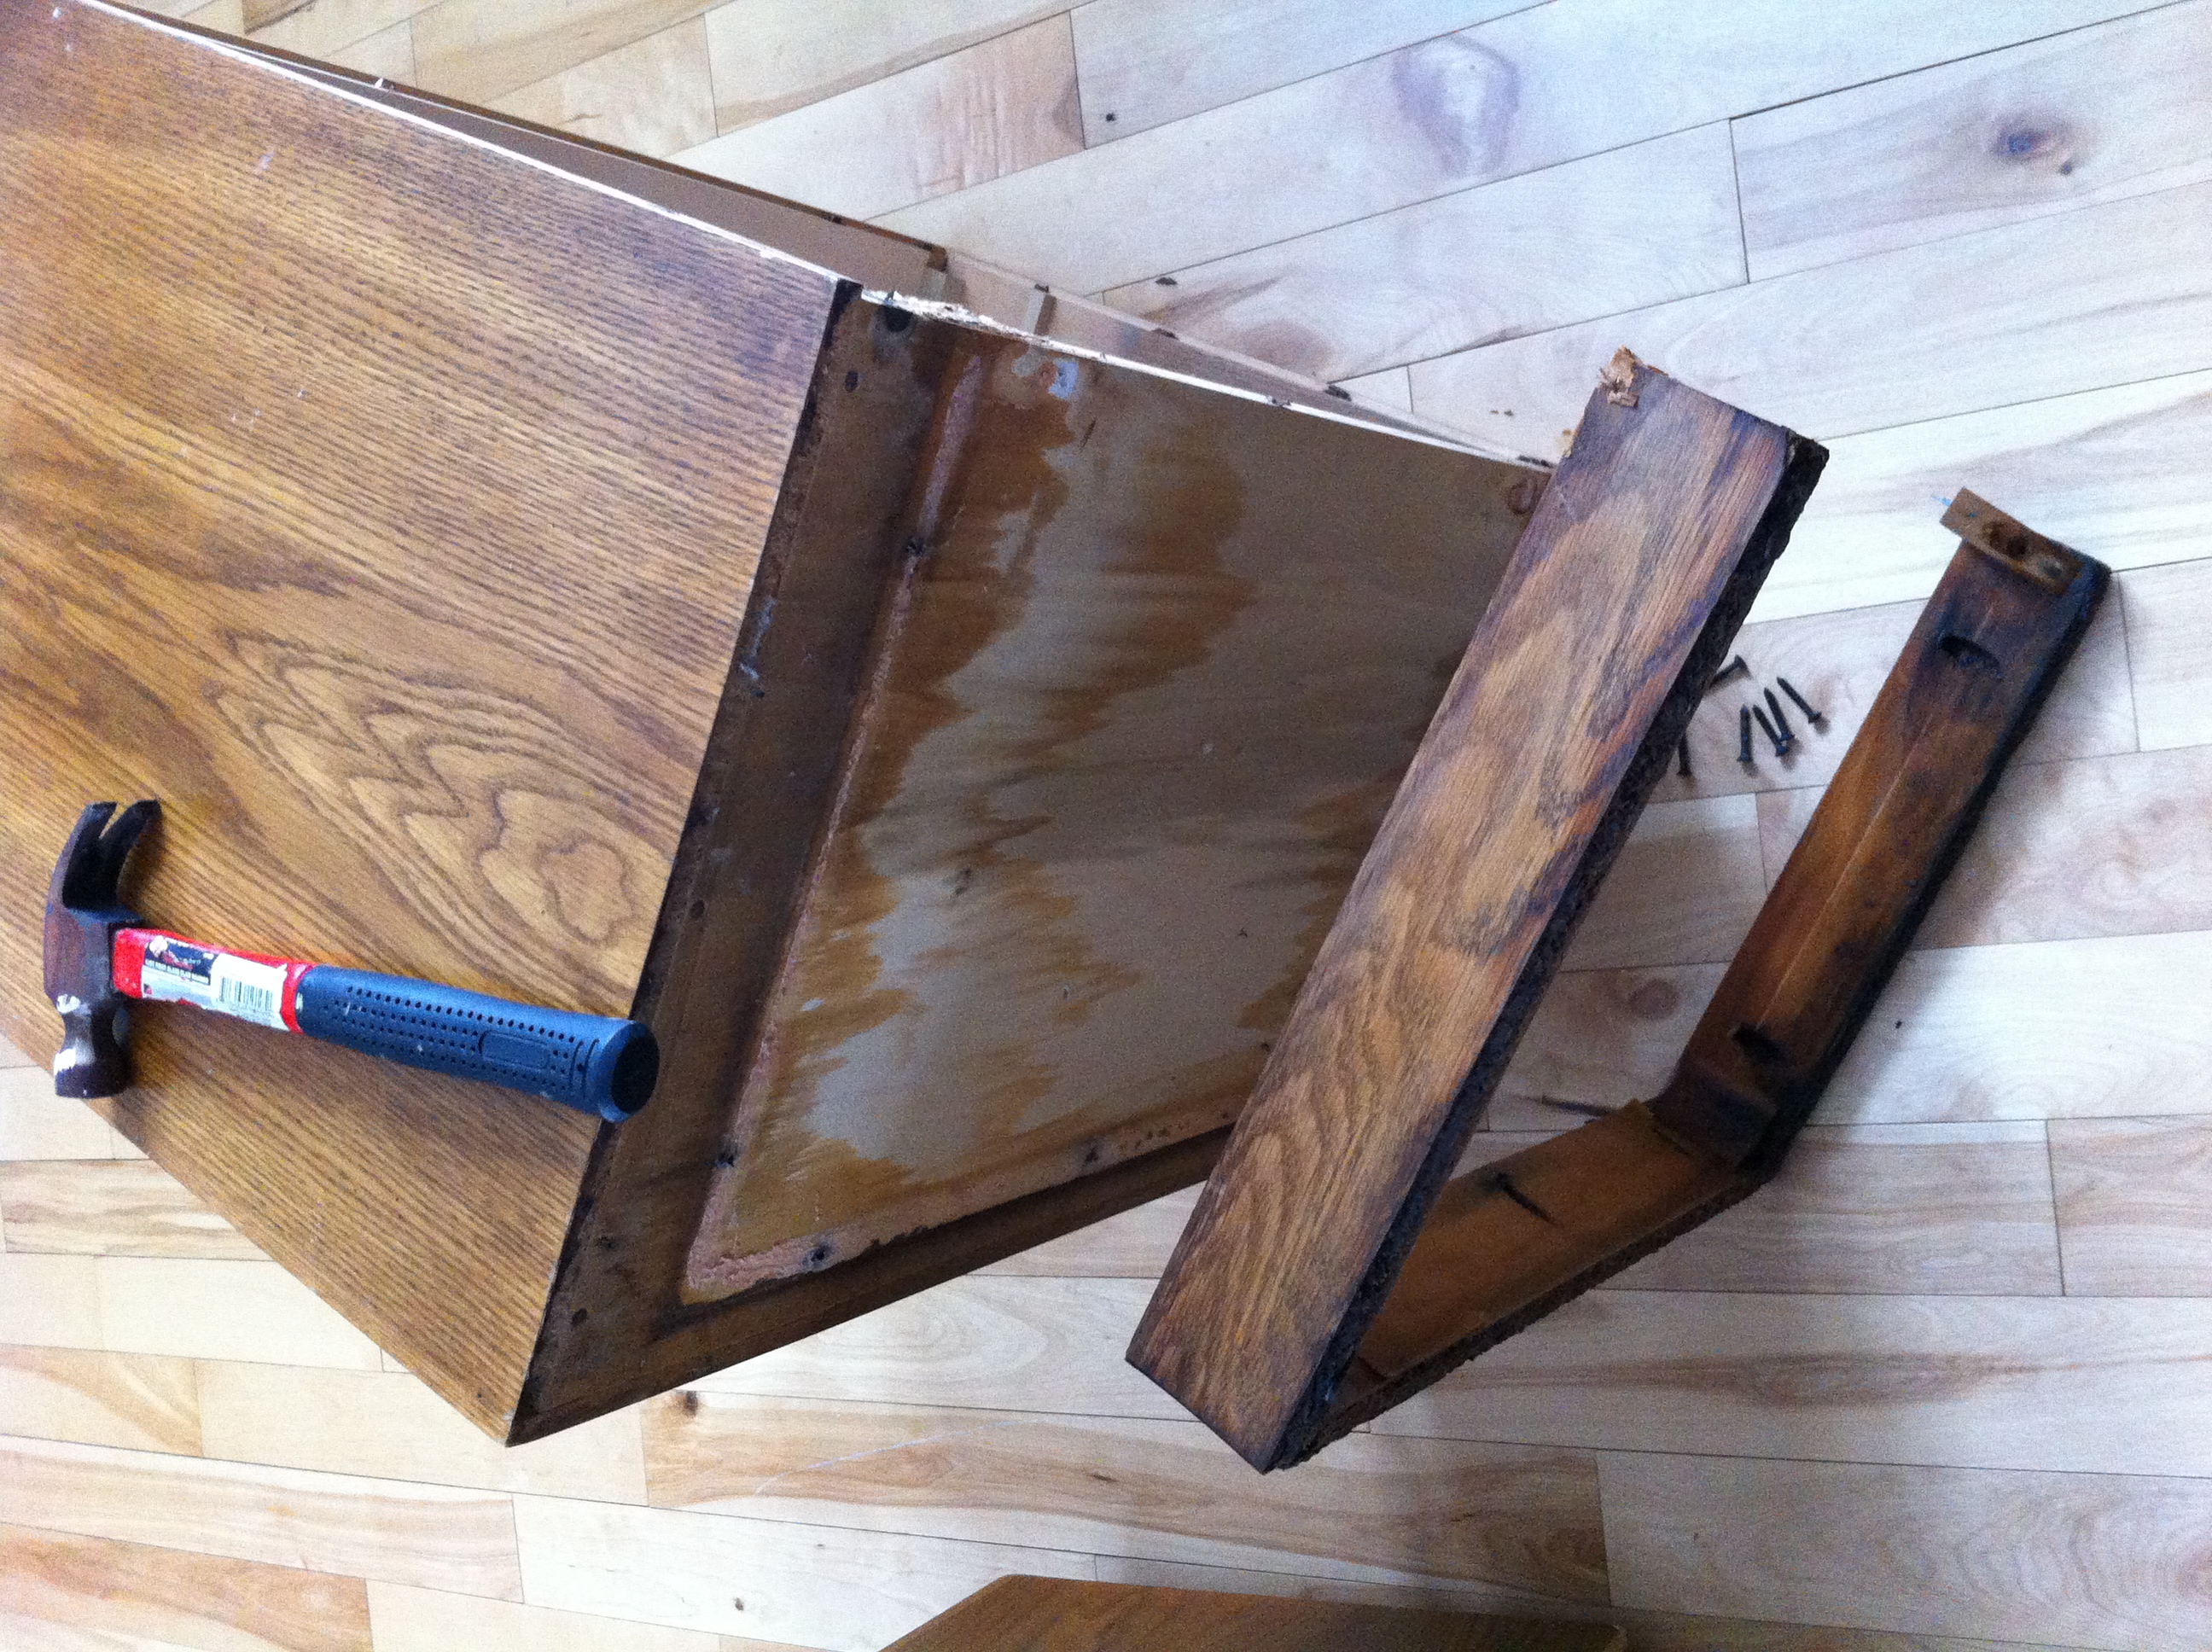
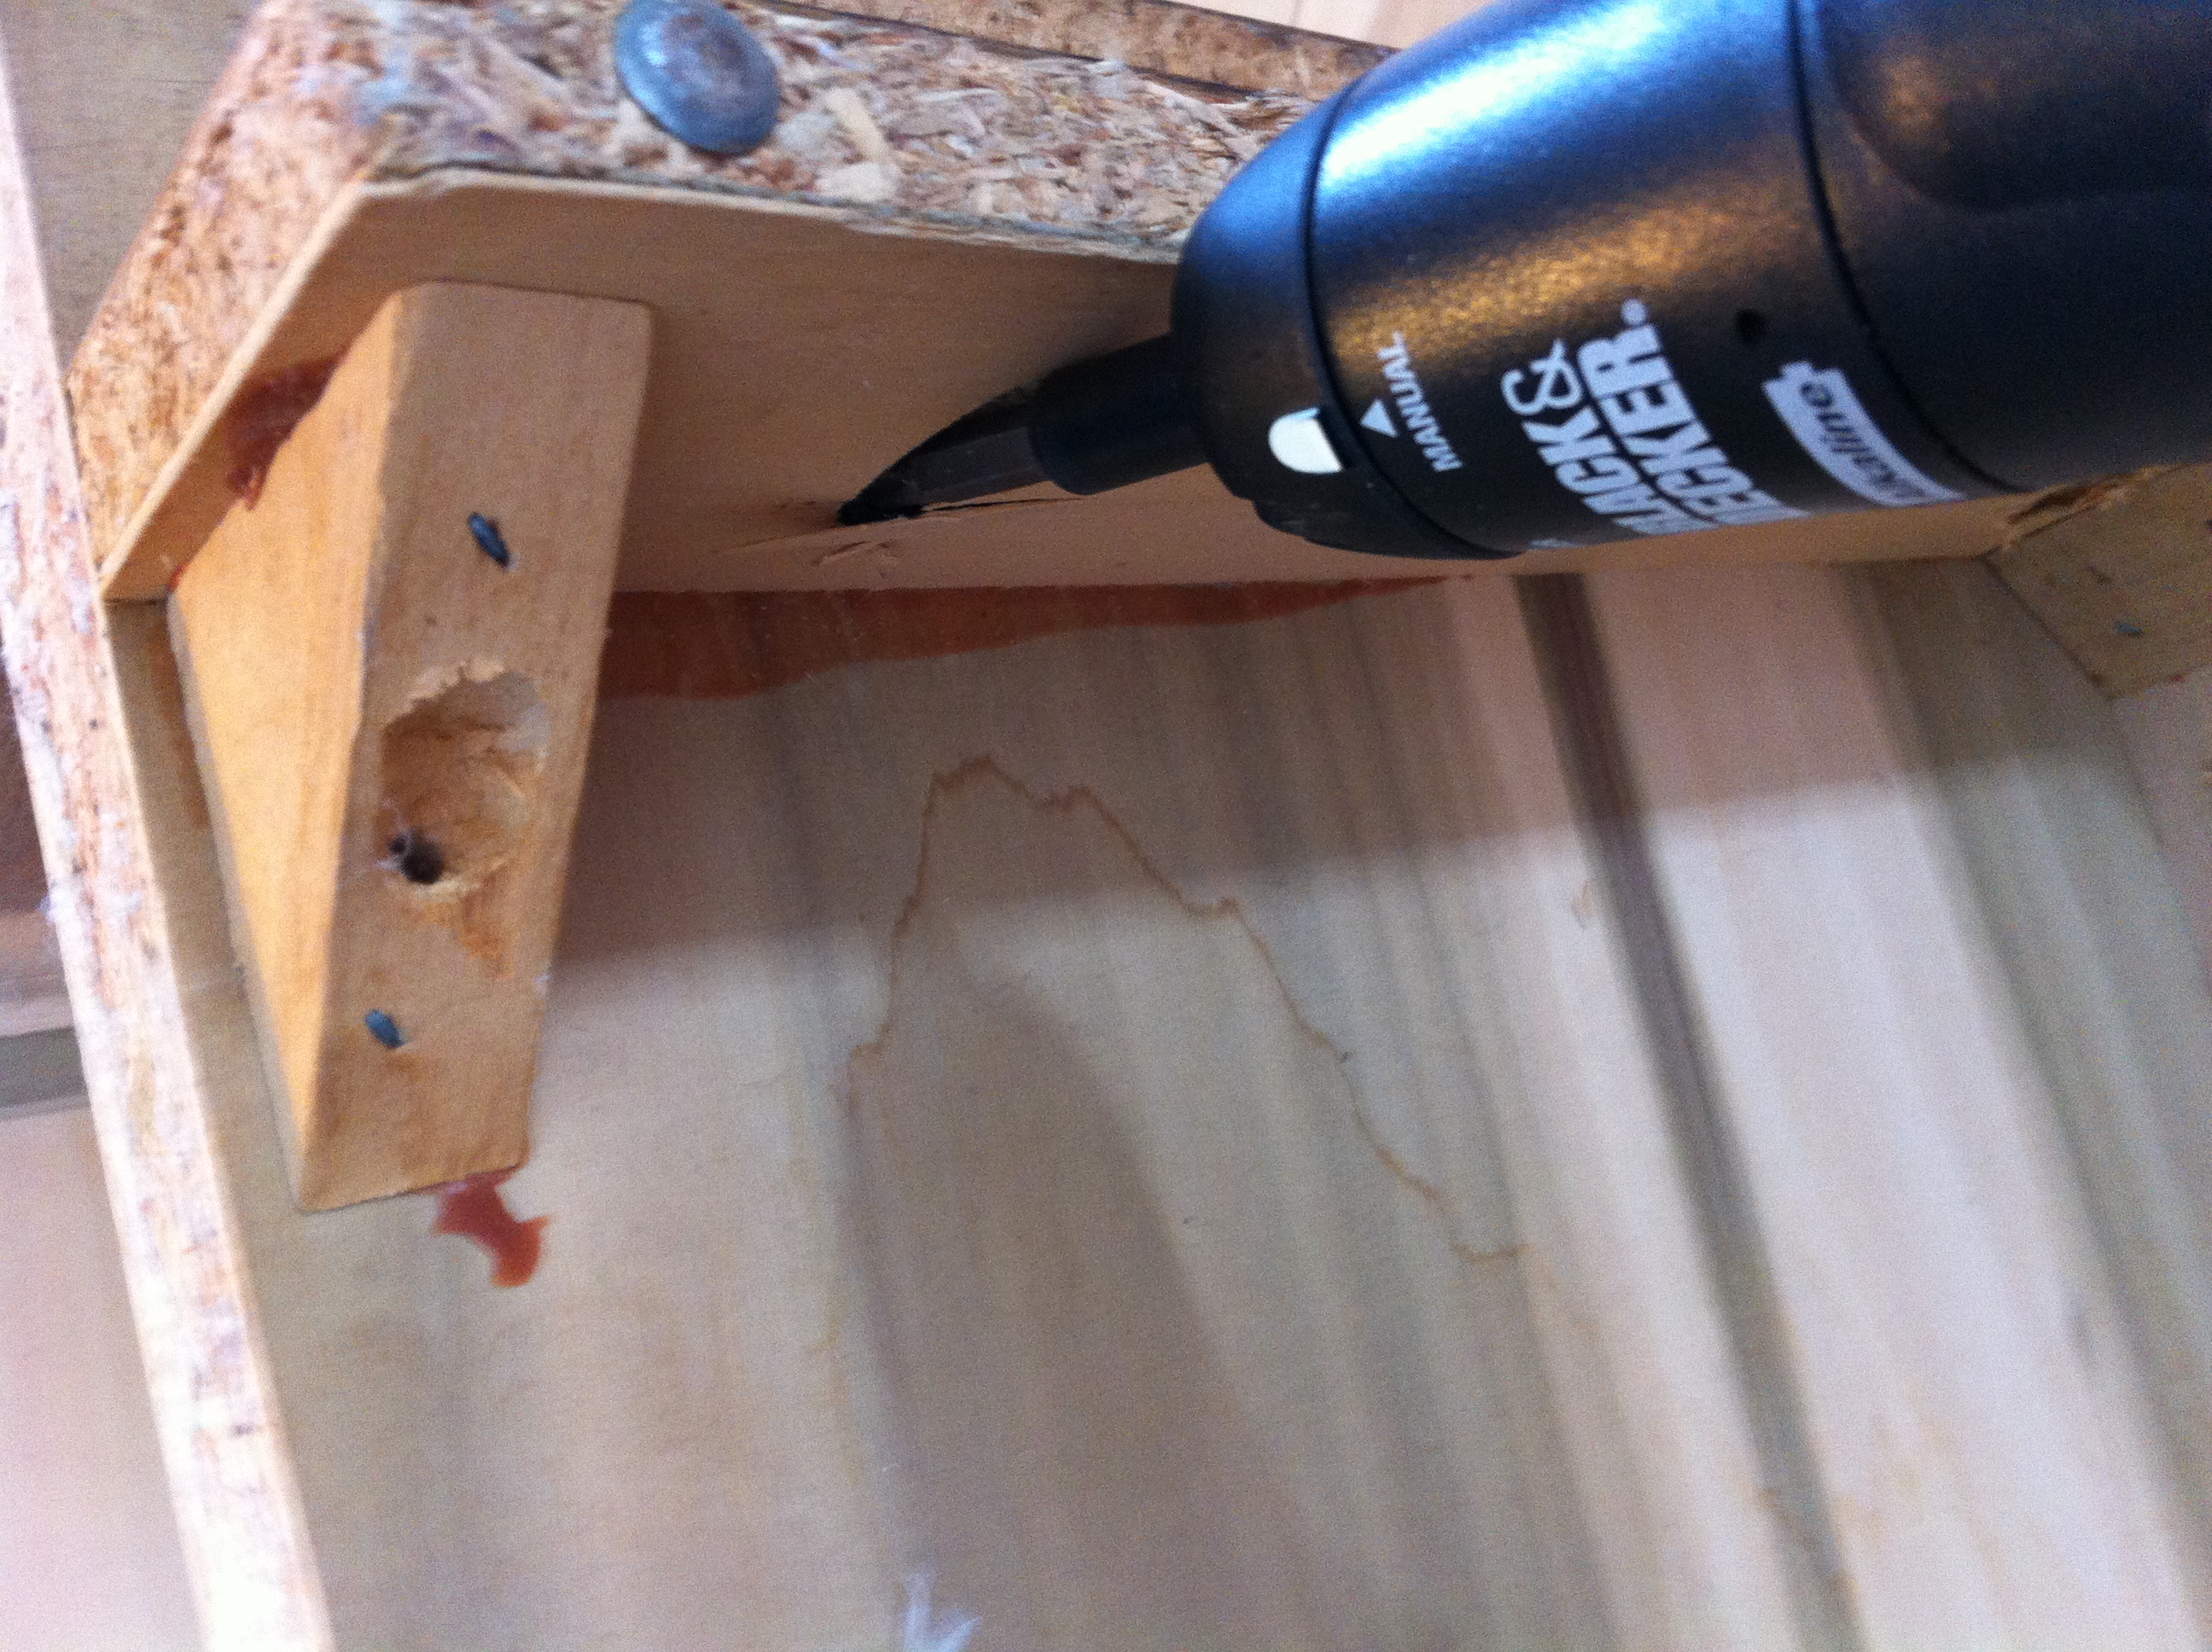
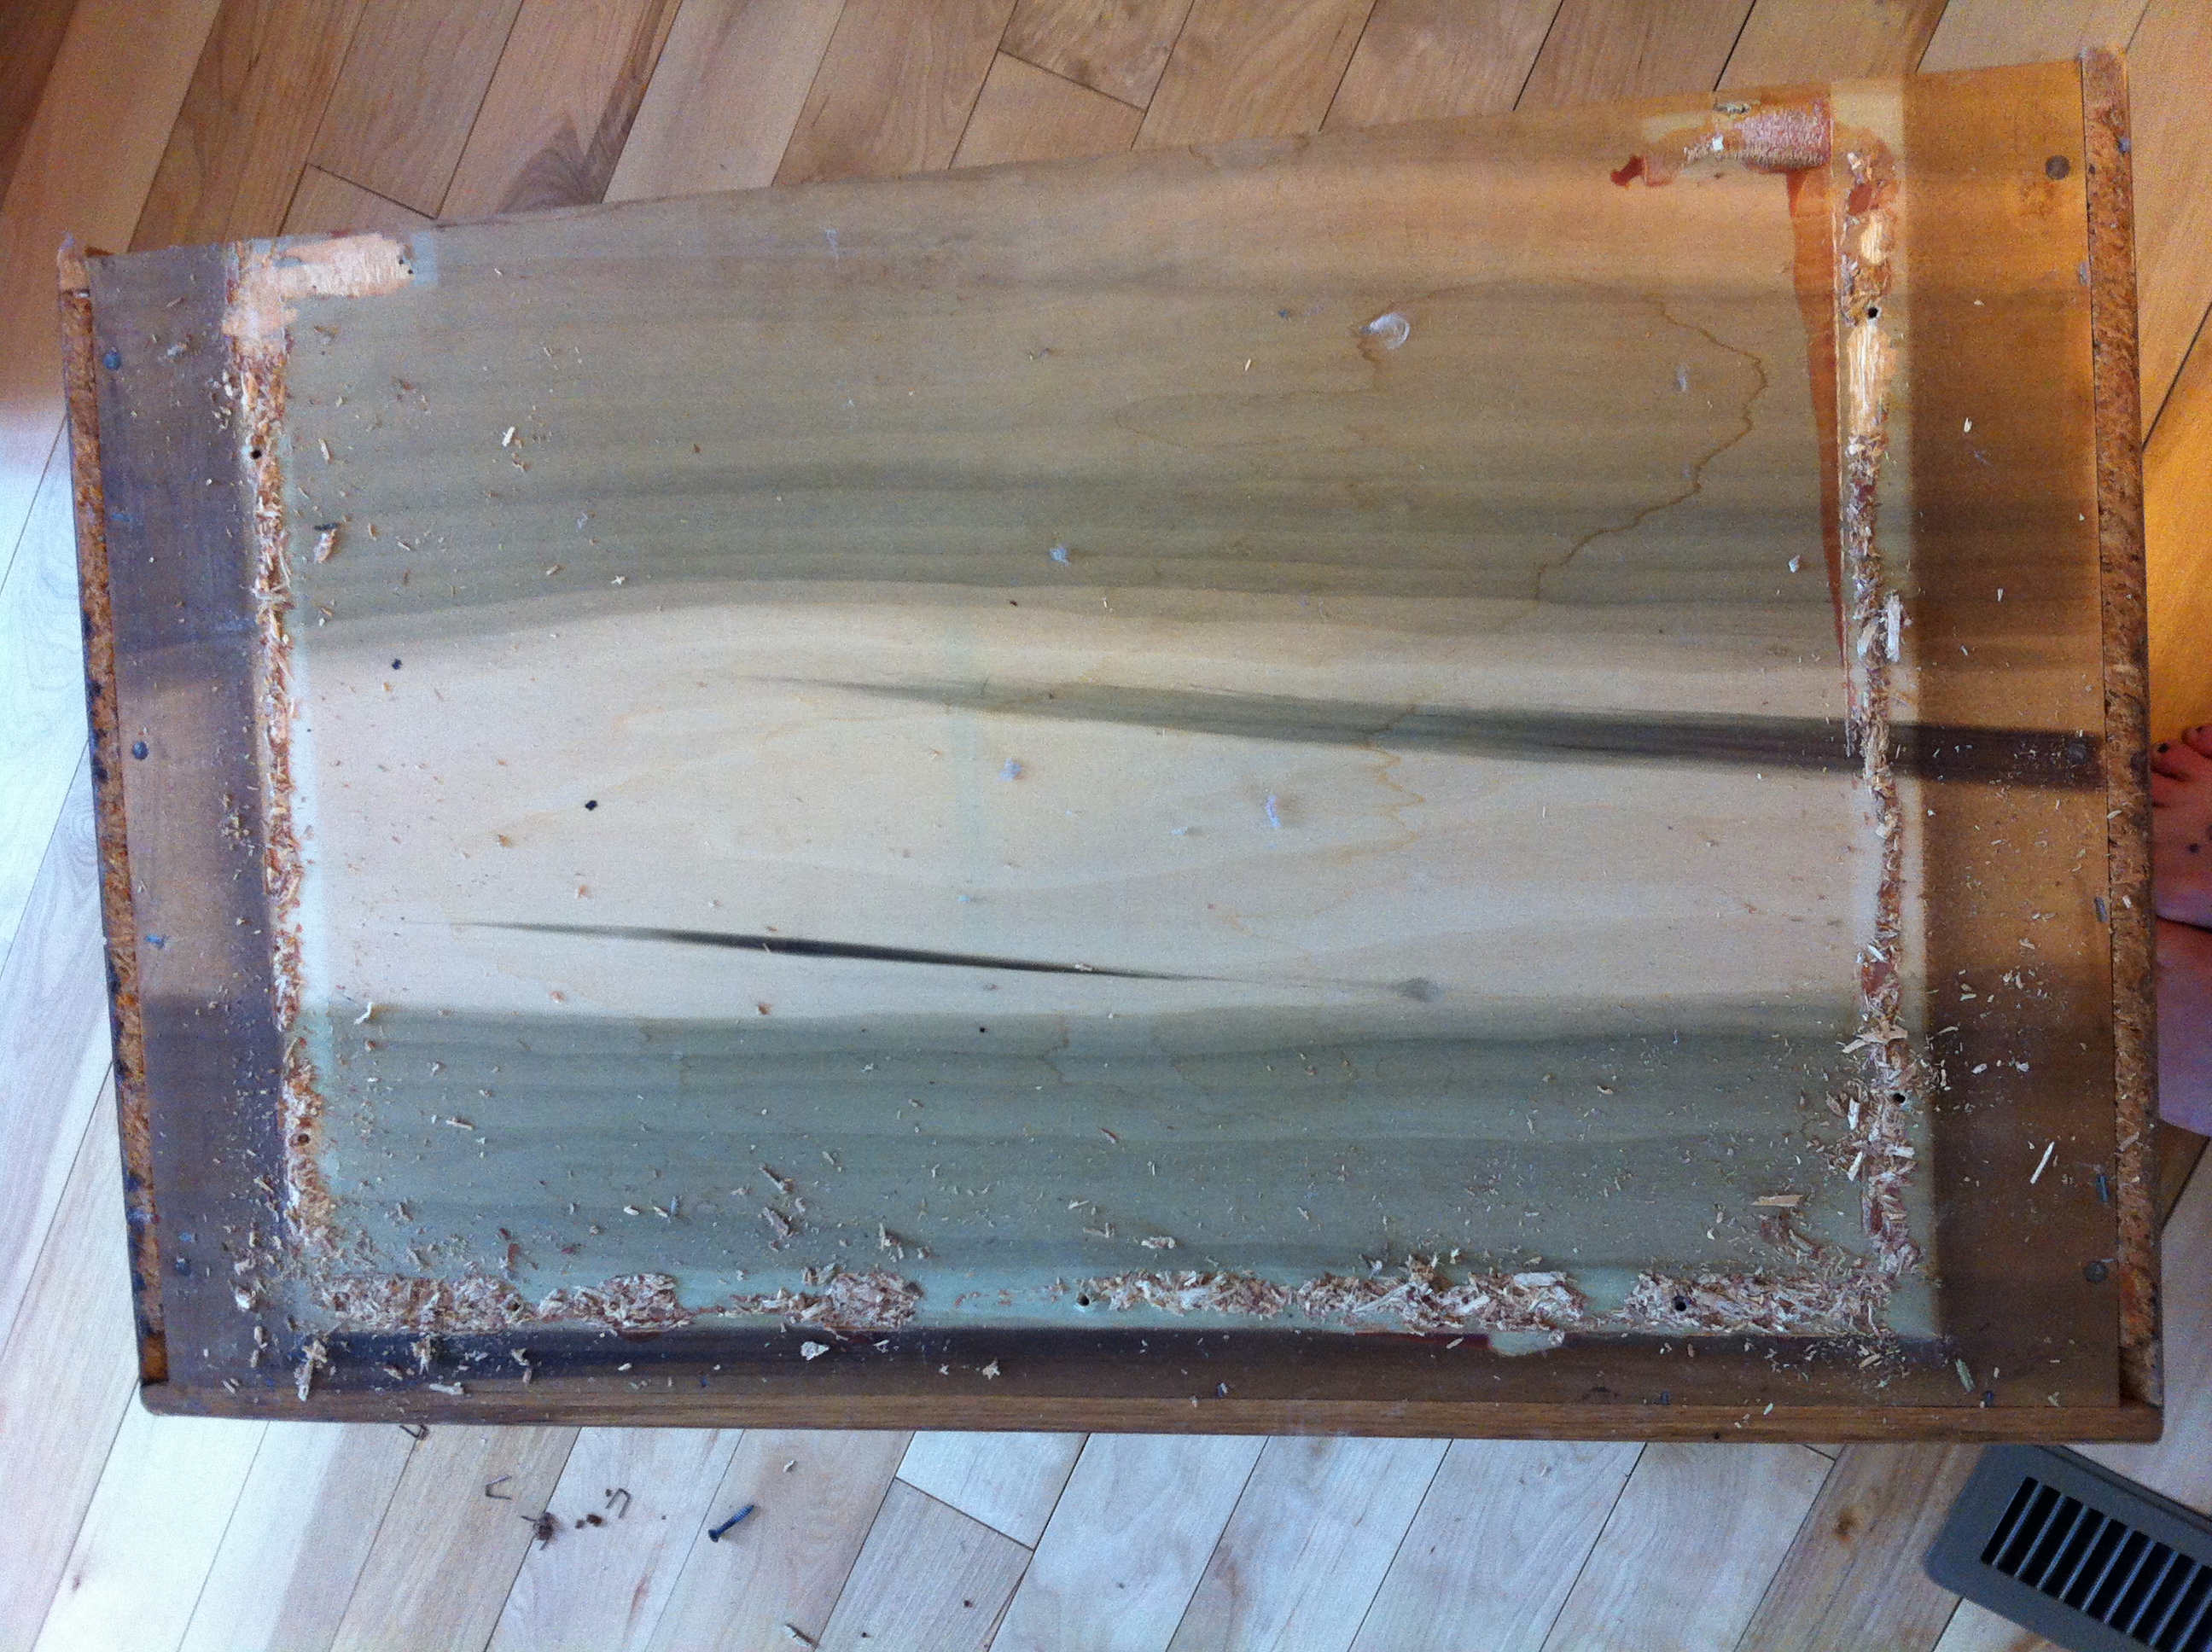
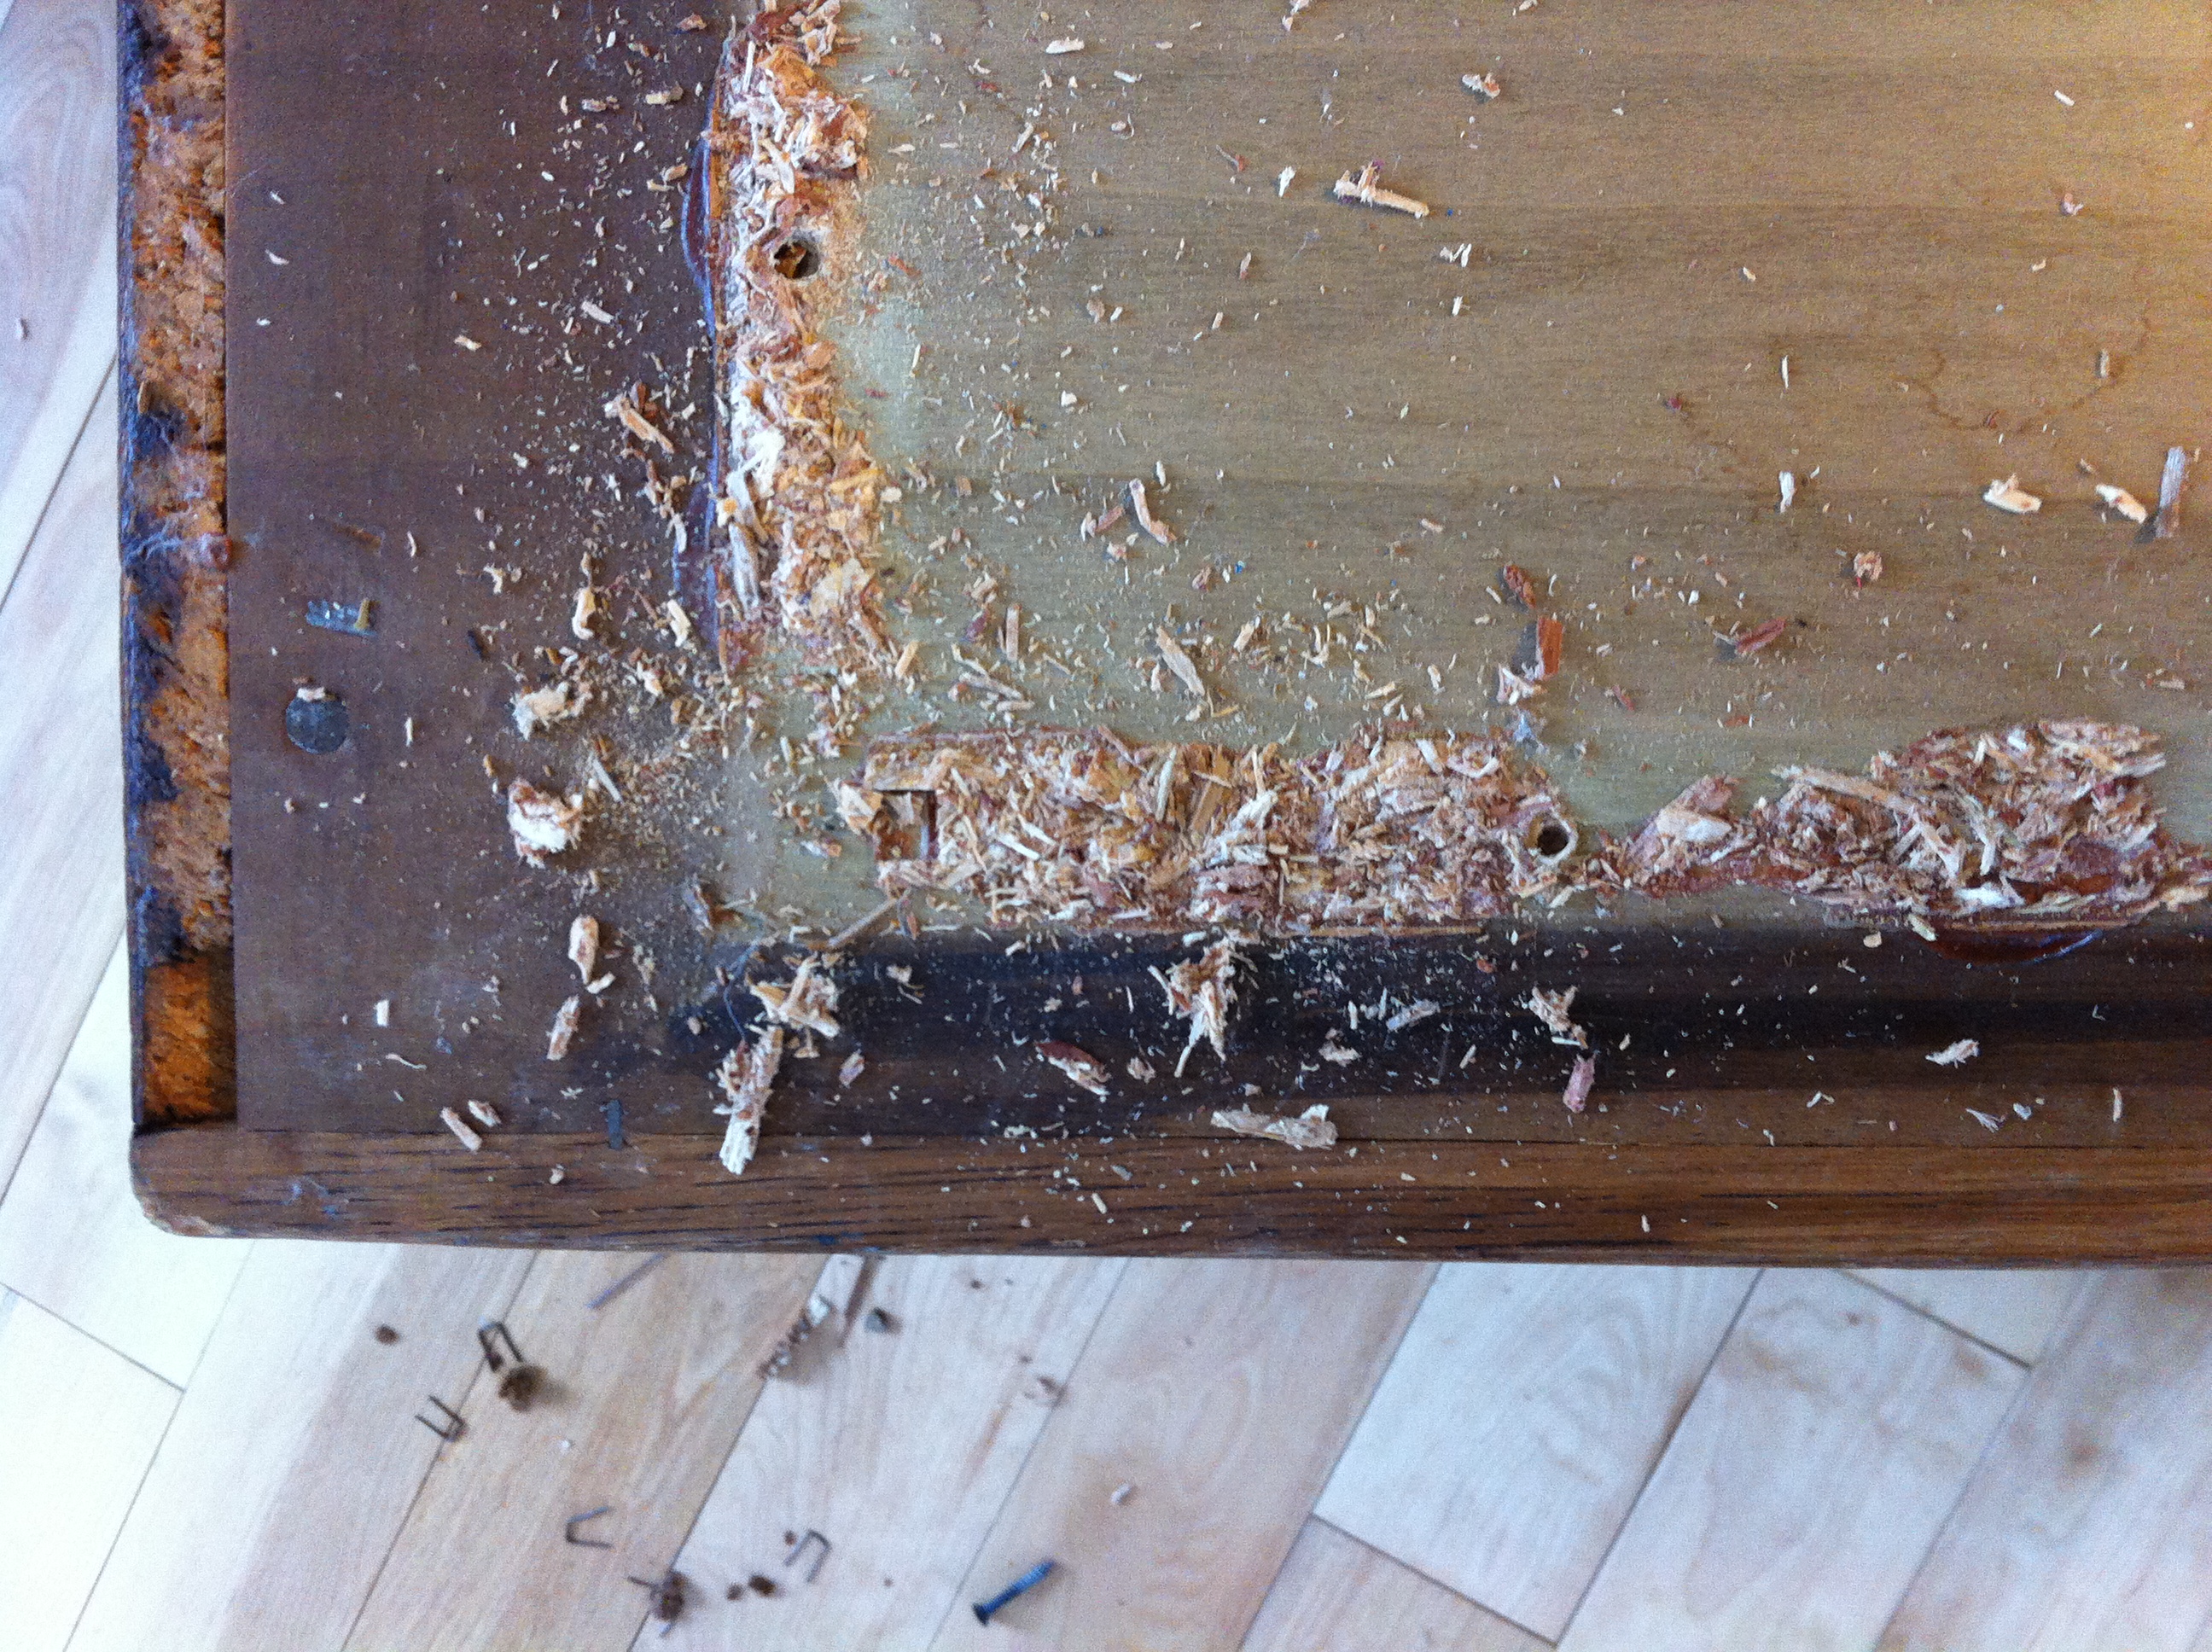
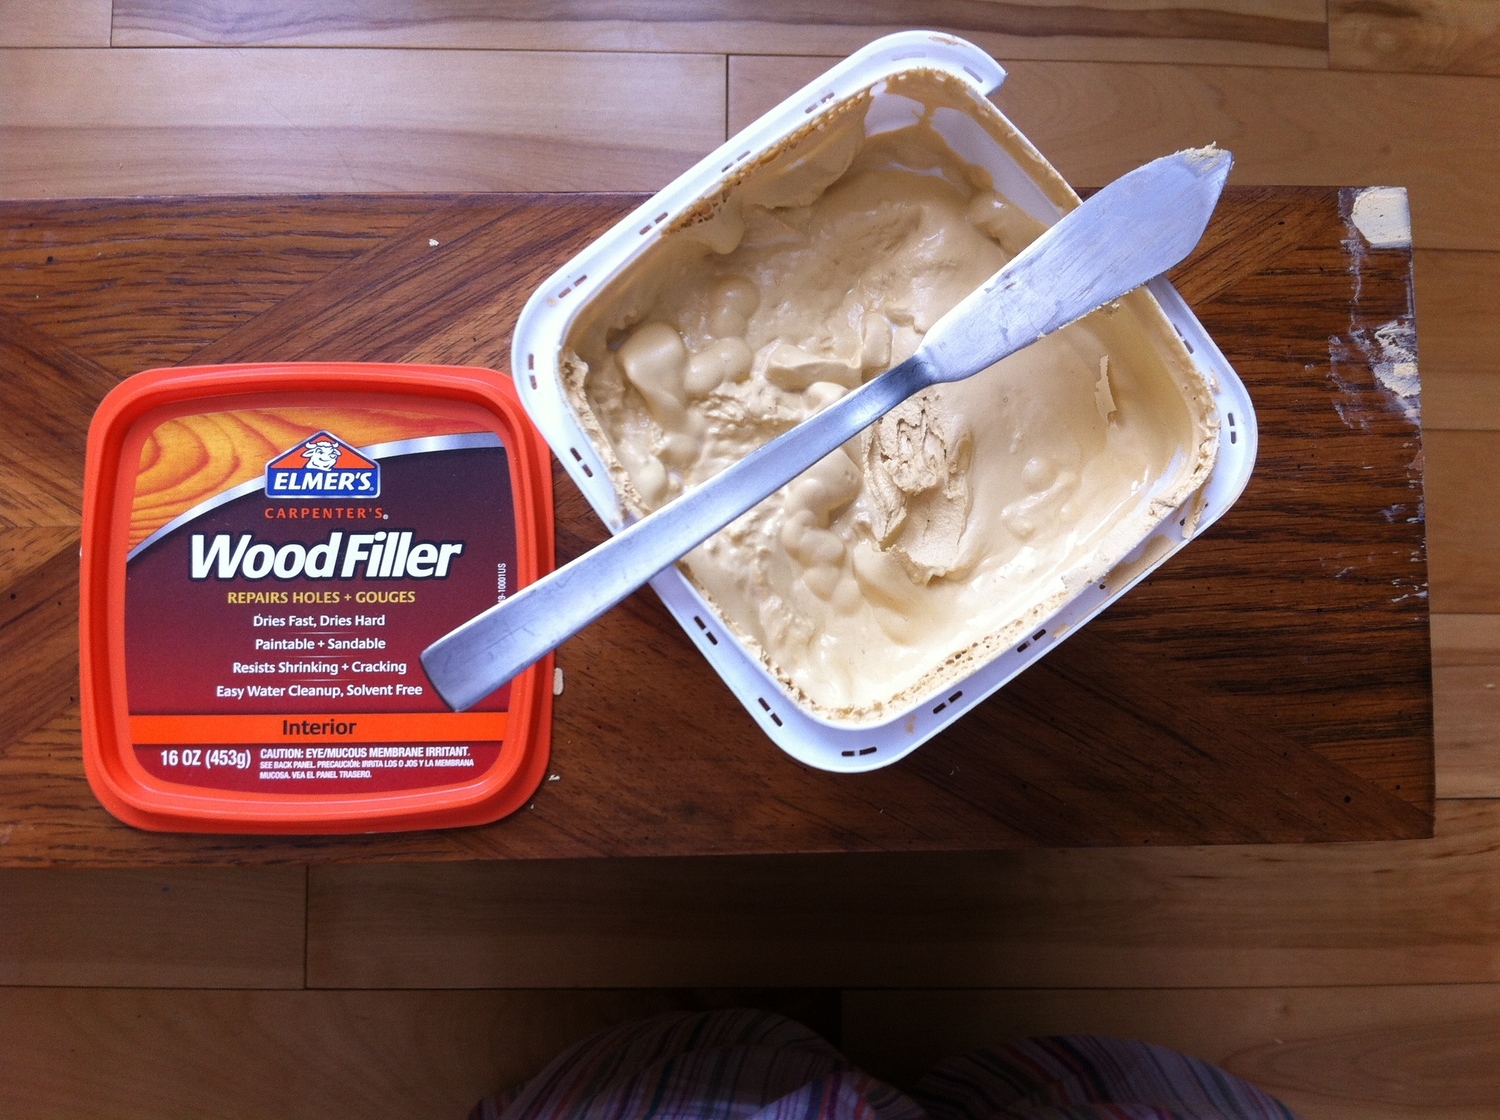
Look for Potential, Not Perfection – I have often found amazing deals on pieces because they needed some serious TLC. I'm not afraid of investing a little elbow grease or taking a chance on something if the price is right. A great example are these end tables/nightstands that were totally boring and in pretty rough shape when I found them, but were able to be totally transformed! 


How to Haggle:

Etiquette – There are some un-written rules of price negotiation. The first is don’t low ball—we all want a great deal, but it can turn a seller off to selling you the item at all if you aim too low in your initial offer. Second rule: agree on the purchase price before you go pick up an item. Unless the condition of something is drastically different than it was described and portrayed in pictures, don’t offer less once you get there—no one likes to be put on the spot. That being said, if an item isn’t quite what you expected once you get there, don’t be afraid to politely back out. Until you hand over the cash, you haven’t purchased the piece and it’s not too late to change your mind if something feels off or was misrepresented. Just don't intentionally be misleading about your commitment to buy--that makes you "that guy."

When to Offer Less – AFTER you have been complimentary! Seriously, don't be aggressive or snotty--the only deal that will get you is an un-answered email. The longer something has been listed, the safer it is to offer less. Just be sure you're getting a deal, not buying crap no one else wanted! If something is nicked, scratched, torn etc and the price does not reflect this, feel free to point out a flaw or two and make your offer. If a seller states "OBO", go ahead make a (still reasonable) offer! On the flip side, if an ad states "non-negotiable" -- please don't try, that's rude and tacky! Lastly, (this is the tricky one!) when you fall in love with a piece that is out of your price range, if handled with utmost respect and honesty, it is okay to explain how much you love the item, state what your max budget is, and ask them to contact you if it doesn't sell and they would consider your offer. Be polite and know that it might not be in the cards, but done graciously, it's okay to ask. 


Tried and True Craigslist Search Terms:

Eames

Saarinen

Knoll

Heywood Wakefield

Cooper Hewitt 

American of Martinsville

Mahogany

Lucite

Chippendale

Brass

Rattan


Danish                       

Vintage

Mid-Century

Modern

Rustic

Ornate

Authentic

Craftsman

Scandinavian

Persian

Dovetail 

Velvet

Tufted

Teak

Marble

Down

Cane

Bamboo

Leather

1940s, 1950s, etc

Art Deco

Hollywood Regency


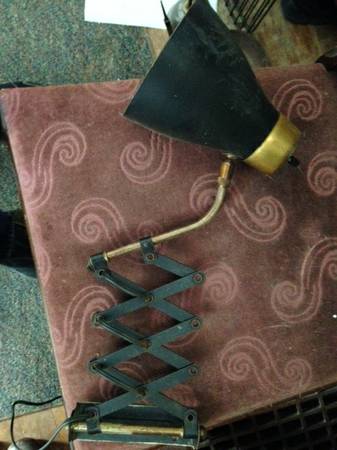
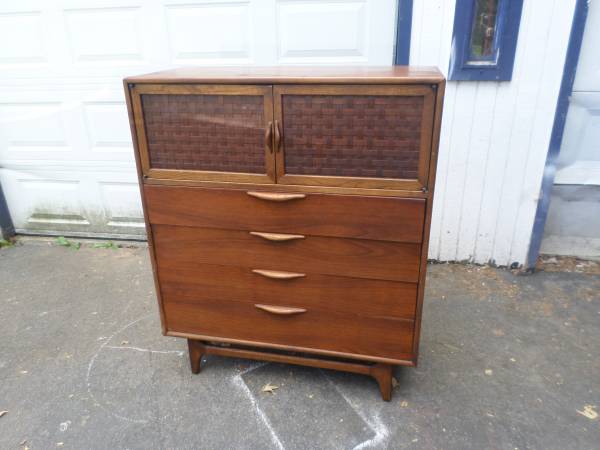
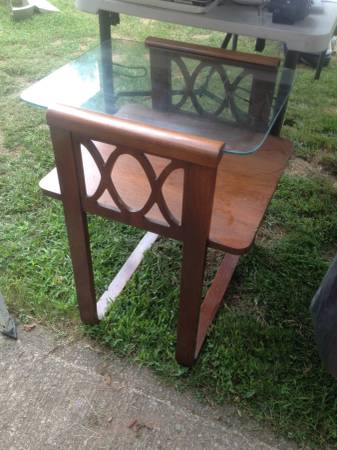
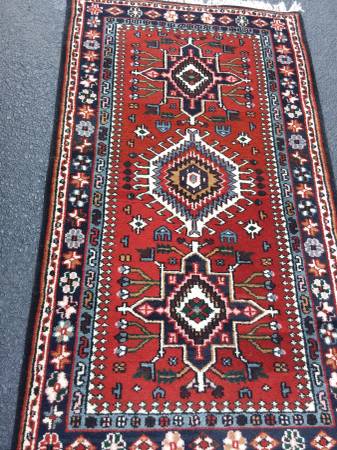
Here are Some of My Favorite Craigslist Finds:

Don't be fooled by the need for re-upholstering or some touch-up! If you're local to the Syracuse, NY area, you should hop on over to Craigslist and scoop up some of these beauties! 

DIY Sofa Table

With the wee one learning to crawl, I decided it would be a good idea remove the glass coffee table from the middle of our living room. I planned on replacing it with something more toddler-friendly, but having the open space has been perfect for him to play and I've enjoyed the visual openness too. I contemplated end tables, but our living room just isn't big enough for that much furniture. We do need a place to set a coffee cup or water glass down though, so I began focusing my attention on sofa tables.

I decided this would make a great DIY project and started scouting materials. I settled on a pair of bifold doors that we removed from a closet and we no longer had need for. These were a great solution for a few different reasons. First, the doors are pretty cheap, generic versions, but for this use, that was actually great because it meant they are hollow and therefore lighter. The weight was important because instead of using table legs, I opted for go with wall-mounting hardware. The height of these was also a perfect fit for our sofa and the depth is more than sufficient without being bulky or obtrusive. 

Here is the process of their transformation from closet door to sofa table!

I only needed one panel so I took off the hinges and removed the pieces used to hang it from a track in its former life as a door. I then used some wood filler on all the holes before giving it a good sanding. 

Because the doors were hollow, I needed to add something to attach the wall bracket to. I cut pieces of wood to size and used wood glue and clamps to adhere them to the underside of the soon-to-be shelf. I cut the wood strips a few inches shorter than the overall depth so that they wouldn't show from the front. I also used a triangle to place the strips so I could be certain they were straight. 

After the glue dried and pieces were firmly in place, I wiped everything down and painted it this gorgeous cobalt color. Rather than giving everything a first coat, and then a second, I painted two coats on the underside and edges before flipping it over and painting the top. This way the top was never face-down on un-cured paint. 

When attaching the metal wall brackets, I offset them about 1/2" from the shelf rather having the shelf be flush with the wall. This provides a narrow channel for the cords from table lamps to tuck neatly behind the shelf instead of resting on top. 

Overall, I love how it turned out! I also really like the color--its the perfect pop with all the black and white. I think some throw pillows with a little color will be then next project and the finishing touch for this space!

End Table Makeover: Part Two

In case you forgot what these end tables looked like to start, you can see the first few steps of their transformation here. After some deconstruction, wood filler, and a lot of sanding, these beauties were ready for some white paint and new legs!

I started by only painting the exterior but eventually decided a consistent coat of white was the way to go. Trying to save a few bucks, I used trim paint that I had lying around from other touch-ups. It took many coats to get a good coverage and then, after it had cured for about a week,  I noticed a lot of yellow coming through. Sooo... I sanded it down and started again. This time I used a high gloss enamel paint from Lowes and that worked much better!

The new legs (also from Lowes) were easy to install and dramatically changed the look of these pieces!

I sanded, stained and then sealed the drawer fronts with a clear poly. The process was pretty simple; I think the hardest part was making myself wait the recommended time between coats.

Here's what they look like now!

I am in LOVE with the transformation of these nightstands! Still to come: a total master bedroom makeover including the bedside lamps seen above and a DIY headboard!

Okay, one last before and after!

Bar Cart Makeover

A finished project deserves a drink!

I bought this bar cart a thrift store for a mere $6 and even though it was in pretty rough shape, I was immediately excited about its potential! A good cleaning, a coat of bronze-y gold spray paint, and a new bottom shelf, and it is looking pretty sharp! Since the bottom piece of glass was missing, I re-used and cut to size a piece of backing that was removed from a different project. I think the walnut color brings an appropriate mid-century vibe. I toyed with replacing the casters but eventually decided that I liked the character of the existing ones. 

So that's that! A quick, simple makeover that resulted in a gorgeous addition to my dining room!

Since it is a bar cart after all, I decided a simple, summery cocktail was in order! This Rosemary Greyhound is light, fresh, and easy. The recipe is from Natalie at Tastes Lovely

Ingredients

Rosemary Simple Syrup

  • 2 cups of water

  • 2 cups of sugar

  • 6 sprigs of rosemary

Cocktail

  • 2 ounces vodka

  • ½ ounce rosemary simple syrup

  • 4 ounces grapefruit juice

  • sprig of rosemary for garnish

Instructions

  1. Simple Syrup: In a small sauce pan over medium low heat, dissolve the sugar into the water for about 5 minutes. Do not let the mixture boil or crystals will form. In a heat safe container, pour the warm sugar water mixture over the rosemary sprigs and let it steep for at least 1 hour. The rosemary simple syrup will keep in the refrigerator in an airtight container for 10 days.

  2. Cocktail: In tall glass filled with ice combine the vodka, rosemary simple syrup and grapefruit juice. Garnish with a sprig of rosemary.


End Table Make Over (part 1)

Ever on the hunt for some cheap furniture to make over, I scored these end tables on craigslist for only $5... FOR THE PAIR! I figured, at that price, even with some chipped veneer, they were worth investing a little elbow grease. Full confession: they have been sitting in my garage for months and I am just now pulling them out. Here are the first few steps of their transformation...

The before pictures: see those dovetail drawers and Lane stamp!? These are the real deal!

The first step was to  take the bases and backs off. The base had some water damage and the back was in okay condition, but as soon as I saw these I knew I really wanted an open cube look.

Next up was using some wood filler to fix the chipped laminate. This is the first time I've attempted this and so far I'm really pleased with the result. (Yes, that's a butter knife I'm using as a putty knife... We're classy like that around here!)

Sanding, painting, and new legs are up next... stay tuned!