Spray Paint Saves the Day

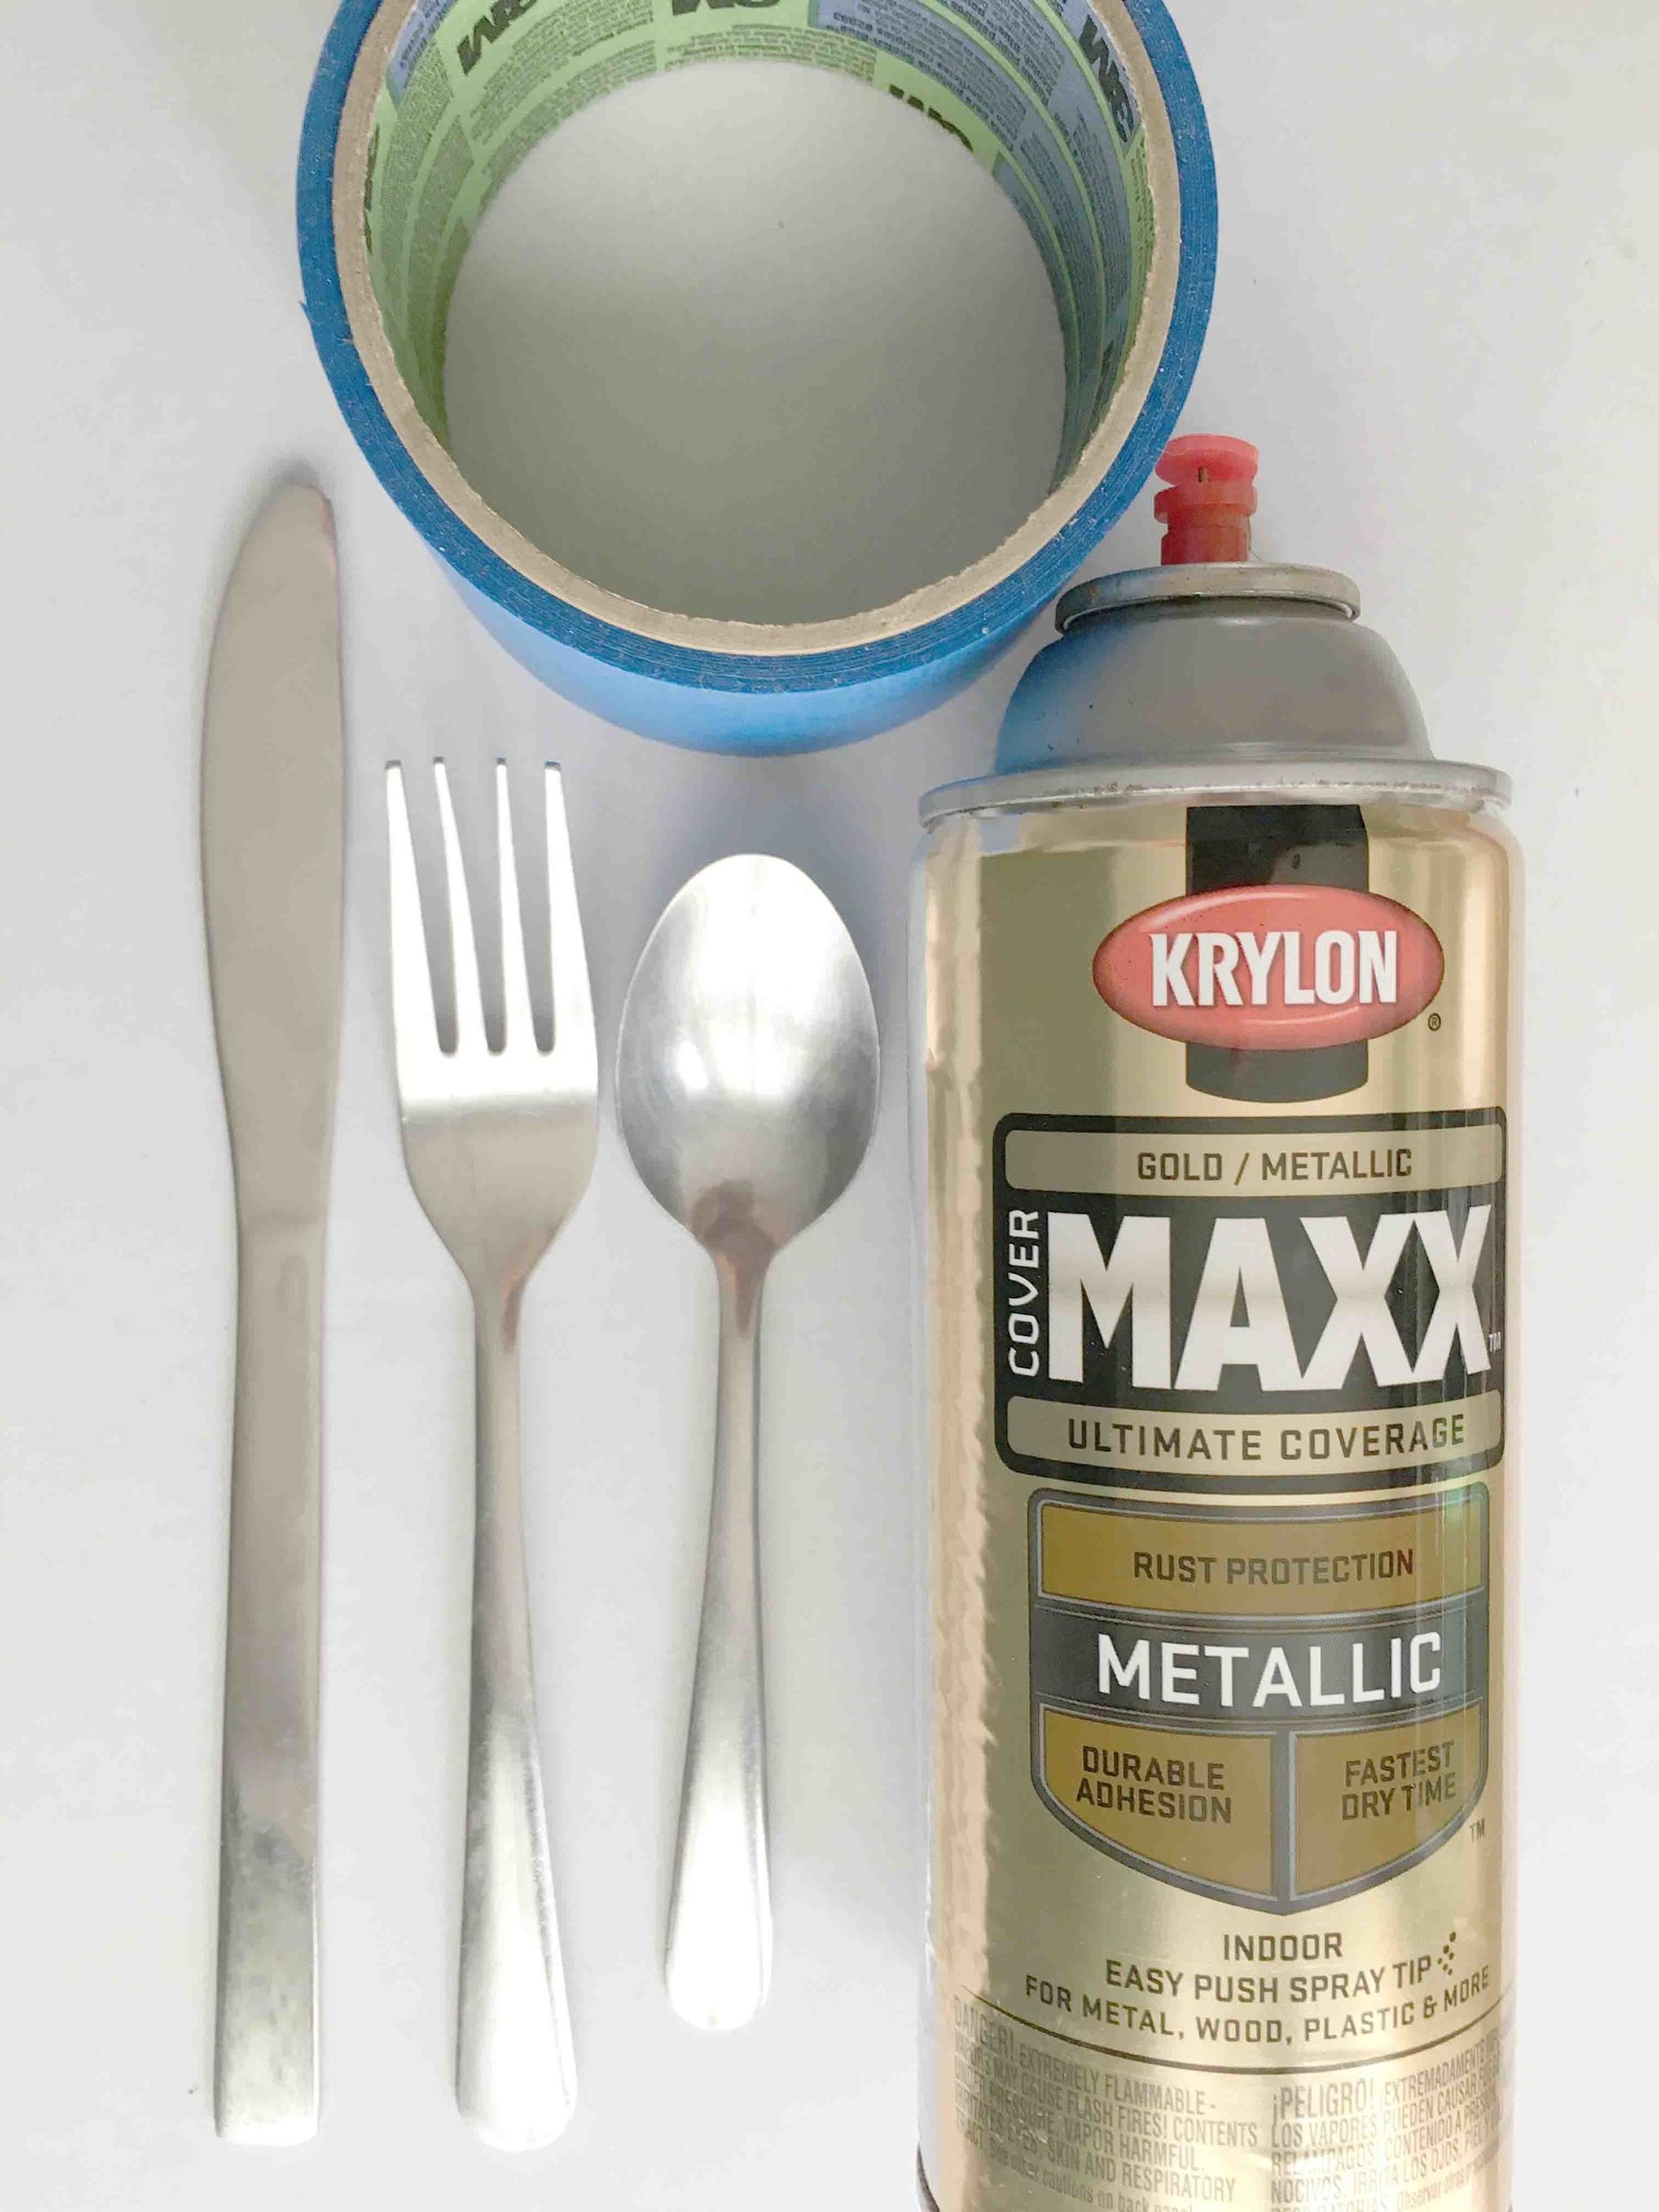
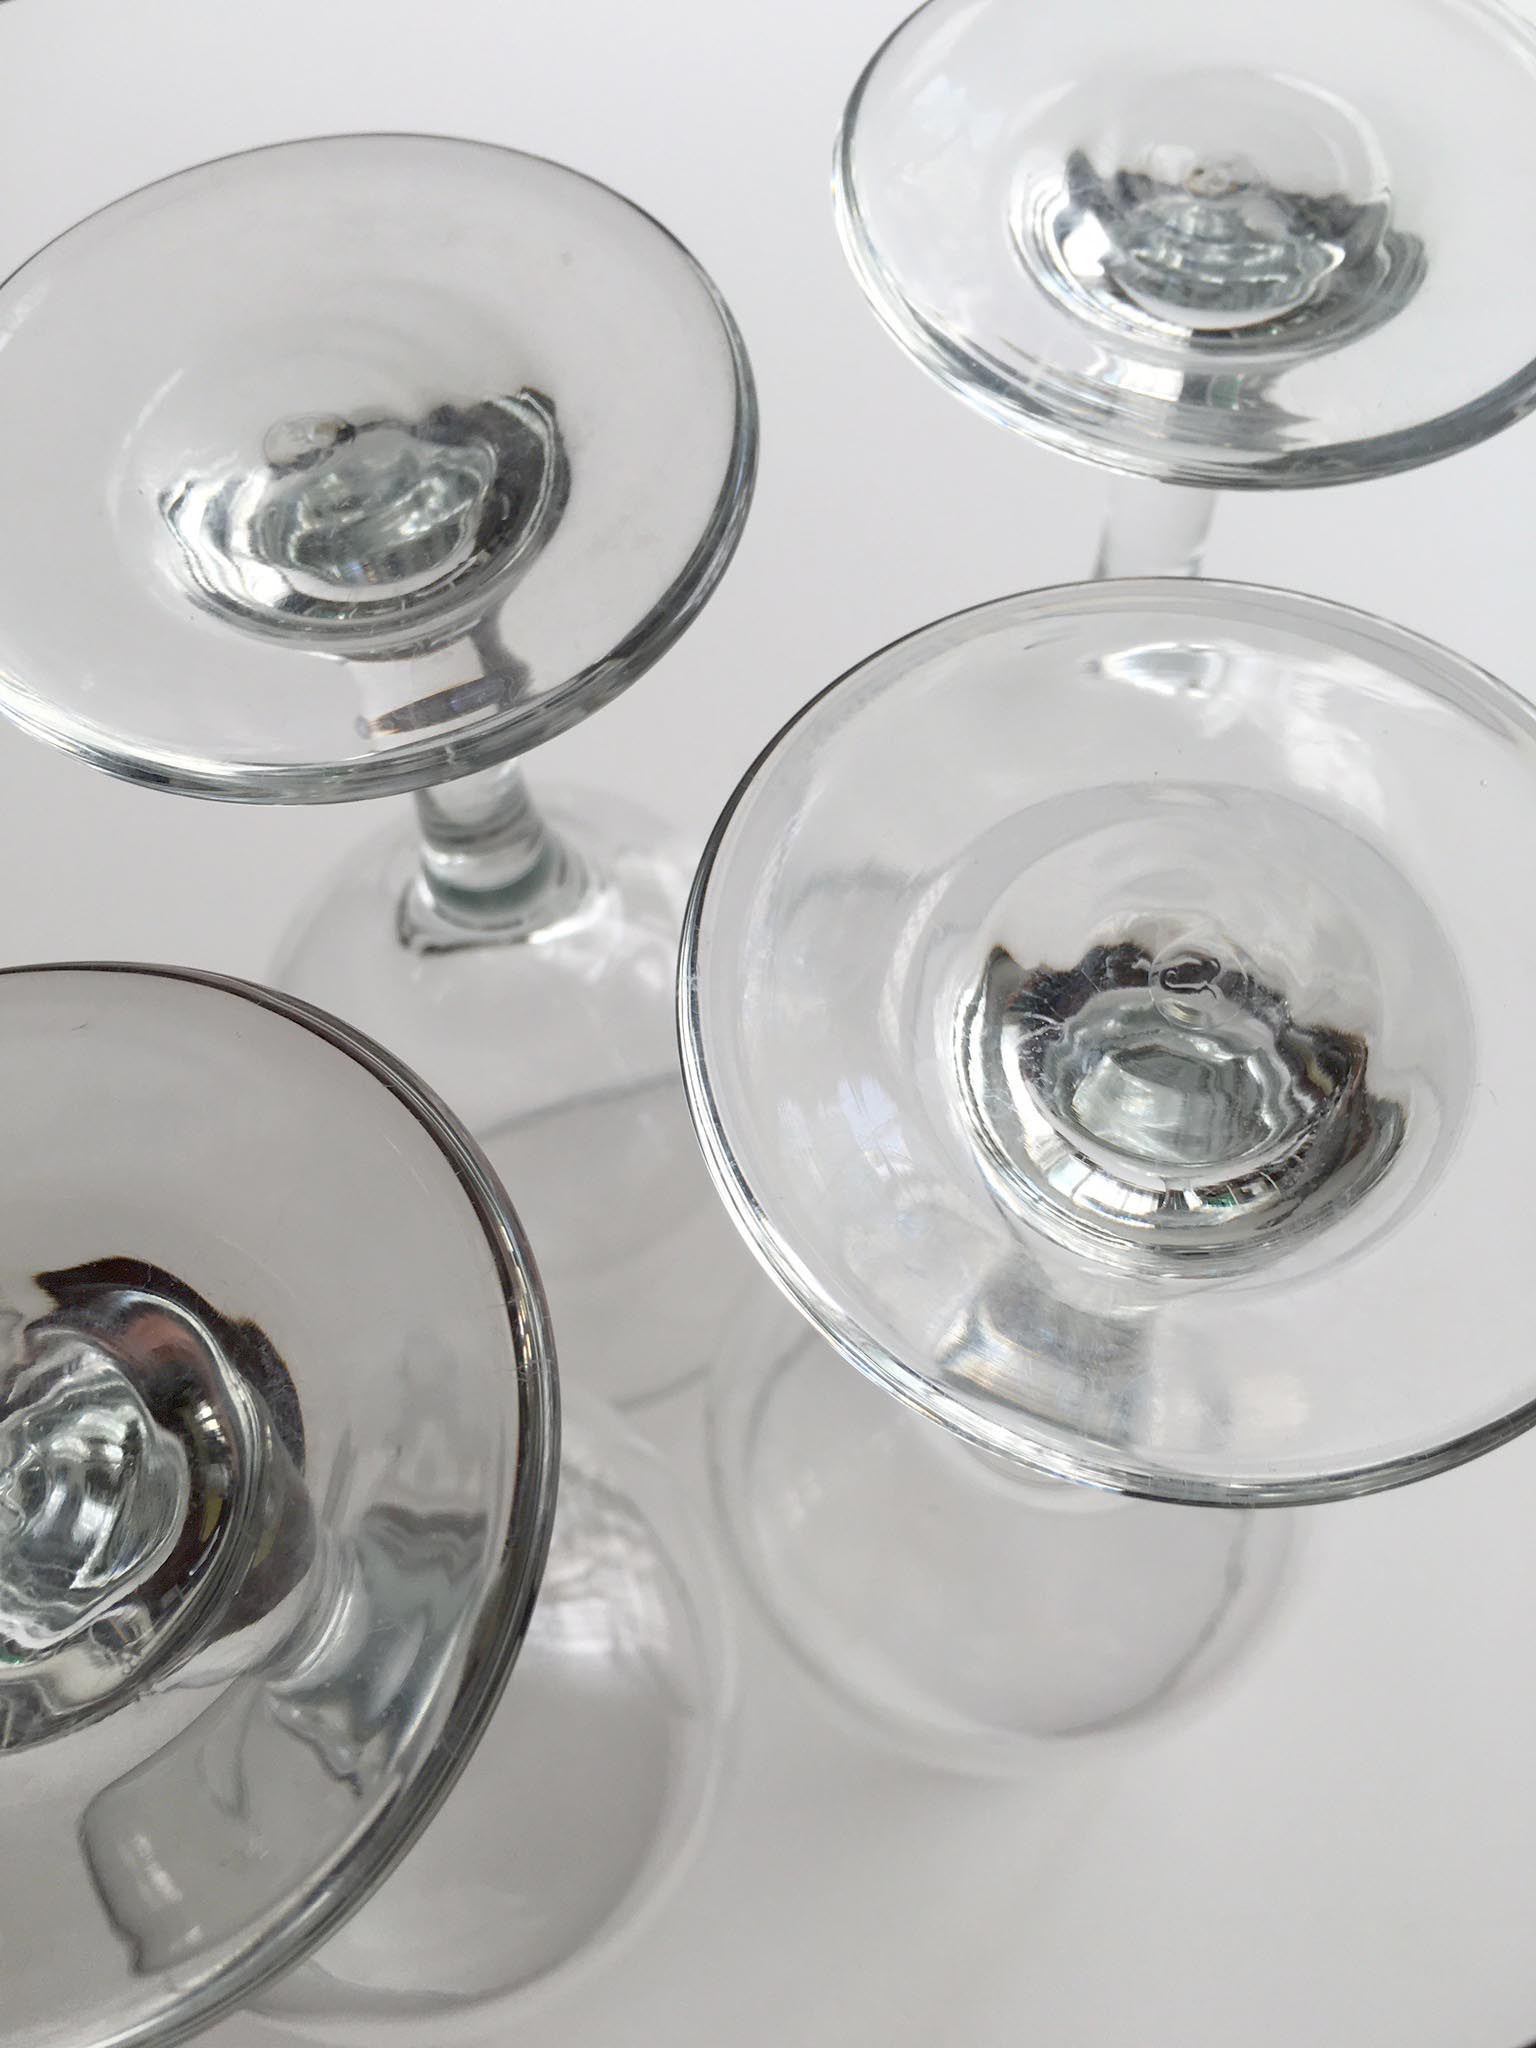
If you've been following along the last few weeks, you know we've working on the preparations for a fall dinner party. We updated some wooden napkin rings, customized silverware, and now it's time to break out the wine glasses. First I'm going to show you what didn't work. 

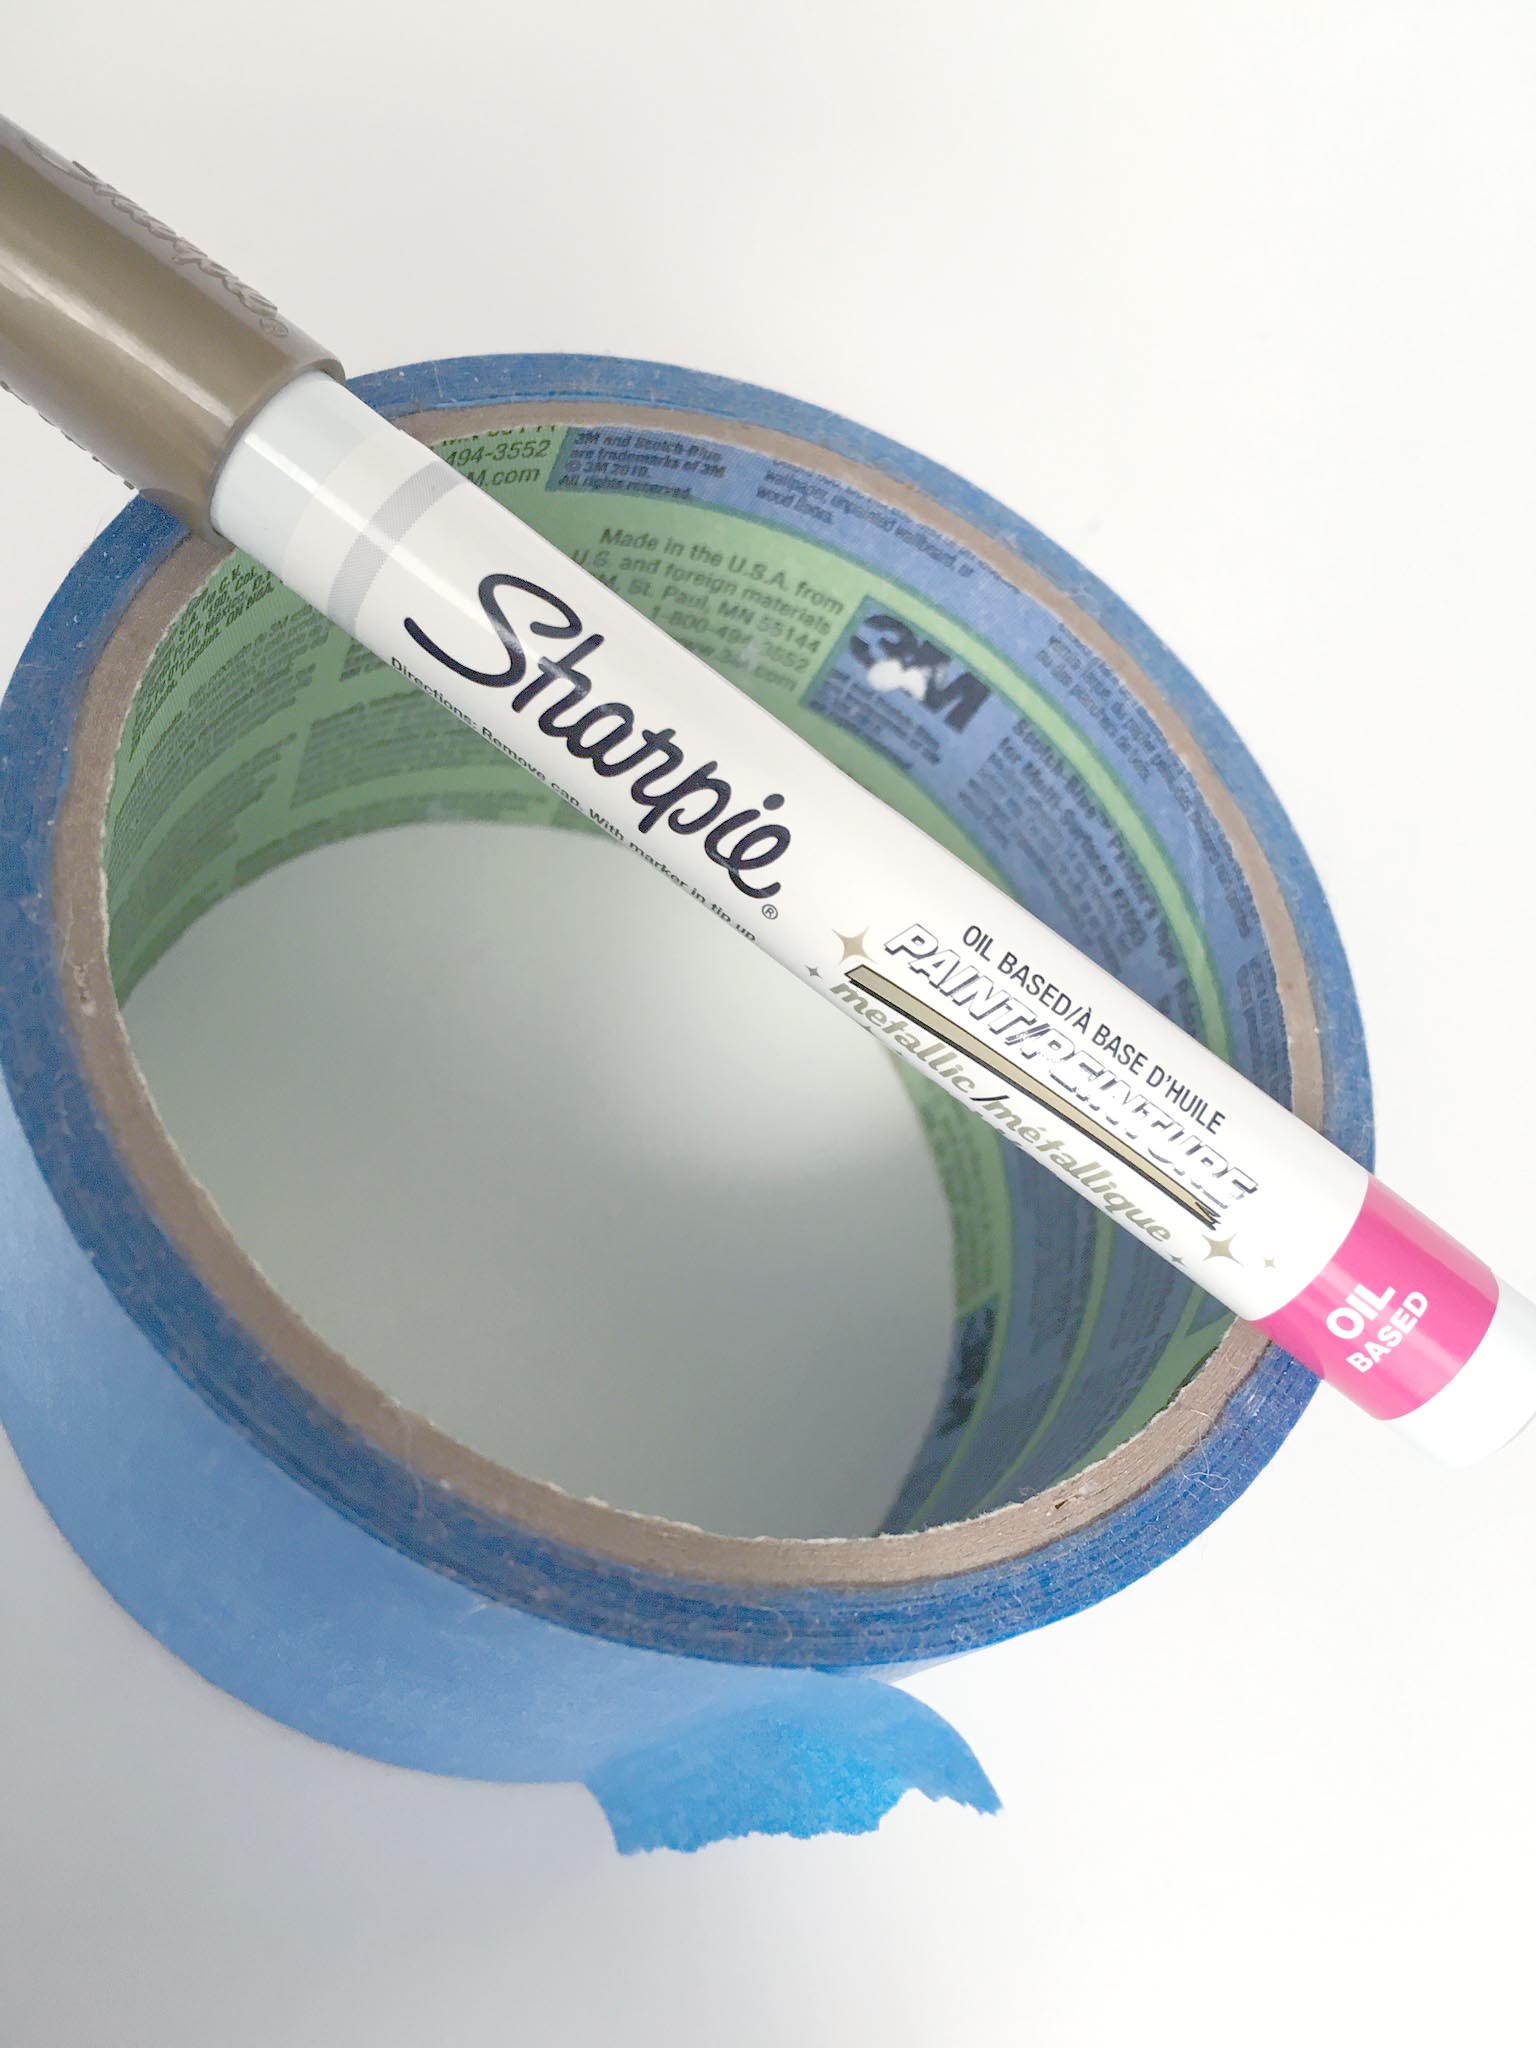
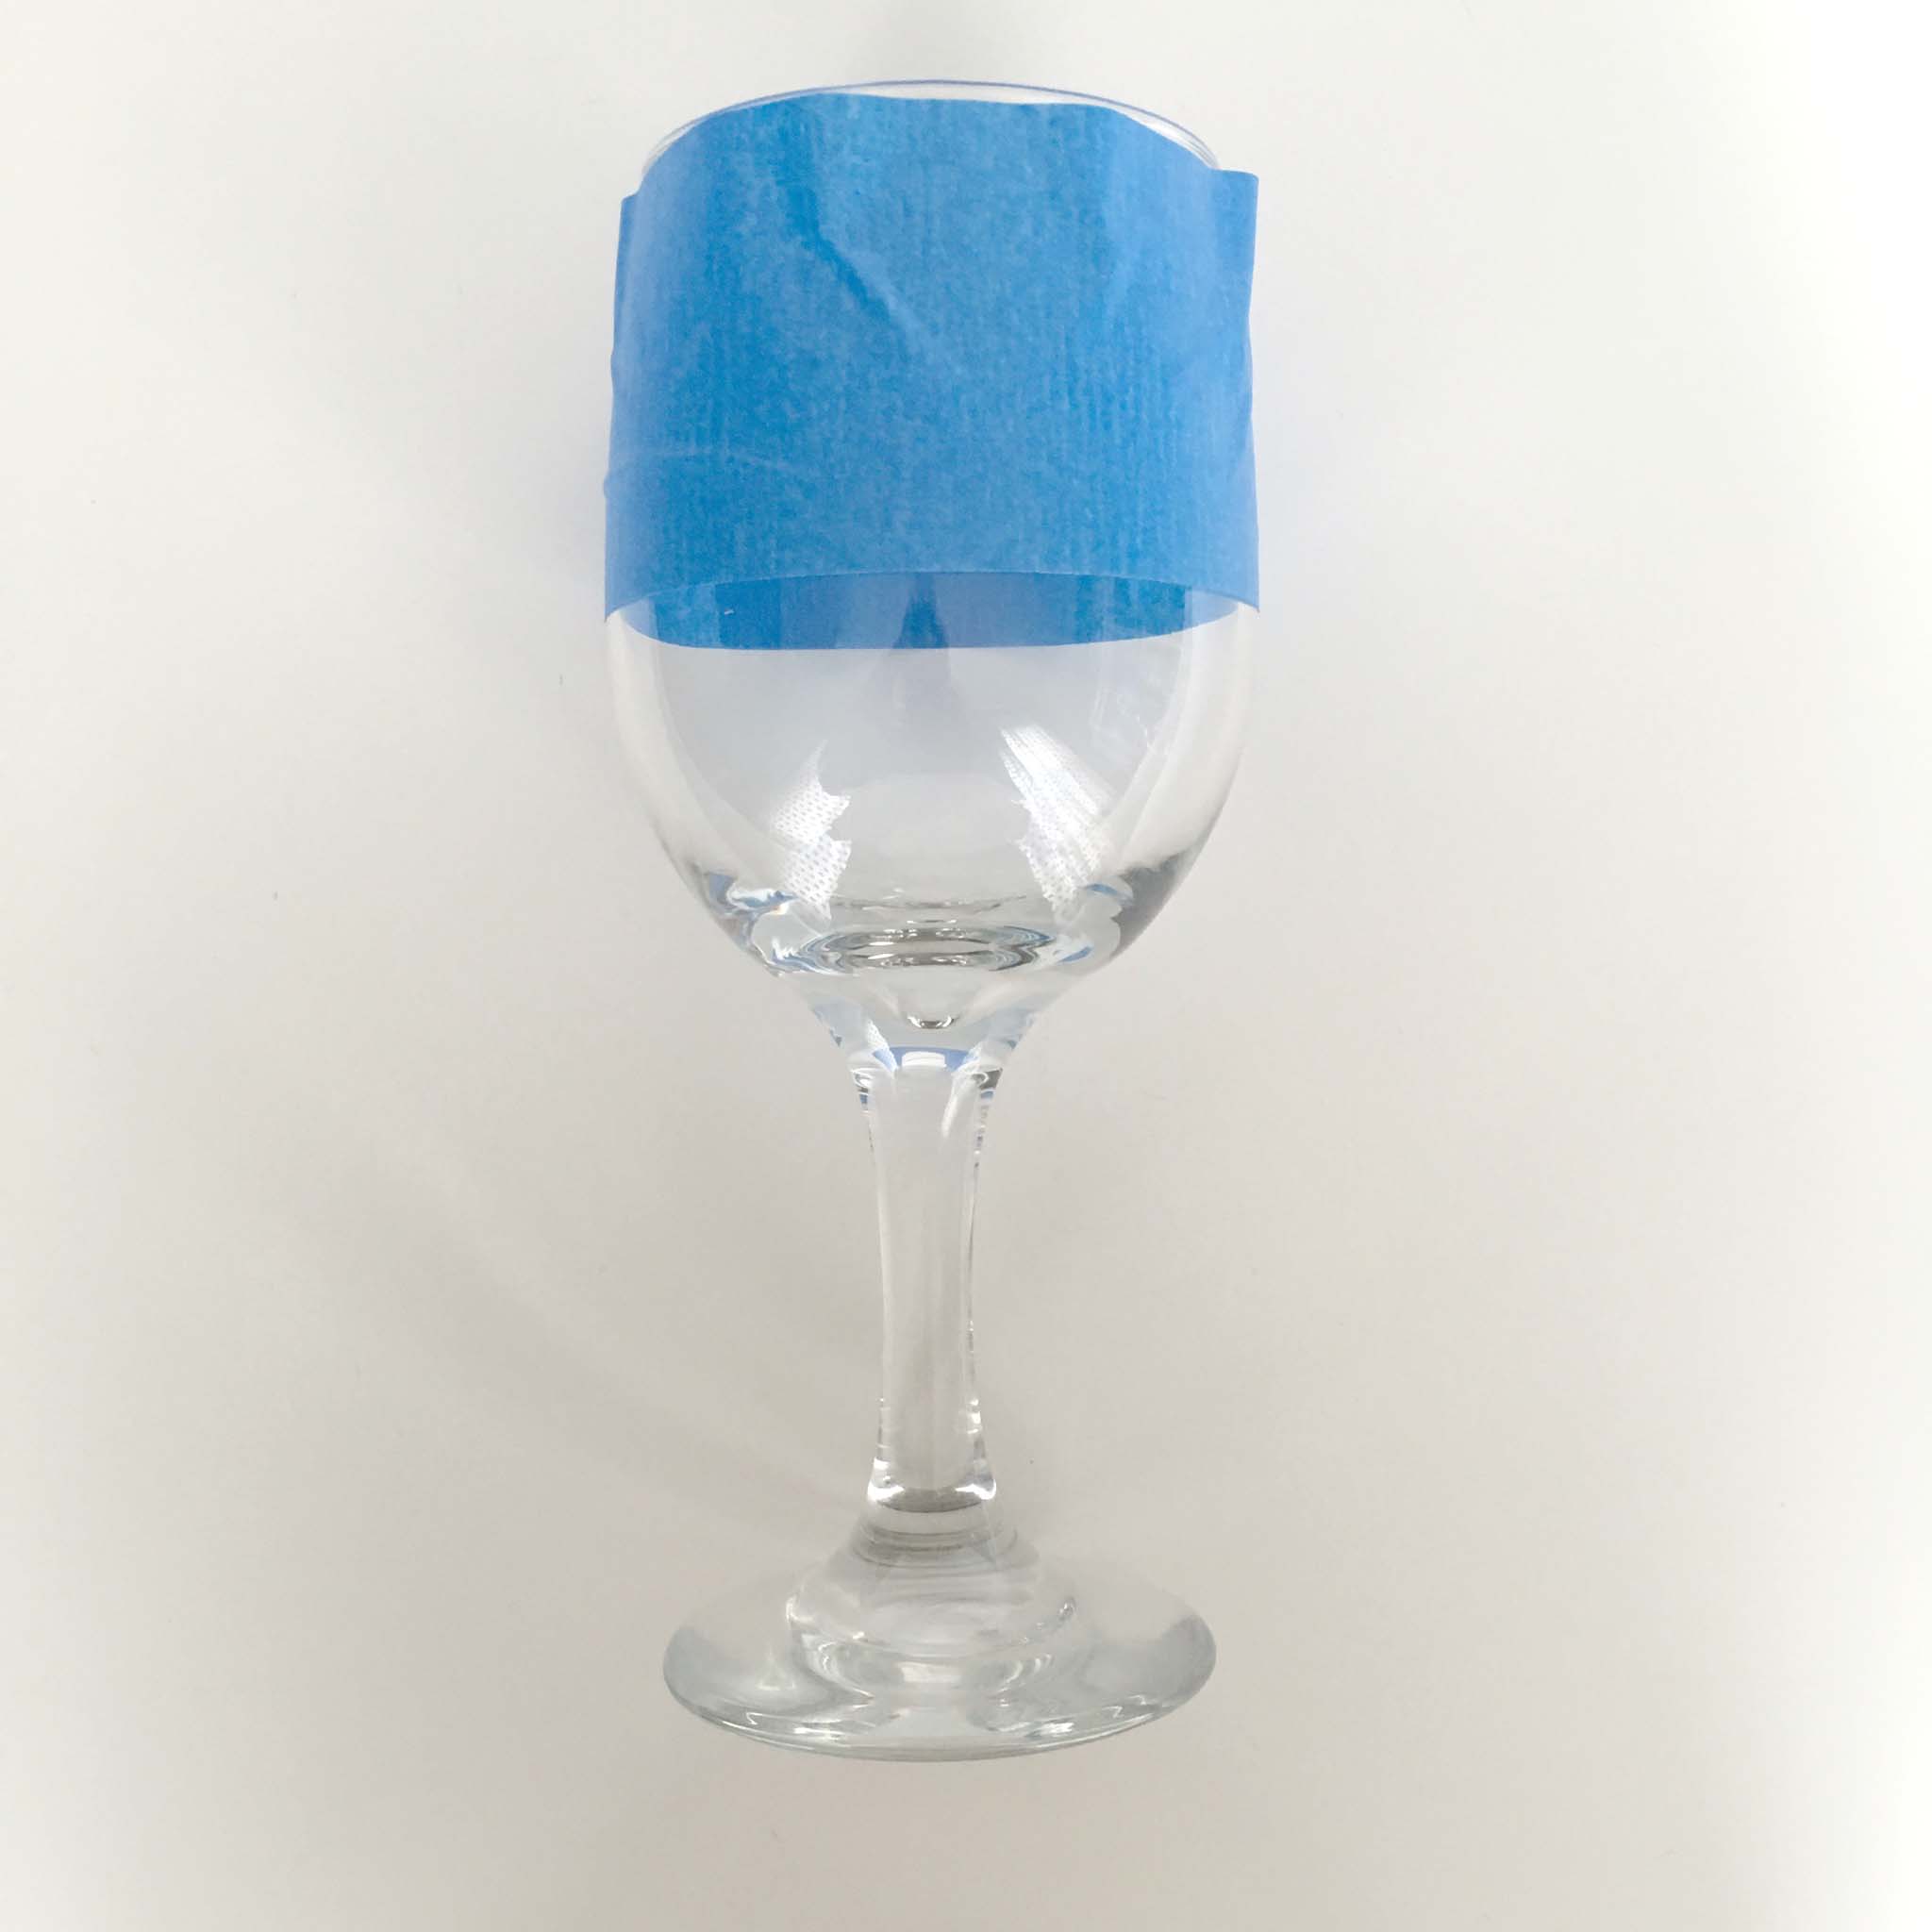
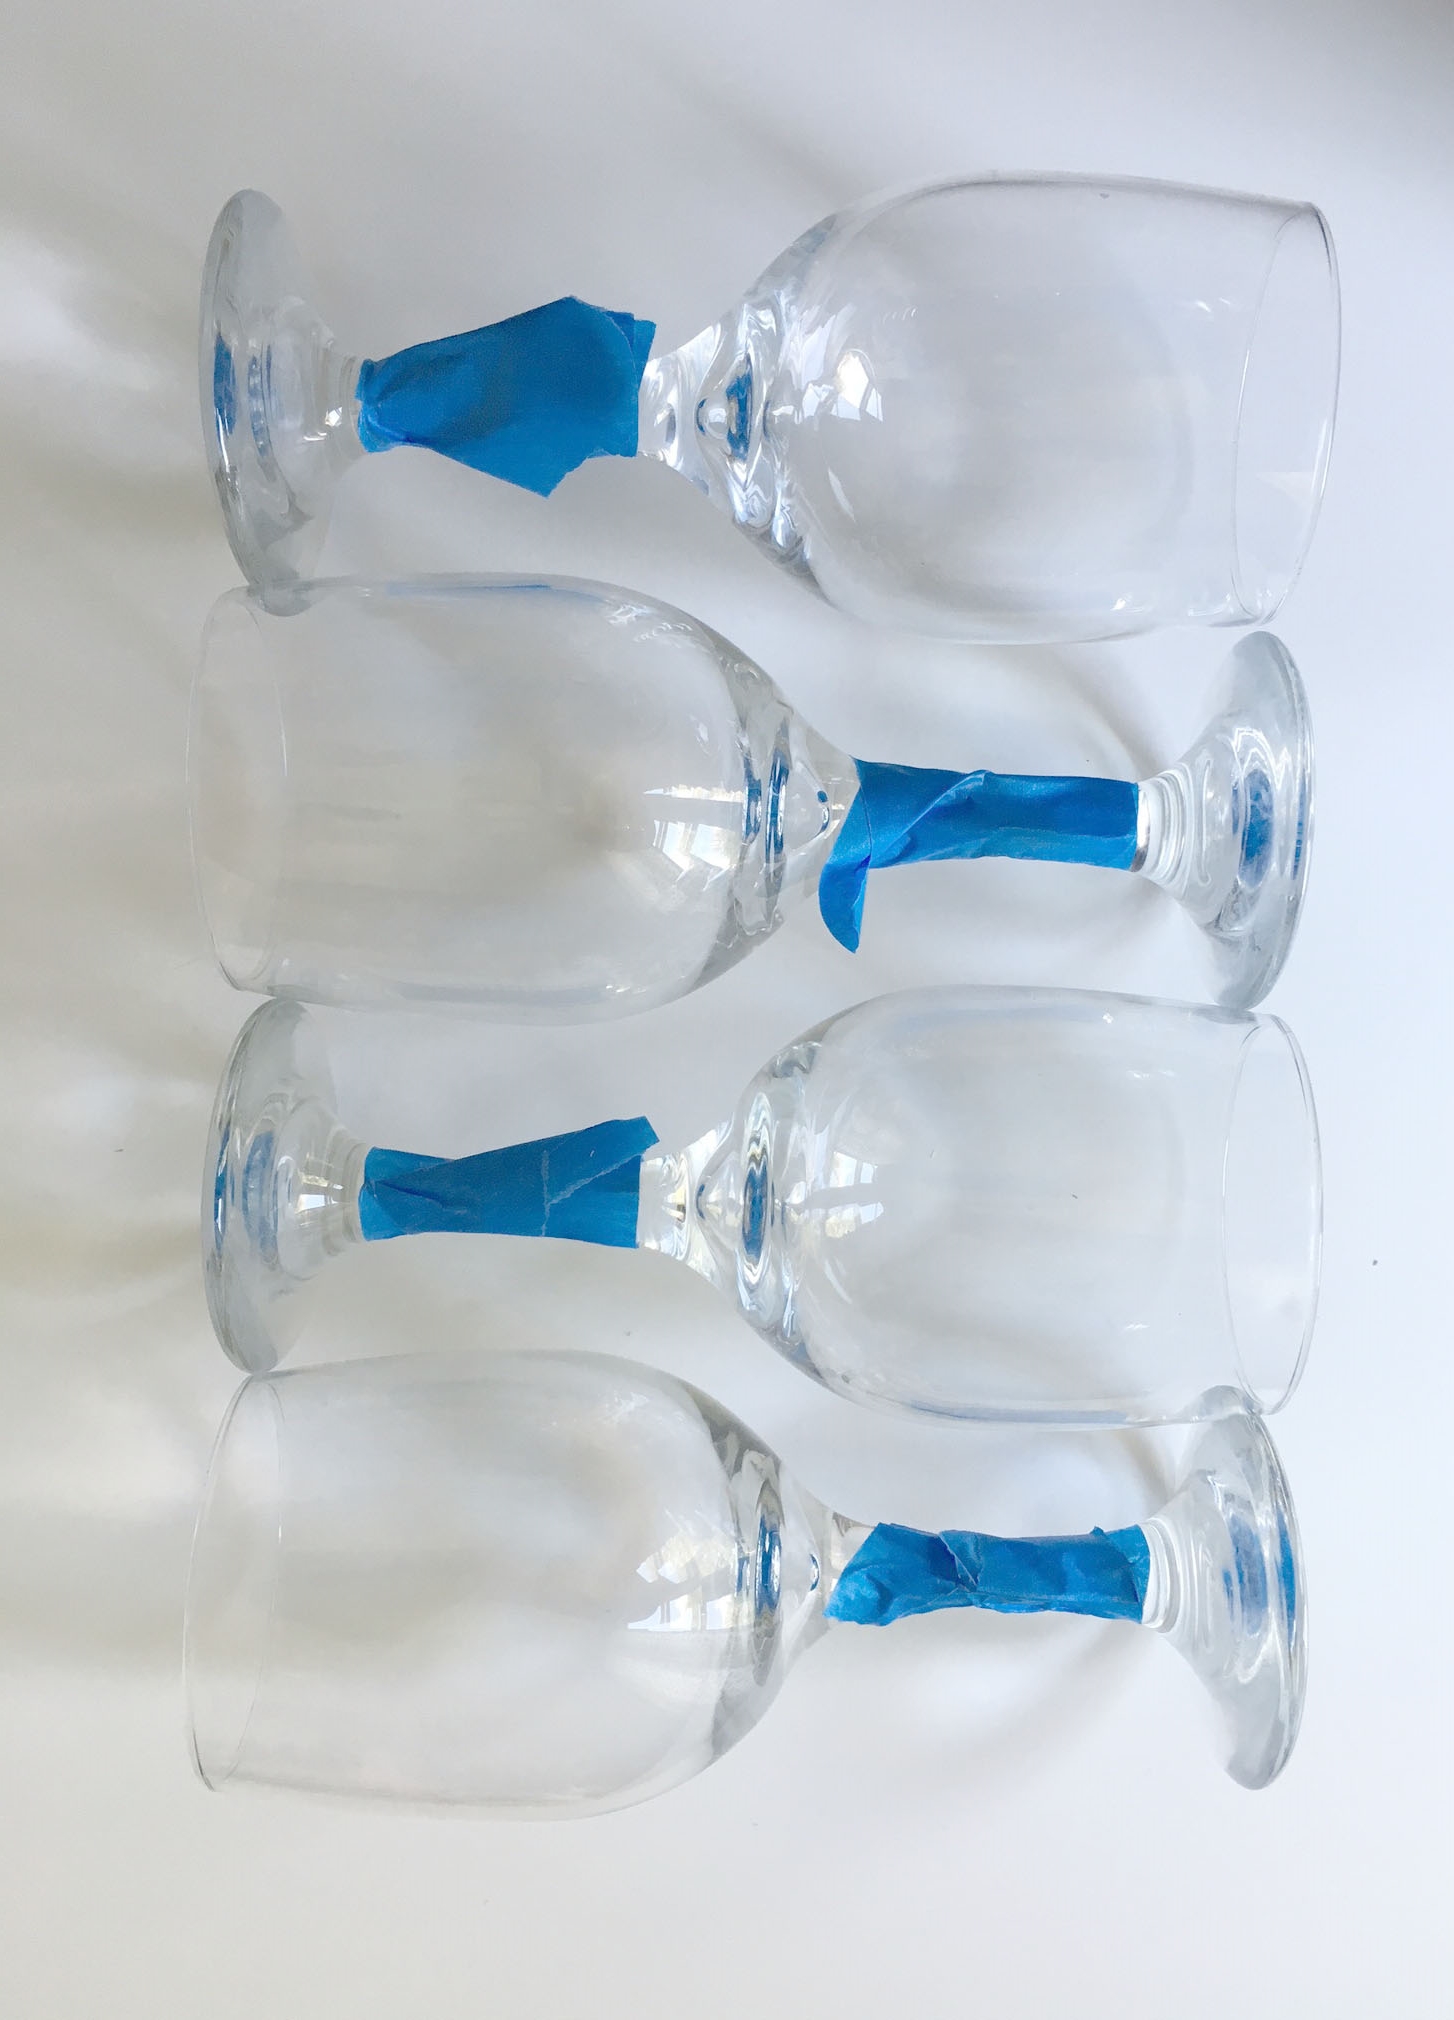
I've been wanting to try these gold, oil-bases Sharpies for ages and have thought of at least half-a-dozen projects I think they would be great for, so I finally ordered some. To start, I cleaned my glasses, taped off a starting/stopping point for my design, and pulled the markers out of their package.

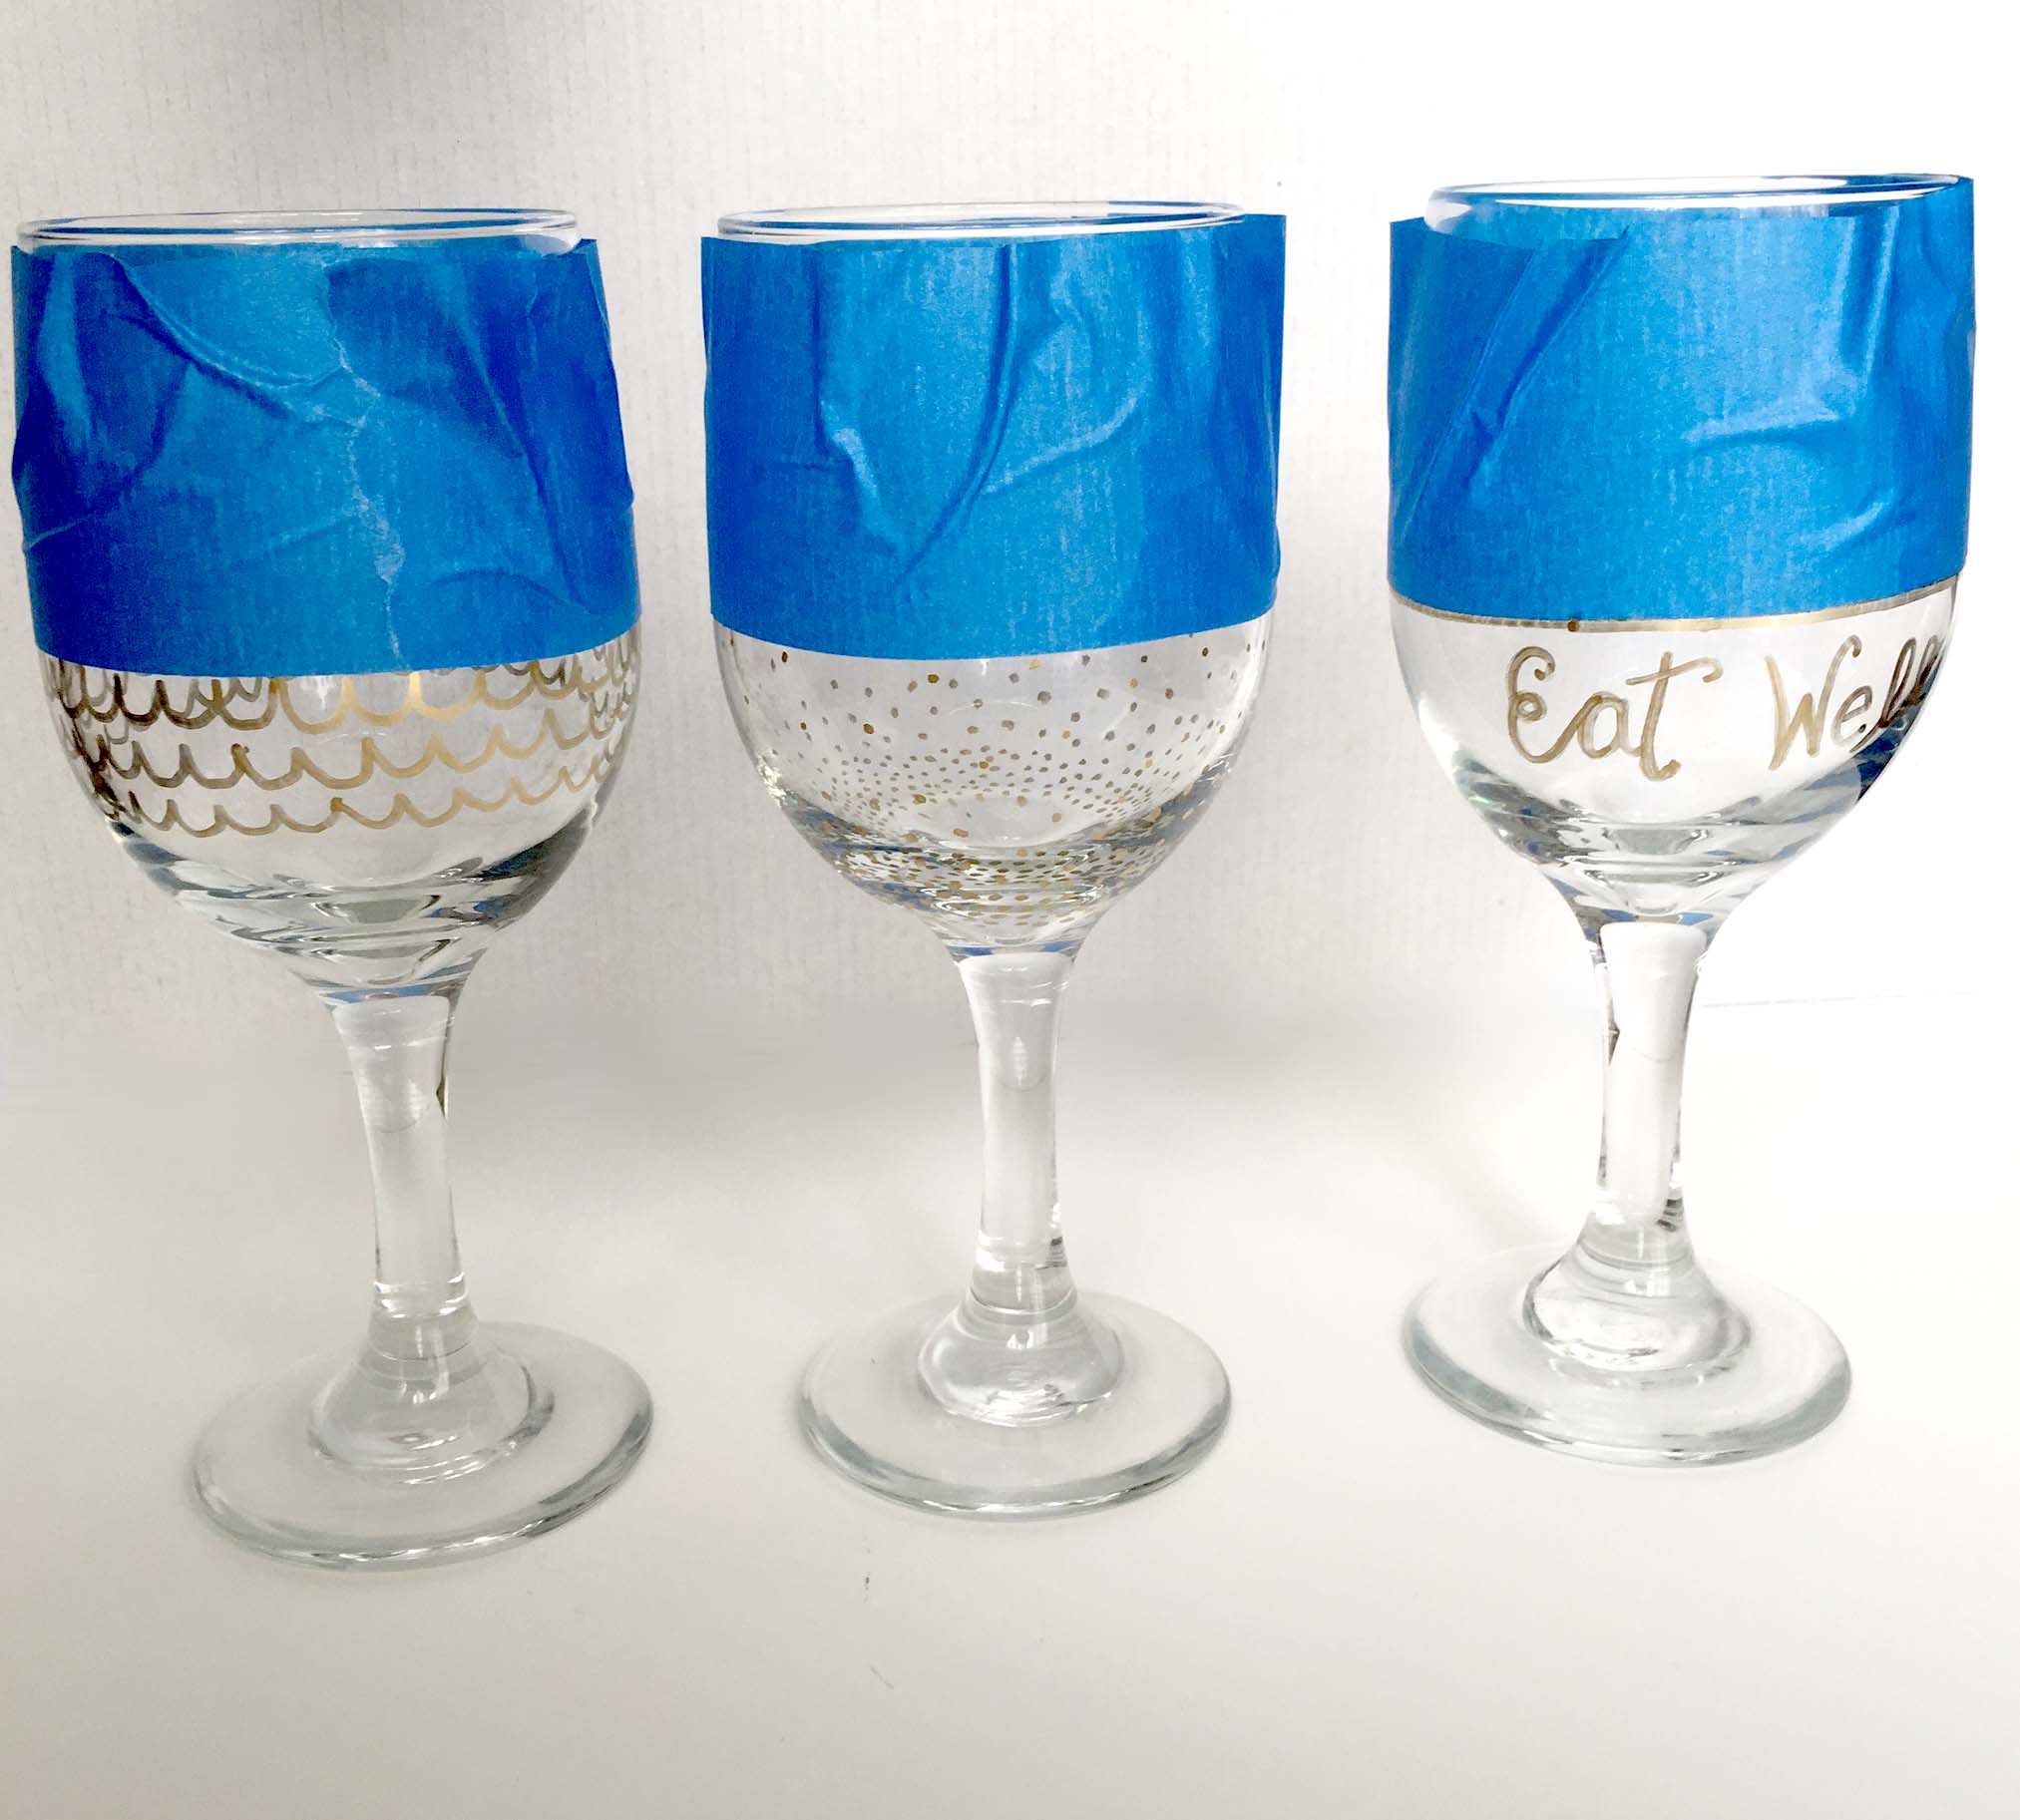
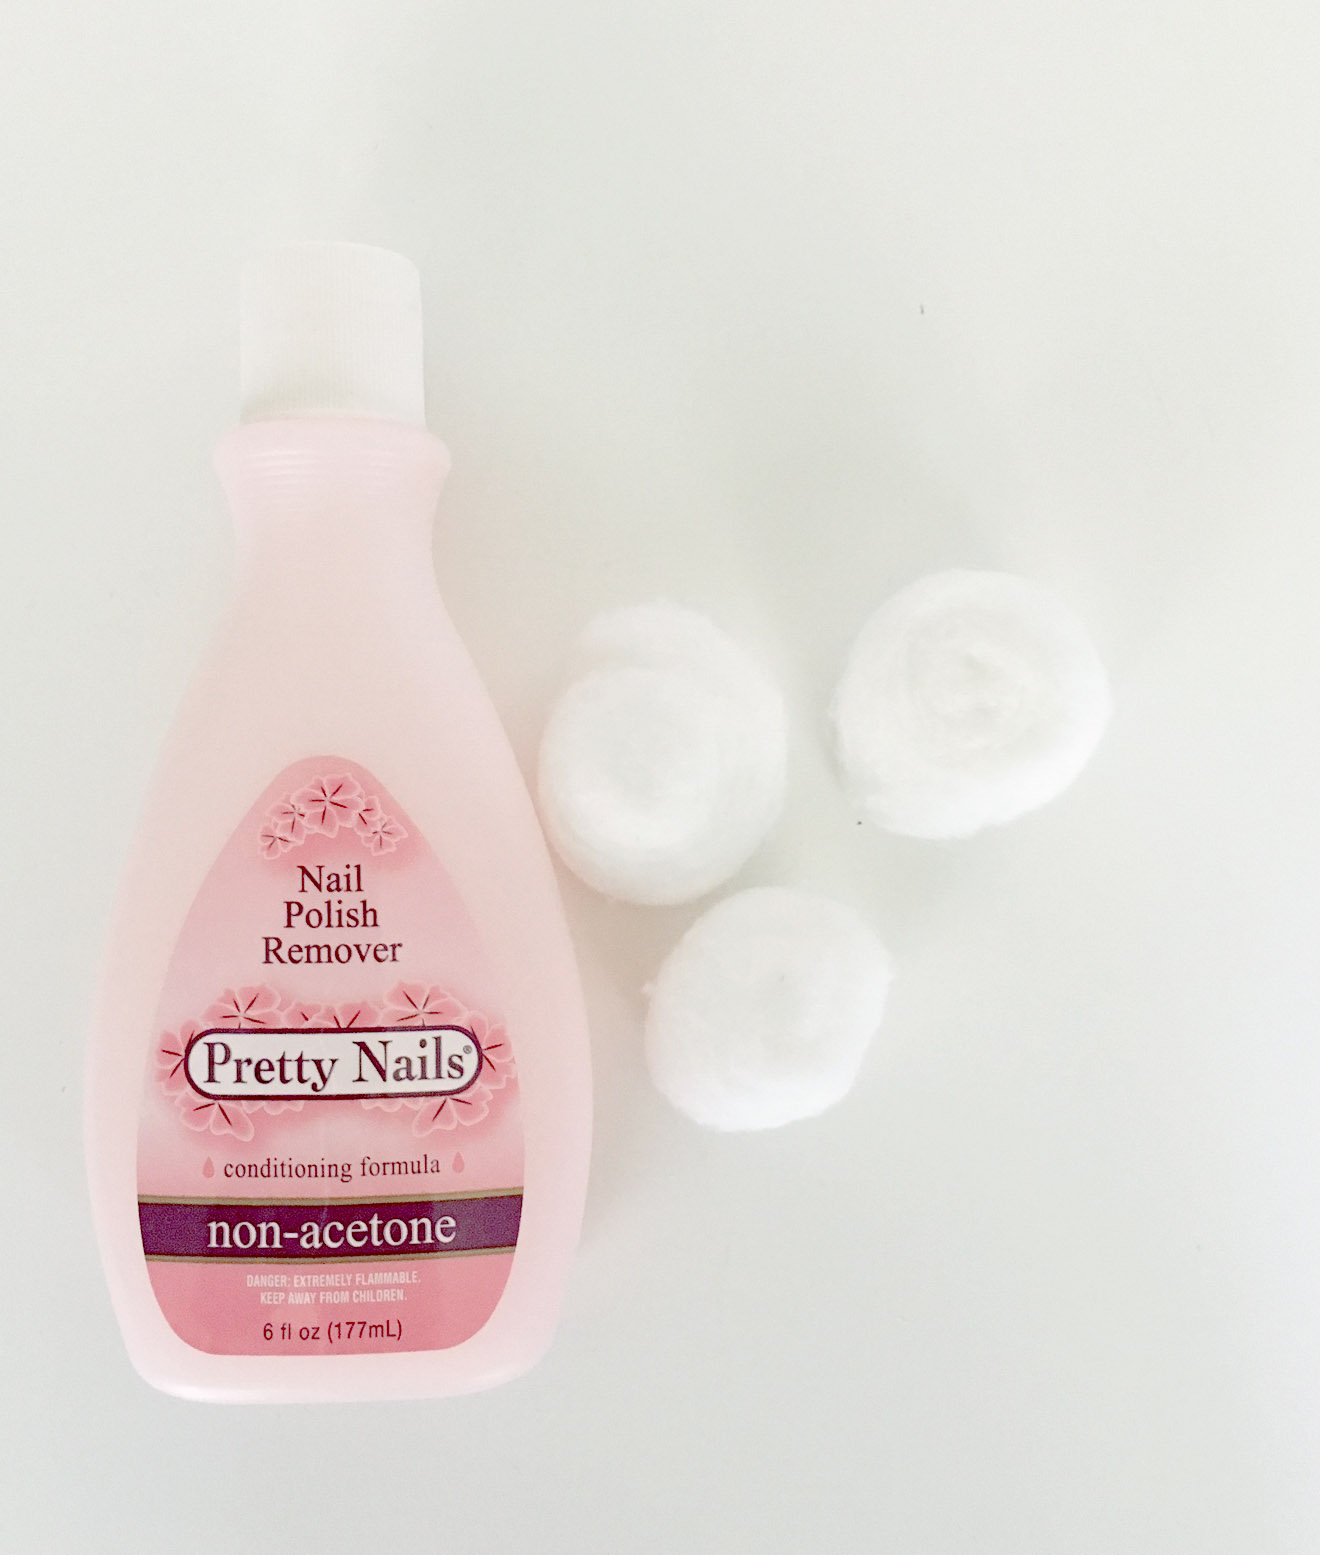
I was so excited to use them on these glasses. I had visions of creating fancy, boutique-type stemware. Boy was I disillusioned! I won't try and pin it all on the markers, and I think they would be great on a different surface, but I was not loving how the gold looked on the glass. When you looked at the paint straight on, you could almost see though it. And again, not entirely the fault of the markers, but it just wasn't transforming the glasses the way I had envisioned. So... I used some nail polish remover to take it all off, washed the glasses a second time, and started again!

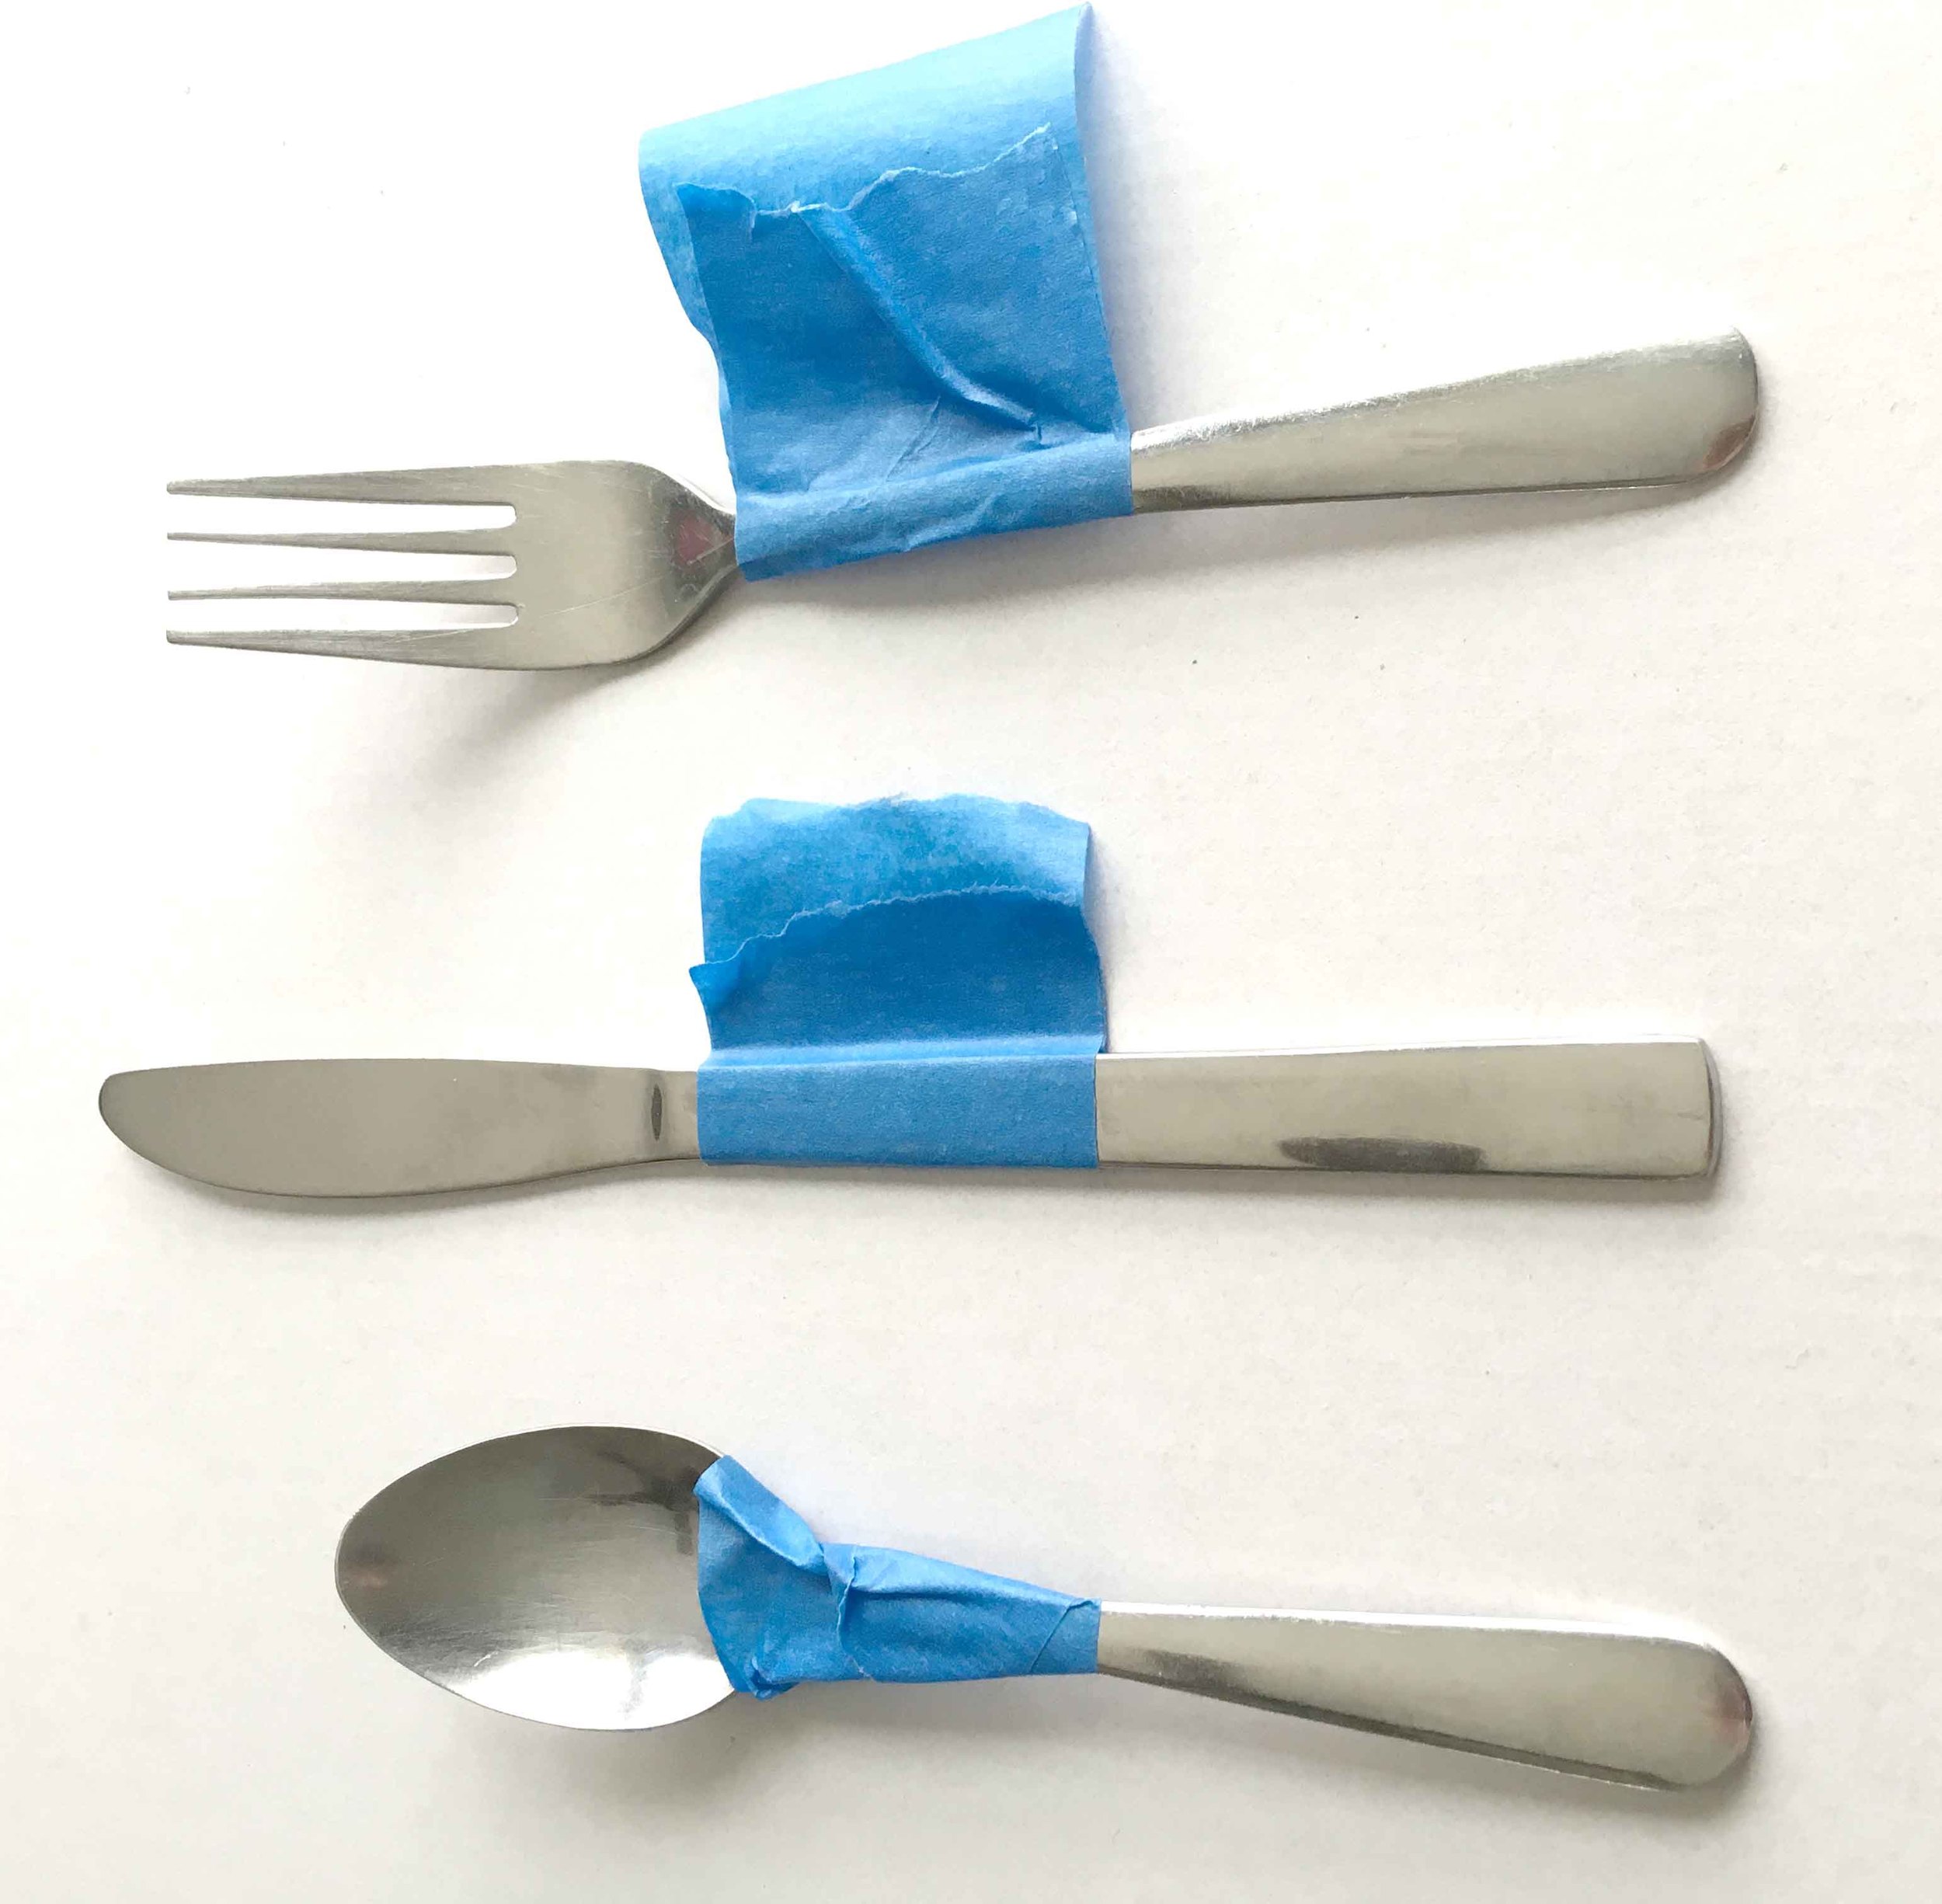
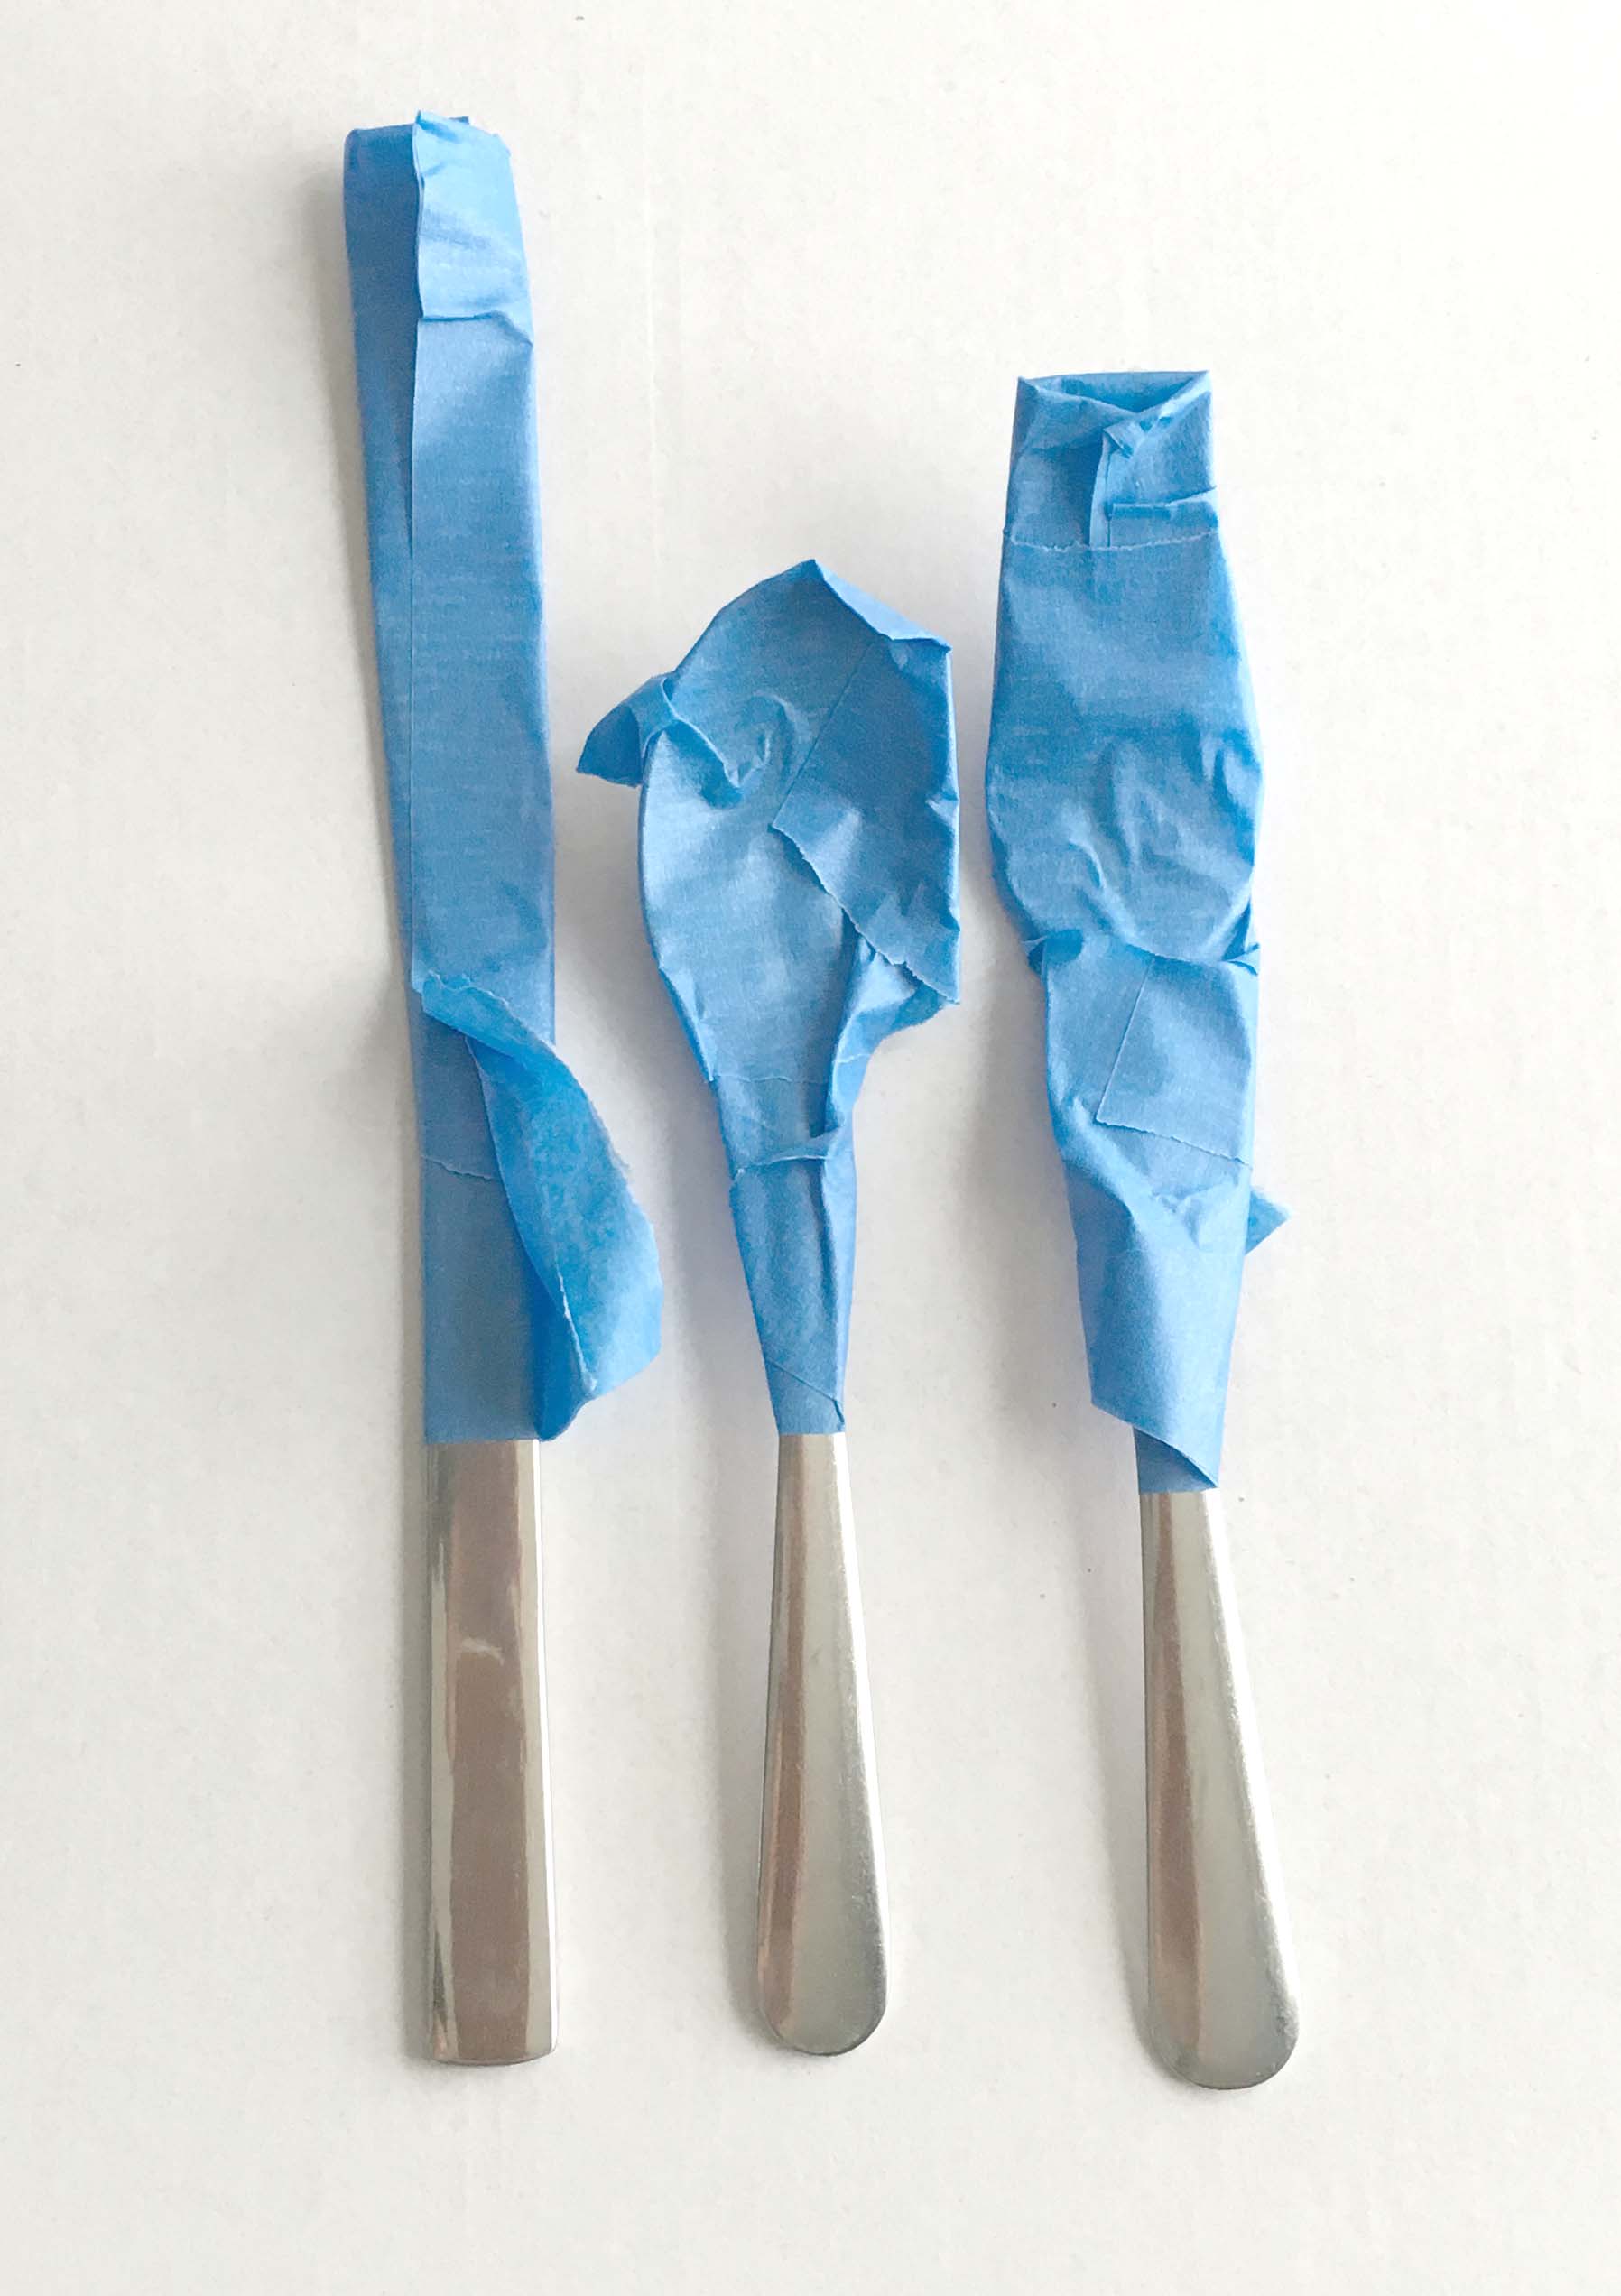
I had some gold spray paint left from the geometric lamp makeover we did, so I grabbed it and decided to try a dipped look on the base. I used painters tape to get a clean line, then covered the remaining exposed glass with tinfoil.

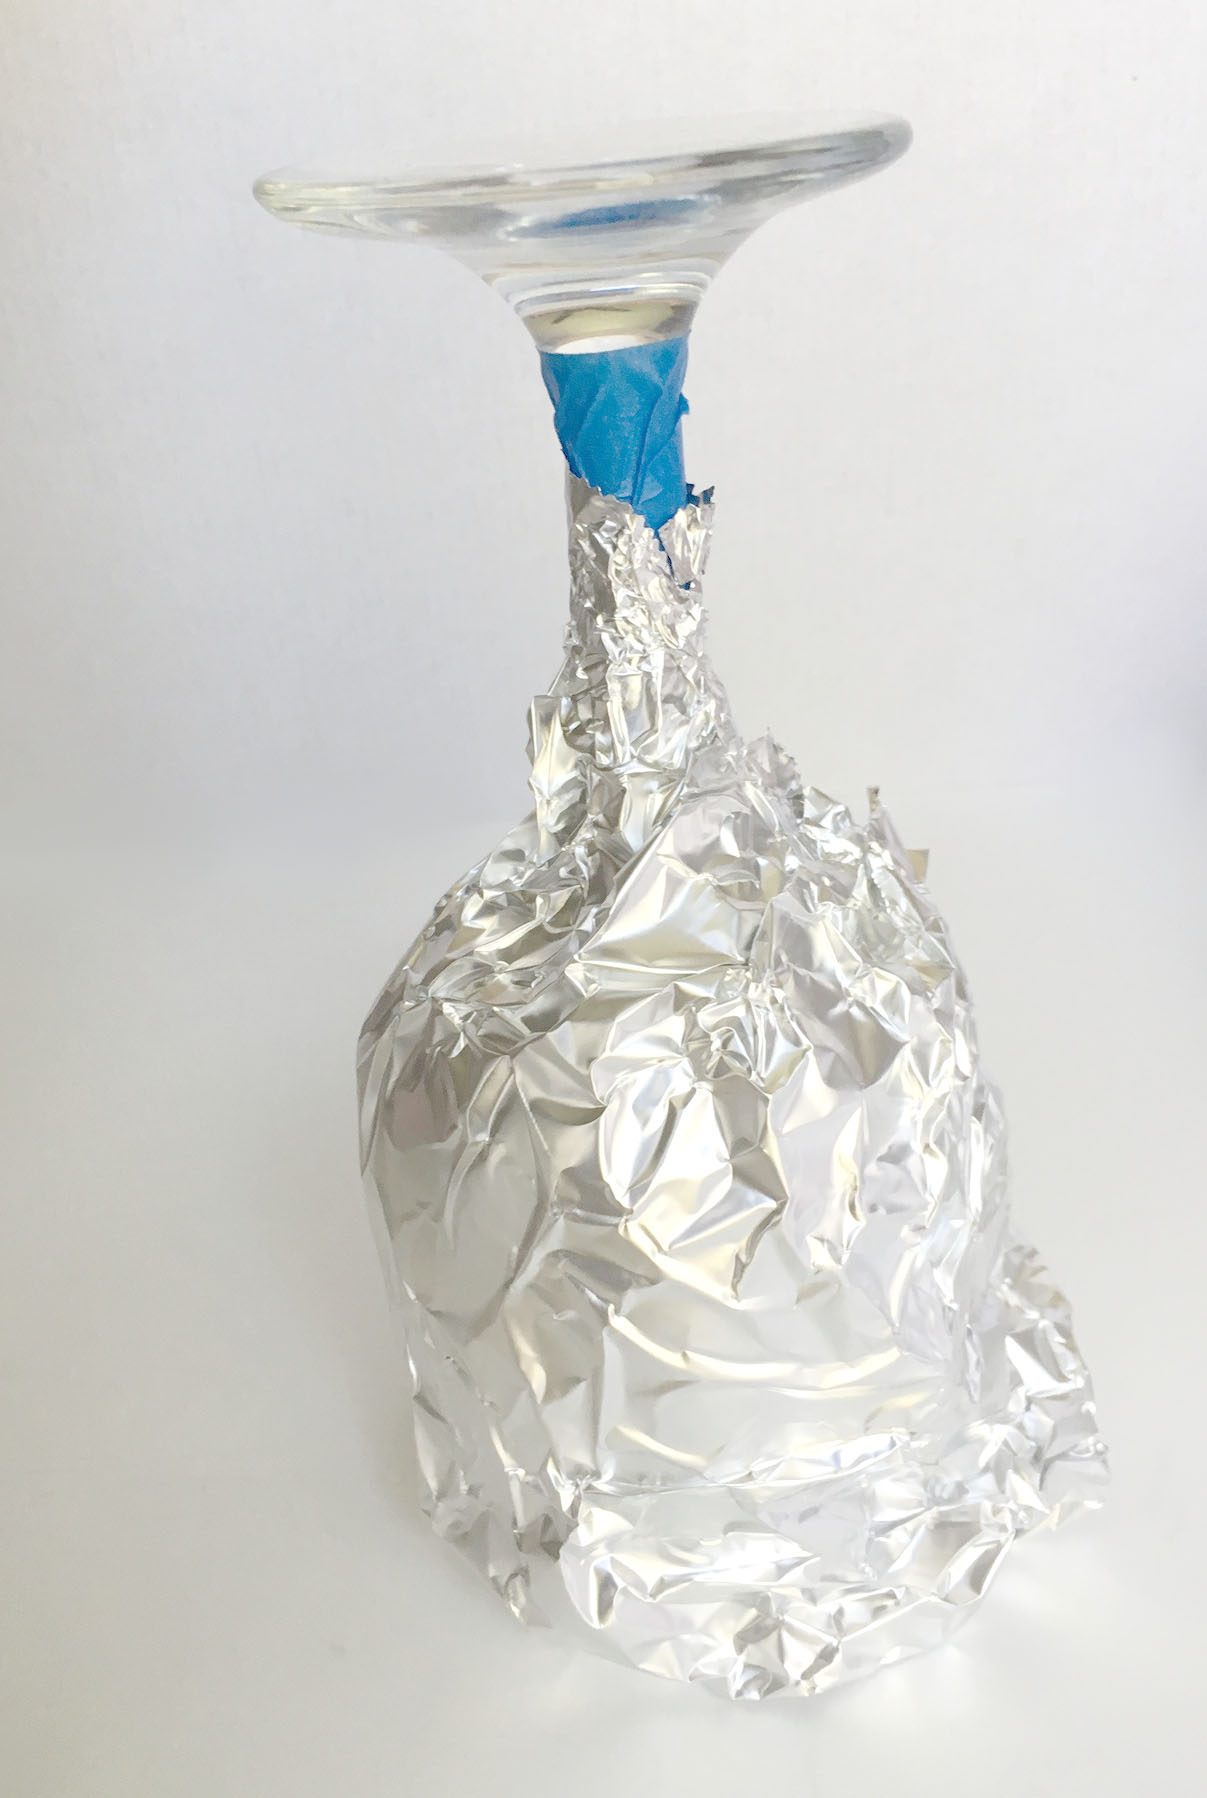
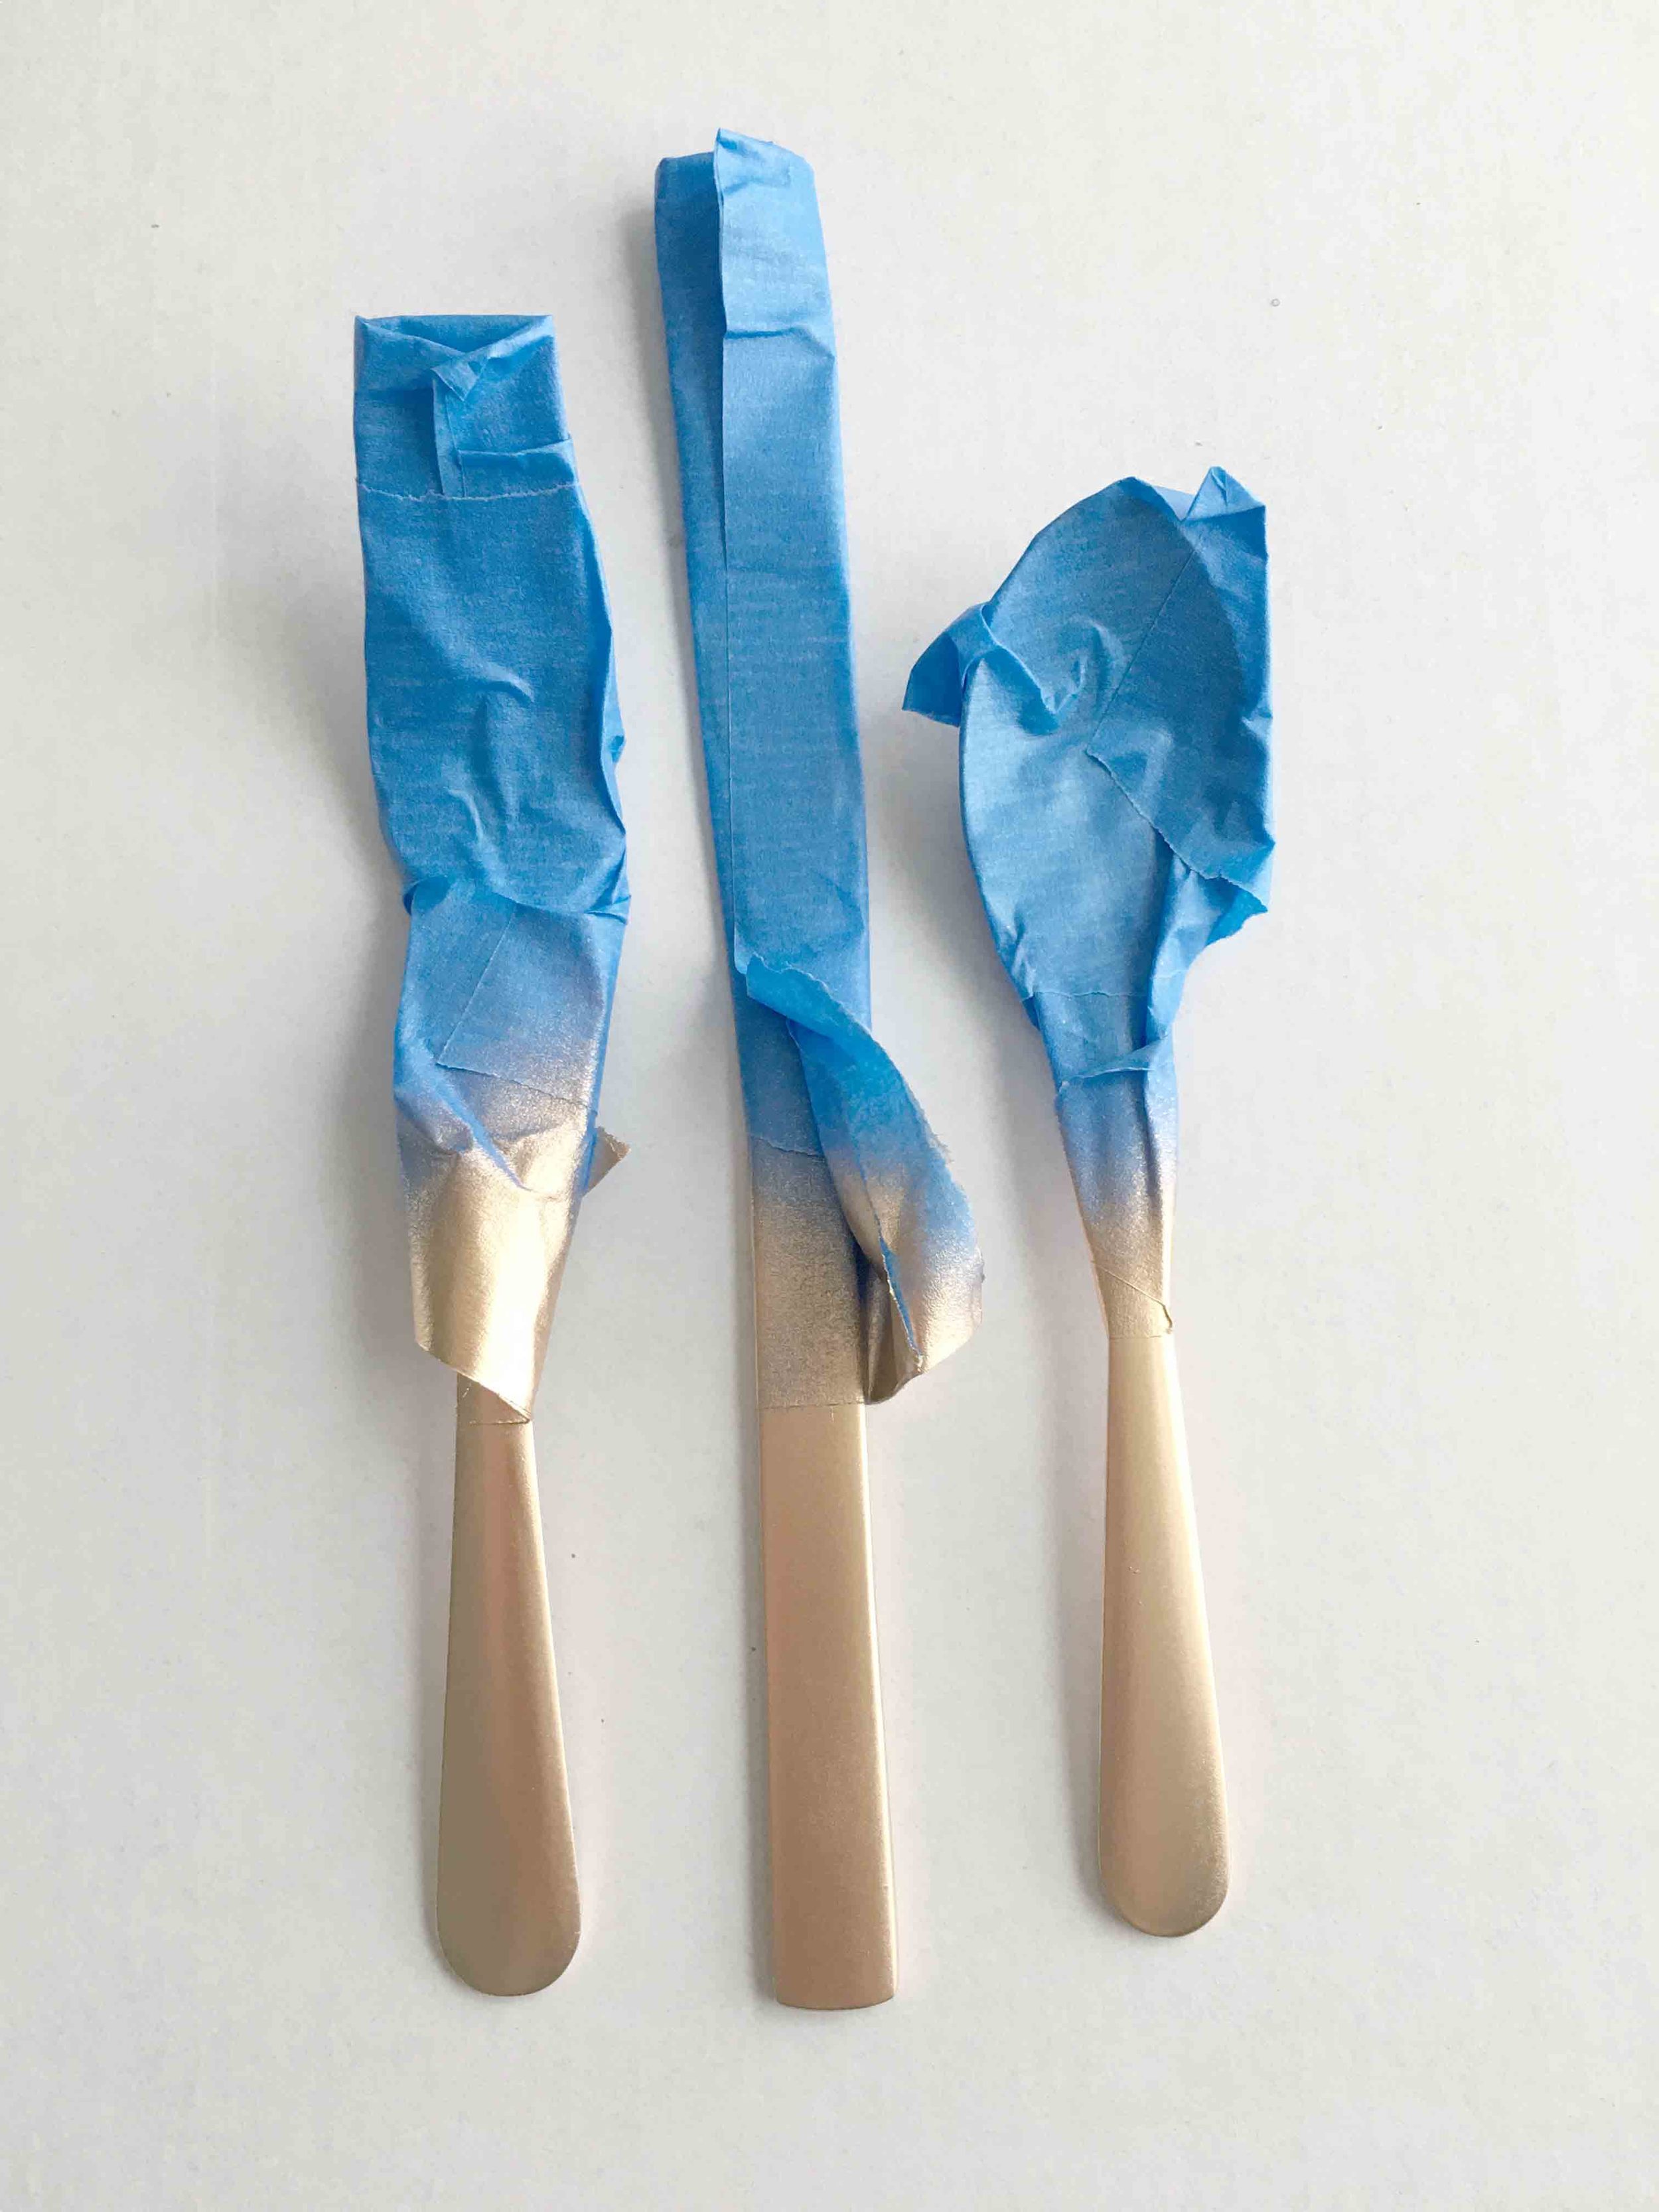
The weather was perfect for spray painting so I took them out for a quick coat. I cannot say enough good things about this spray paint! (And I'm not getting paid to tell you that--this stuff is the bomb!) It only took one coat and they looked amazing.

Gold Stemware
Gold Stemware
Gold Stemware

Finally, you need something to put in your gorgeous new glasses! Here are our top three picks:

First up, a Vanilla Vodka Chai by Tina at My Life as a Mrs.
Here, chai tea, vanilla vodka, amaretto, simple syrup and half & half combine to create a delicious fall treat. I love how it manages to be cozy and refreshing all at once. The flavors are so fall-like but the fact that it is served iced makes it an excellent choice for warmer autumn days.

Next, we have a Maple Bourbon Cocktail by Emily at Jelly Toast
This drink reminds me of crisp leaves, wool sweaters, and crackling fireplaces. Bourbon, orange juice, pure maple syrup, and bitters come together in perfect harmony. Whether you serve this at a dinner party with friends or enjoying one on a cozy night in, I don't think you'll be disappointed!

And lastly, Honeycrisp Apple Sangria by Sally at Sally's Baking Addiction 
Mmm... This is the most perfect fall sangria ever concocted! Cider, red wine, brandy, orange juice, apples, lemon, cinnamon sticks and club soda--nothing is left out of this recipe. Make a pitcher, (or two!) invite the neighbors over, and pair with some pumpkin spice donuts and a bonfire for the perfect fall evening. 

Silverware for a Fall Dinner Party

In case you haven't heard, over here at 5 O'Clock Design Co. we are pretty excited about the preparations for an awesome fall dinner party that's coming up! Last week we took vintage wooden napkin rings and gave them some pizazz, this week we are jazzing up some silverware to go with our theme. I have to thank my friend, Shauna, at Maeflowers Vintage for this fabulous idea. Shauna and I share a passion for mid century furniture, thrifting, and gold spray paint. When I saw her spray paint silverware (genius!) I fell in love with the result and knew I had to give it a try as well!

Gold Silverware for a Fall Dinner Party

When my husband and I were planning our wedding, I was insistent that I wanted real silverware. Pricy rentals didn't fit the budget so I turned to our local restaurant supply store and ordered boxes of cheap, restaurant quality silverware. I have since dispensed of most of it, but I did hold on to a few dozen sets in case of big parties or company. I am so glad I did! I pulled out it out for this project and once it met a coating of gold spray paint, it's hardly recognizable!

To start, I decided how far up the handle I wanted the gold to come. It was important to keep the paint away from the parts that would come in contact with someones mouth so I stayed well within the bottom two-thirds. First I taped a nice clean line where I wanted the paint to end, then I went back and covered anything else still exposed. A quick coat of what is quickly becoming my favorite gold spray paint, and tada--gorgeous silverware that is perfect for a fall dinner party!

Gold Silverware

If you don't have two dozen sets of extra silverware sitting around, check your local dollar store or Christmas Tree Shops. I've had great luck buying decent, inexpensive silverware for projects at both of these places. Or, as an alternative, try this wooden silverware dressed up with washi tape! It's adorable, easy, and a little more informal. 

I bought my supplies at Joann Fabrics and, with coupons, got everything for less than $6. The wooden silverware came in a package of service for 6 and I picked up a few different styles of washi tape to experiment with.

Wooden Silverware and Washi Tape

I played with placement of the designs for a few minutes, settled on a pattern I liked, taped the first piece, and then just repeated the pattern. This was soooo easy, not at all messy, and completely customizable depending on the washi tape you choose.

Wooden Silverware
Wooden Silverware

Whether more formal or casual, custom silverware is a total win for your dinner party! Which is your favorite? Comment below and vote!

Gold Silverware // Wooden Silverware // Fall Dinner Party

A Vintage Inspired Wedding

Some tips, tricks, and things to think about when planning your big day!

I can't believe it has been four years since my favorite day ever--when I married the handsome man I now get to call my husband. I loved planning every part of my wedding and we handled most of the details ourselves (and by "ourselves" of course I mean with the help of our awesome family and friends!).

On the day of our wedding we opted to take most of our photos earlier in the day. We didn't want people to have to wait for us and we really wanted to savor every moment of the celebration. We still planned for the big moment when Matt would see me in my dress for the first time and had our photographer capture the whole thing. It ended up being a really special time for the two of us to enjoy each other before the wonderful whirlwind started.

Venue:
Since we really enjoy hiking and wanted an elegant picnic vibe, we selected a local Park for both our ceremony and reception. We live in beautiful, rural, upstate NY and had many parks to choose from. Here are a few of the reasons we knew Pratts Falls County Park was the one: the indoor space would comfortably hold our guests and was the perfect canvas for our vintage-chic decorations, there was ample outdoor space with a gorgeous view for our ceremony, and there was a full kitchen on site for our caterer. If you're looking for a unique, affordable venue, check your local parks!

Attire:
In keeping with the overall motif for the day, we chose vintage inspired pieces. A simple lace dress and birdcage veil paired nicely with linen pants, a vest and tie. Remember, you aren't limited to bridal boutiques and tux rentals--the grooms entire outfit was purchased at H&M! 

Food: 
I think the food at a wedding is so important! Even though you probably won't take time to eat much that day, your guests will appreciate good food! One of my favorite parts was our cocktail hour. It was simple, informal, and the perfect opportunity to chat with everyone while sipping drinks on the lawn. 

Neither our venue nor caterer came with waitstaff, but we wanted the evening to have an air of sophistication. To achieve this, we asked acquaintances to help serve appetizers, tend bar, and clear plates etc. It really went a long way in making the evening feel special and we were so grateful for their help!

Dessert:
We had a traditional wedding cake, but we also wanted some personal touches that would make the day feel like us. My favorite dessert is ice cream so we had a soft serve ice cream machine and hand dipped cones. Since Matt loves candy, we used custom printed cloth bags for guests to fill with treats from the candy bar as favors.

Flowers:
I love fresh flowers and had a vision for what I wanted, BUT, flowers are expensive, my friends! I had a local florist make my bouquet, but for the the centerpieces I purchased buckets of flowers wholesale. My aunt used vases I had bought at thrift stores and assembled the table arrangements for us on the morning of the big day.  

Seating Chart:
Everyone dreads this part! I think a well-planned seating chart makes the day better for everyone though. It's no fun to try finding an empty chair in a crowded room, and no matter how much you want them to--even without assigned seats--people won't really mingle, they will just stake a claim and stay there. I can't make that part much more fun, you just have to buckle down and get it done. I can share a fun idea to display your seat assignments though! 

I took vintage windows and arranged childhood pictures of us behind the glass. Then I used miniature clothespins to secure the seat assignments to twine wrapped around the windows. It was fun for friends and family to see the pictures while they found their seat. 

Table Settings:
I knew we wanted "real" dishes but didn't want the standard white rentals. So, Matt and I spent many Saturdays sorting through stacks of vintage plates at thrift stores until we had enough dinner and dessert plates to use! We also collected vintage teacups to serve coffee in. The stemware and white linen tablecloths were rented from a local company, but we discovered it was actually less expensive to purchase the silverware and cloth napkins so we went that route. This also allowed us to pre-wrap the silverware in our napkins so they were ready to the day of.  

At the end of the evening we had a sparkler send-off. It was the perfect ending to a perfect day! I definitely recommend ordering "wedding" sparklers online--they are longer than typical sparklers and this ensures everyone's sparkler stays sparkly long enough for you to enjoy the moment and get some good pictures!

Speaking of pictures--all of these awesome photos were done by our amazing photographer, Jen Vrooman of Vrooman Photography

Happy 4th of July!

A patriotic patio that you can enjoy all summer long!

Independence day is right around the corner and I wanted to share some great pieces for your 4th of July party that can easily be enjoyed for the rest of the summer too.

I've also included a few yummy recipes to get your party started! 

Happy 4th of July and thank you to the men and women who protect our freedom!

Patio Pieces: