
With the wee one learning to crawl, I decided it would be a good idea remove the glass coffee table from the middle of our living room. I planned on replacing it with something more toddler-friendly, but having the open space has been perfect for him to play and I've enjoyed the visual openness too. I contemplated end tables, but our living room just isn't big enough for that much furniture. We do need a place to set a coffee cup or water glass down though, so I began focusing my attention on sofa tables.
I decided this would make a great DIY project and started scouting materials. I settled on a pair of bifold doors that we removed from a closet and we no longer had need for. These were a great solution for a few different reasons. First, the doors are pretty cheap, generic versions, but for this use, that was actually great because it meant they are hollow and therefore lighter. The weight was important because instead of using table legs, I opted for go with wall-mounting hardware. The height of these was also a perfect fit for our sofa and the depth is more than sufficient without being bulky or obtrusive.
Here is the process of their transformation from closet door to sofa table!

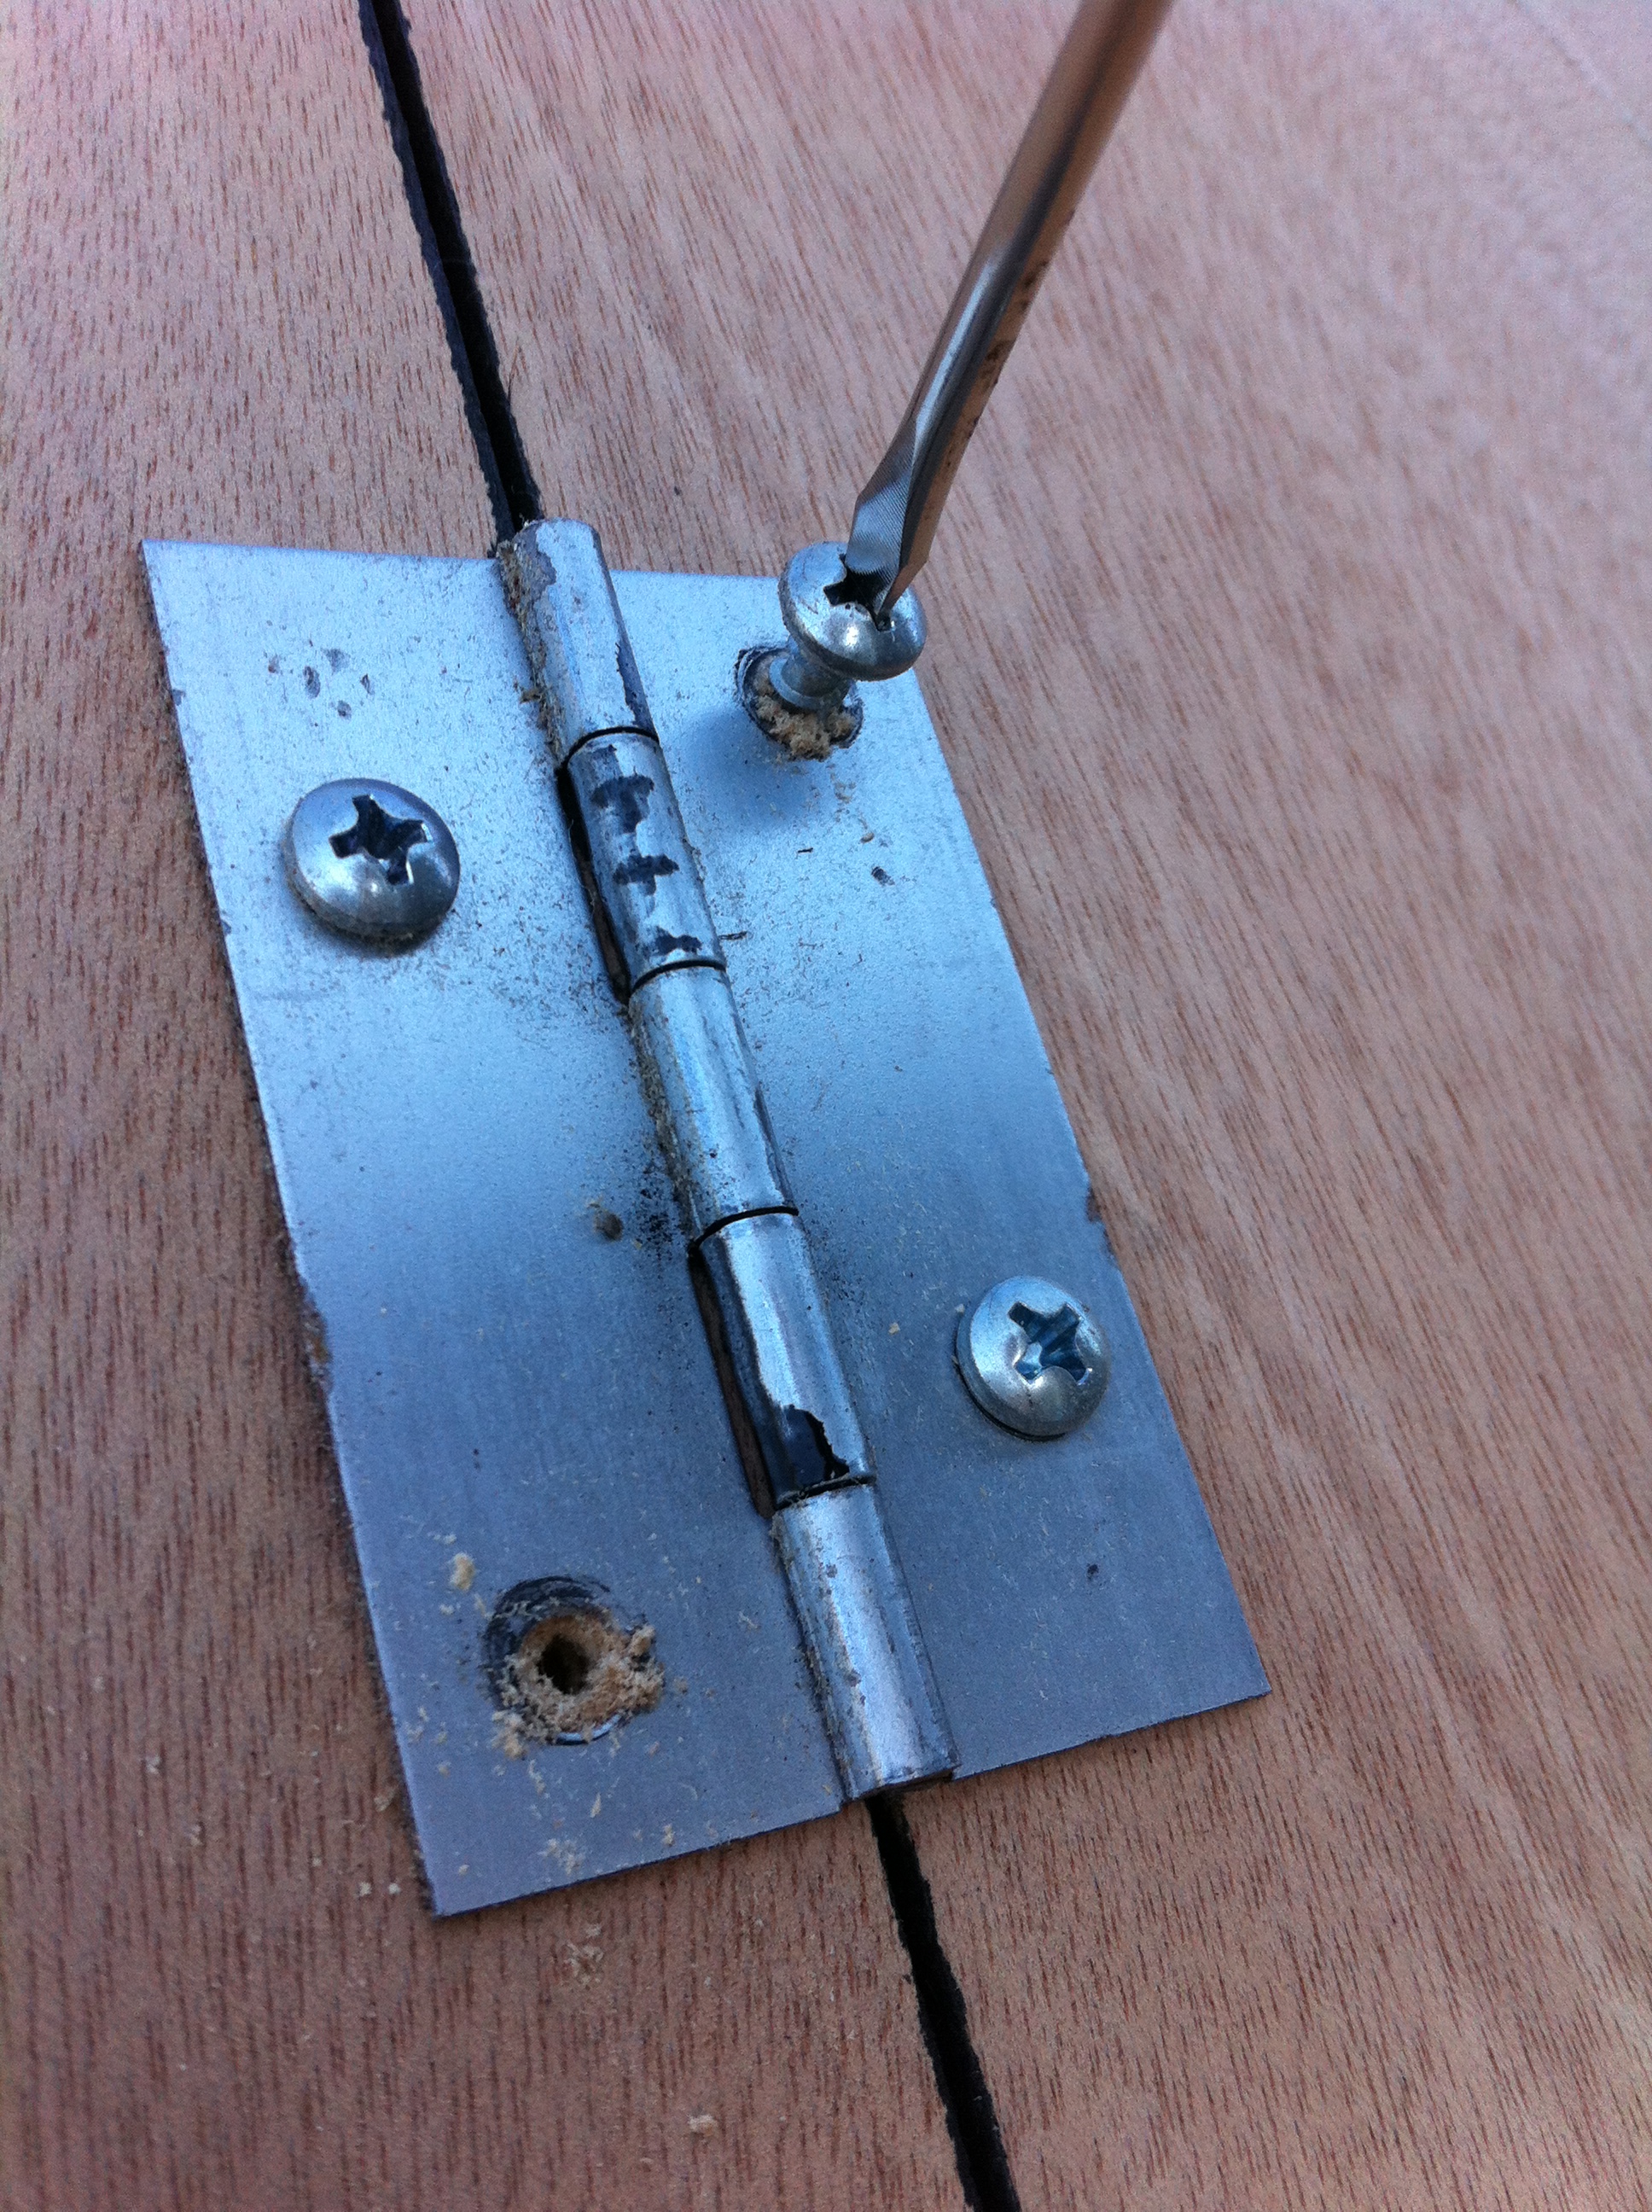

I only needed one panel so I took off the hinges and removed the pieces used to hang it from a track in its former life as a door. I then used some wood filler on all the holes before giving it a good sanding.
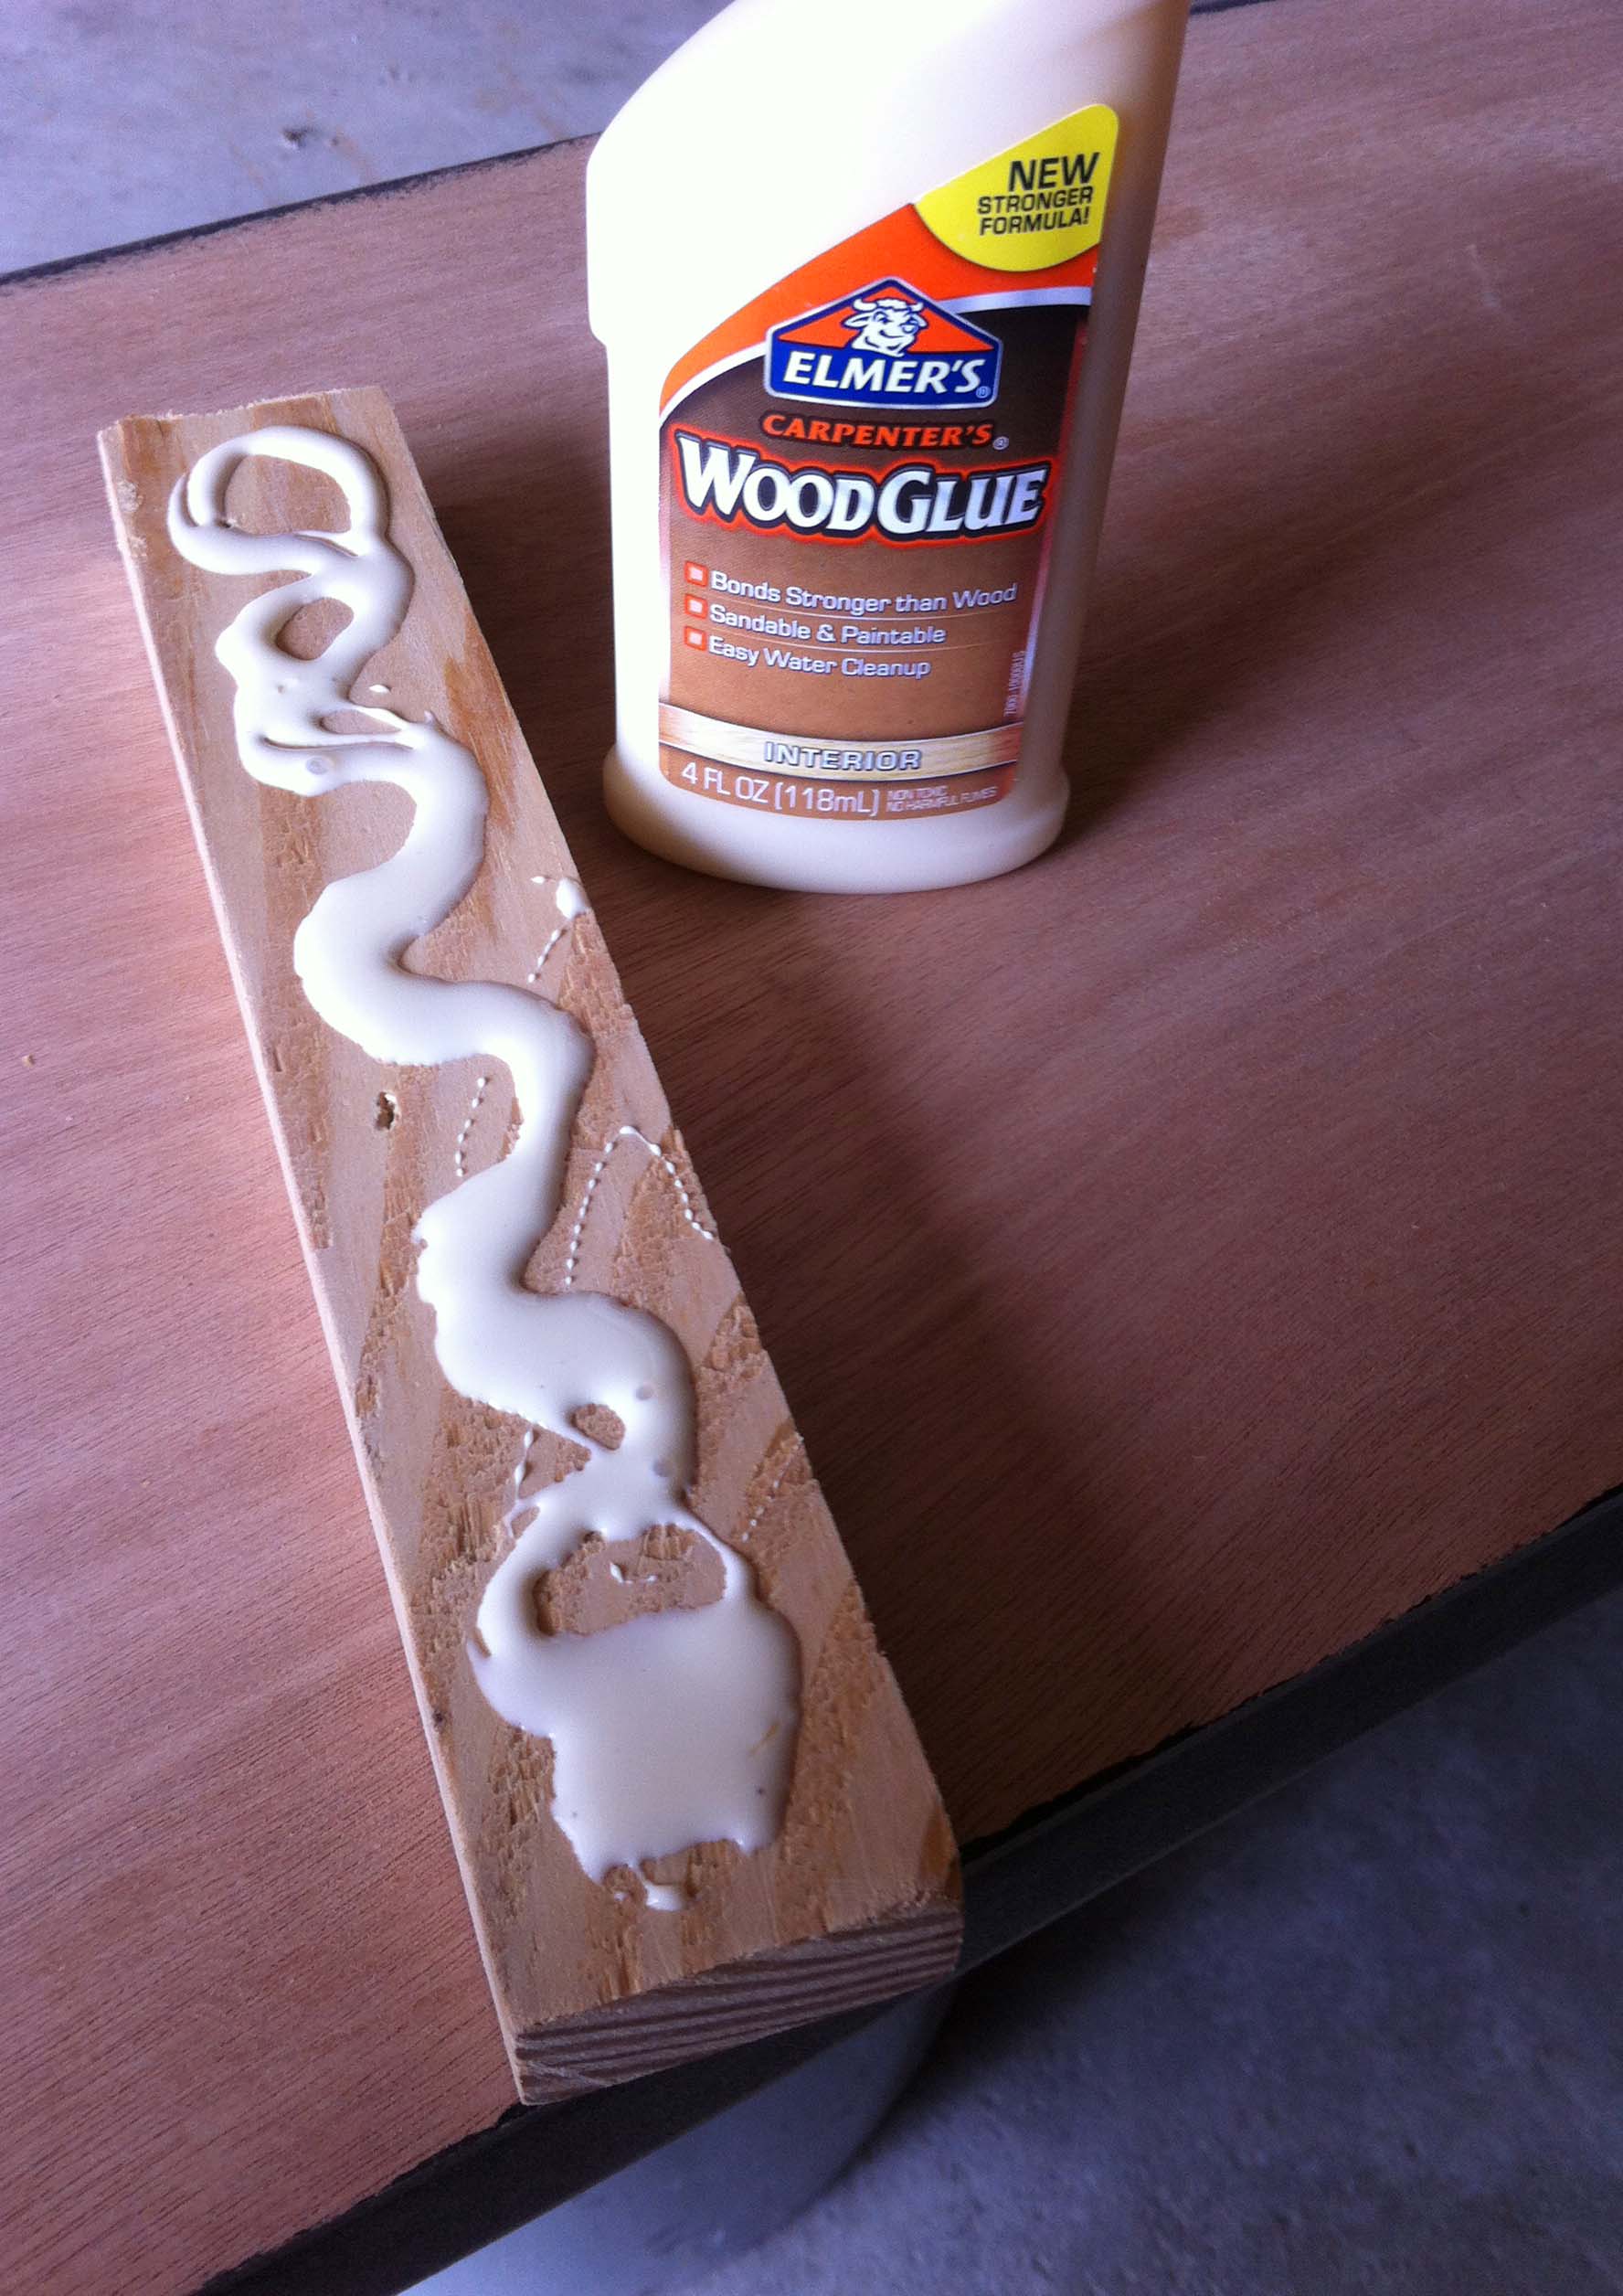


Because the doors were hollow, I needed to add something to attach the wall bracket to. I cut pieces of wood to size and used wood glue and clamps to adhere them to the underside of the soon-to-be shelf. I cut the wood strips a few inches shorter than the overall depth so that they wouldn't show from the front. I also used a triangle to place the strips so I could be certain they were straight.
After the glue dried and pieces were firmly in place, I wiped everything down and painted it this gorgeous cobalt color. Rather than giving everything a first coat, and then a second, I painted two coats on the underside and edges before flipping it over and painting the top. This way the top was never face-down on un-cured paint.
When attaching the metal wall brackets, I offset them about 1/2" from the shelf rather having the shelf be flush with the wall. This provides a narrow channel for the cords from table lamps to tuck neatly behind the shelf instead of resting on top.


Overall, I love how it turned out! I also really like the color--its the perfect pop with all the black and white. I think some throw pillows with a little color will be then next project and the finishing touch for this space!