Design Blogs You'll Want to Follow

I am constantly being inspired by others in the design field. I love seeing the unique approaches that are used to creatively solve design challenges and create cohesive styles. Today I wanted to call out some of my favorite interior design blog all-stars and tell you why I think they are each so awesome. 

Photo Credit: David Pascolla 

Sarah, of Sarah M. Dorsey Designs, is one of my all-time favorite DIY interior design bloggers. Here's why I think you'll love her too: Sarah's projects are always super high-quality! She takes the time to be incredibly thorough and she tackles some really impressive pieces. Her husband, David, often helps with the detailed plans and measurements and then they are kind enough to share them in their blog posts, meaning it's easy to follow the instructions and get great results! These gorgeous geometric DIY lights are a great example. Another thing I love about Sarah is her style. Check out her home tour and you'll see what I mean--isn't her office to die for!? 
Okay, enough of me telling you--go see the awesomeness for yourself!


Photo Source: Amber Interiors 

Next is Amber Lewis, of Amber Interiors. This girl has some serious style! The crisp, cool, clean, modern-meets-bohemian vibe that is signature of her work is truly inspiring. I love checking out her before and after shots--like this girls room for Client Sandy Castles, (Oh yeah, she also gives her clients awesome nicknames!) or this guest bath for Client Freakin Fabulous. If I lived in L.A., Amber Interiors is who I would have design my entire house! Check out more of her work and then comment below to share what your faves are!


Photo Credit: LK Griffin Photography

And last, but certainly not least, is Emily Henderson. Emily's design philosophy is one of the warmest, most authentic approaches to design out there. Without compromising her own sense of style, she delivers designs that are truly all about her clients. Take a peek at her portfolio and you will see that the breadth of her talent and styling ability are not to be rivaled. Emily and her team also curate The Fleawhere you can purchase some amaaaazing vintage treasures that are truly one-of-a-kind! Then, if you're like me and can't get enough of Emily's savvy style, check our her HGTV show, Secrets From a Stylist

Make sure to follow these rockstars on Pinterest, Bloglovin, Instagram, and Facebook so you don't miss any of their awesome work! Want to see more of what inspires us? Follow 5 O'CLOCK DESIGN CO. on Pinterest

Craigslist Search Tips

Trying to decorate on a budget or curate a unique style for your home? Craigslist can be a trove of buried treasure if you know how to find what you're looking for! Here are some of my favorite tips and tricks for finding great pieces and scoring sweet deals! 


Looking for something in particular? Try these tips:

Broaden Your Definition – Not everyone knows what a “credenza” is, think about how else you might describe it and search using those words. For example, “dresser” “sideboard” and “side table” may turn up something new.

Be Specific – I know this seems like it contradicts the tip above, but if I am looking for a set of dining chairs I intentionally search for “chairs” with the “s” – if I’m looking for an accent chair and don’t want a matching pair, I leave it off.

Narrow Your Criteria – Personally, I only search for listings that include pictures. Descriptions can be misleading, but pictures don’t lie! (Well, sometimes they do, but you get the point.) Use a dash to exclude things you don’t want to see. A search for “rug –shag” will exclude any shag rugs from your search results.

Decide How Far You’re Willing to Drive – Sometimes when you’re on the hunt for the perfect _______ (fill in the blank) you would drive across the country if you found the one. I’m not necessarily suggesting that, but searching a town or two away might be worth the miles for the right piece and price.


Just treasure hunting? Give this a try:

Search by an Era or Style – If I’m just browsing, I’ll use keywords like, “mid century” or  “Danish” just to see what turns up. Using the name of well-known designer for a style you like is another sure bet. When searching under “Eames” I often get a seller describing something as “Eames era” etc.  and even if they're not authentic, vintage pieces, sometimes  I stumble across treasures I didn't even know to look for!

Search by a Material or Component – Again, you never know what treasures may be hiding behind weird descriptions. Try searching for elements of really great pieces! “Marble,” “velvet,” and “teak” are just a few examples of search terms that are likely to yield high-end treasures. Keep reading for a handy list of key words and terms! 

Search in Categories Other Than Furniture – I often peruse the furniture category of craigslist, and granted, while that’s where I have found most of my big wins, I’ve also had great luck poking around the Materials, Household, and General sections. You can also narrow the furniture category if you prefer not to see pieces by dealers. 

Look for Potential, Not Perfection – I have often found amazing deals on pieces because they needed some serious TLC. I'm not afraid of investing a little elbow grease or taking a chance on something if the price is right. A great example are these end tables/nightstands that were totally boring and in pretty rough shape when I found them, but were able to be totally transformed! 


How to Haggle:

Etiquette – There are some un-written rules of price negotiation. The first is don’t low ball—we all want a great deal, but it can turn a seller off to selling you the item at all if you aim too low in your initial offer. Second rule: agree on the purchase price before you go pick up an item. Unless the condition of something is drastically different than it was described and portrayed in pictures, don’t offer less once you get there—no one likes to be put on the spot. That being said, if an item isn’t quite what you expected once you get there, don’t be afraid to politely back out. Until you hand over the cash, you haven’t purchased the piece and it’s not too late to change your mind if something feels off or was misrepresented. Just don't intentionally be misleading about your commitment to buy--that makes you "that guy."

When to Offer Less – AFTER you have been complimentary! Seriously, don't be aggressive or snotty--the only deal that will get you is an un-answered email. The longer something has been listed, the safer it is to offer less. Just be sure you're getting a deal, not buying crap no one else wanted! If something is nicked, scratched, torn etc and the price does not reflect this, feel free to point out a flaw or two and make your offer. If a seller states "OBO", go ahead make a (still reasonable) offer! On the flip side, if an ad states "non-negotiable" -- please don't try, that's rude and tacky! Lastly, (this is the tricky one!) when you fall in love with a piece that is out of your price range, if handled with utmost respect and honesty, it is okay to explain how much you love the item, state what your max budget is, and ask them to contact you if it doesn't sell and they would consider your offer. Be polite and know that it might not be in the cards, but done graciously, it's okay to ask. 


Tried and True Craigslist Search Terms:

Eames

Saarinen

Knoll

Heywood Wakefield

Cooper Hewitt 

American of Martinsville

Mahogany

Lucite

Chippendale

Brass

Rattan


Danish                       

Vintage

Mid-Century

Modern

Rustic

Ornate

Authentic

Craftsman

Scandinavian

Persian

Dovetail 

Velvet

Tufted

Teak

Marble

Down

Cane

Bamboo

Leather

1940s, 1950s, etc

Art Deco

Hollywood Regency


Here are Some of My Favorite Craigslist Finds:

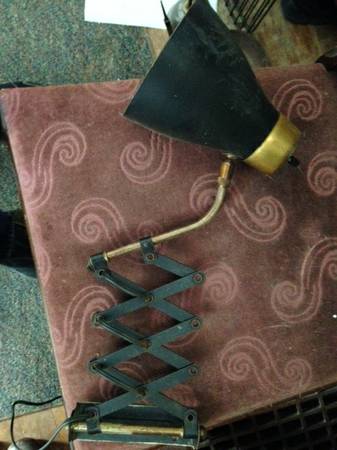
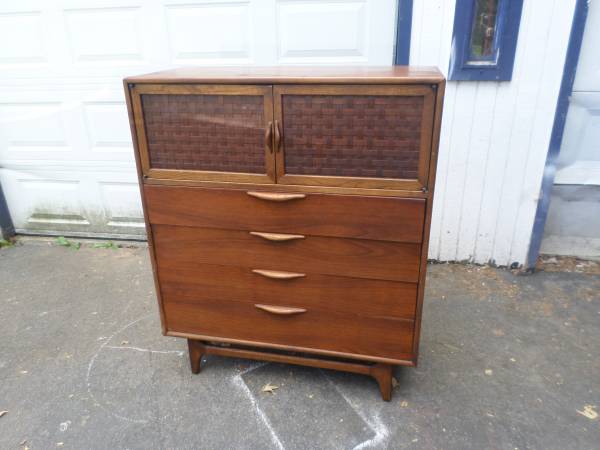
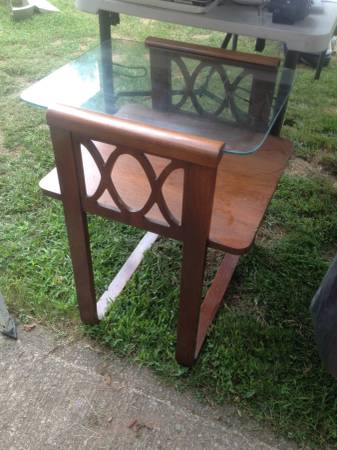
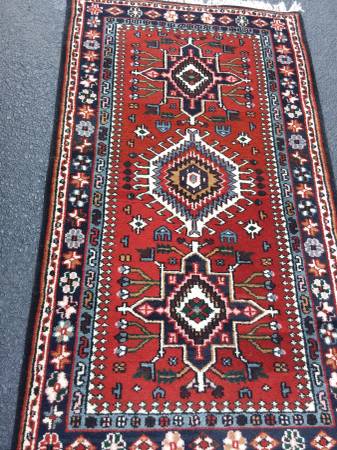
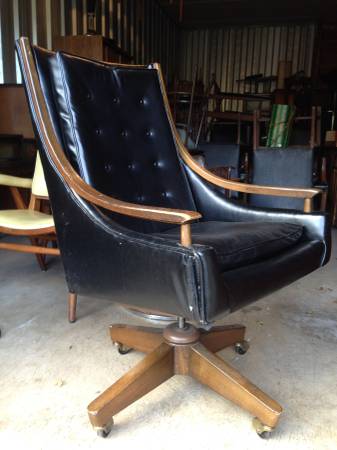
Don't be fooled by the need for re-upholstering or some touch-up! If you're local to the Syracuse, NY area, you should hop on over to Craigslist and scoop up some of these beauties! 

DIY Sofa Table

With the wee one learning to crawl, I decided it would be a good idea remove the glass coffee table from the middle of our living room. I planned on replacing it with something more toddler-friendly, but having the open space has been perfect for him to play and I've enjoyed the visual openness too. I contemplated end tables, but our living room just isn't big enough for that much furniture. We do need a place to set a coffee cup or water glass down though, so I began focusing my attention on sofa tables.

I decided this would make a great DIY project and started scouting materials. I settled on a pair of bifold doors that we removed from a closet and we no longer had need for. These were a great solution for a few different reasons. First, the doors are pretty cheap, generic versions, but for this use, that was actually great because it meant they are hollow and therefore lighter. The weight was important because instead of using table legs, I opted for go with wall-mounting hardware. The height of these was also a perfect fit for our sofa and the depth is more than sufficient without being bulky or obtrusive. 

Here is the process of their transformation from closet door to sofa table!

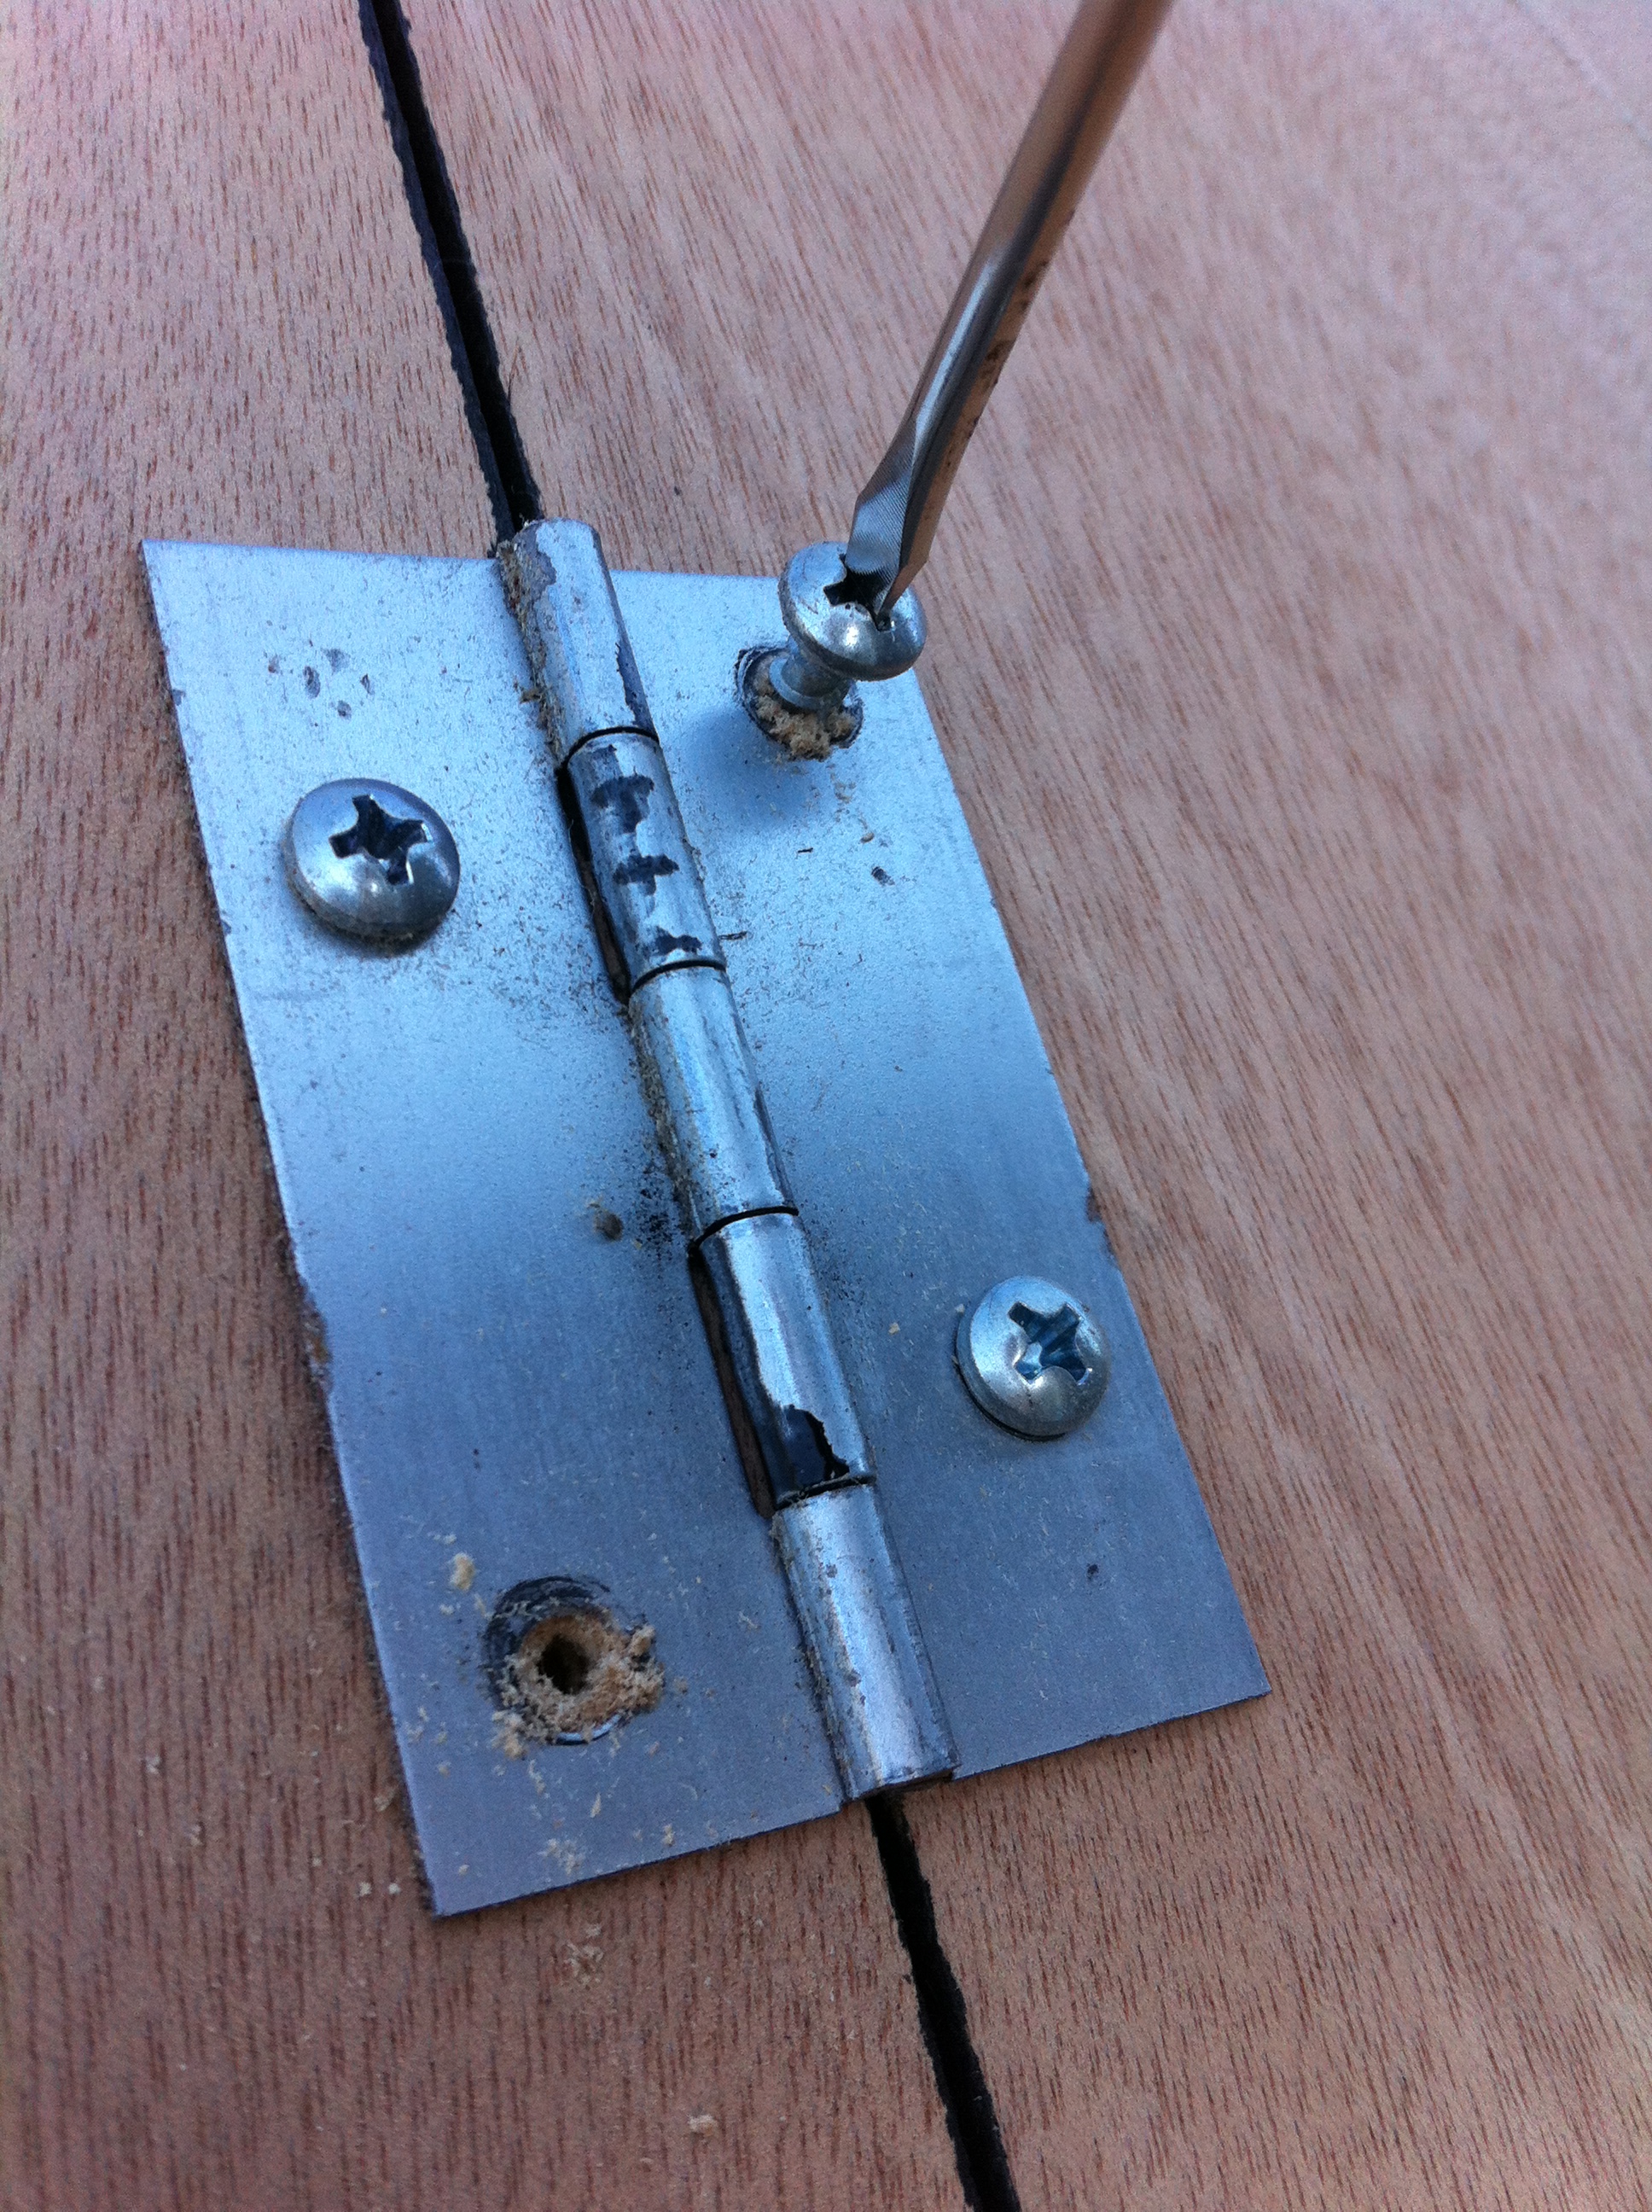
I only needed one panel so I took off the hinges and removed the pieces used to hang it from a track in its former life as a door. I then used some wood filler on all the holes before giving it a good sanding. 

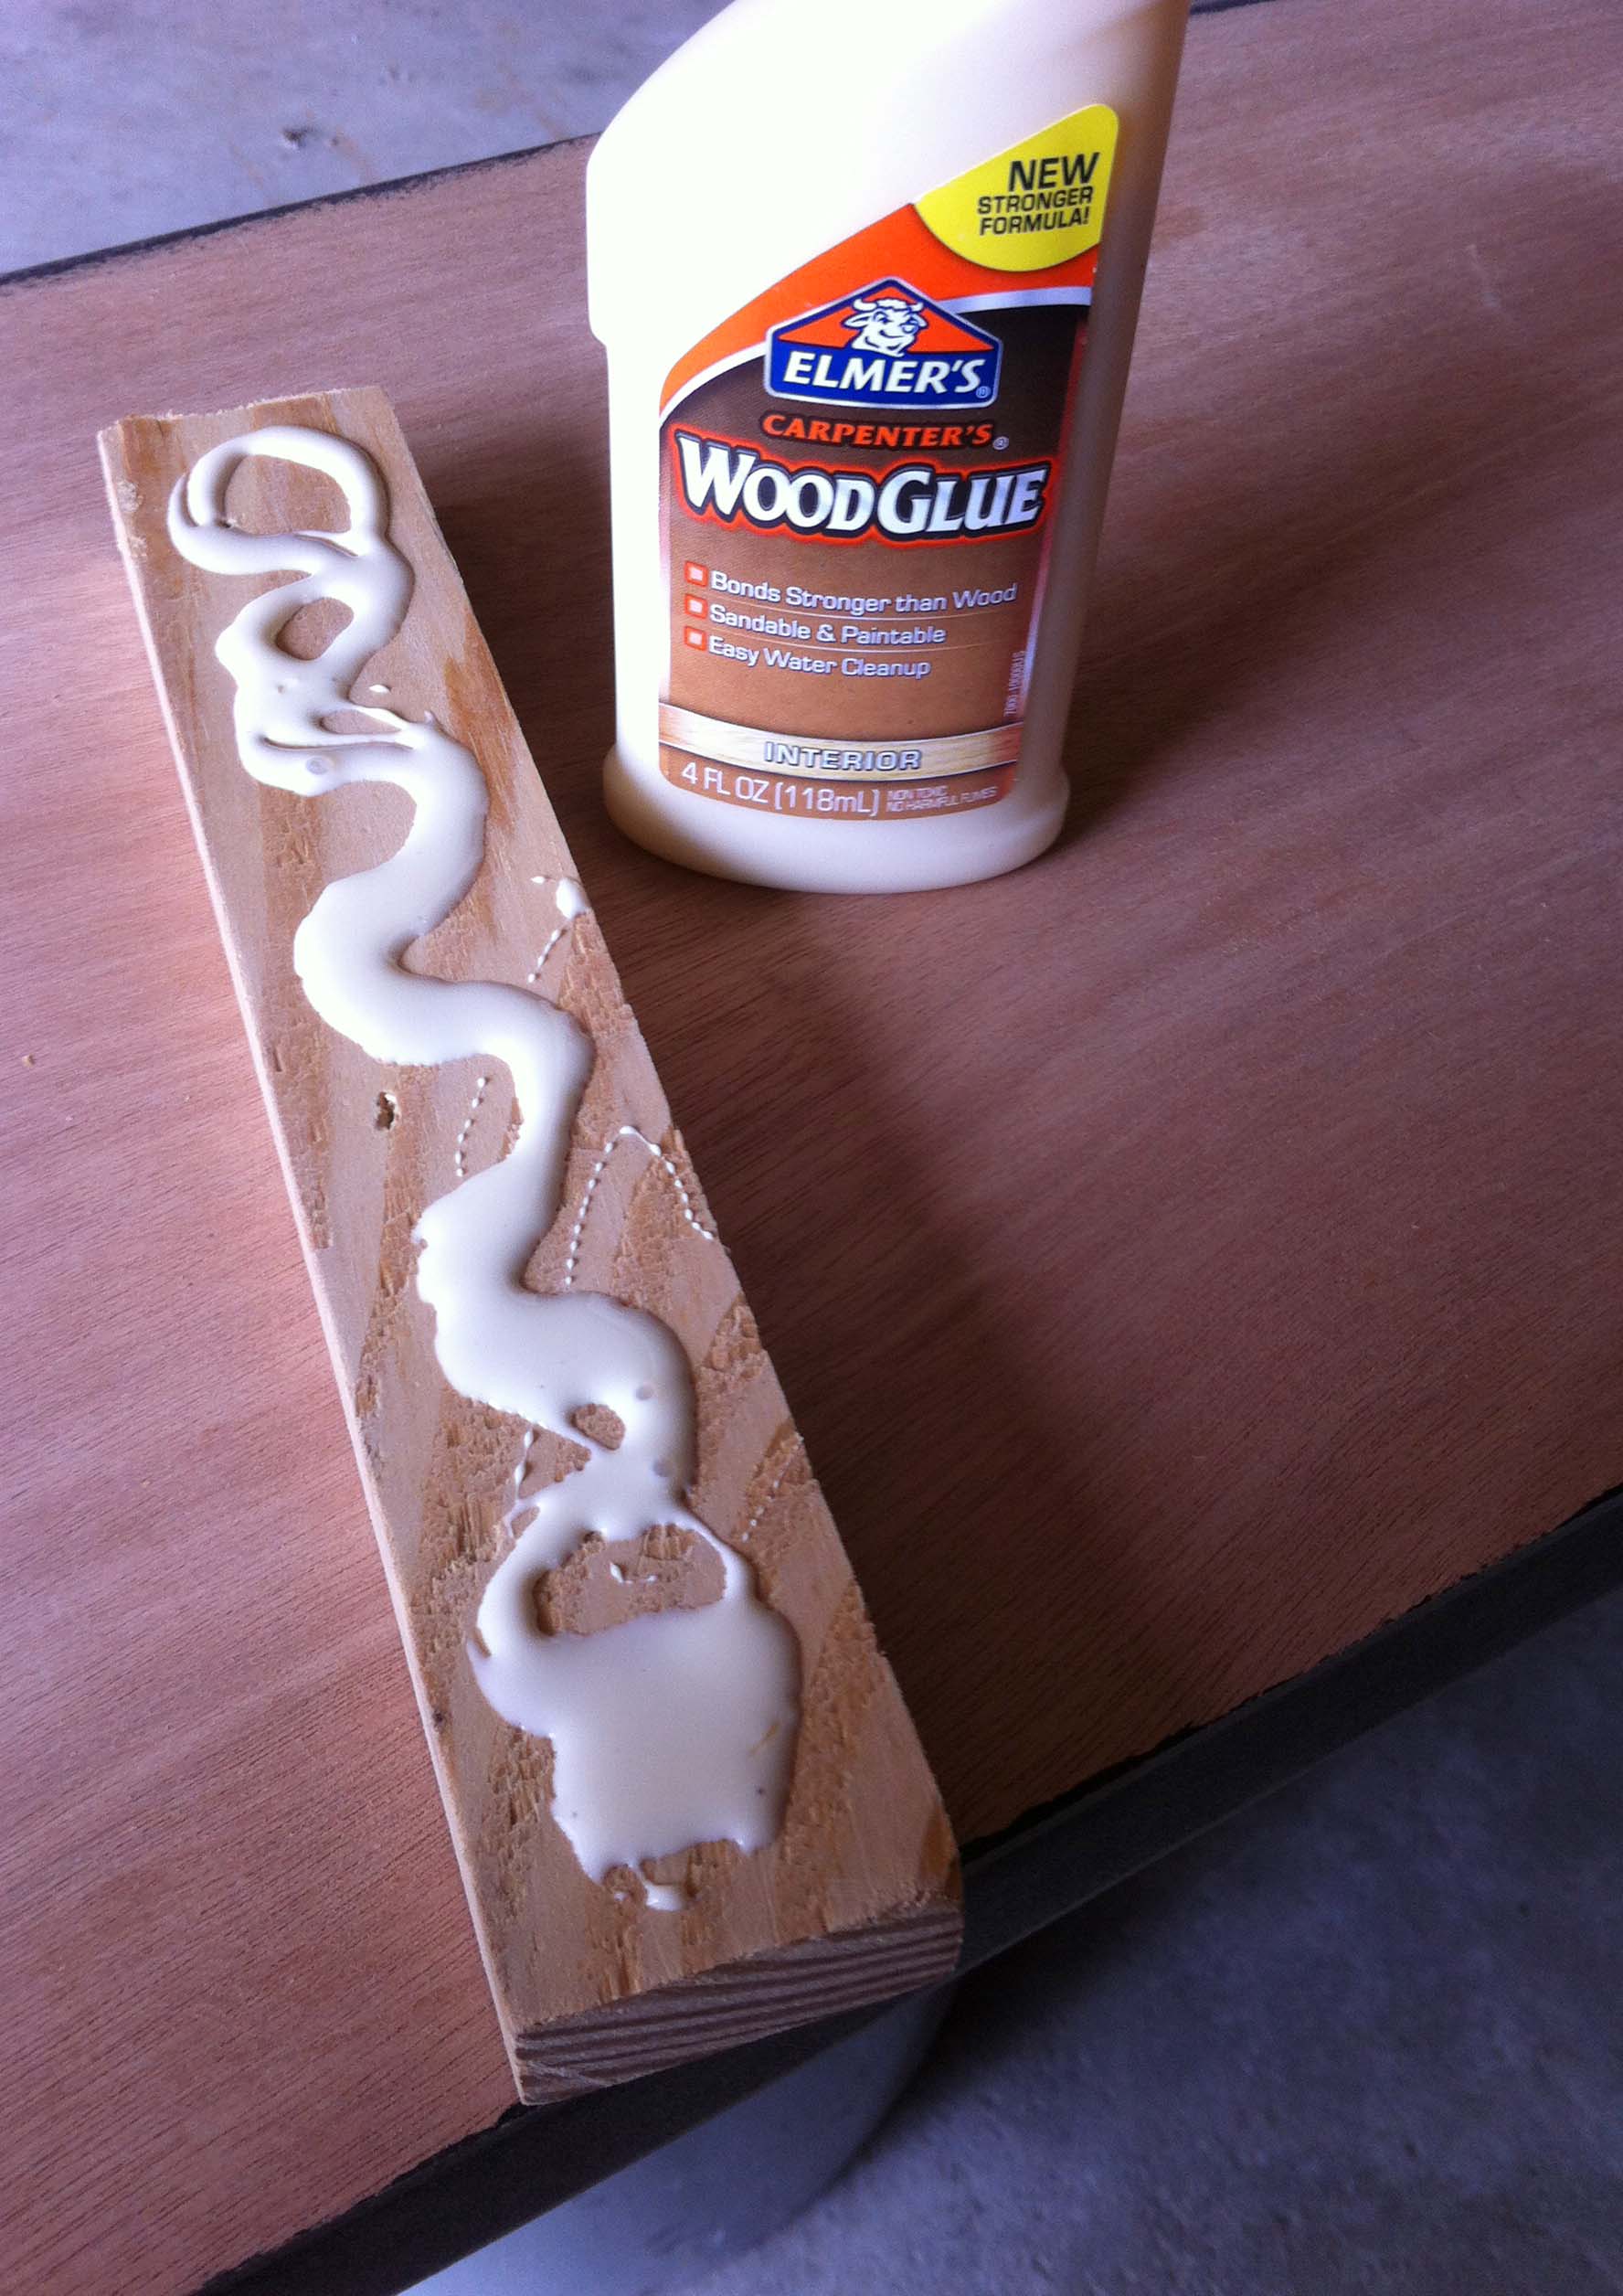
Because the doors were hollow, I needed to add something to attach the wall bracket to. I cut pieces of wood to size and used wood glue and clamps to adhere them to the underside of the soon-to-be shelf. I cut the wood strips a few inches shorter than the overall depth so that they wouldn't show from the front. I also used a triangle to place the strips so I could be certain they were straight. 

After the glue dried and pieces were firmly in place, I wiped everything down and painted it this gorgeous cobalt color. Rather than giving everything a first coat, and then a second, I painted two coats on the underside and edges before flipping it over and painting the top. This way the top was never face-down on un-cured paint. 

When attaching the metal wall brackets, I offset them about 1/2" from the shelf rather having the shelf be flush with the wall. This provides a narrow channel for the cords from table lamps to tuck neatly behind the shelf instead of resting on top. 

Overall, I love how it turned out! I also really like the color--its the perfect pop with all the black and white. I think some throw pillows with a little color will be then next project and the finishing touch for this space!

Sneak Peek: A Big Girl Room for B

My sister just bought a house and I couldn't be more excited for her and her sweet little family! Previously, all three of their girls were sharing a bedroom, so Bridget is pretty pumped about having her own space! She's only 4, but since kids grow up so fast it was important to choose a style that can grow with her.  When selecting a wall color, we went with something that was neutral enough to carry through and use in the other bedrooms as well. This consistency, even with different accents, will go a long way to provide a cohesive look throughout the home. 

So... here's the sneak peak! I love the cheeriness--I think it matches B's personality perfectly!  

Big Kid Bedroom // Coral, Teal, Navy, and Gold

A Vintage Inspired Wedding

Some tips, tricks, and things to think about when planning your big day!

I can't believe it has been four years since my favorite day ever--when I married the handsome man I now get to call my husband. I loved planning every part of my wedding and we handled most of the details ourselves (and by "ourselves" of course I mean with the help of our awesome family and friends!).

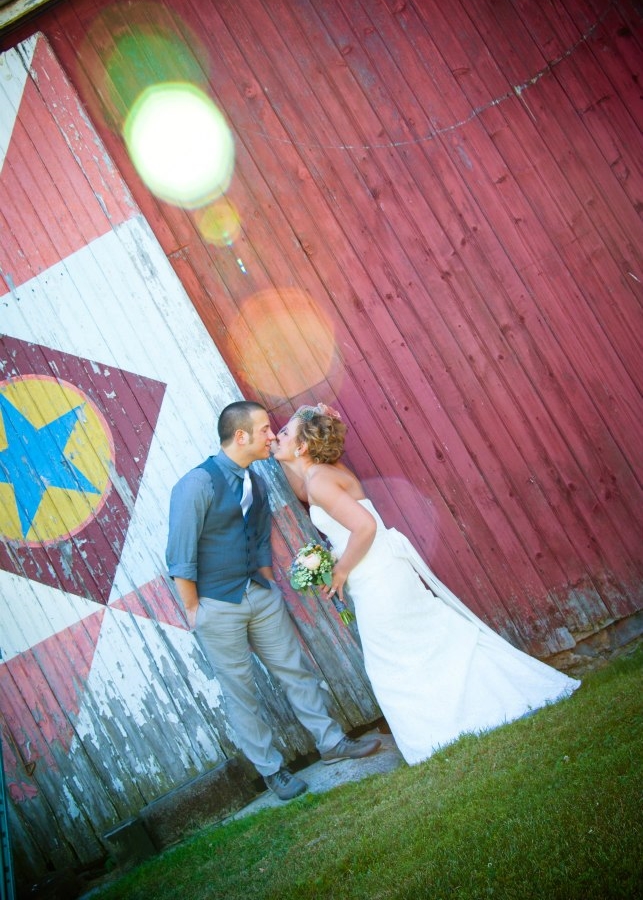
On the day of our wedding we opted to take most of our photos earlier in the day. We didn't want people to have to wait for us and we really wanted to savor every moment of the celebration. We still planned for the big moment when Matt would see me in my dress for the first time and had our photographer capture the whole thing. It ended up being a really special time for the two of us to enjoy each other before the wonderful whirlwind started.

Venue:
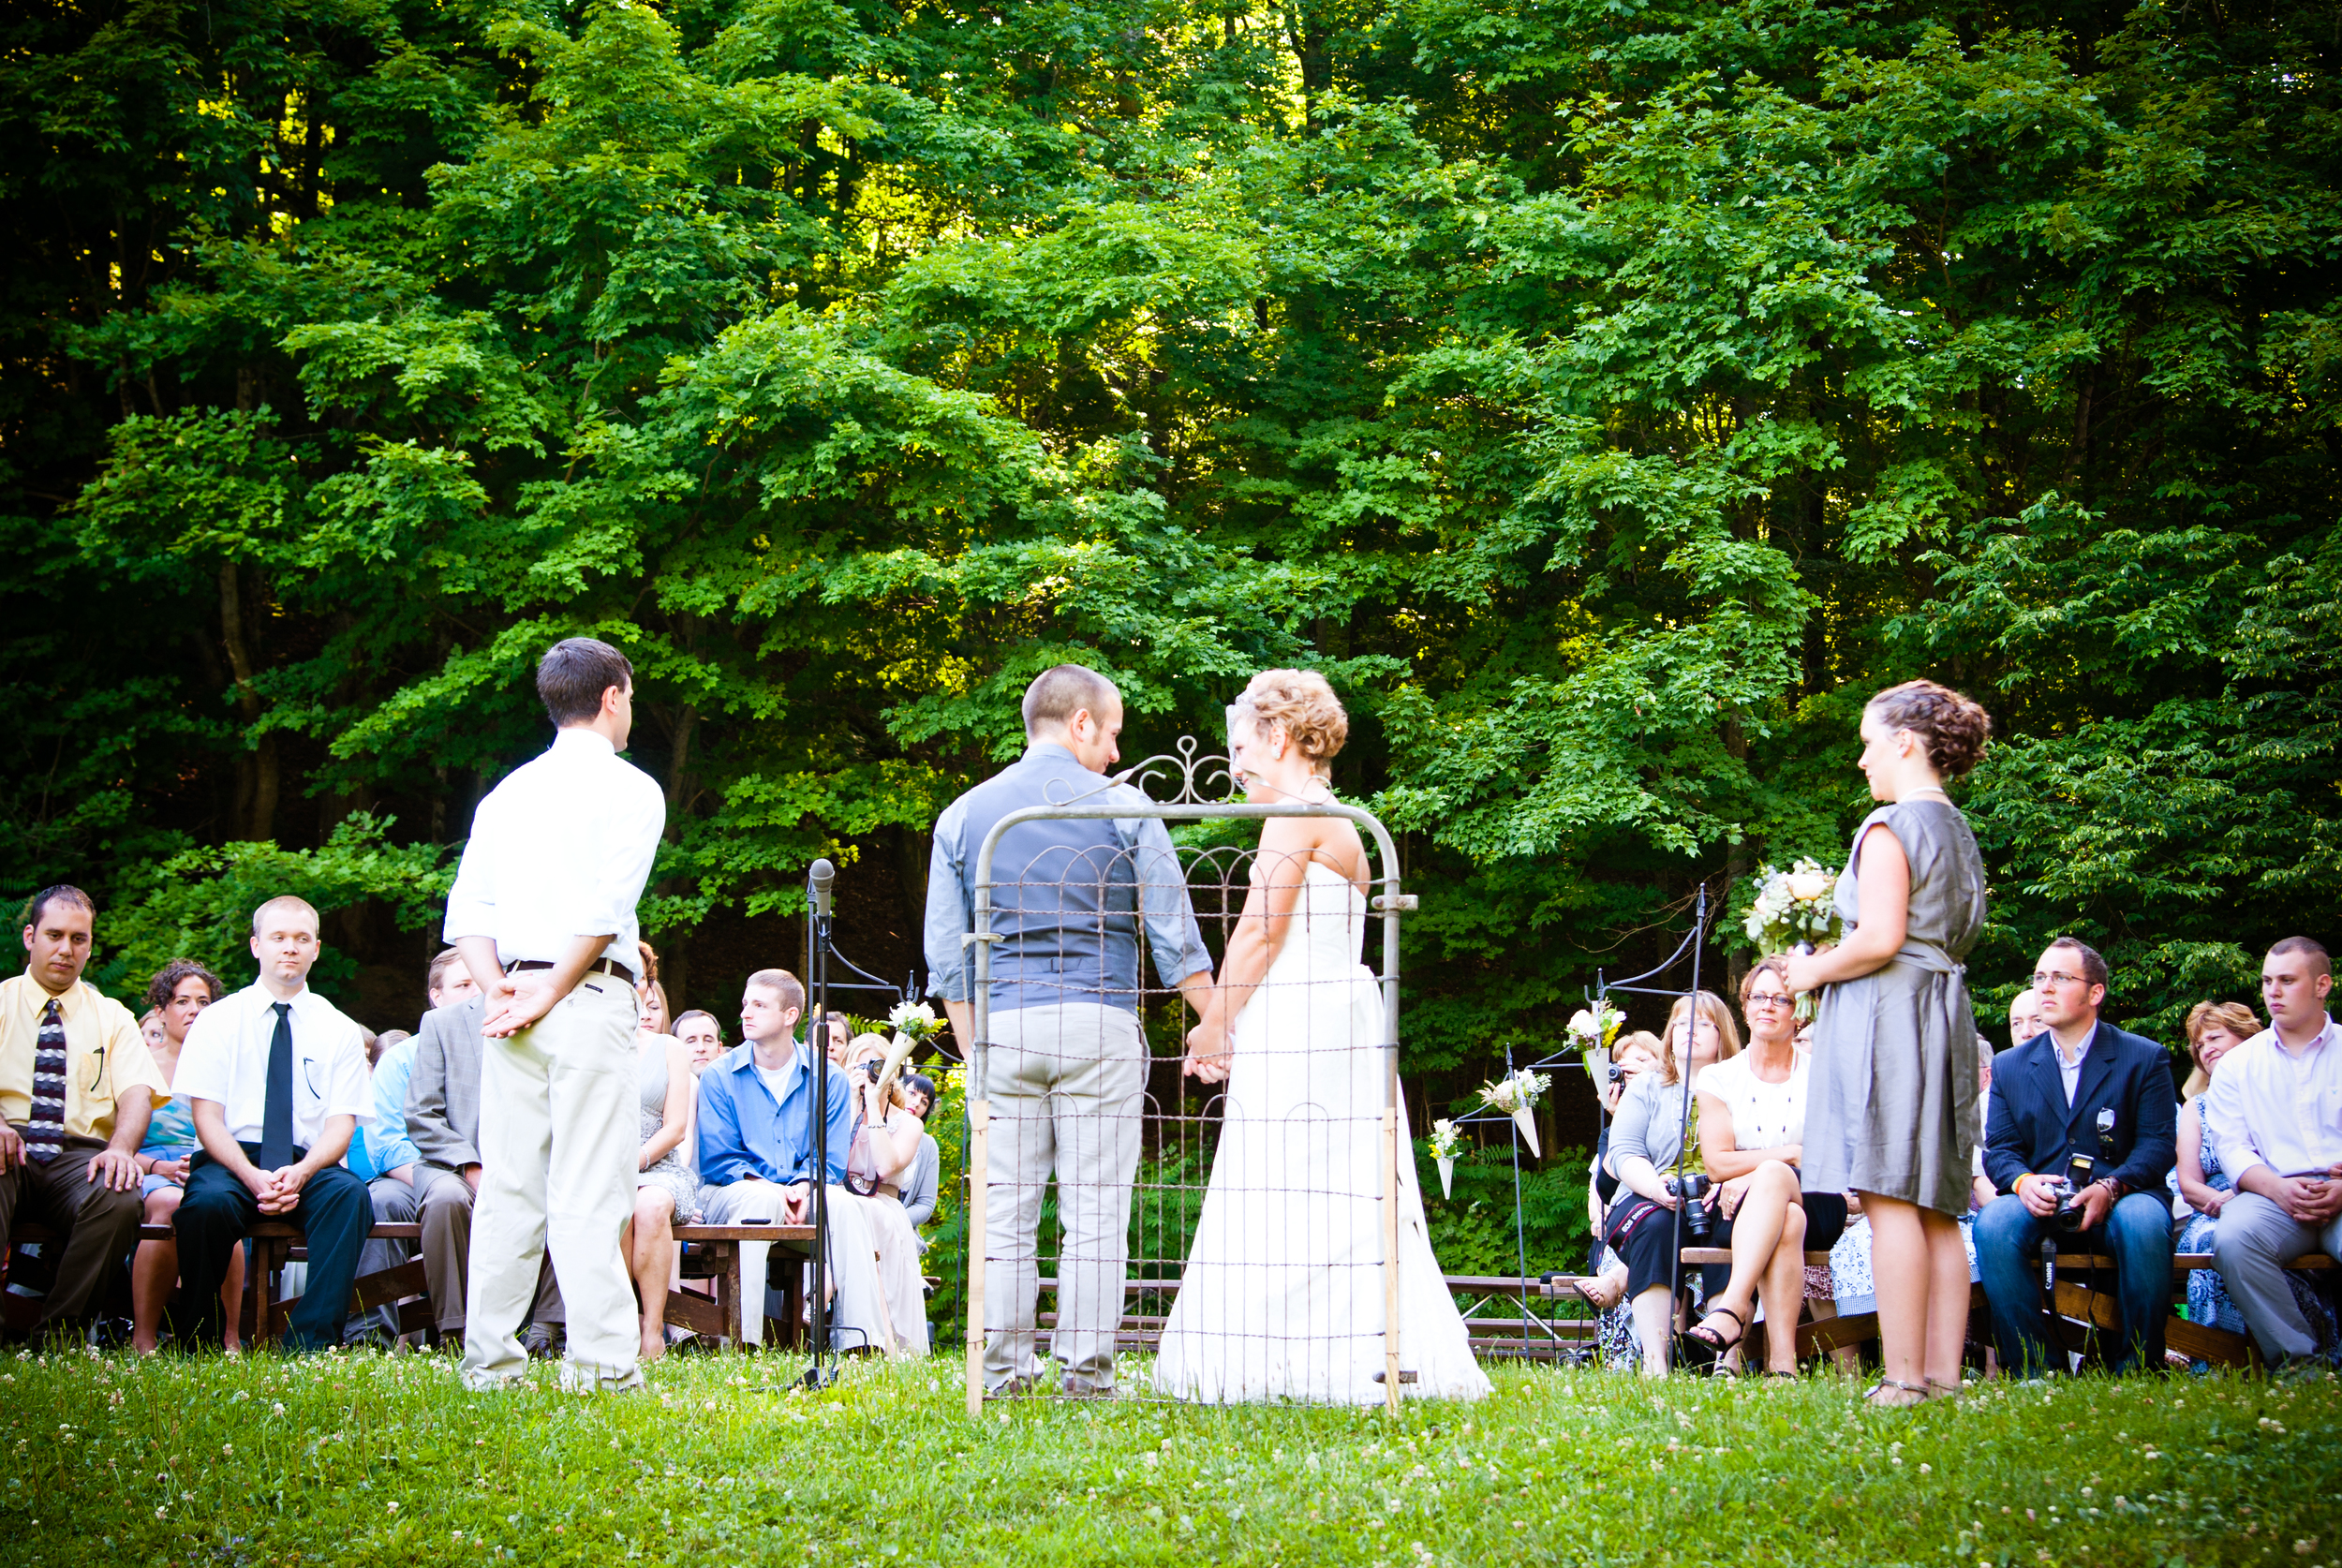
Since we really enjoy hiking and wanted an elegant picnic vibe, we selected a local Park for both our ceremony and reception. We live in beautiful, rural, upstate NY and had many parks to choose from. Here are a few of the reasons we knew Pratts Falls County Park was the one: the indoor space would comfortably hold our guests and was the perfect canvas for our vintage-chic decorations, there was ample outdoor space with a gorgeous view for our ceremony, and there was a full kitchen on site for our caterer. If you're looking for a unique, affordable venue, check your local parks!

Attire:
In keeping with the overall motif for the day, we chose vintage inspired pieces. A simple lace dress and birdcage veil paired nicely with linen pants, a vest and tie. Remember, you aren't limited to bridal boutiques and tux rentals--the grooms entire outfit was purchased at H&M! 

Food: 
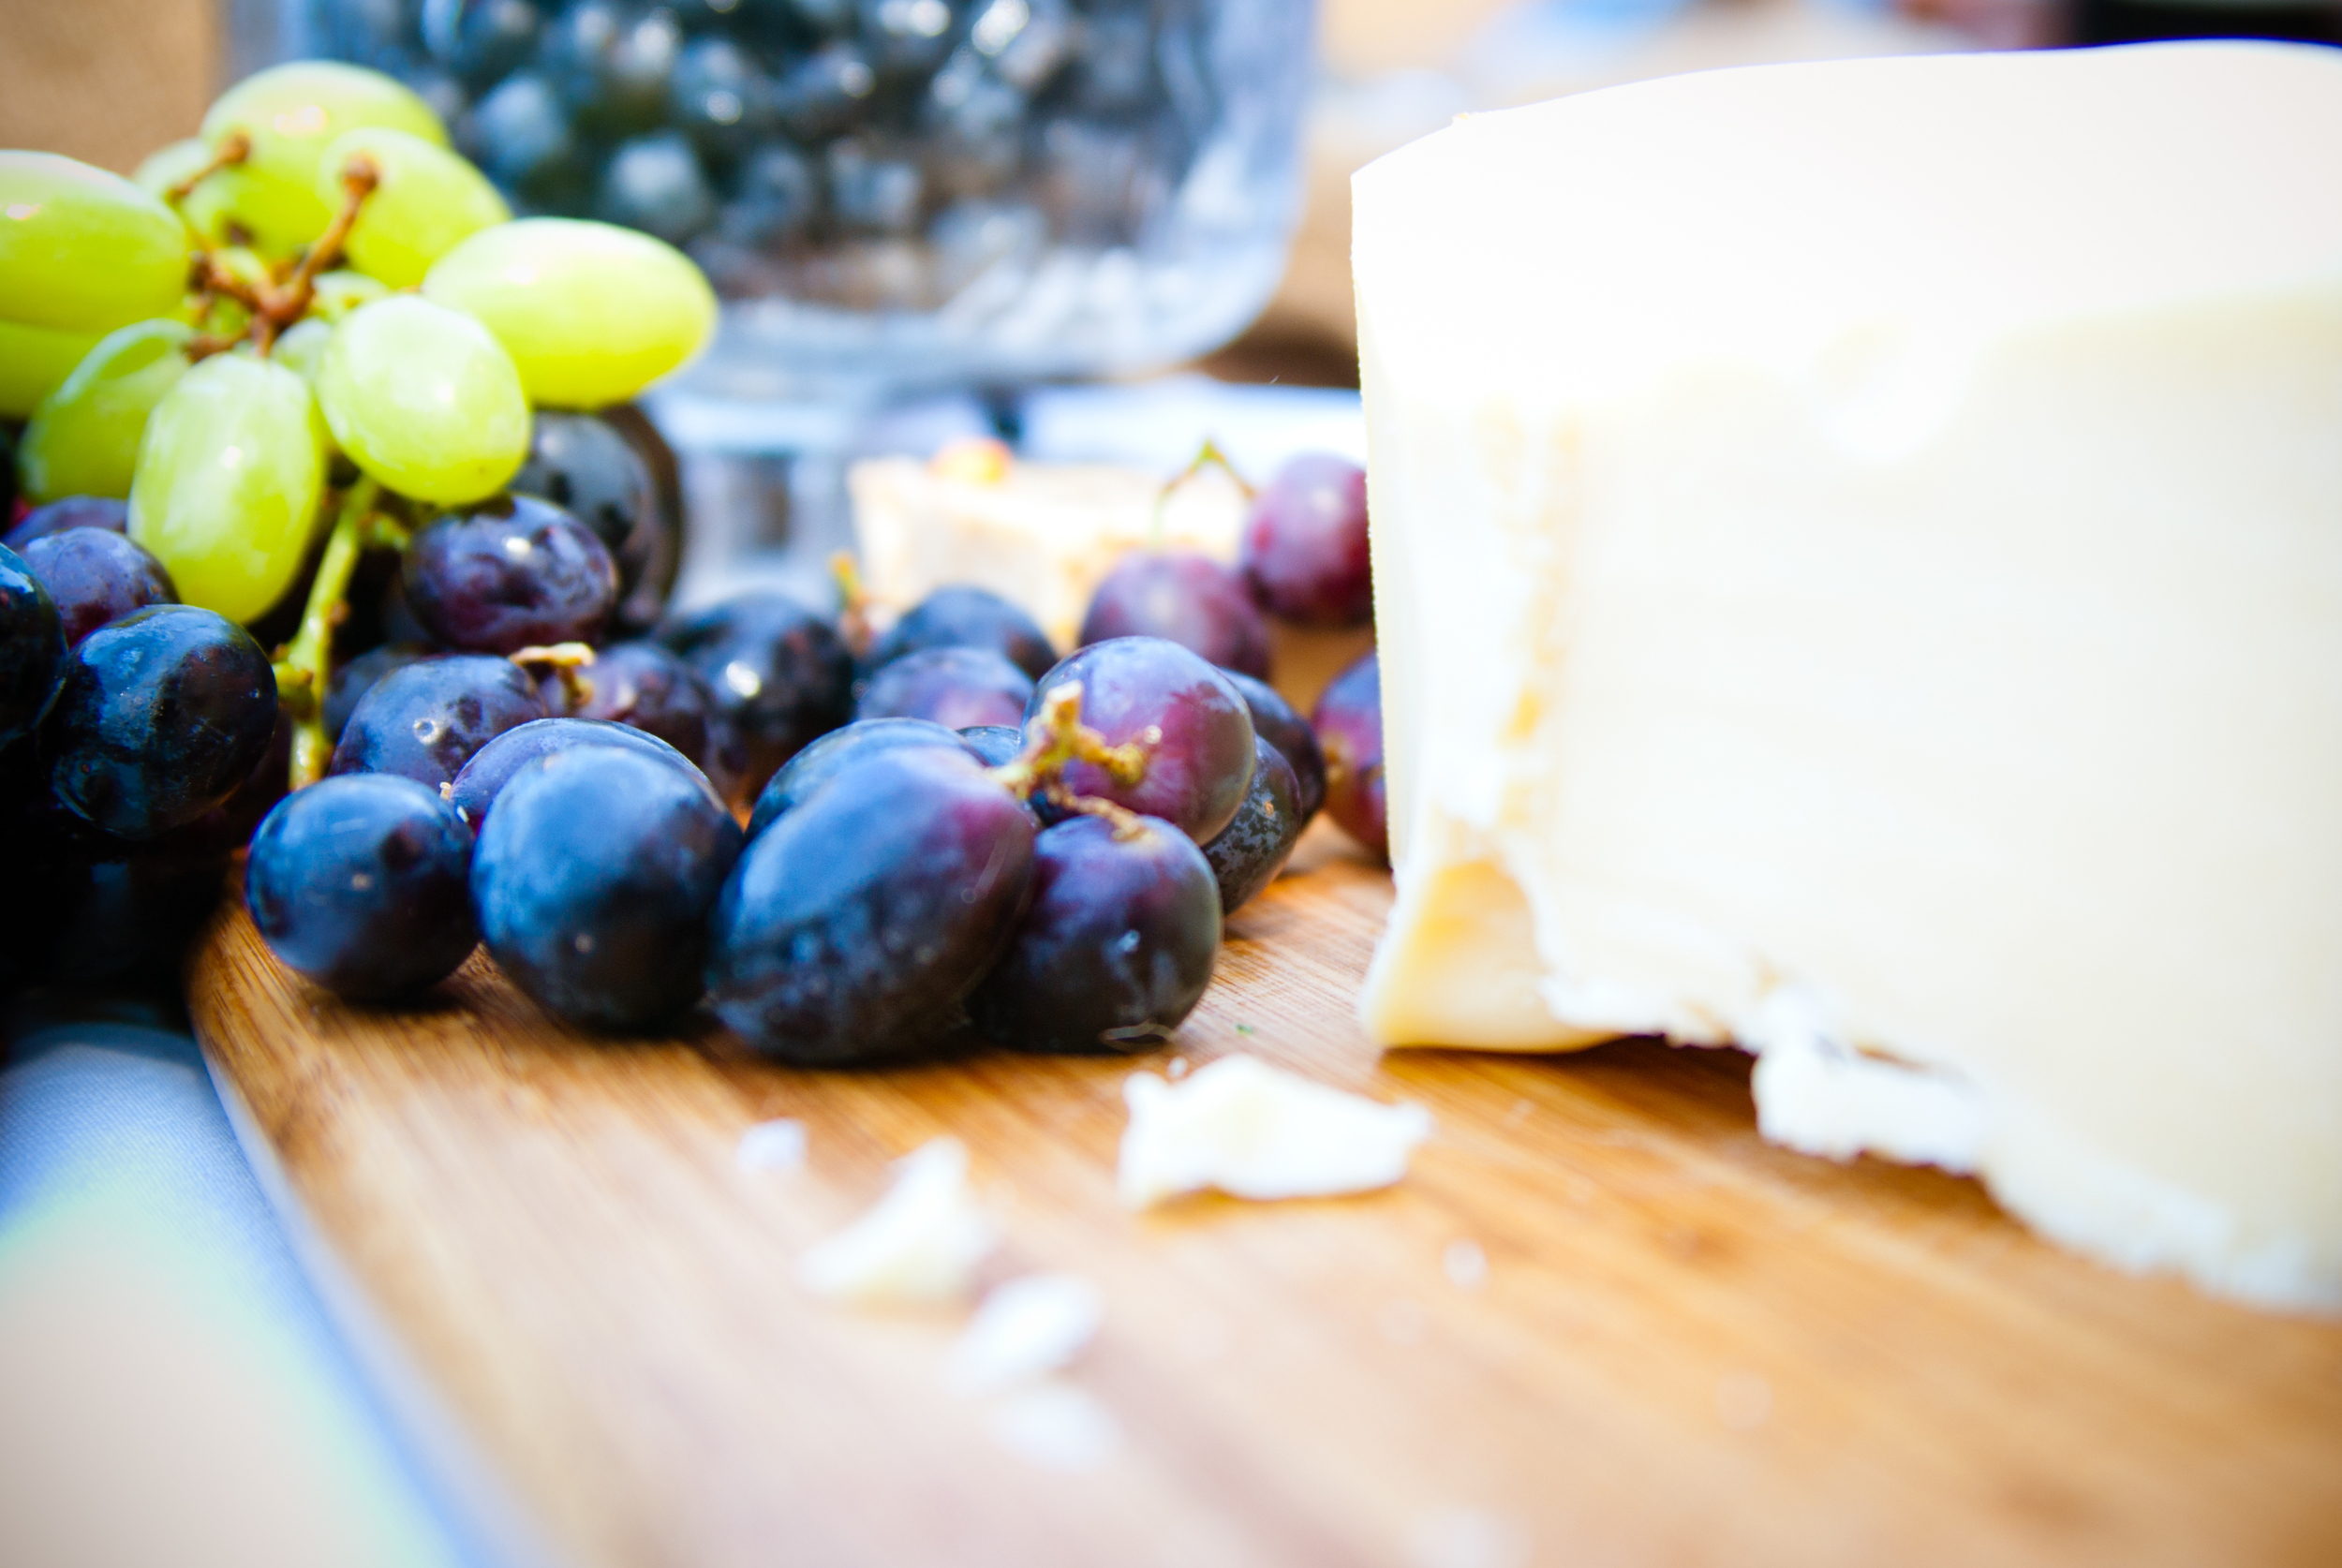
I think the food at a wedding is so important! Even though you probably won't take time to eat much that day, your guests will appreciate good food! One of my favorite parts was our cocktail hour. It was simple, informal, and the perfect opportunity to chat with everyone while sipping drinks on the lawn. 

Neither our venue nor caterer came with waitstaff, but we wanted the evening to have an air of sophistication. To achieve this, we asked acquaintances to help serve appetizers, tend bar, and clear plates etc. It really went a long way in making the evening feel special and we were so grateful for their help!

Dessert:
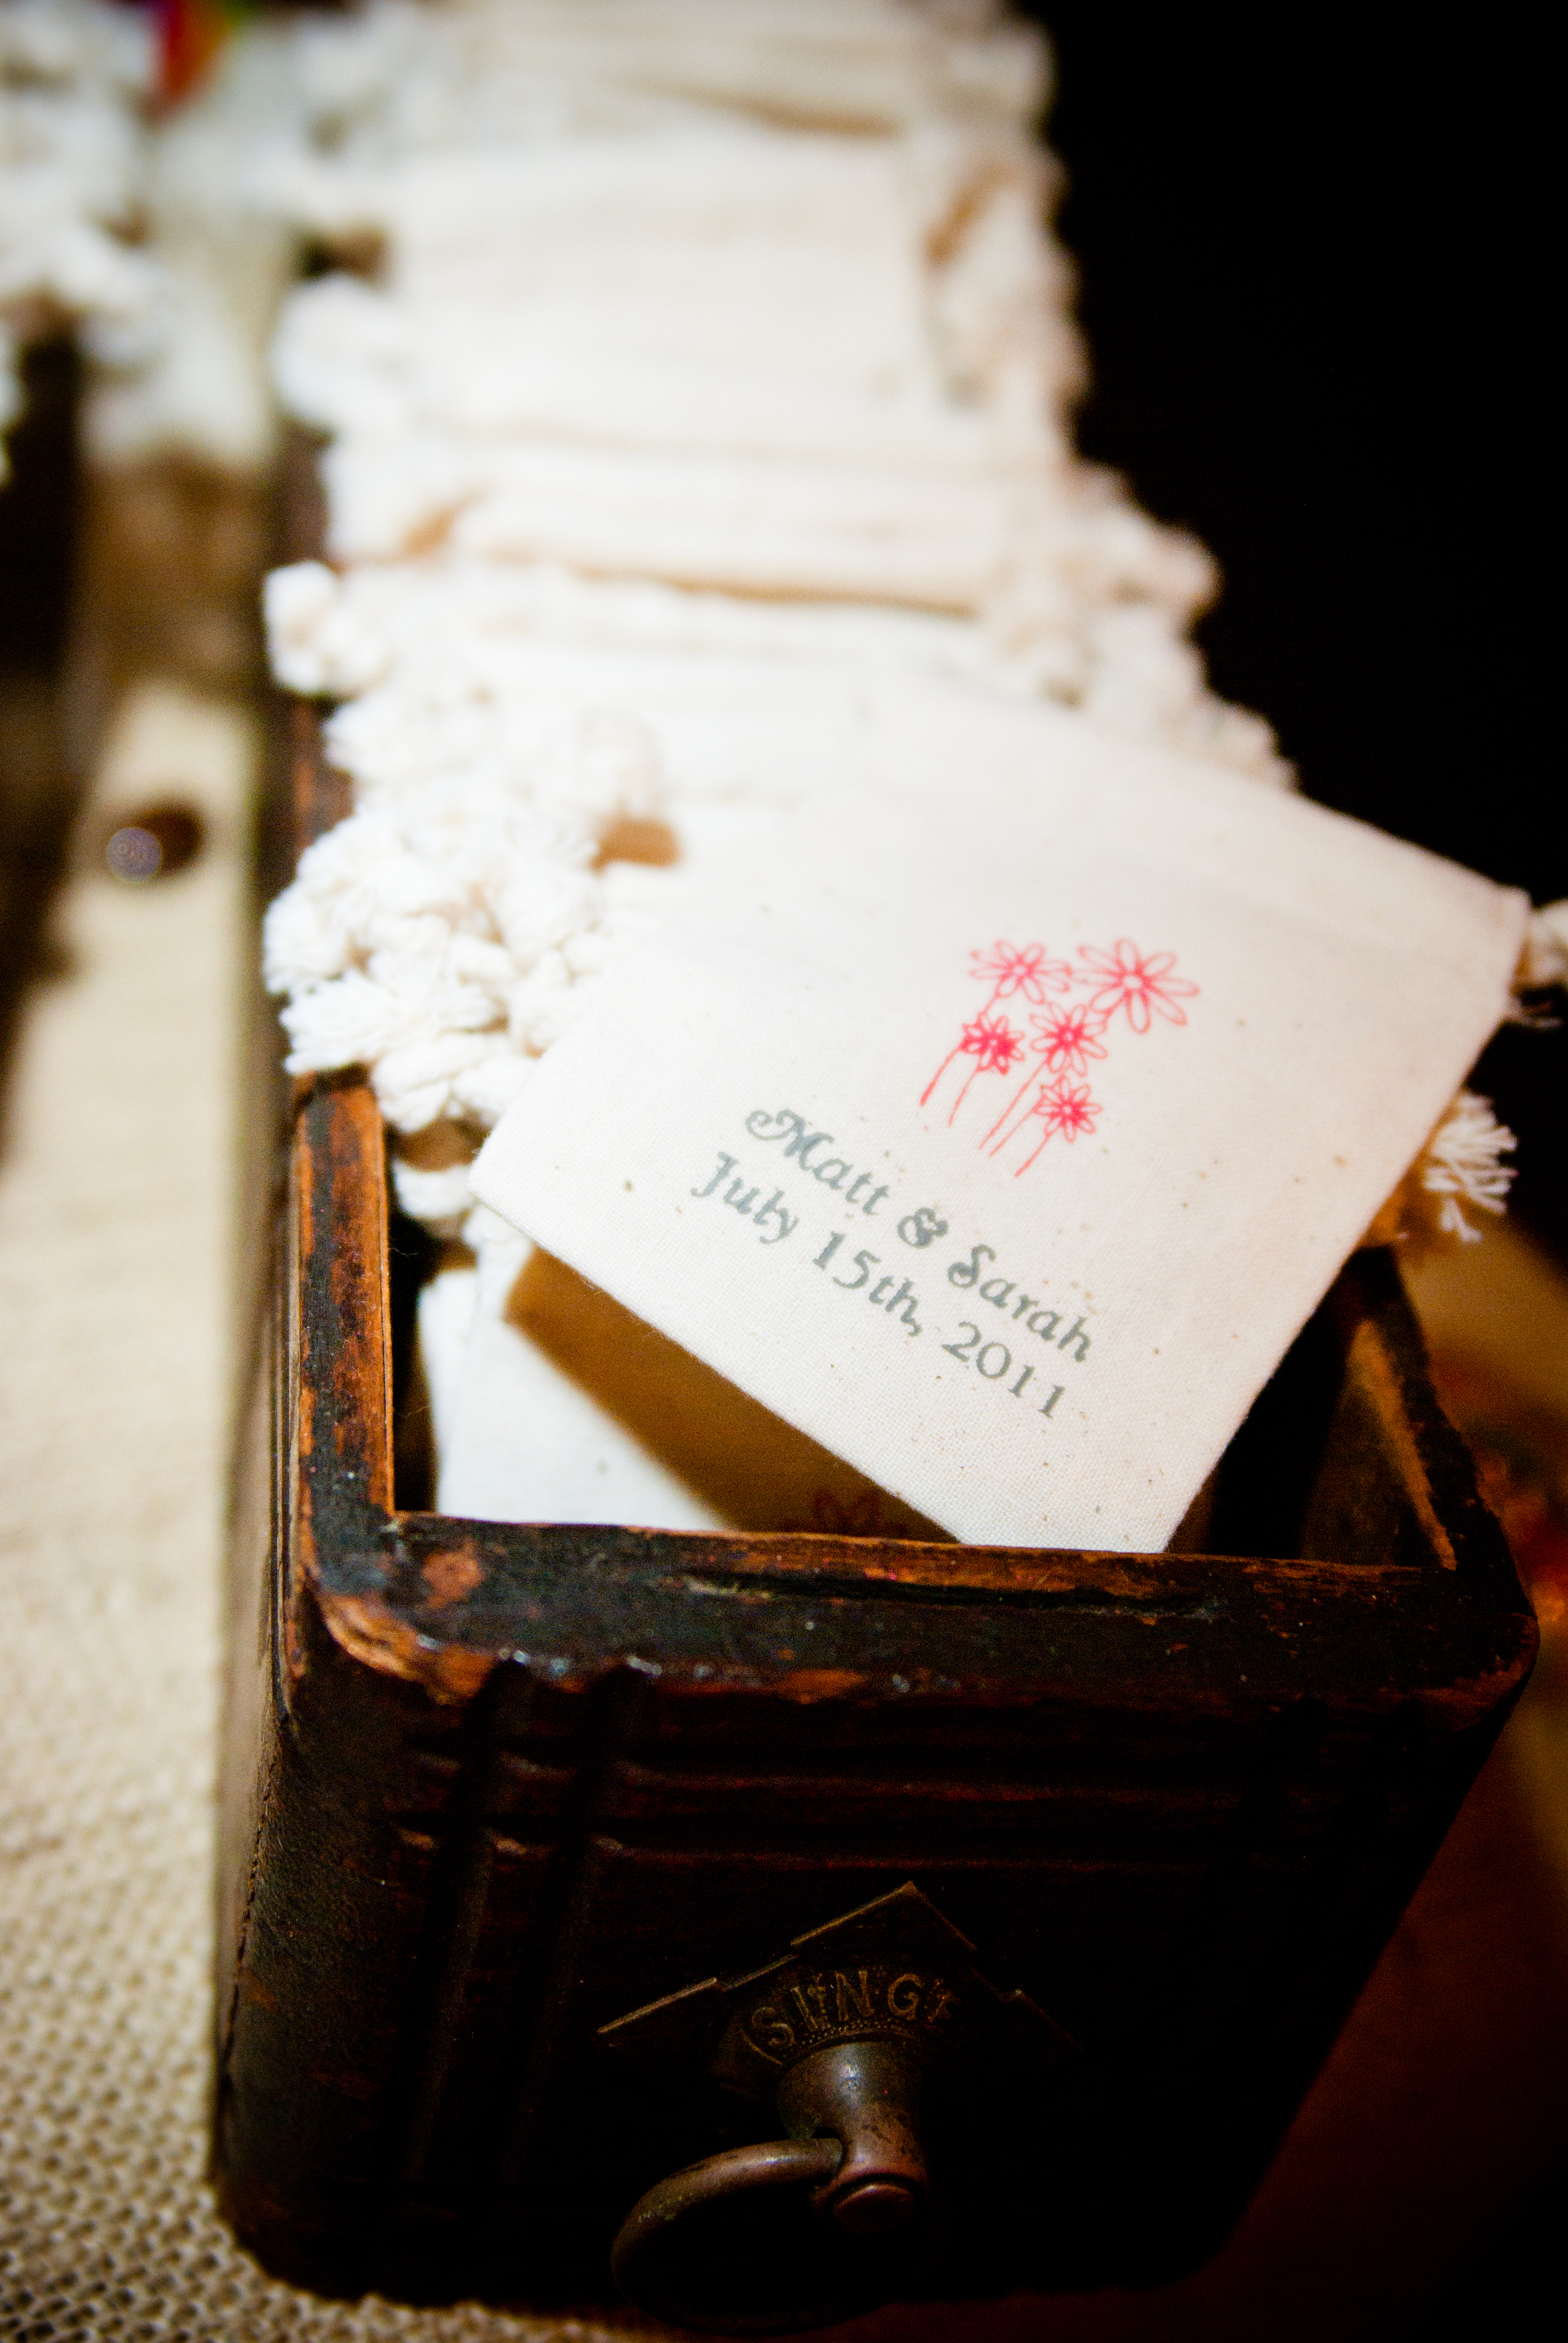
We had a traditional wedding cake, but we also wanted some personal touches that would make the day feel like us. My favorite dessert is ice cream so we had a soft serve ice cream machine and hand dipped cones. Since Matt loves candy, we used custom printed cloth bags for guests to fill with treats from the candy bar as favors.

Flowers:
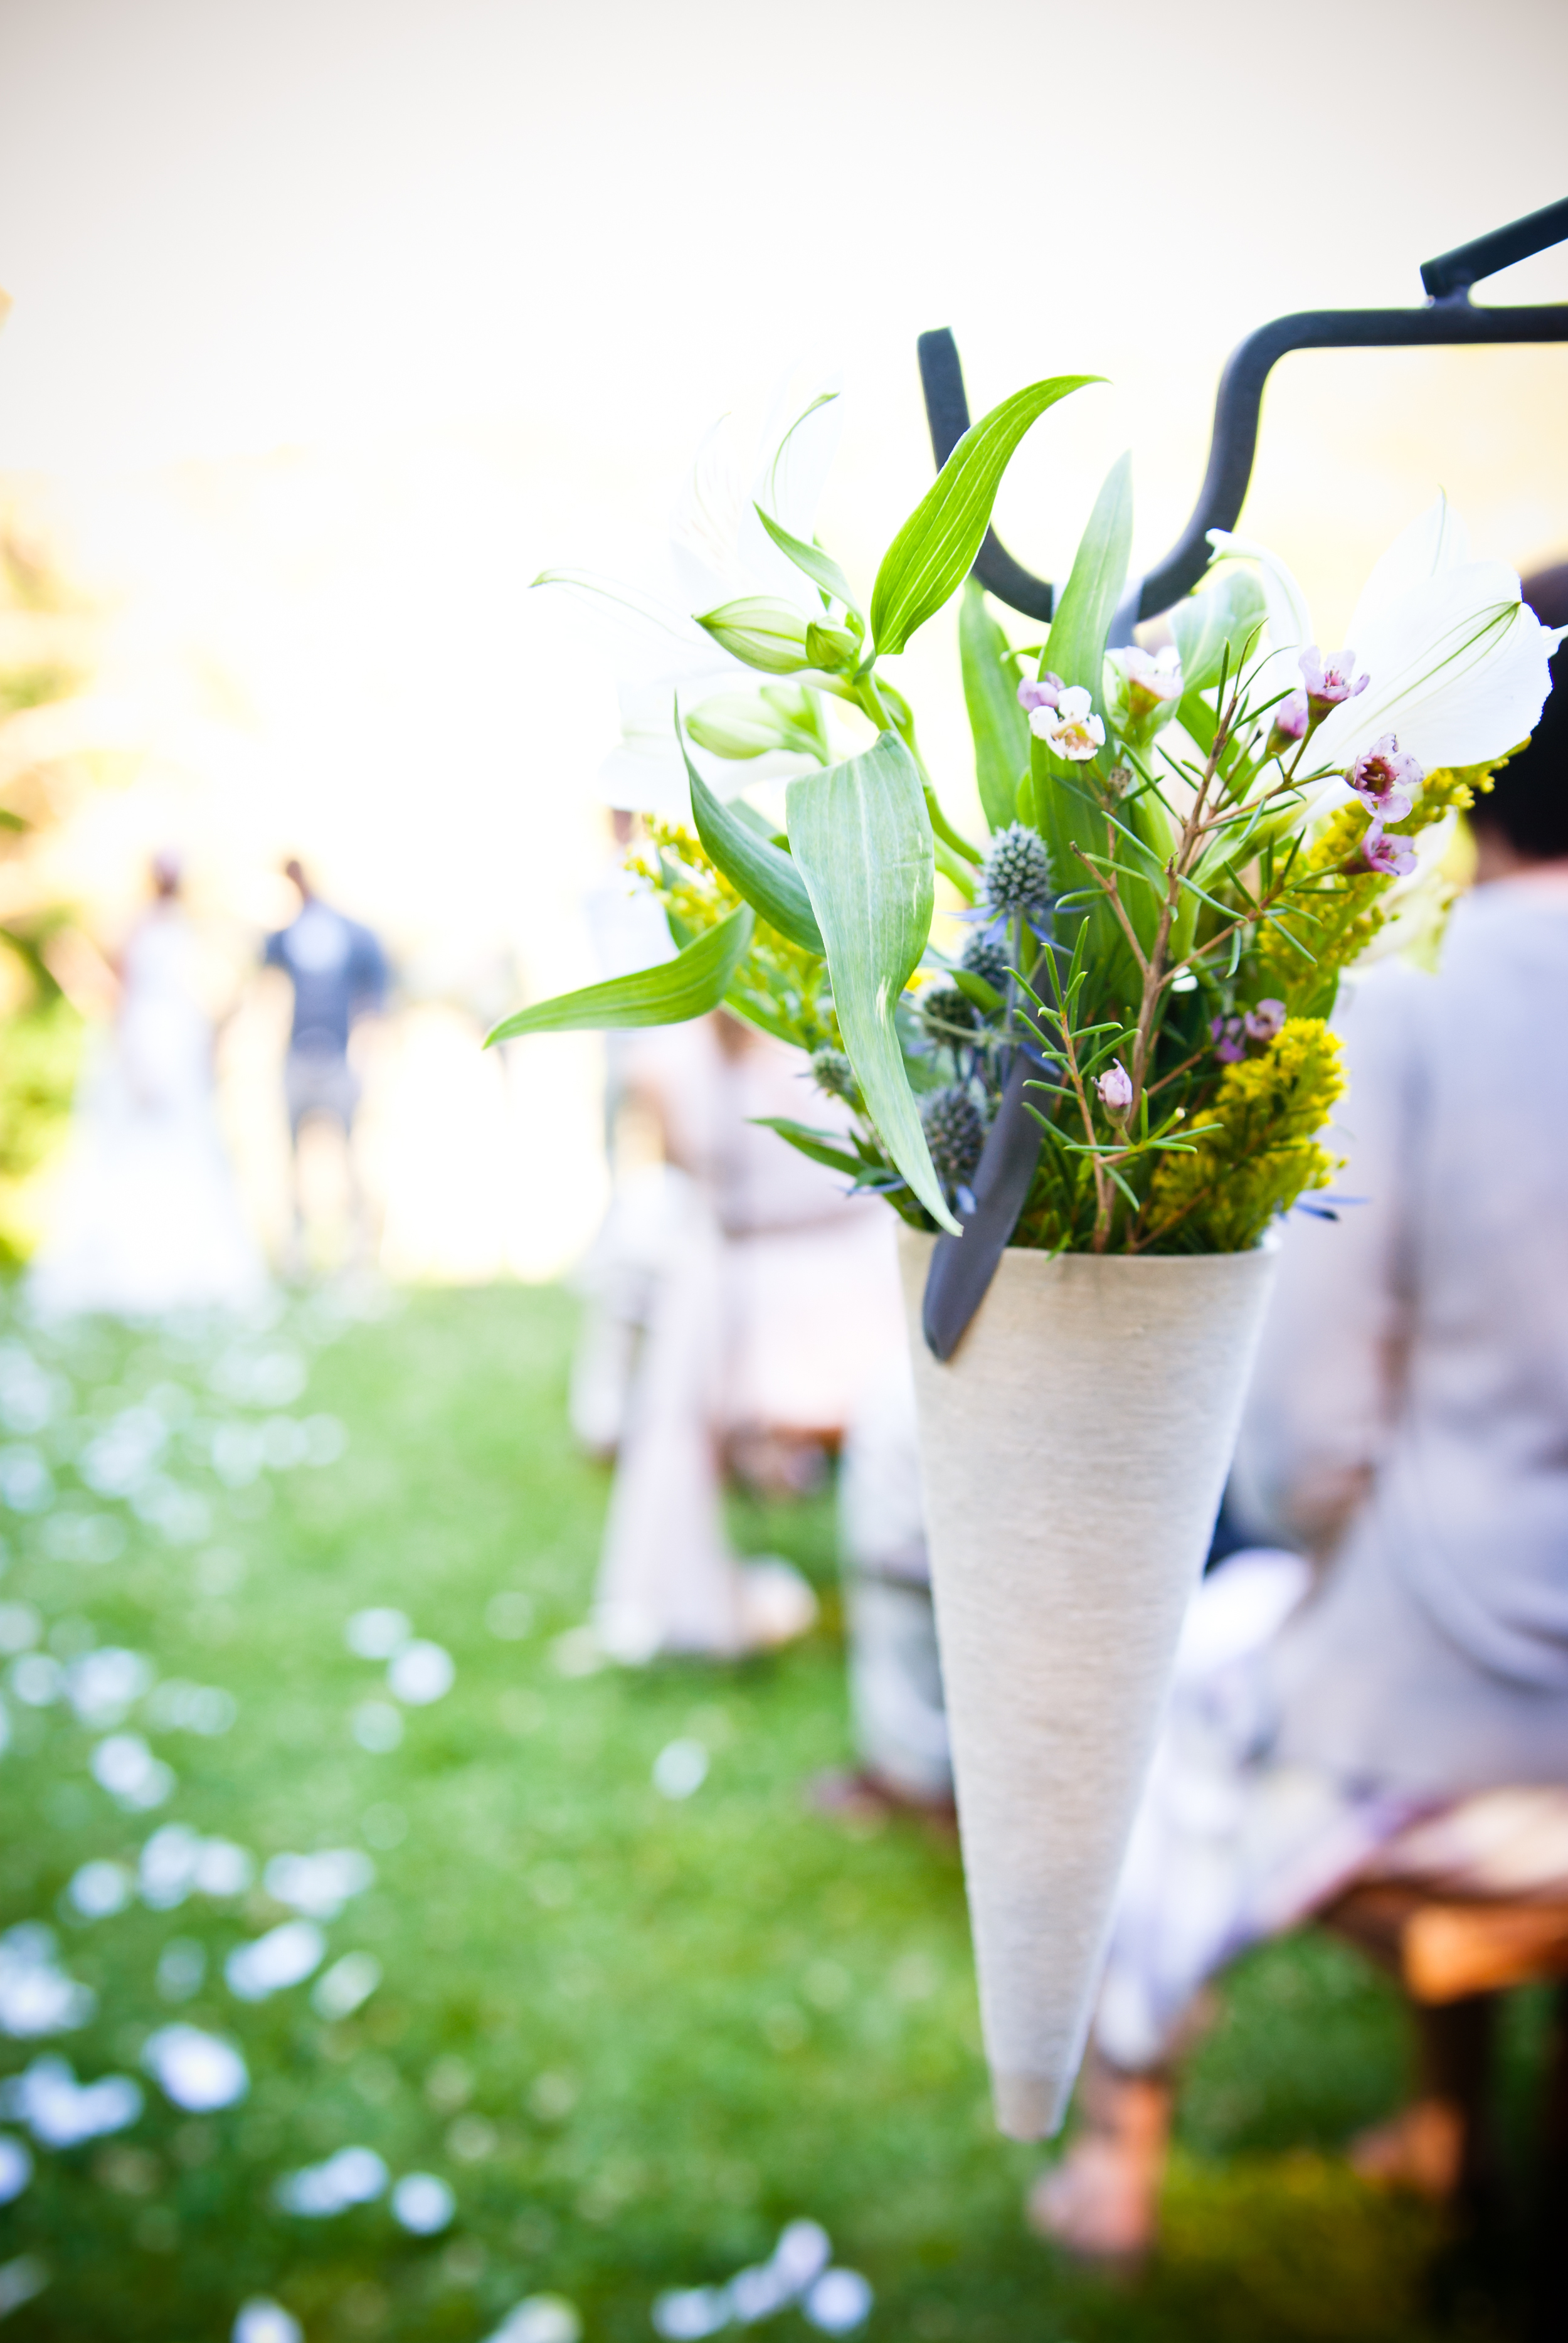
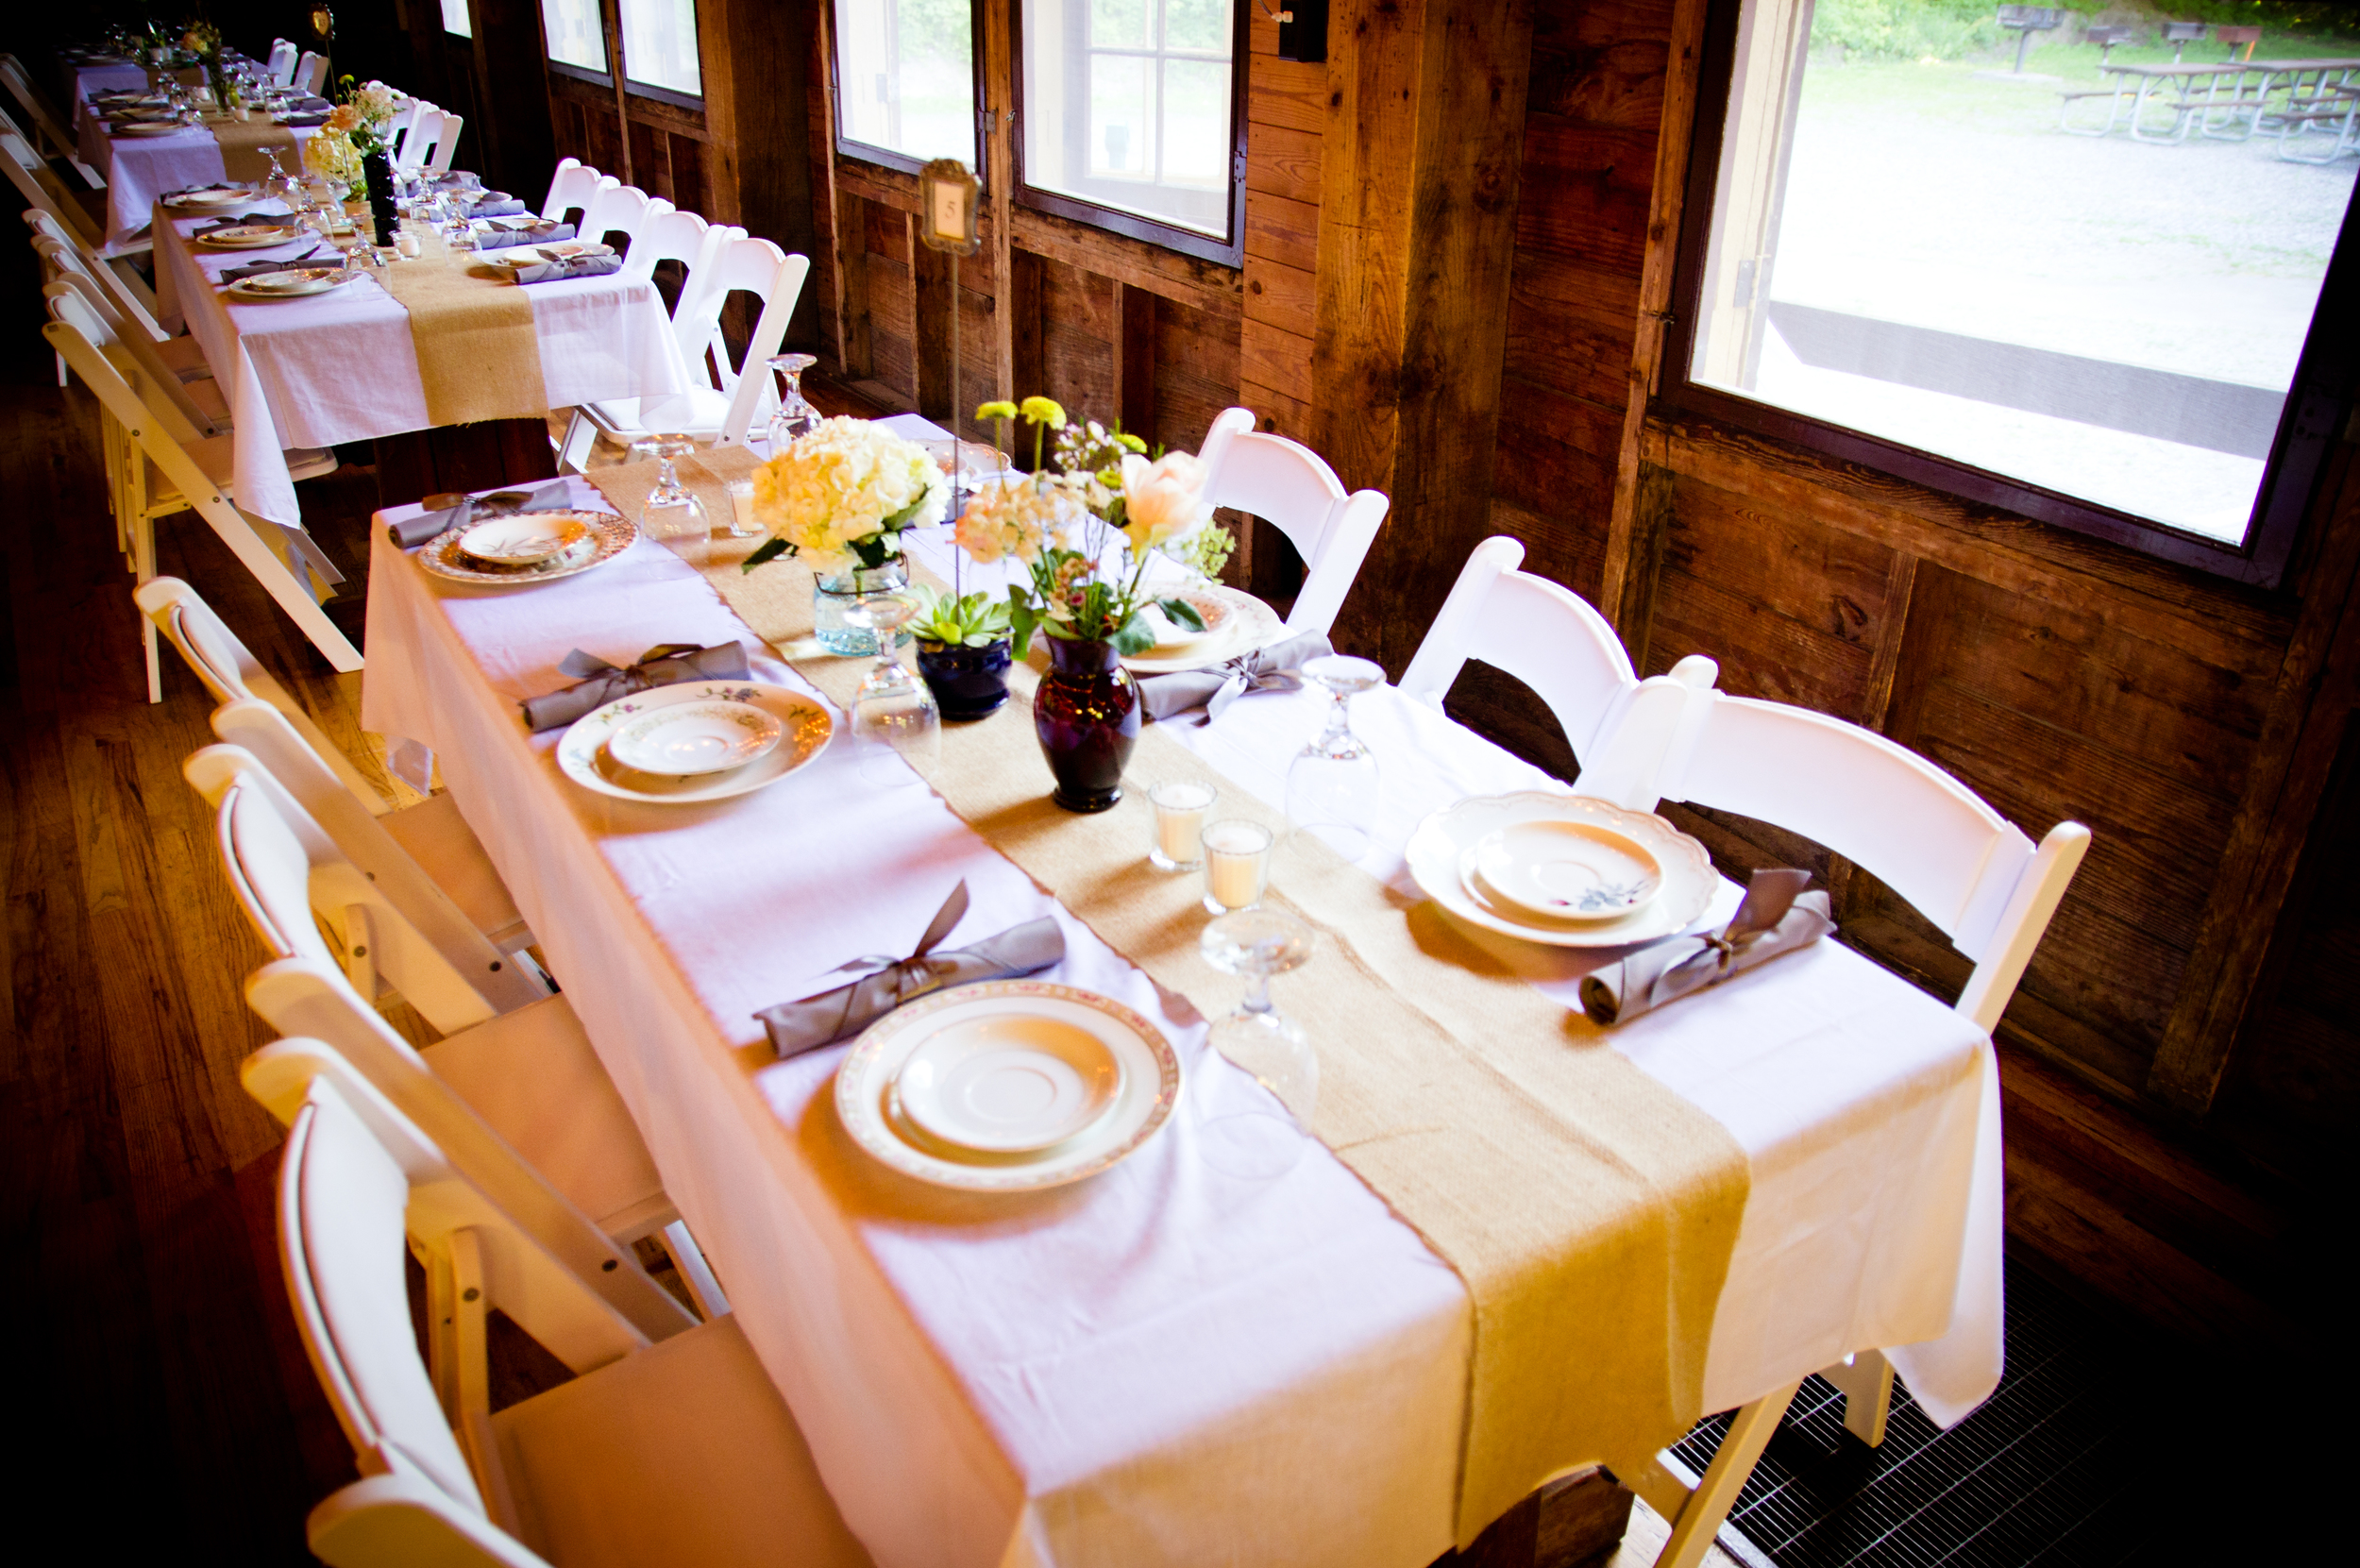
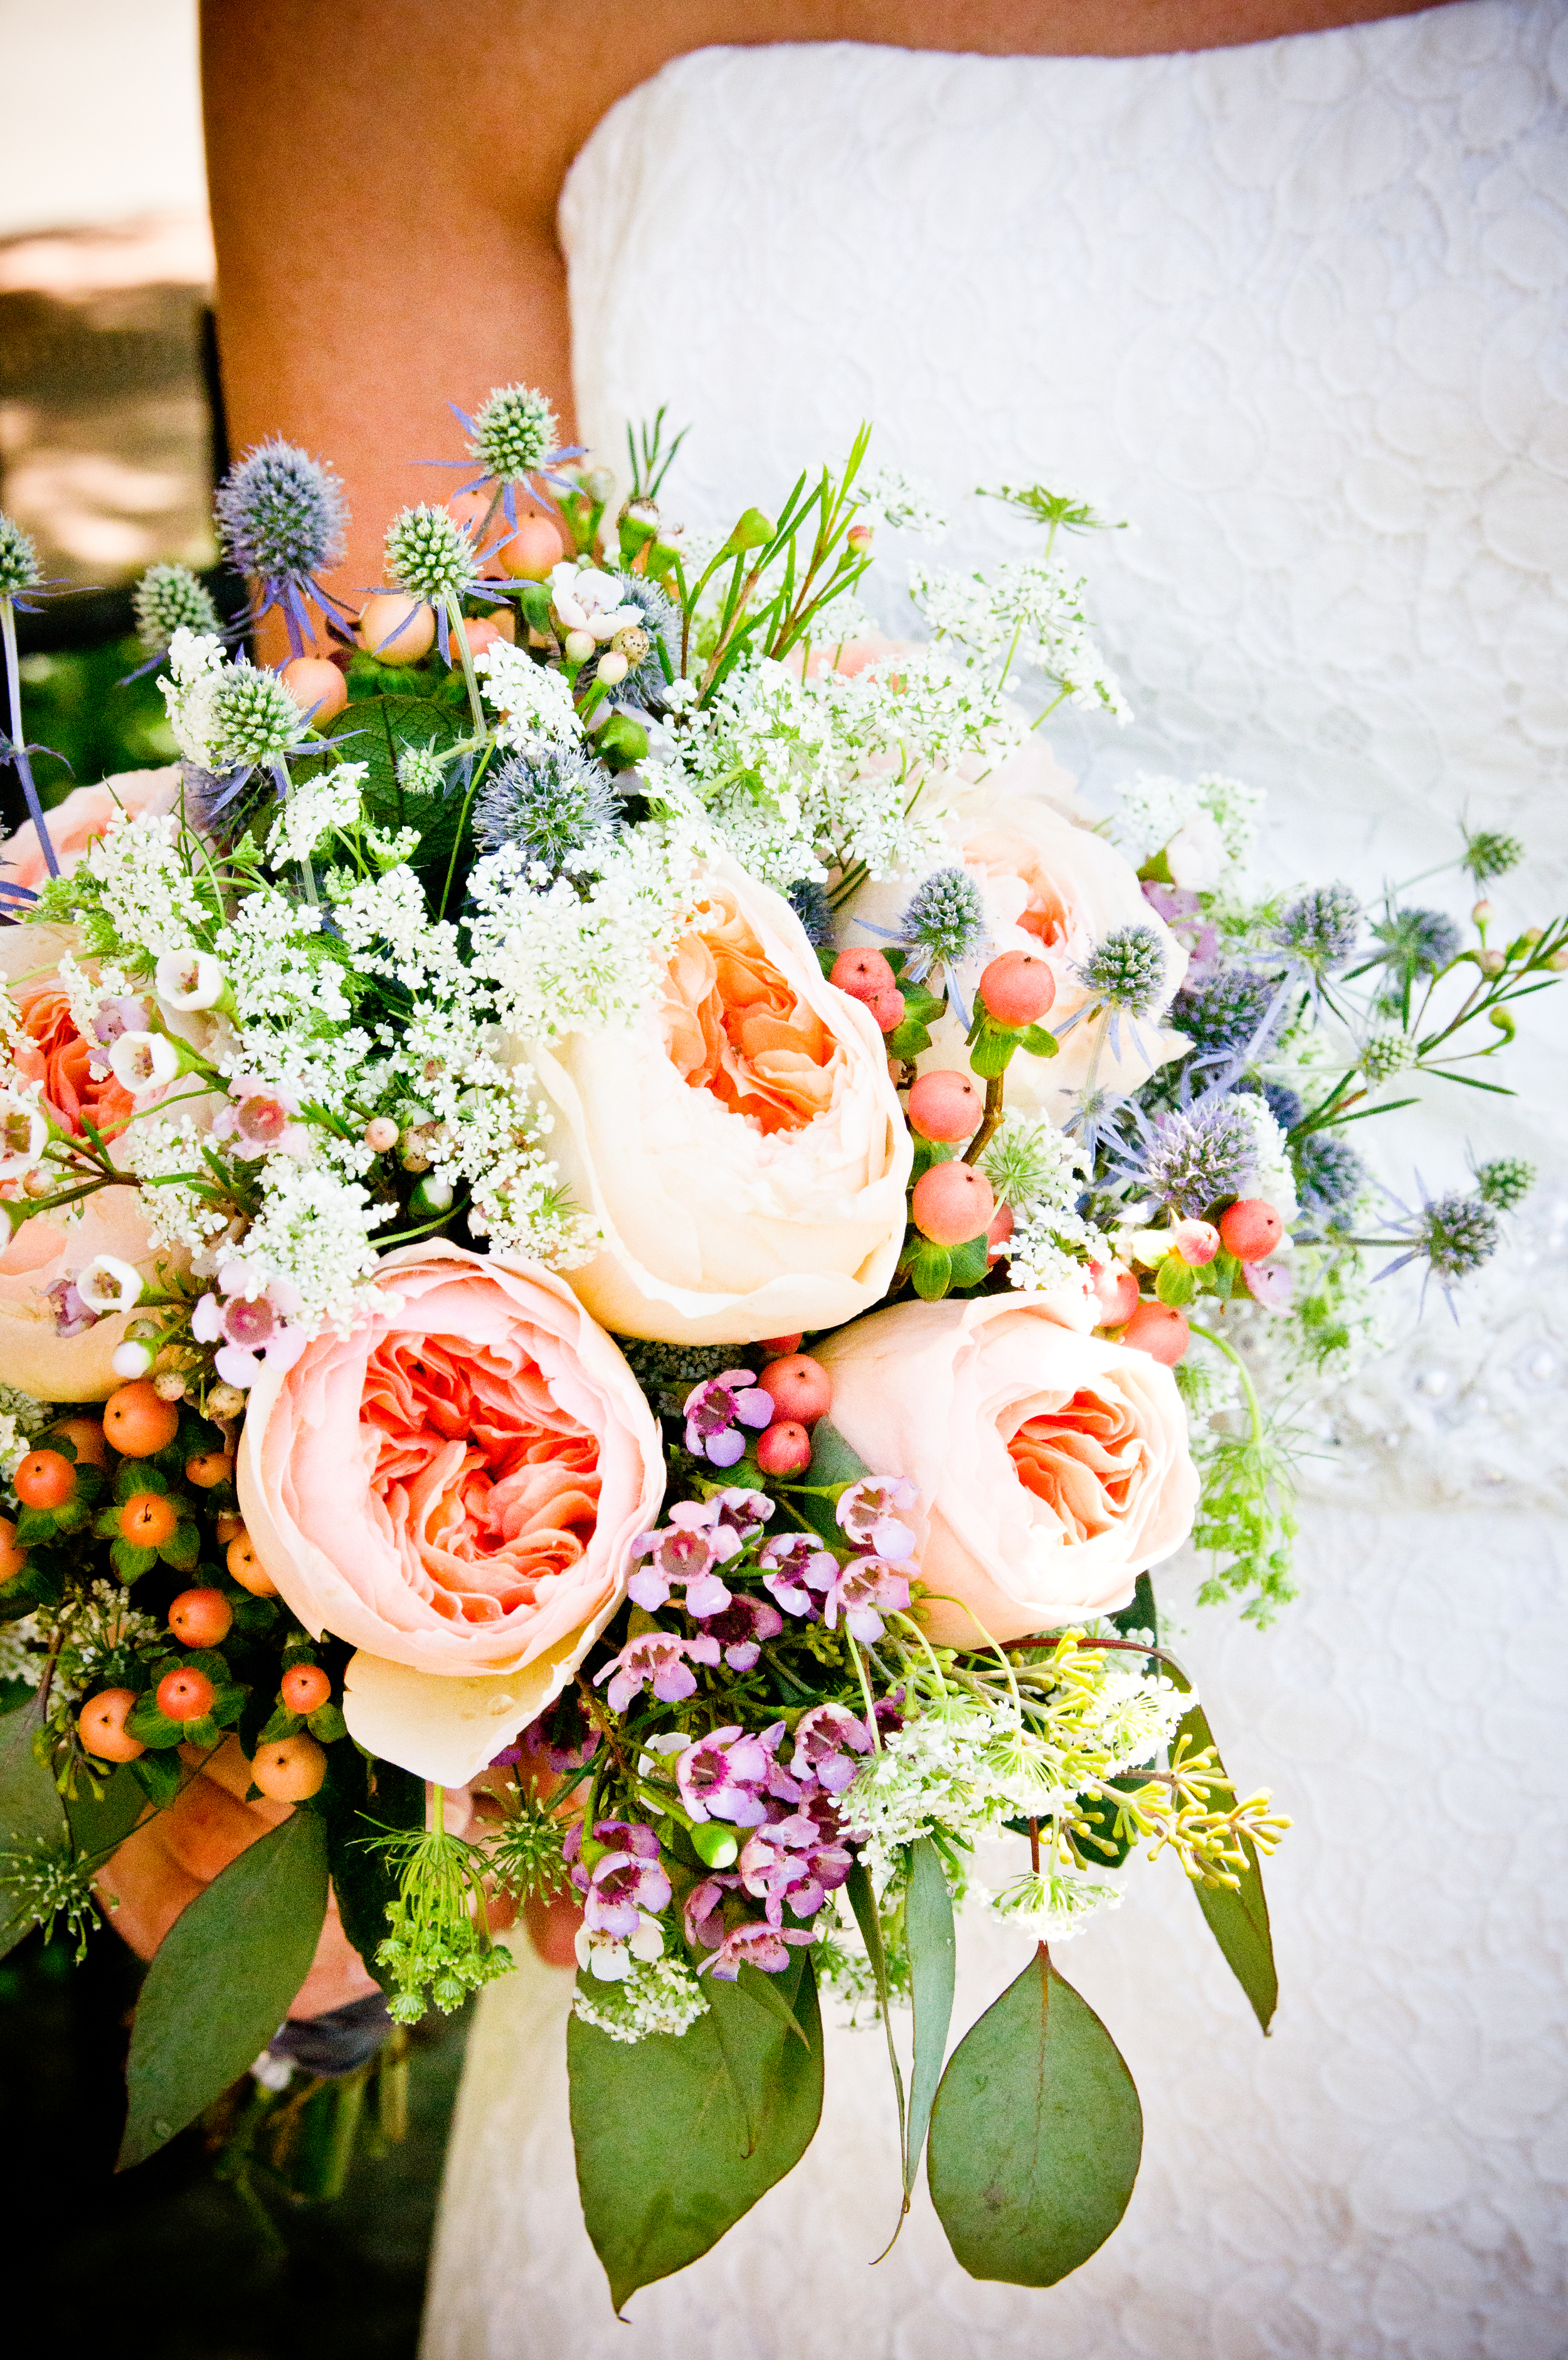
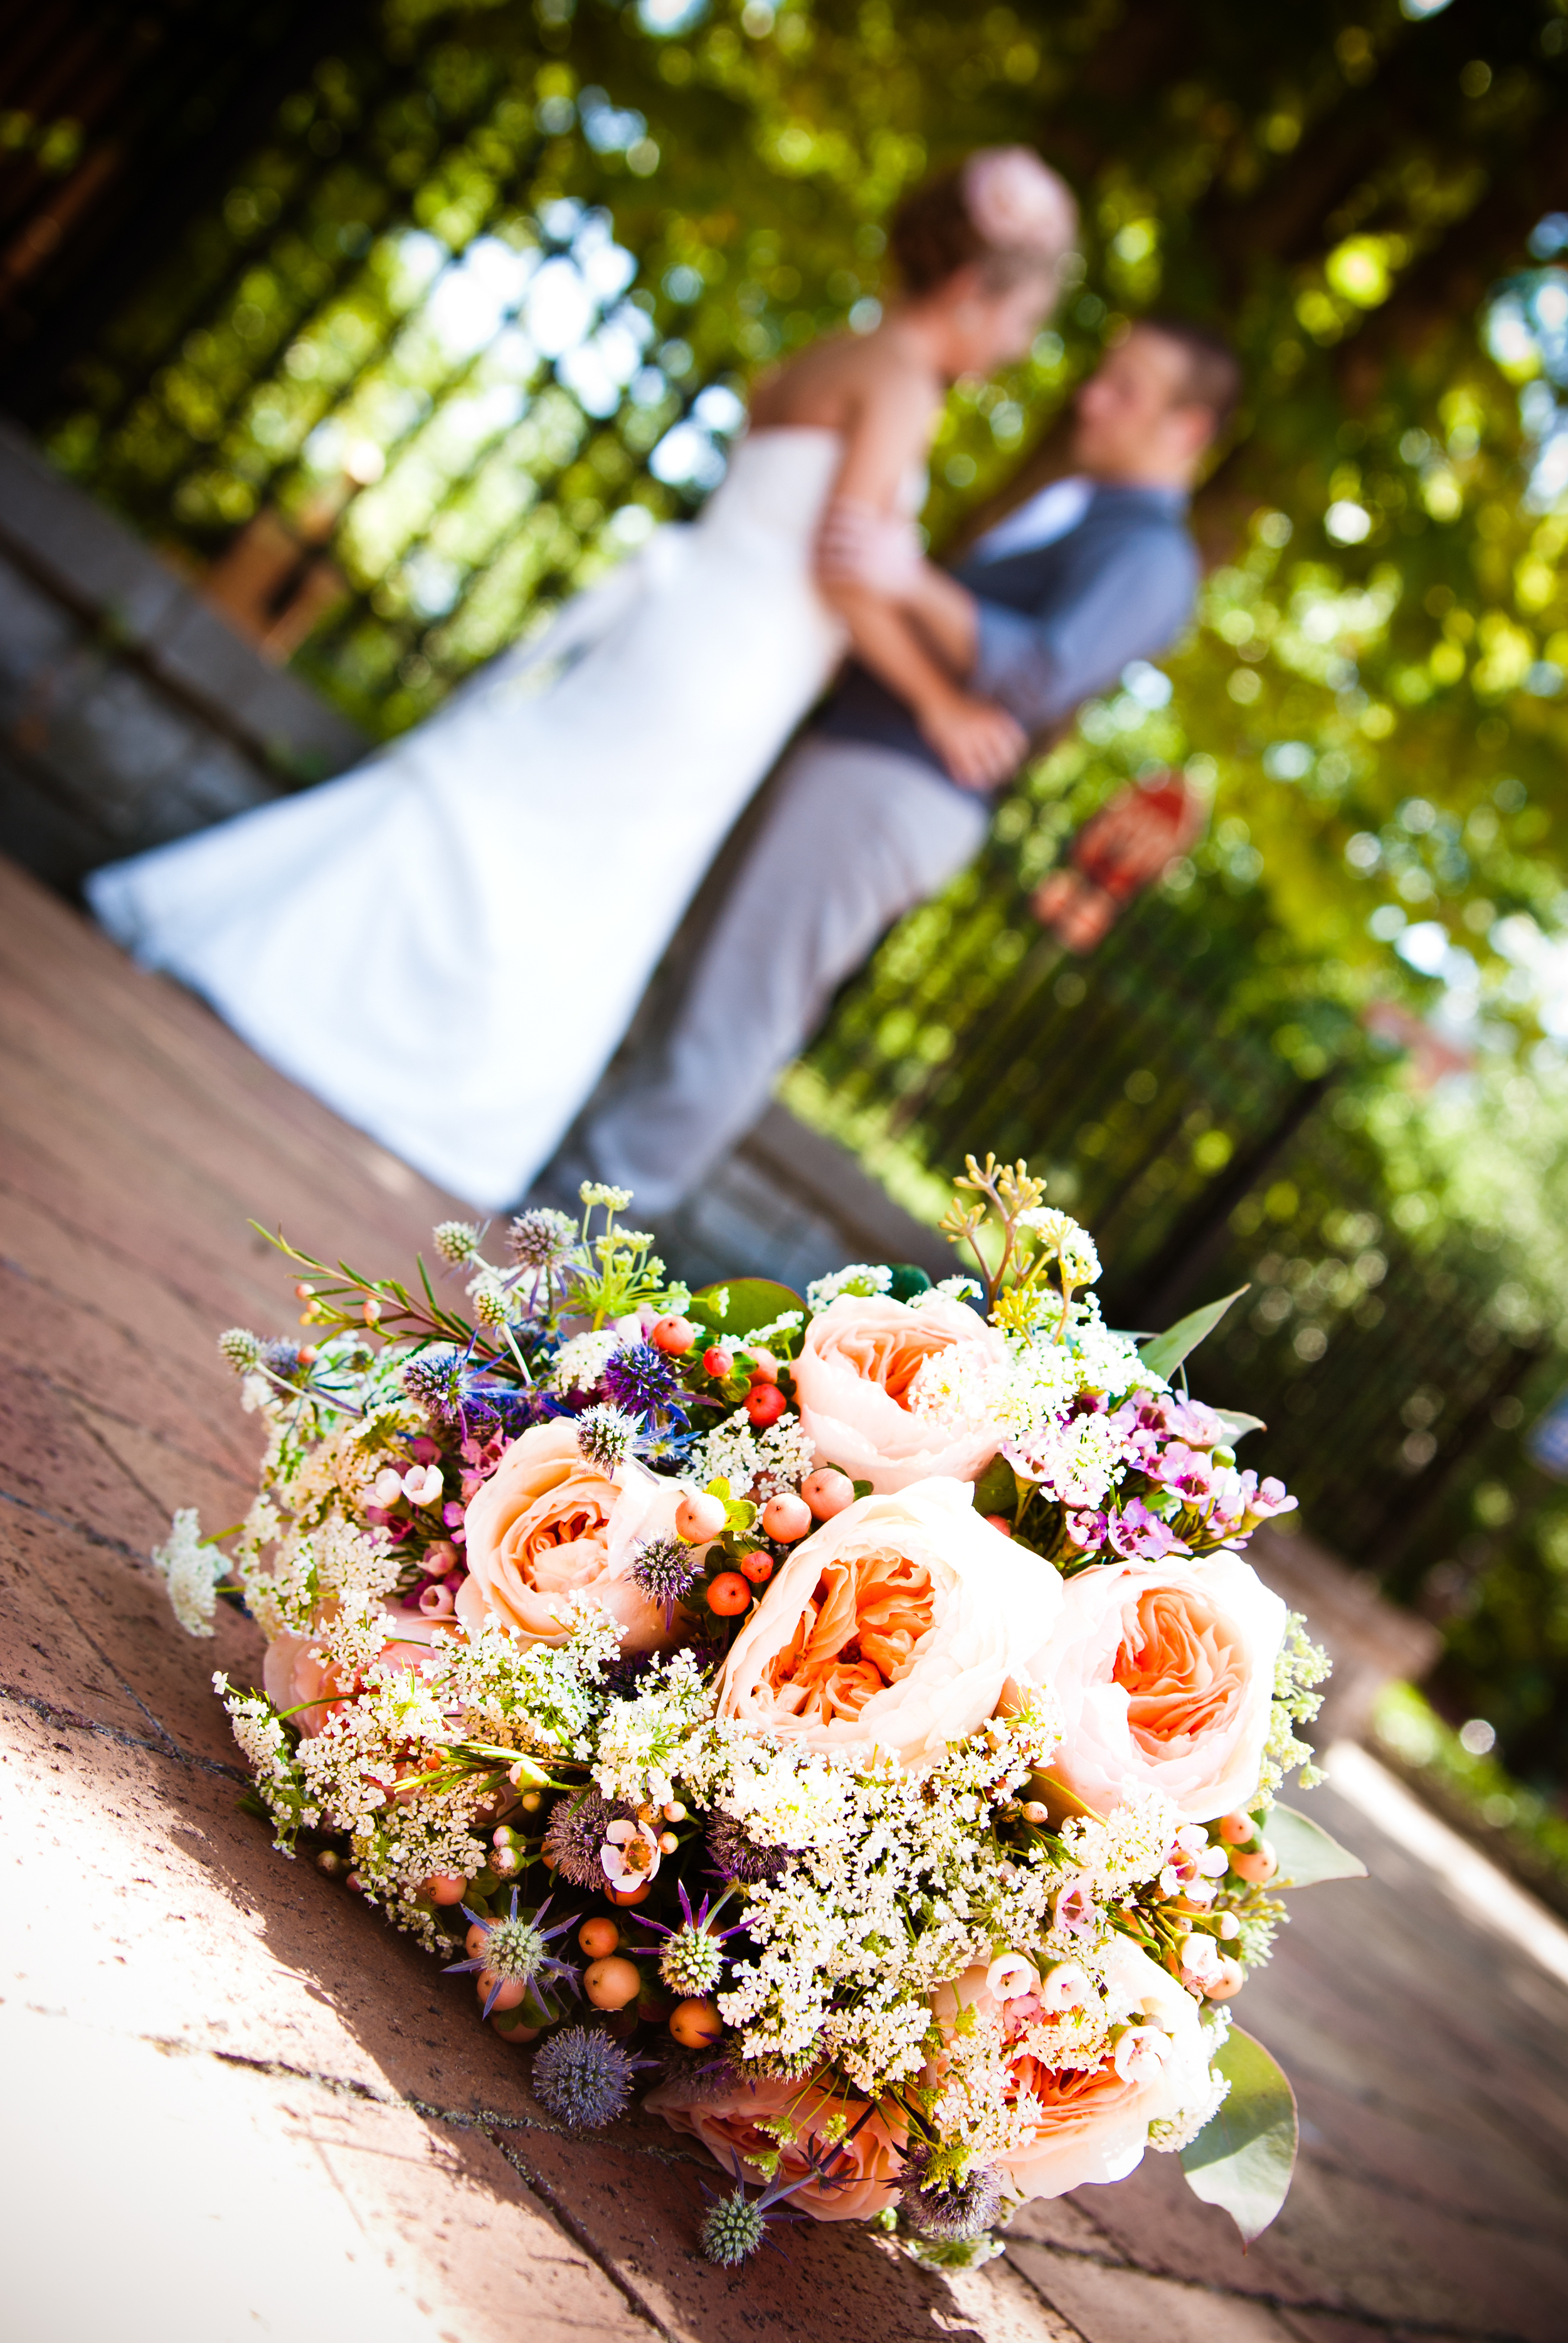
I love fresh flowers and had a vision for what I wanted, BUT, flowers are expensive, my friends! I had a local florist make my bouquet, but for the the centerpieces I purchased buckets of flowers wholesale. My aunt used vases I had bought at thrift stores and assembled the table arrangements for us on the morning of the big day.  

Seating Chart:
Everyone dreads this part! I think a well-planned seating chart makes the day better for everyone though. It's no fun to try finding an empty chair in a crowded room, and no matter how much you want them to--even without assigned seats--people won't really mingle, they will just stake a claim and stay there. I can't make that part much more fun, you just have to buckle down and get it done. I can share a fun idea to display your seat assignments though! 

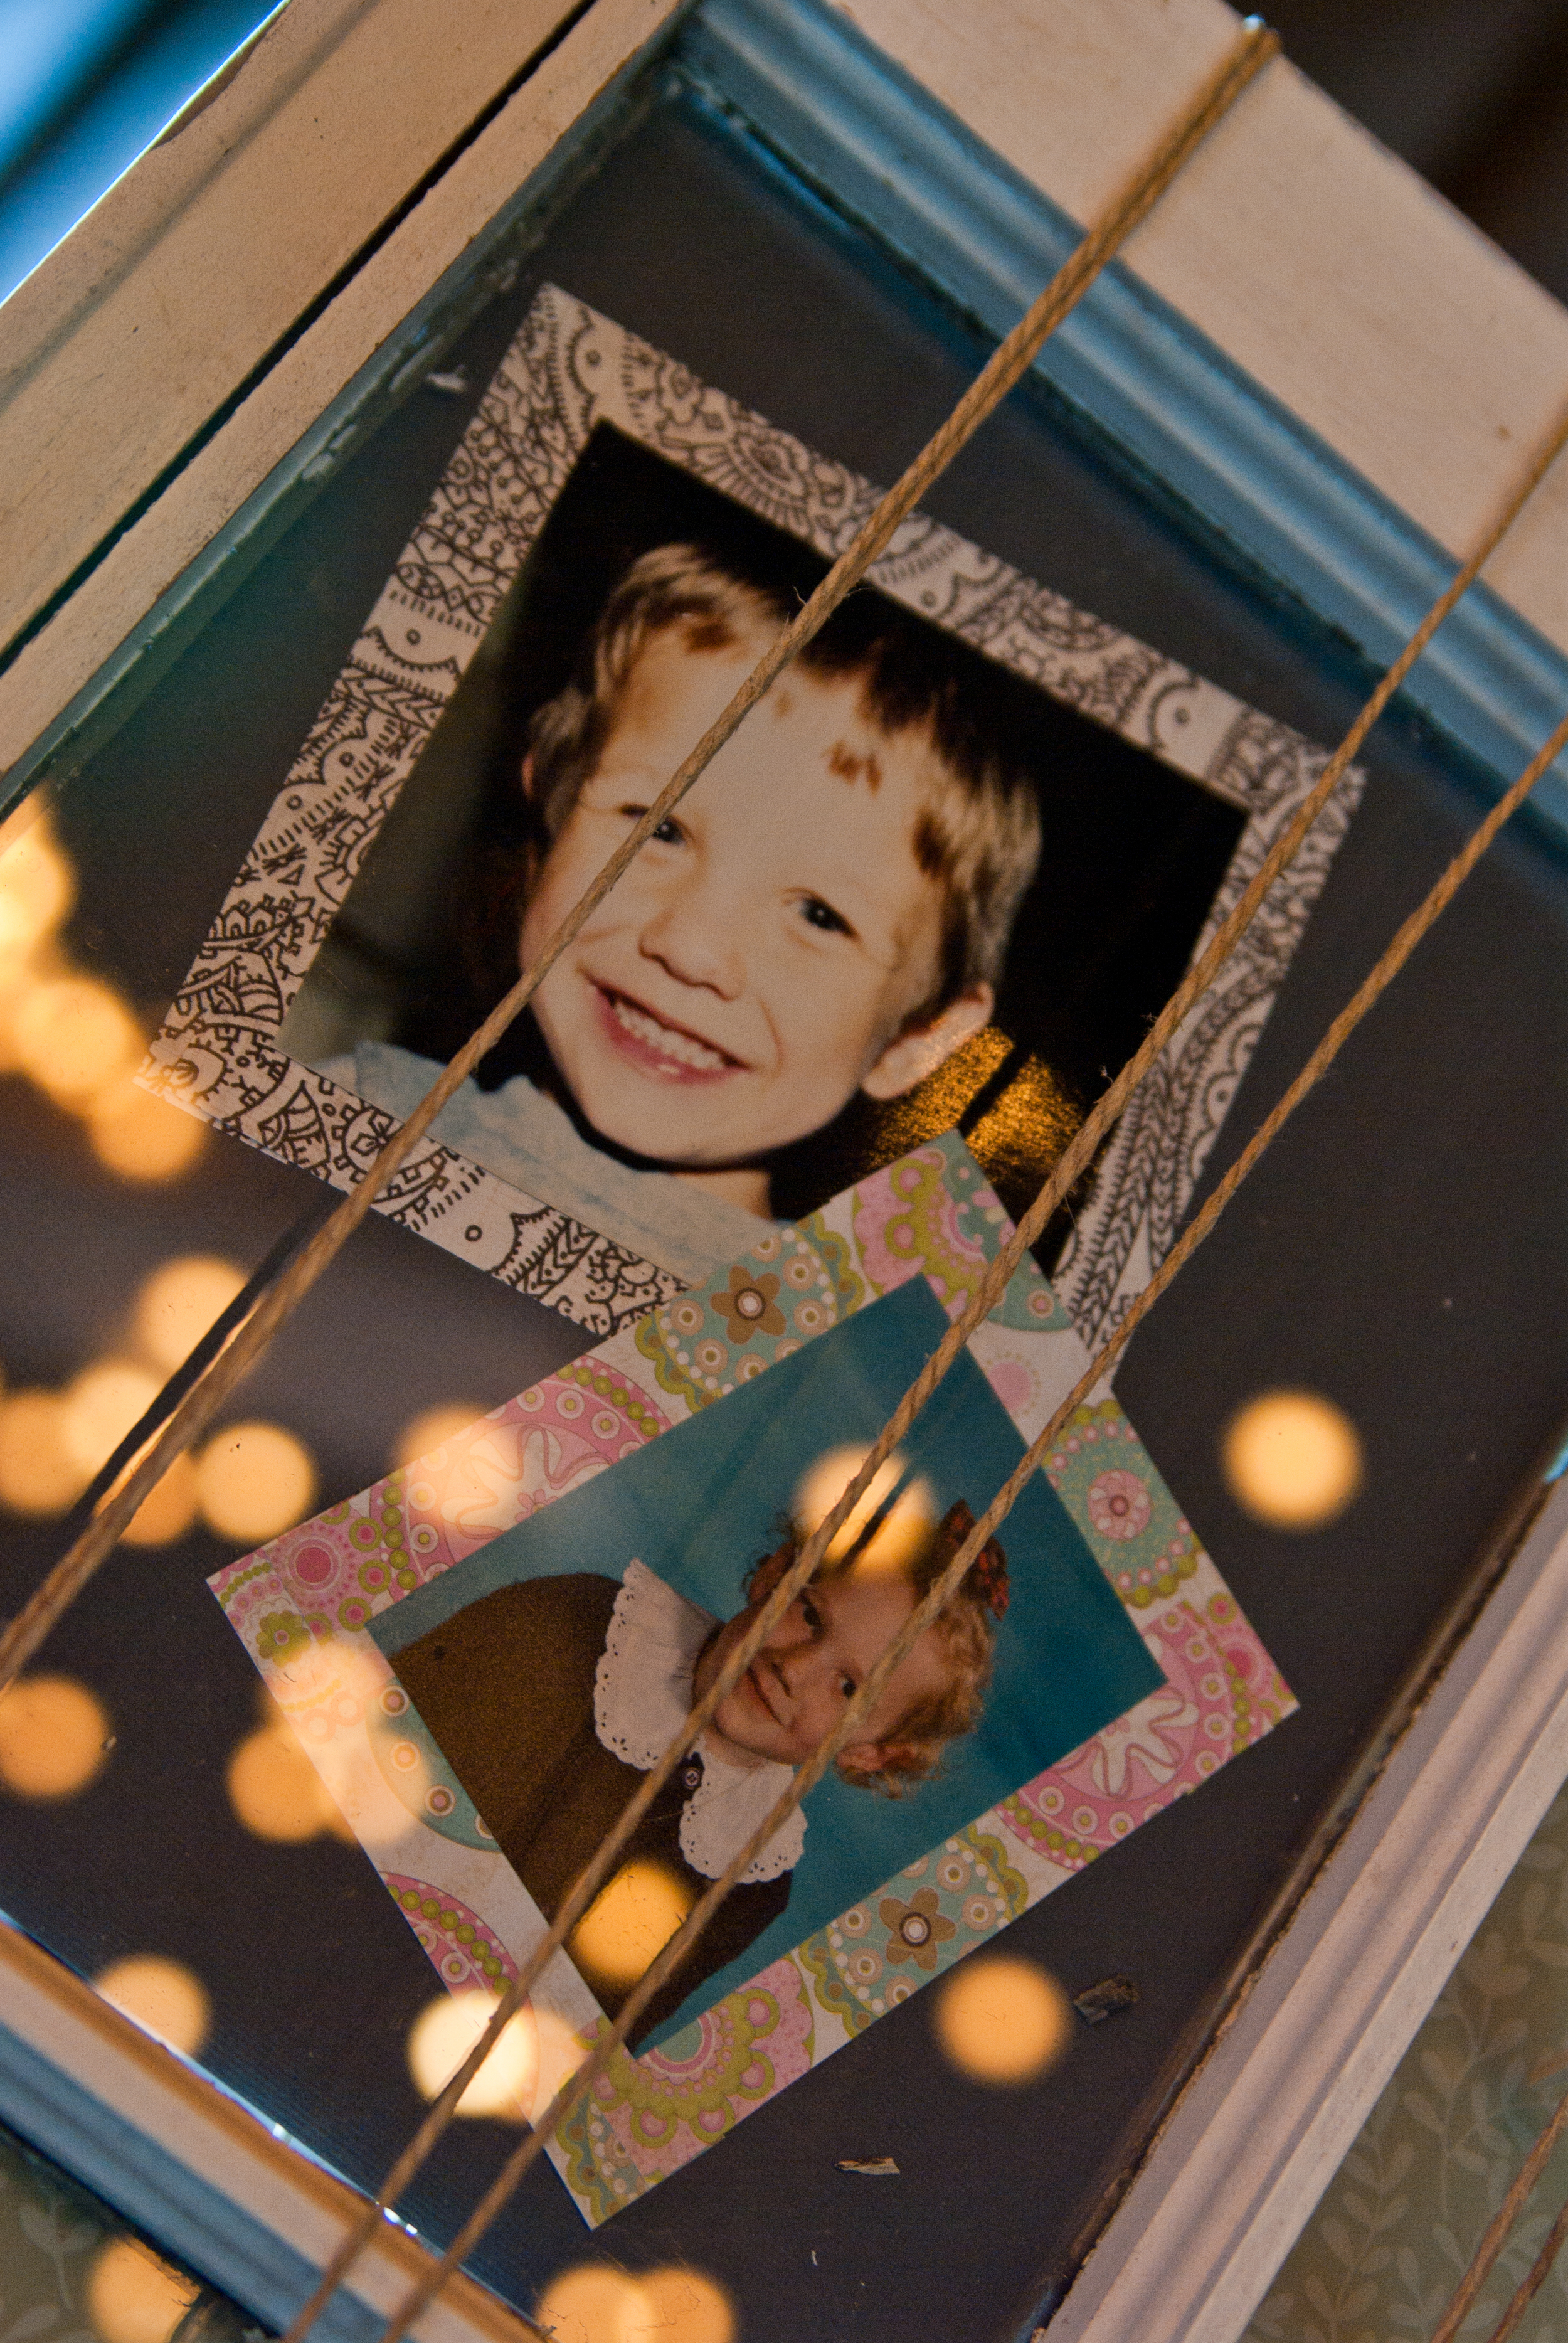
I took vintage windows and arranged childhood pictures of us behind the glass. Then I used miniature clothespins to secure the seat assignments to twine wrapped around the windows. It was fun for friends and family to see the pictures while they found their seat. 

Table Settings:
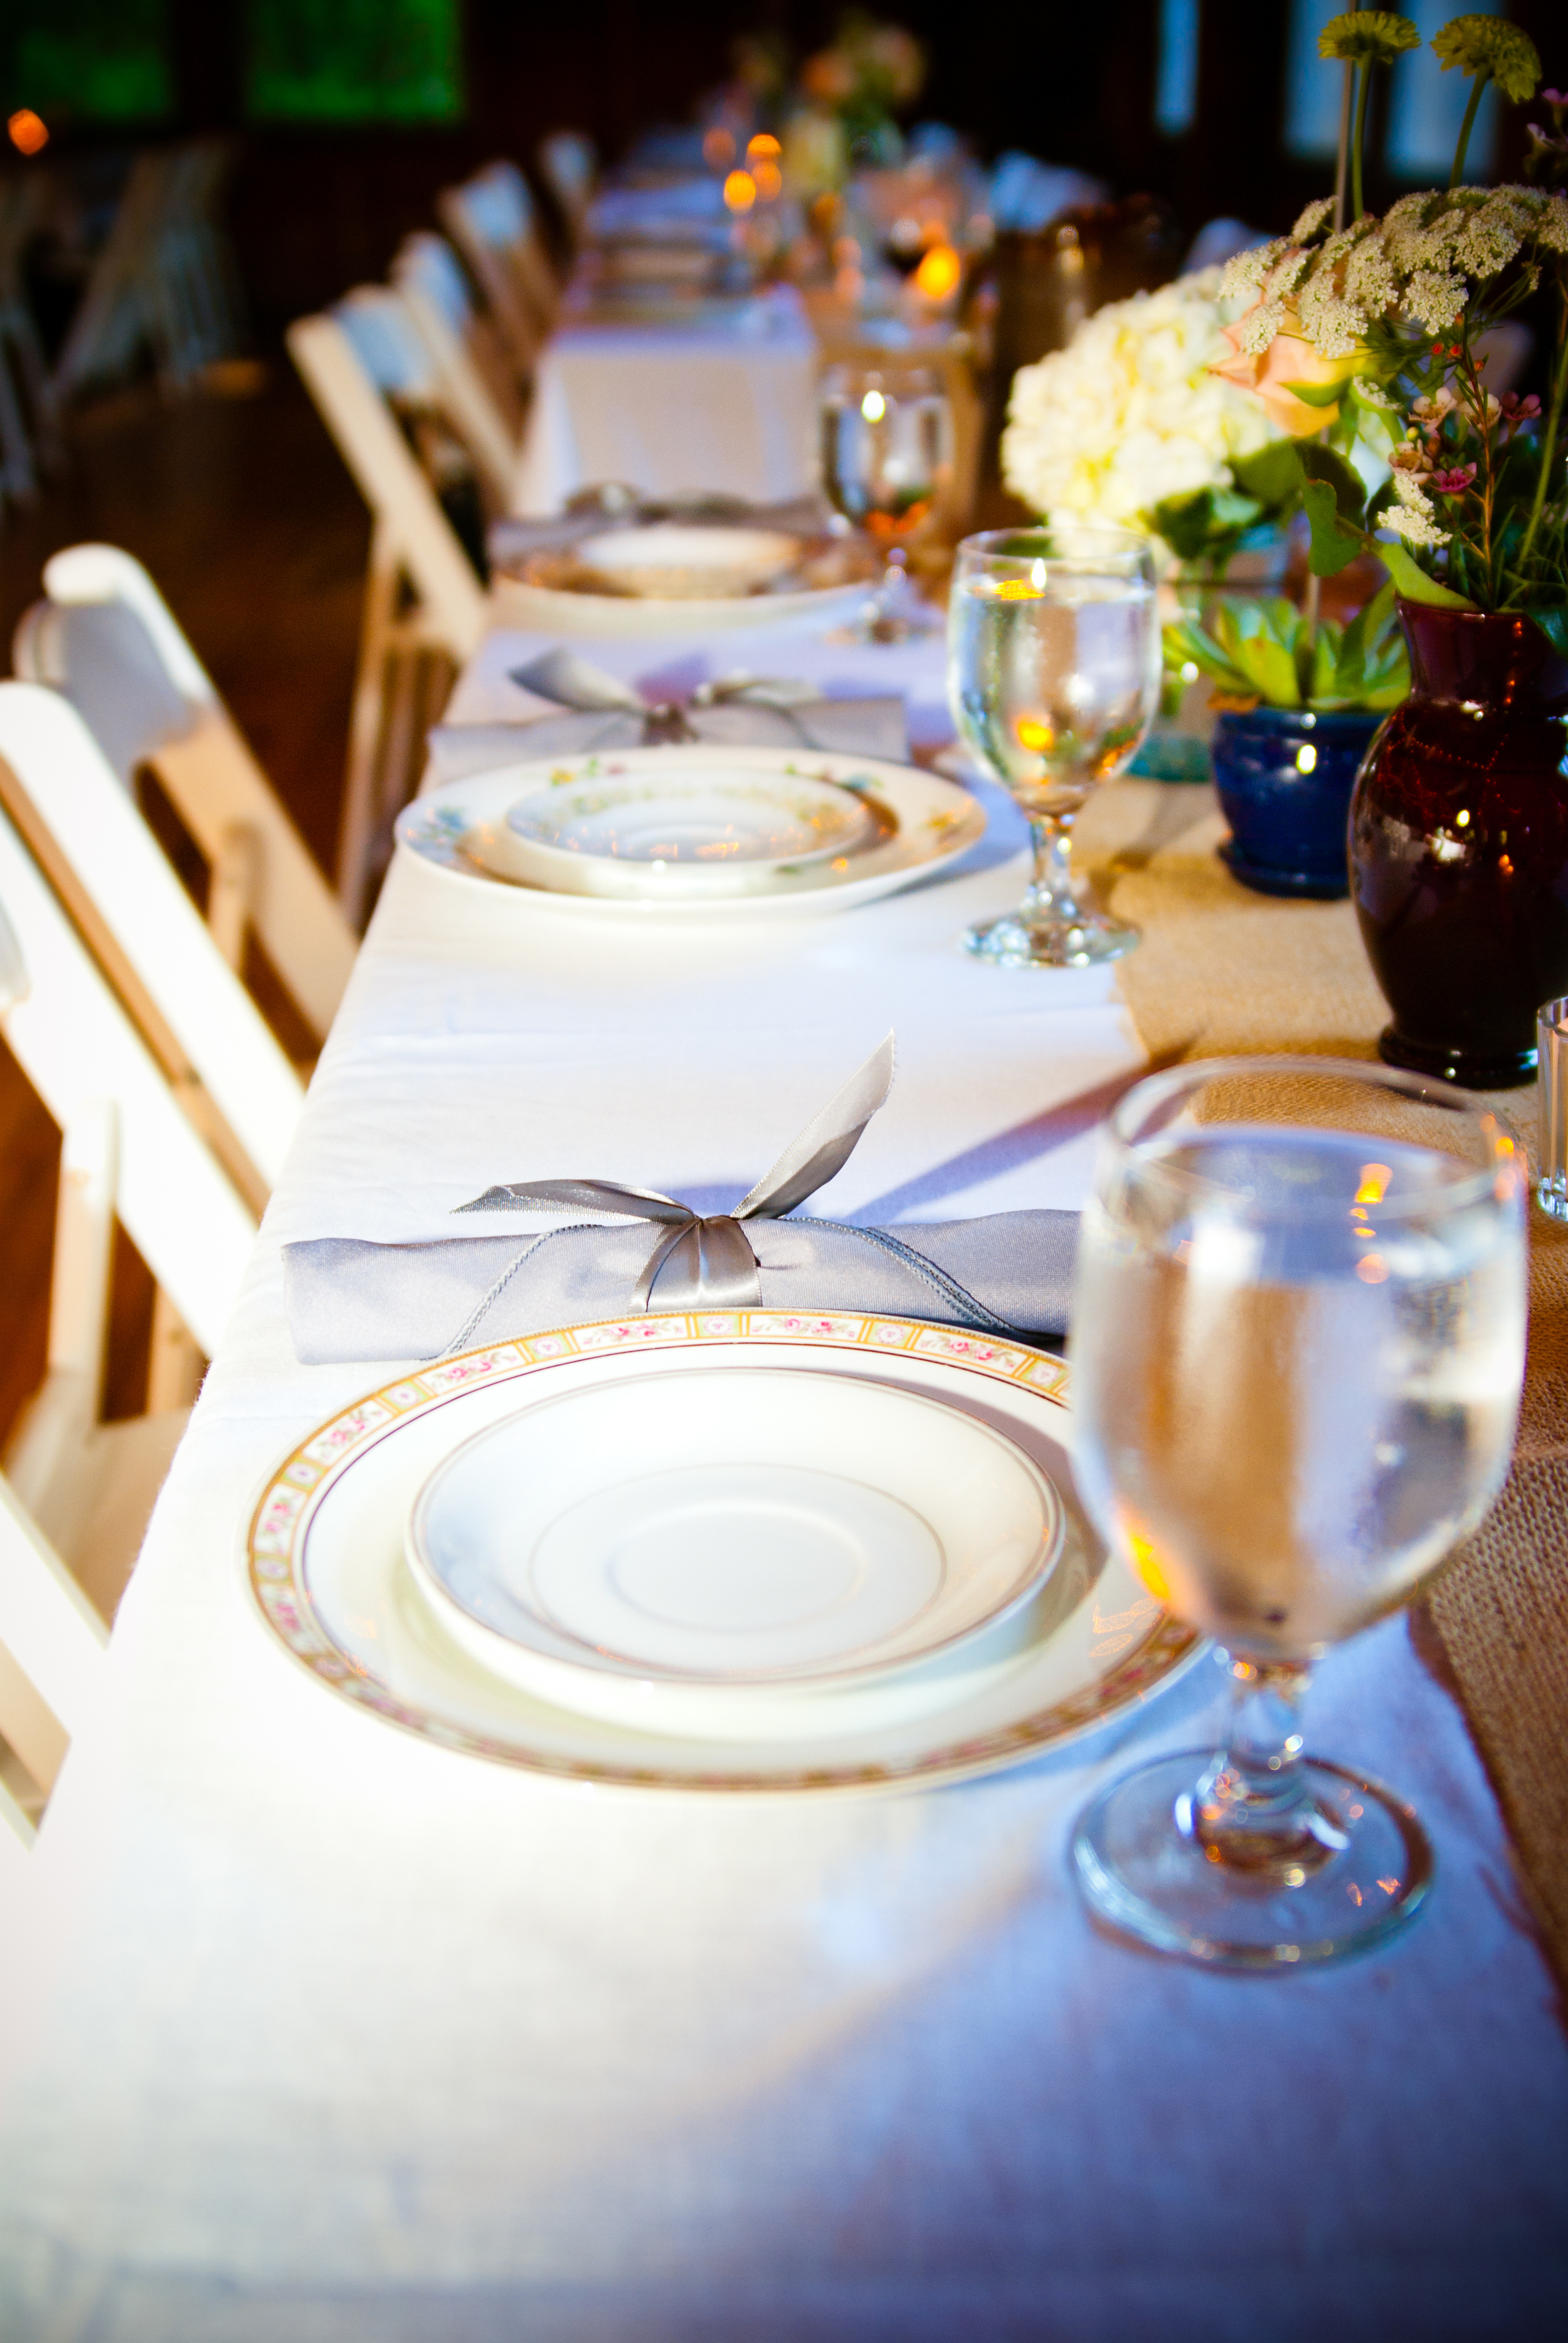
I knew we wanted "real" dishes but didn't want the standard white rentals. So, Matt and I spent many Saturdays sorting through stacks of vintage plates at thrift stores until we had enough dinner and dessert plates to use! We also collected vintage teacups to serve coffee in. The stemware and white linen tablecloths were rented from a local company, but we discovered it was actually less expensive to purchase the silverware and cloth napkins so we went that route. This also allowed us to pre-wrap the silverware in our napkins so they were ready to the day of.  

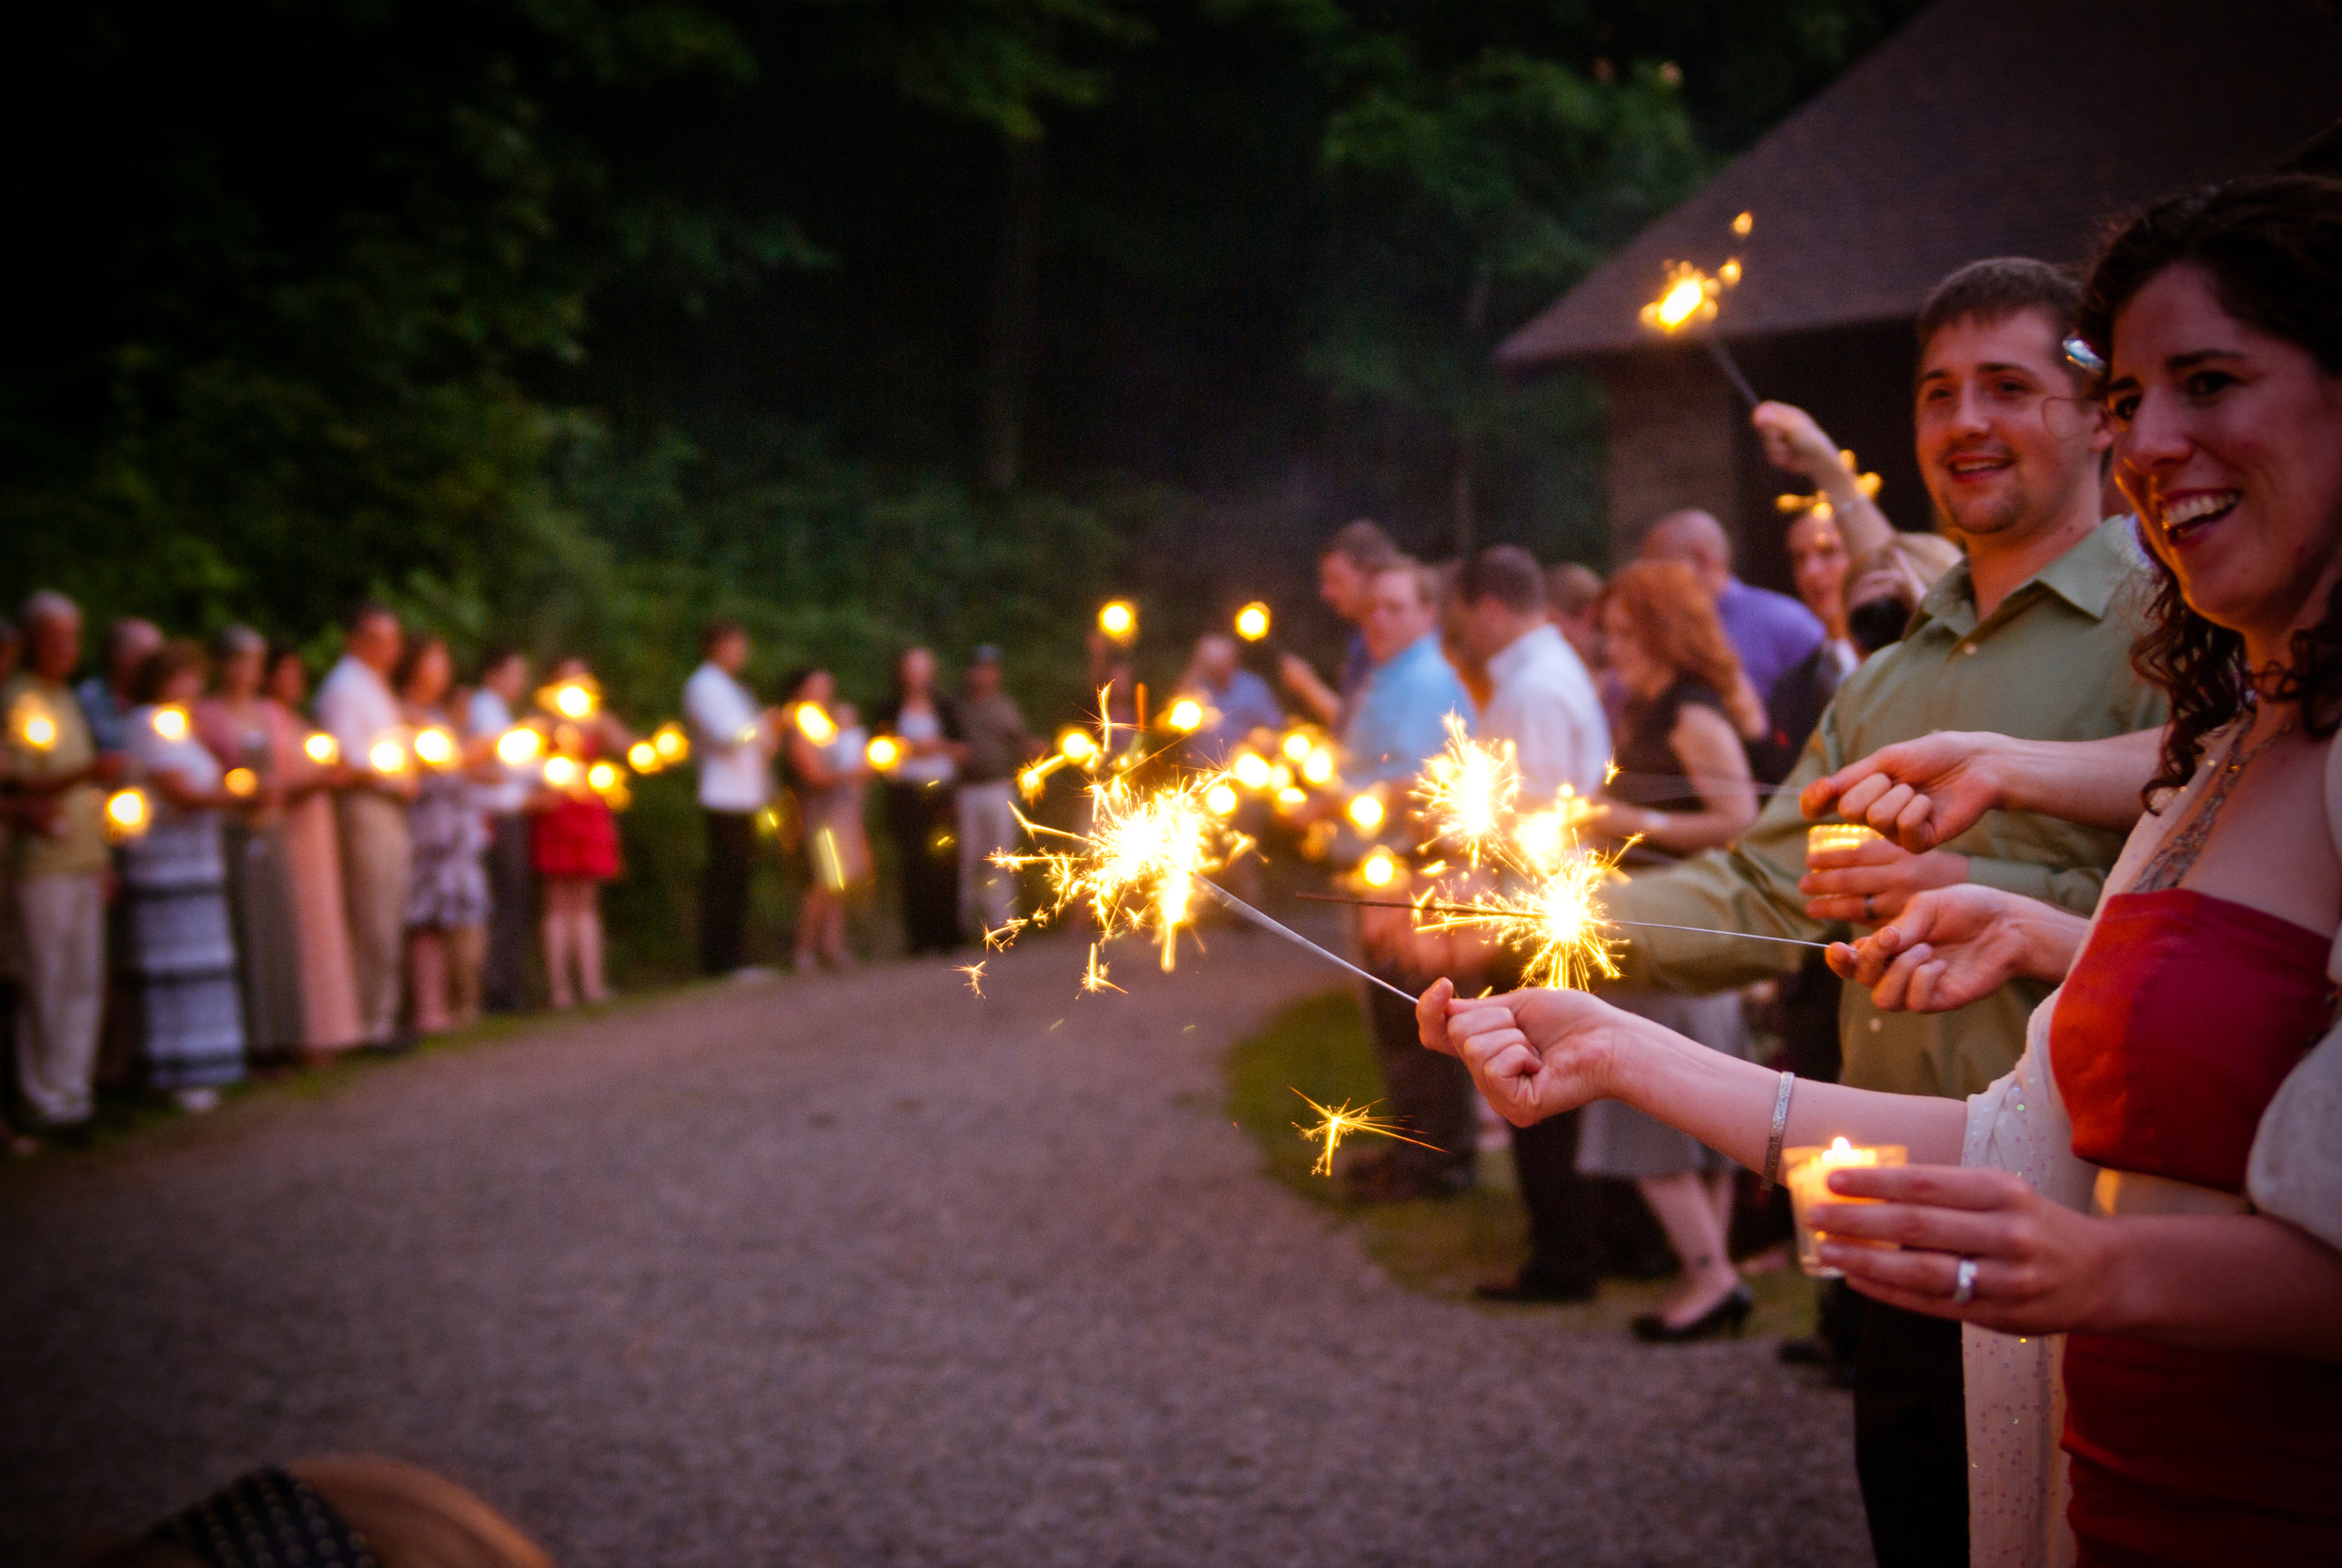
At the end of the evening we had a sparkler send-off. It was the perfect ending to a perfect day! I definitely recommend ordering "wedding" sparklers online--they are longer than typical sparklers and this ensures everyone's sparkler stays sparkly long enough for you to enjoy the moment and get some good pictures!

Speaking of pictures--all of these awesome photos were done by our amazing photographer, Jen Vrooman of Vrooman Photography