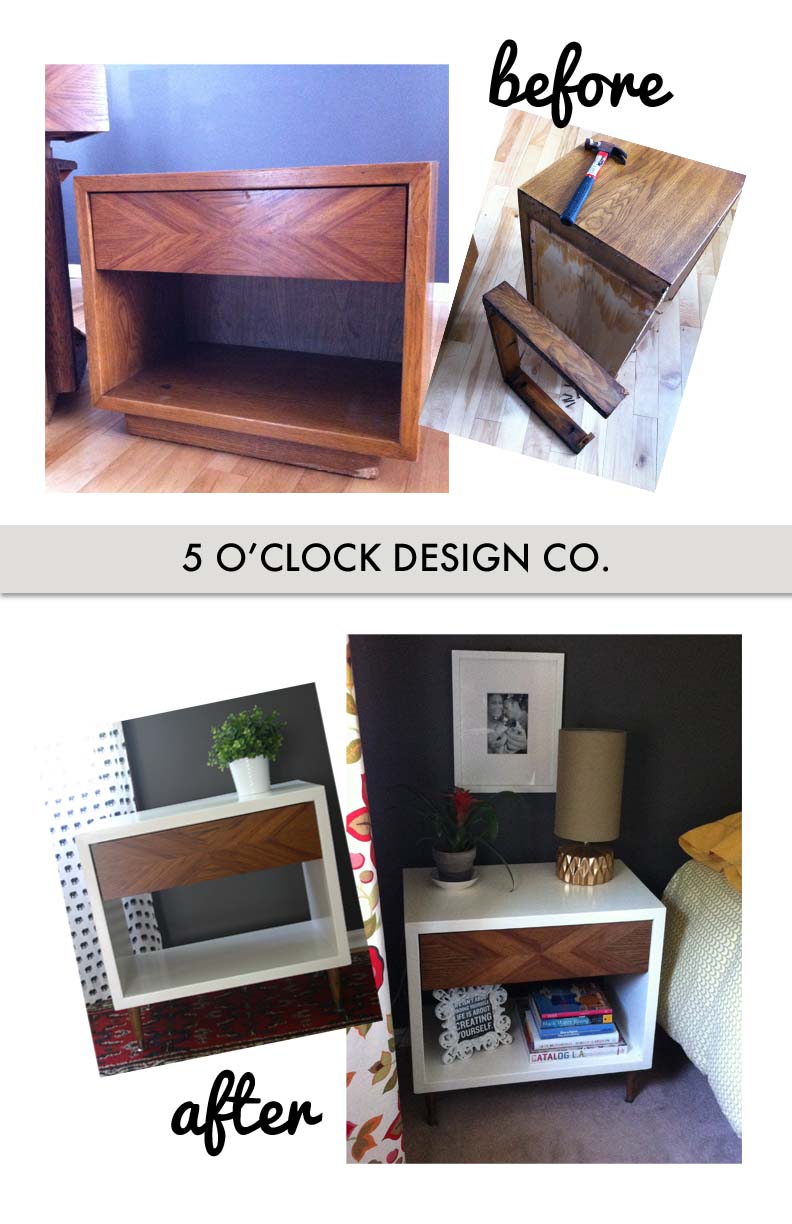
In case you forgot what these end tables looked like to start, you can see the first few steps of their transformation here. After some deconstruction, wood filler, and a lot of sanding, these beauties were ready for some white paint and new legs!
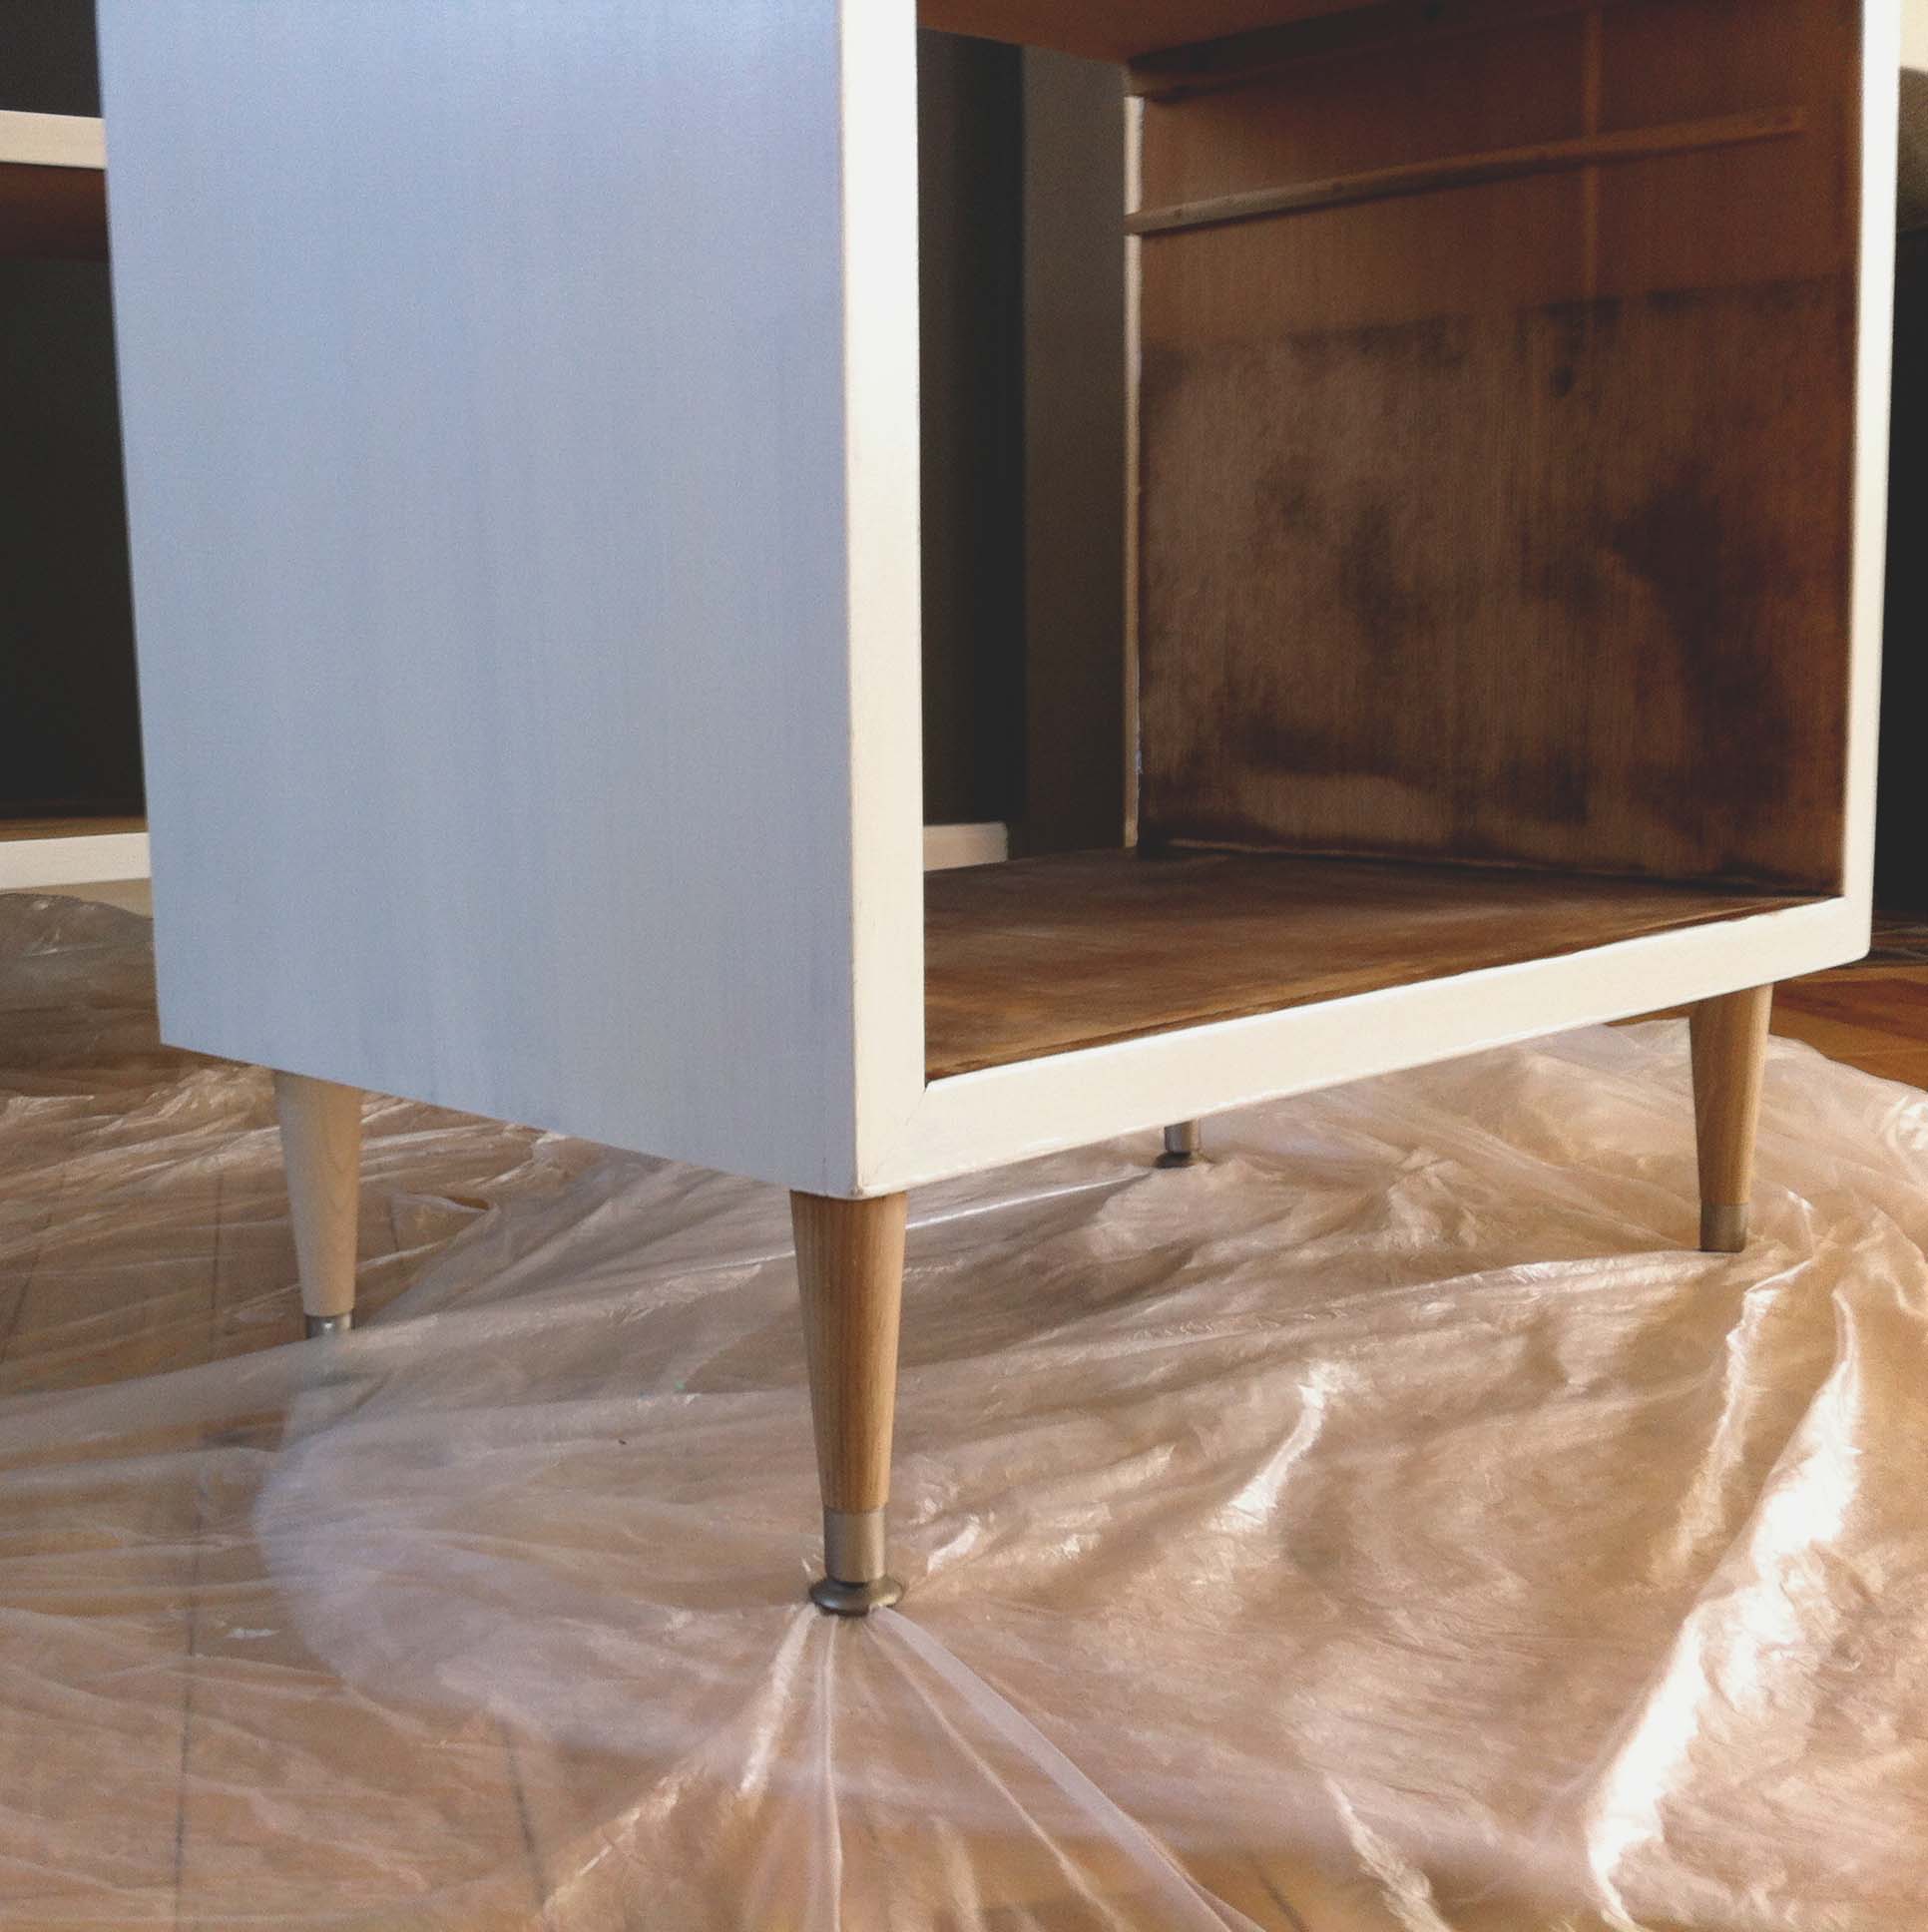


I started by only painting the exterior but eventually decided a consistent coat of white was the way to go. Trying to save a few bucks, I used trim paint that I had lying around from other touch-ups. It took many coats to get a good coverage and then, after it had cured for about a week, I noticed a lot of yellow coming through. Sooo... I sanded it down and started again. This time I used a high gloss enamel paint from Lowes and that worked much better!
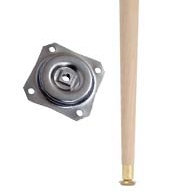
The new legs (also from Lowes) were easy to install and dramatically changed the look of these pieces!
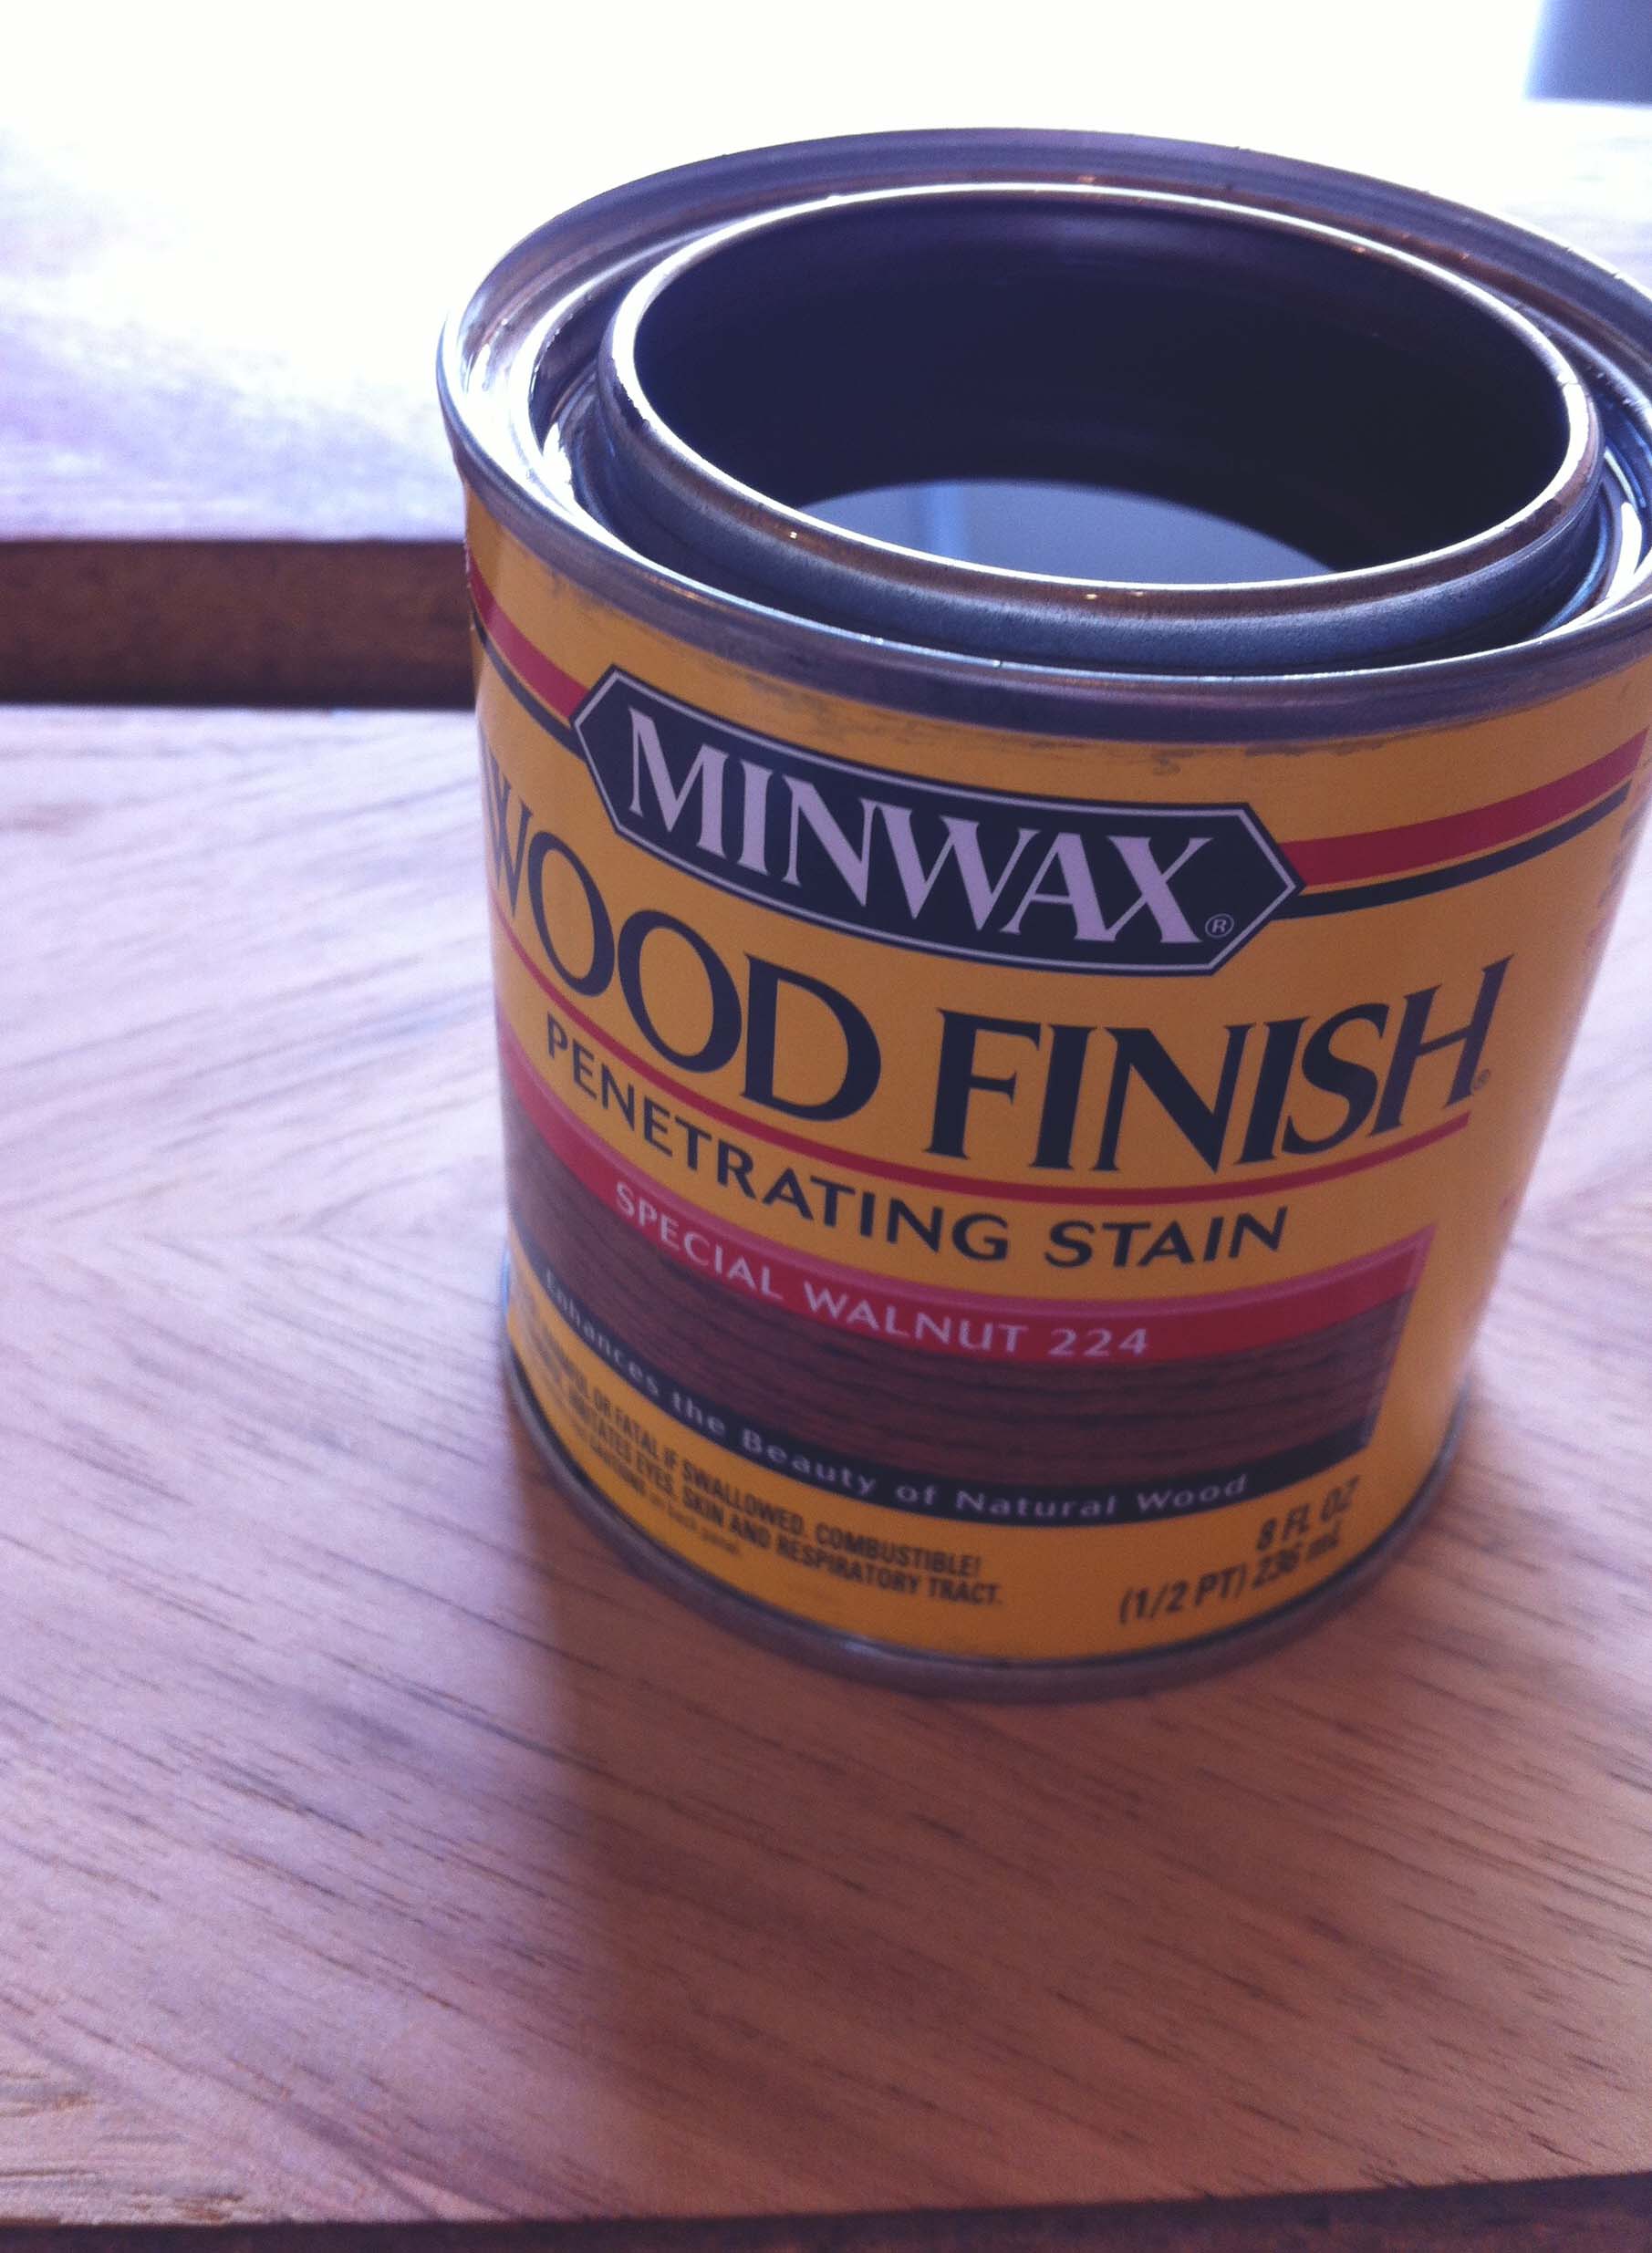
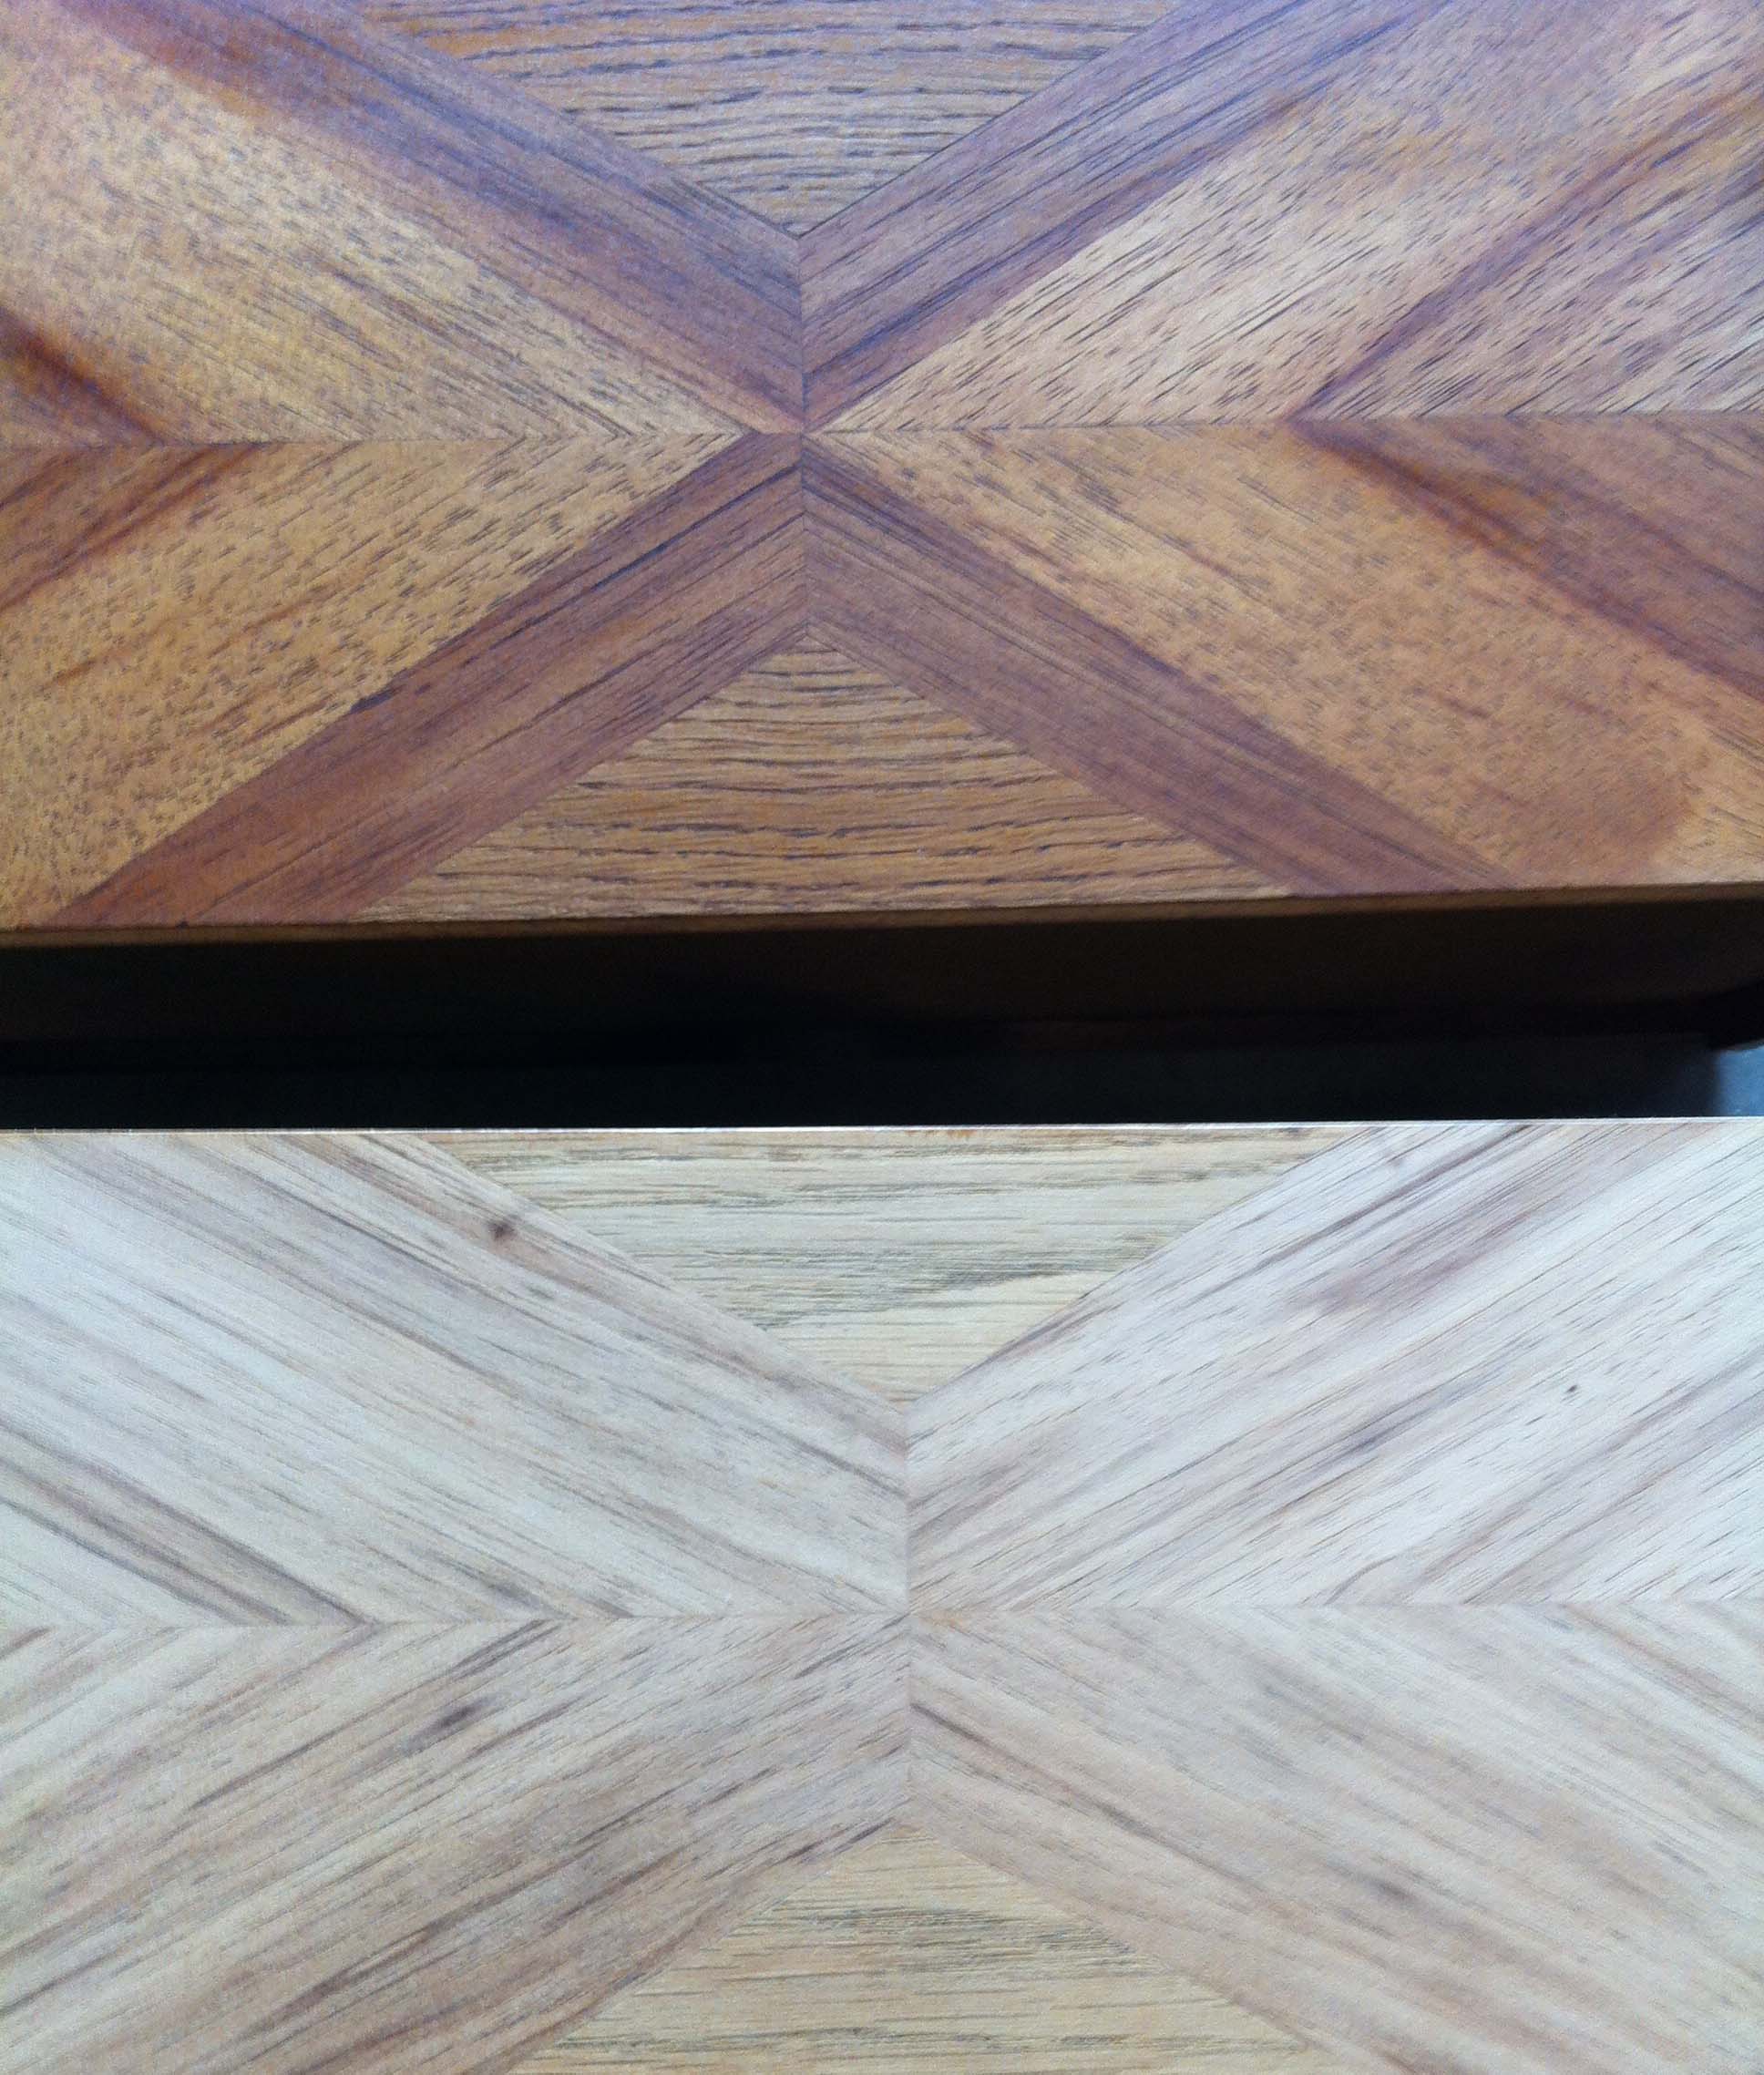
I sanded, stained and then sealed the drawer fronts with a clear poly. The process was pretty simple; I think the hardest part was making myself wait the recommended time between coats.
Here's what they look like now!


I am in LOVE with the transformation of these nightstands! Still to come: a total master bedroom makeover including the bedside lamps seen above and a DIY headboard!
Okay, one last before and after!