End Table Makeover: Part Two

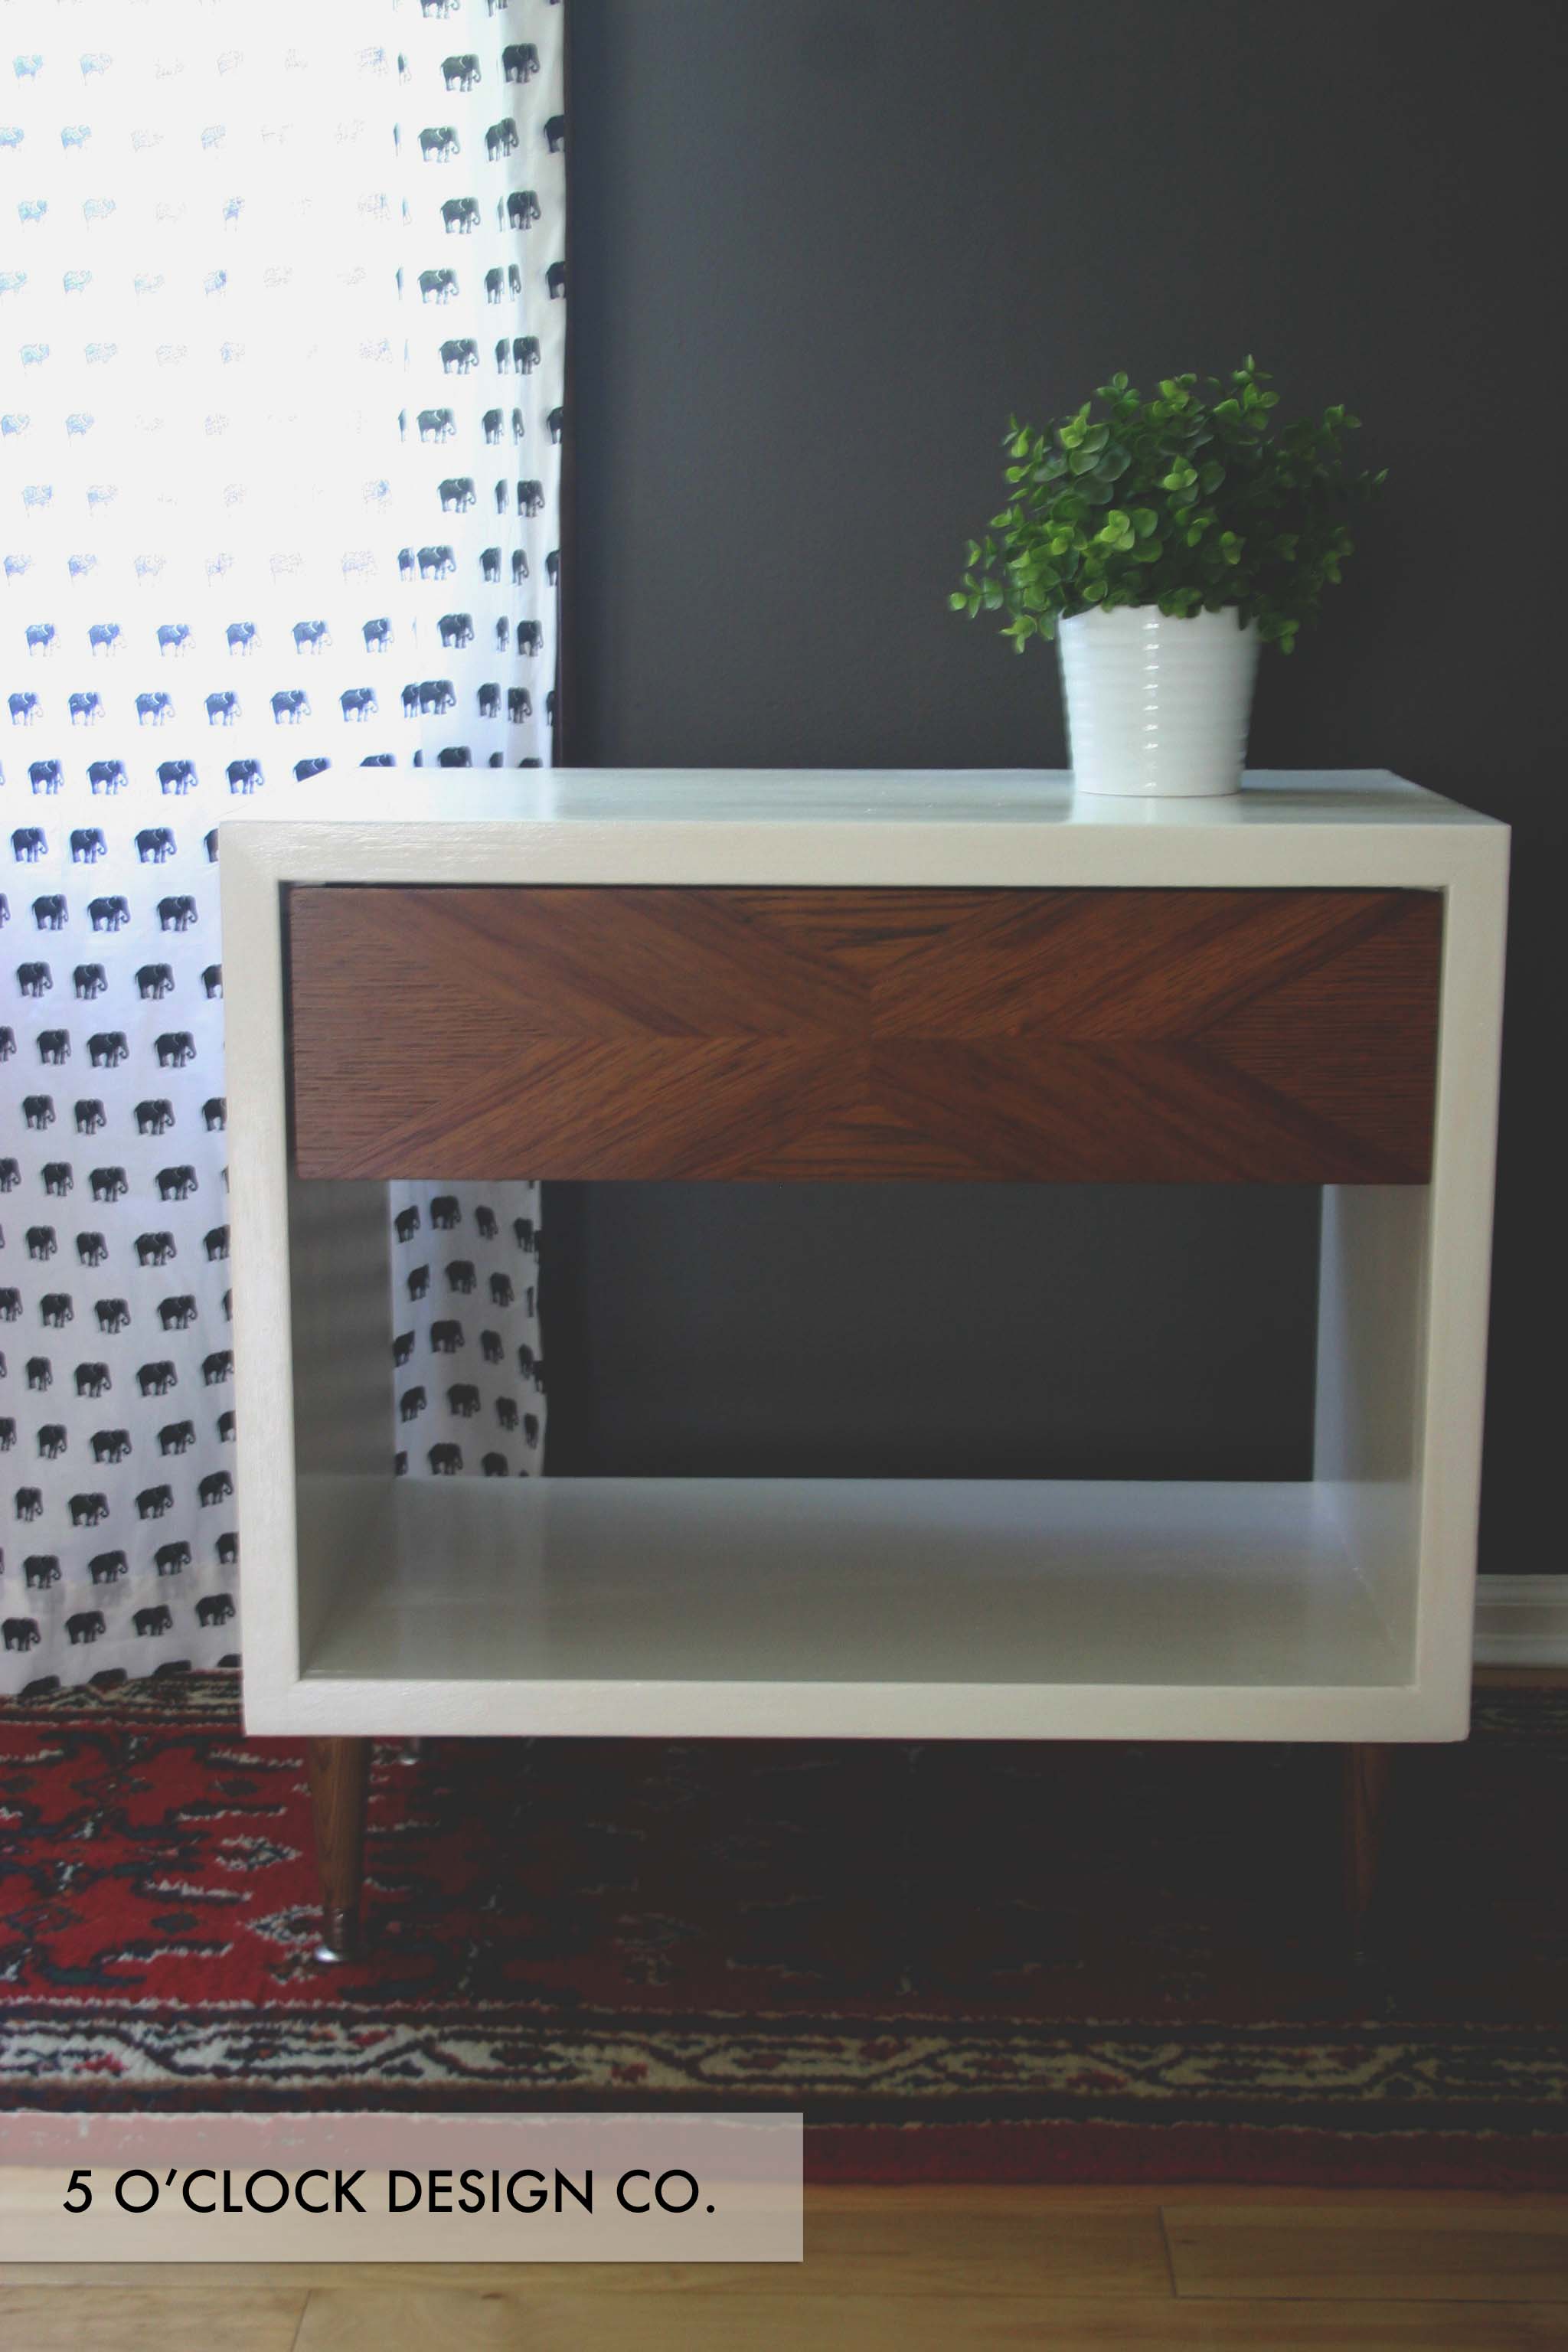
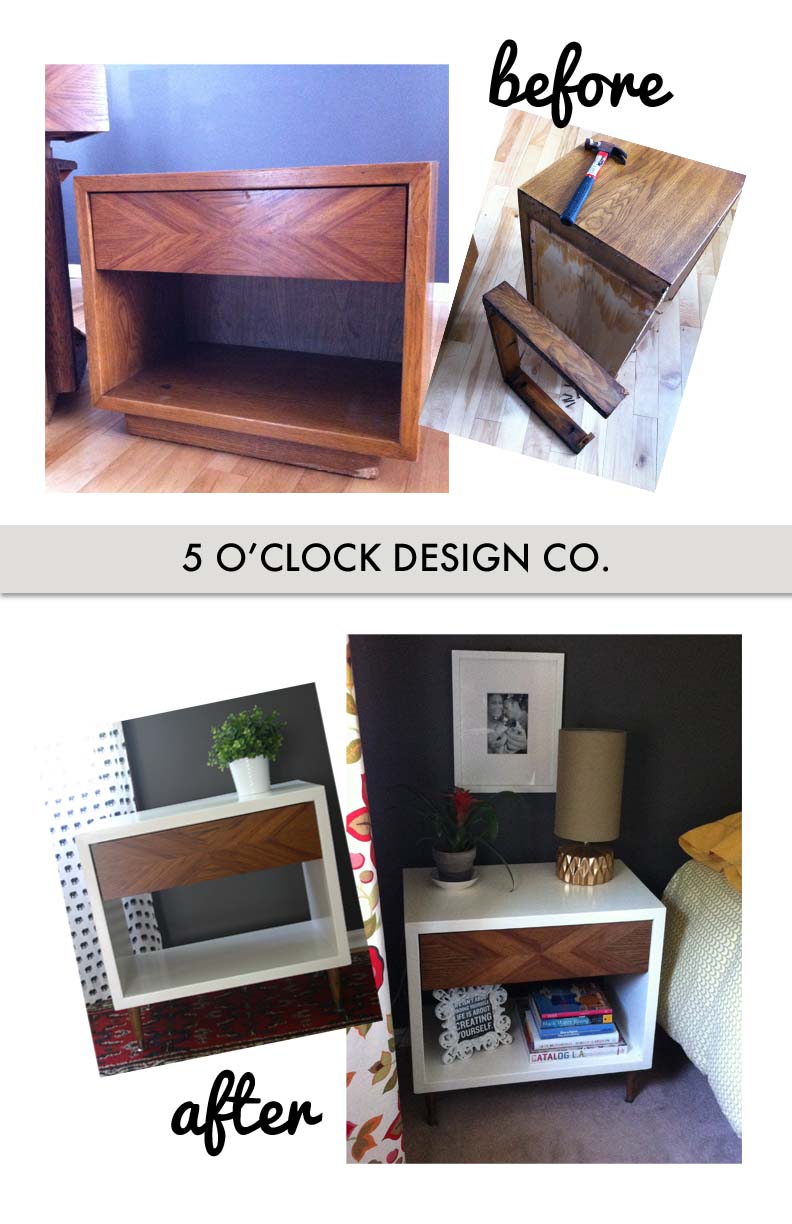
In case you forgot what these end tables looked like to start, you can see the first few steps of their transformation here. After some deconstruction, wood filler, and a lot of sanding, these beauties were ready for some white paint and new legs!

I started by only painting the exterior but eventually decided a consistent coat of white was the way to go. Trying to save a few bucks, I used trim paint that I had lying around from other touch-ups. It took many coats to get a good coverage and then, after it had cured for about a week,  I noticed a lot of yellow coming through. Sooo... I sanded it down and started again. This time I used a high gloss enamel paint from Lowes and that worked much better!

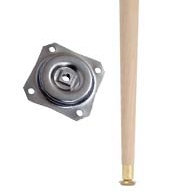
The new legs (also from Lowes) were easy to install and dramatically changed the look of these pieces!

I sanded, stained and then sealed the drawer fronts with a clear poly. The process was pretty simple; I think the hardest part was making myself wait the recommended time between coats.

Here's what they look like now!

I am in LOVE with the transformation of these nightstands! Still to come: a total master bedroom makeover including the bedside lamps seen above and a DIY headboard!

Okay, one last before and after!
Pillow Talk: Simply Summer

Whether on a porch swing, a back patio, or in your blissful air-conditioning, summer is perfect for grabbing a novel, a tall glass of iced tea, and kicking back for awhile. These throw pillows are some of my favorites for the season! You don't have to give up coziness or texture just because it's summer either! Just be sure to balance heavier knits with bright colors and lighter fabrics.

Pillows are easy to rotate with the seasons. Choose a few neutral ones as your base and then add bolder prints or seasonal styles to liven a space.

As a general rule, pair: 
{1 organic print - floral, leaves/vines, etc} {1 geometric print} {1+ solid or very small scale print}

There are other combinations that will work lovely, but this is a great place to start.


Pillows shown above are listed left to right/ top to bottom: 


Note: I do not receive compensation of any kind when you use the links provided above.
They are included for convenience when shopping for the items pictured in this post.

Bar Cart Makeover

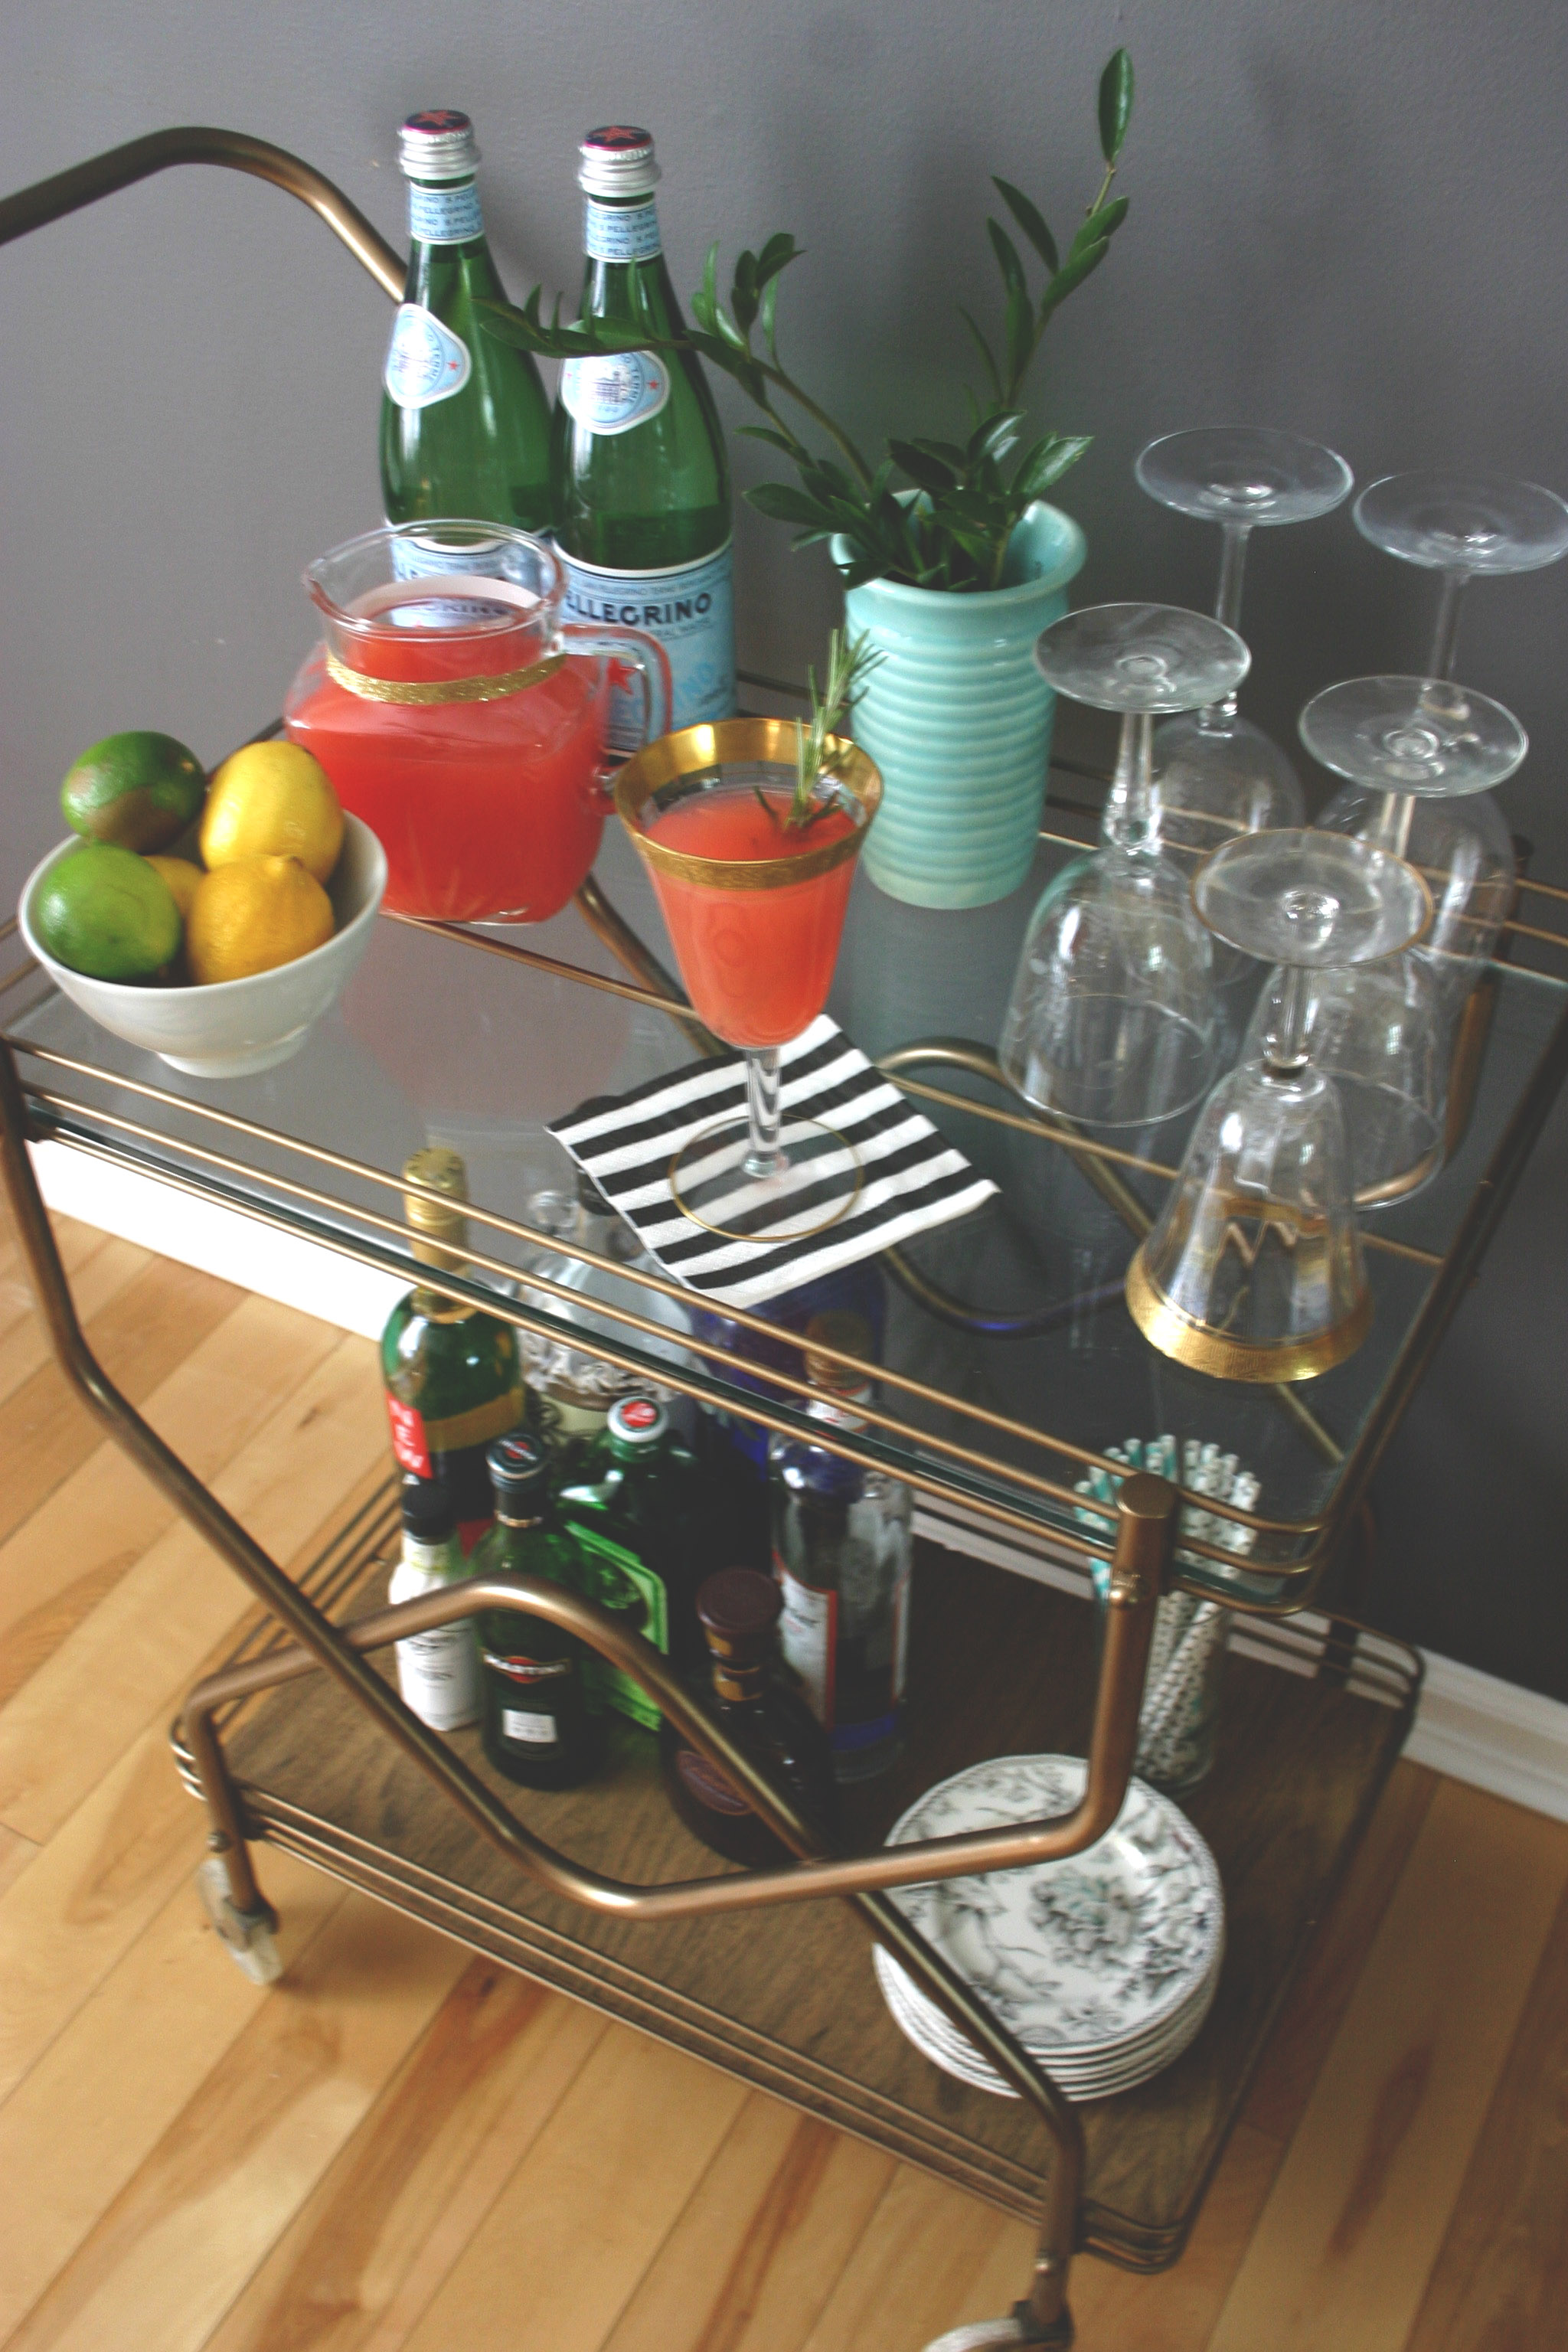
A finished project deserves a drink!

I bought this bar cart a thrift store for a mere $6 and even though it was in pretty rough shape, I was immediately excited about its potential! A good cleaning, a coat of bronze-y gold spray paint, and a new bottom shelf, and it is looking pretty sharp! Since the bottom piece of glass was missing, I re-used and cut to size a piece of backing that was removed from a different project. I think the walnut color brings an appropriate mid-century vibe. I toyed with replacing the casters but eventually decided that I liked the character of the existing ones. 

So that's that! A quick, simple makeover that resulted in a gorgeous addition to my dining room!

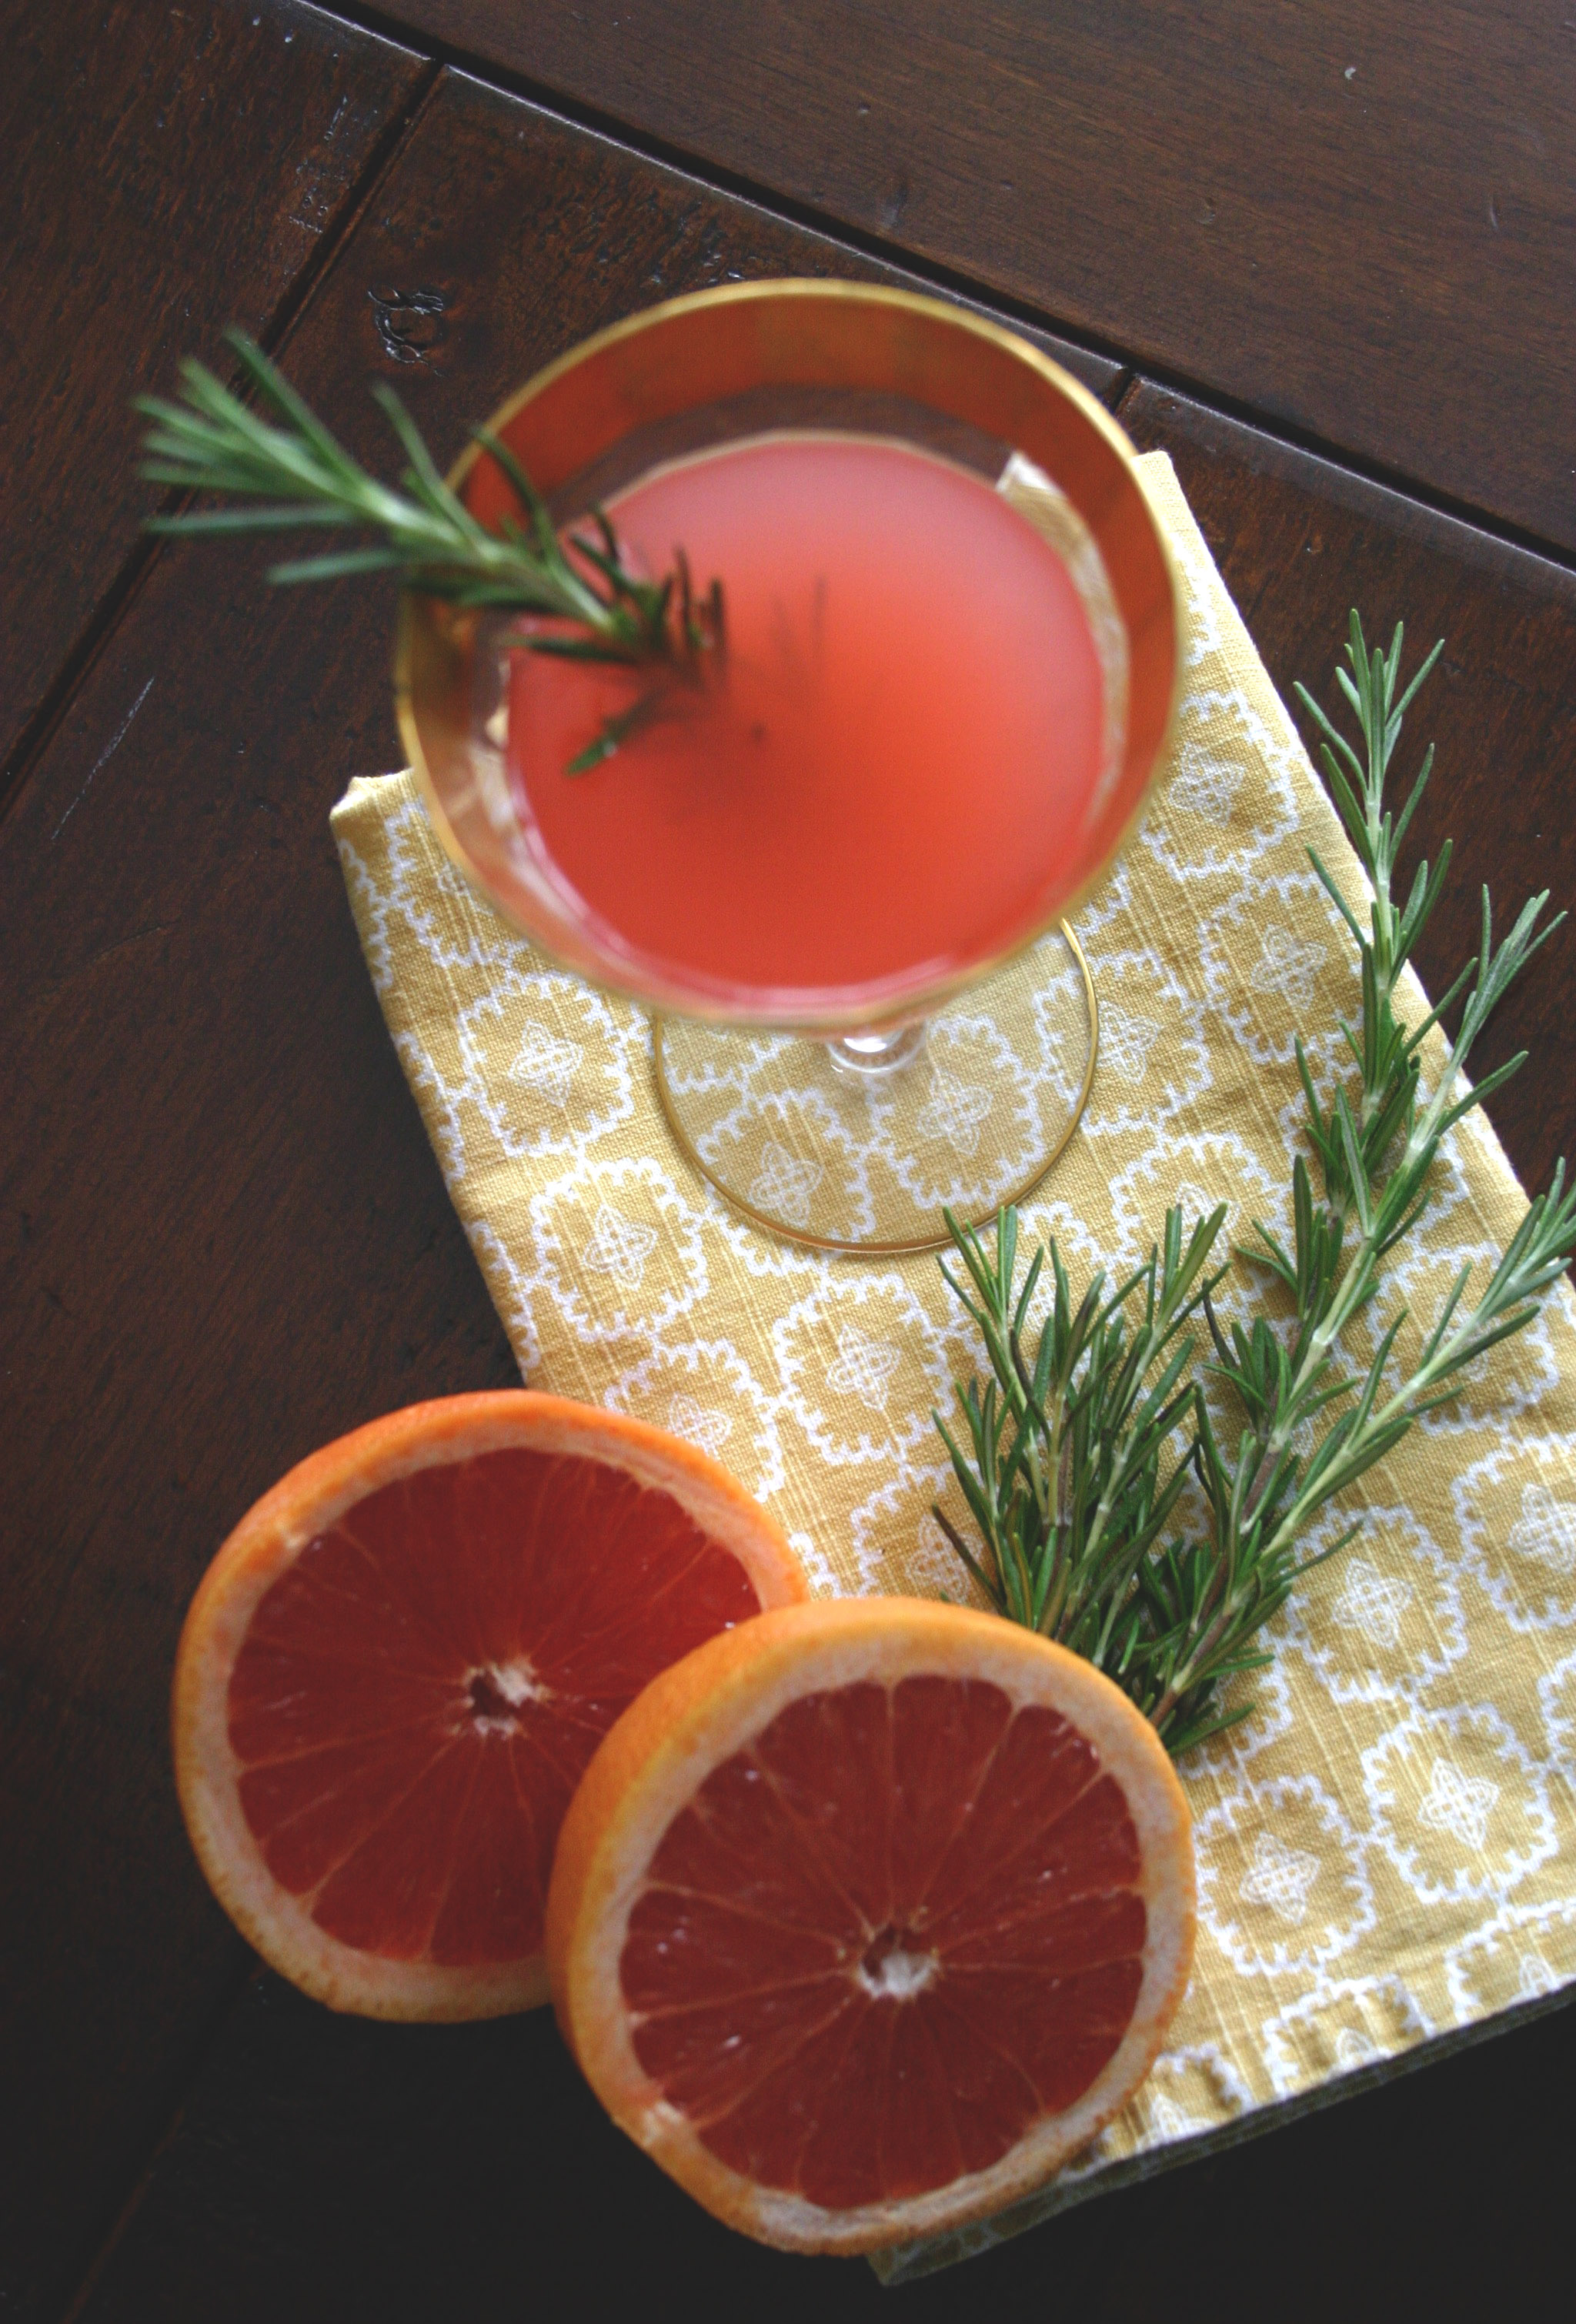
Since it is a bar cart after all, I decided a simple, summery cocktail was in order! This Rosemary Greyhound is light, fresh, and easy. The recipe is from Natalie at Tastes Lovely

Ingredients

Rosemary Simple Syrup

  • 2 cups of water

  • 2 cups of sugar

  • 6 sprigs of rosemary

Cocktail

  • 2 ounces vodka

  • ½ ounce rosemary simple syrup

  • 4 ounces grapefruit juice

  • sprig of rosemary for garnish

Instructions

  1. Simple Syrup: In a small sauce pan over medium low heat, dissolve the sugar into the water for about 5 minutes. Do not let the mixture boil or crystals will form. In a heat safe container, pour the warm sugar water mixture over the rosemary sprigs and let it steep for at least 1 hour. The rosemary simple syrup will keep in the refrigerator in an airtight container for 10 days.

  2. Cocktail: In tall glass filled with ice combine the vodka, rosemary simple syrup and grapefruit juice. Garnish with a sprig of rosemary.


Break Out the Bubbly--Big Things Are Happening!

Introducing 5 O'Clock Design Co!

I am so excited that this day is finally here! 5 O'Clock Design Co. has been a dream of mine--a goal, a "some day" for awhile. The vision has developed and evolved over time and now it has become a reality! I love beautiful spaces--they speak to my soul--and I believe that beautiful design is within reach of everyone. At 5 O'Clock Design Co. our goal is to make great design accessible, easy, and fun. We're here to inspire, collaborate, and assist wherever you need us. 

The full scope of 5 O'Clock Design Co. will unfold in a few phases:

Phase One

The Blog -- You are here! Every week I'll be writing about a variety of topics including project tutorials, room and furniture make-overs, staging tips, awesome thrift store finds, and all sorts of great things. Don't forget to sign up for the newsletter so you don't miss anything! You can also follow 5 O'Clock Design Co. on Pinterest!

Phase Two

For You -- This is the storefront where you will find furniture that has been re-made into modern, one-of-a-kind pieces as well as design boards with source sheets so you can jump right into a project.

Phase Three

Custom Design Services -- Customized design boards, floor plans, digital renderings, expert advice to help you transform any space into something you love... these are just a few of the ways 5 O'Clock Design Co. is here to help!


As the different phases unfold, if you have any questions, feedback, or just want to say hi, I would love to hear from you! Thanks for being part of the adventure! I am excited for what's ahead!