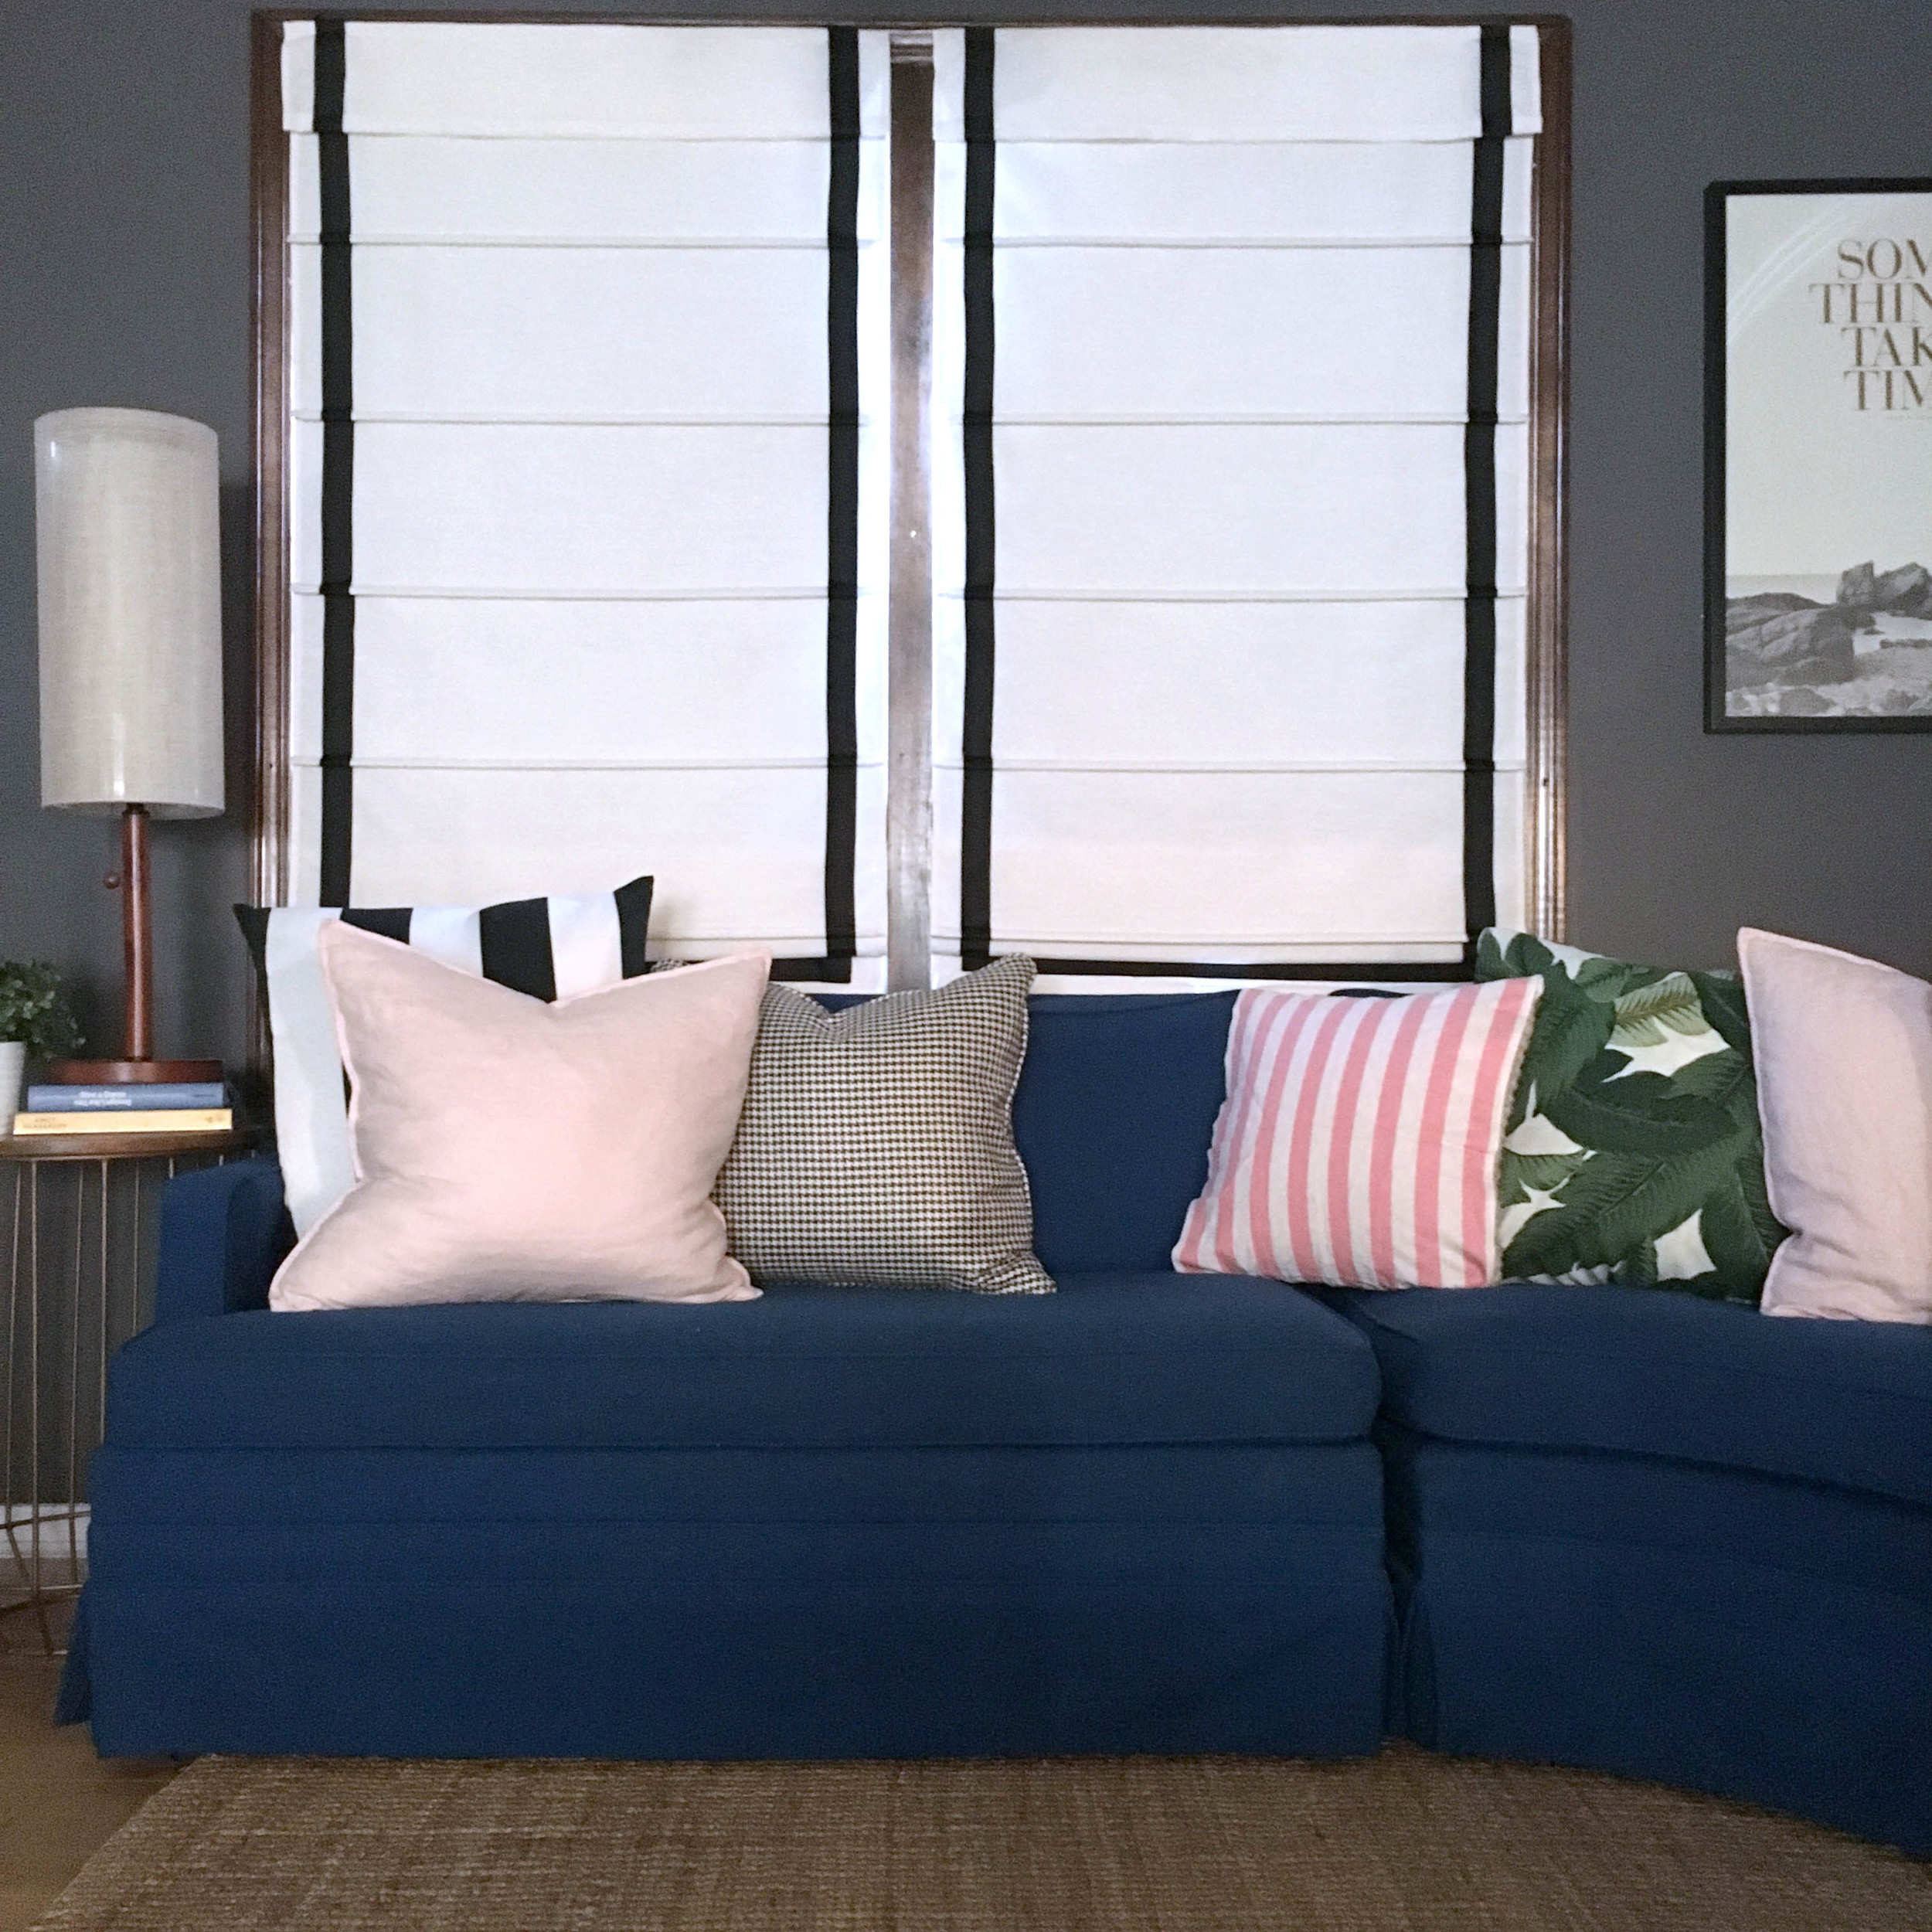
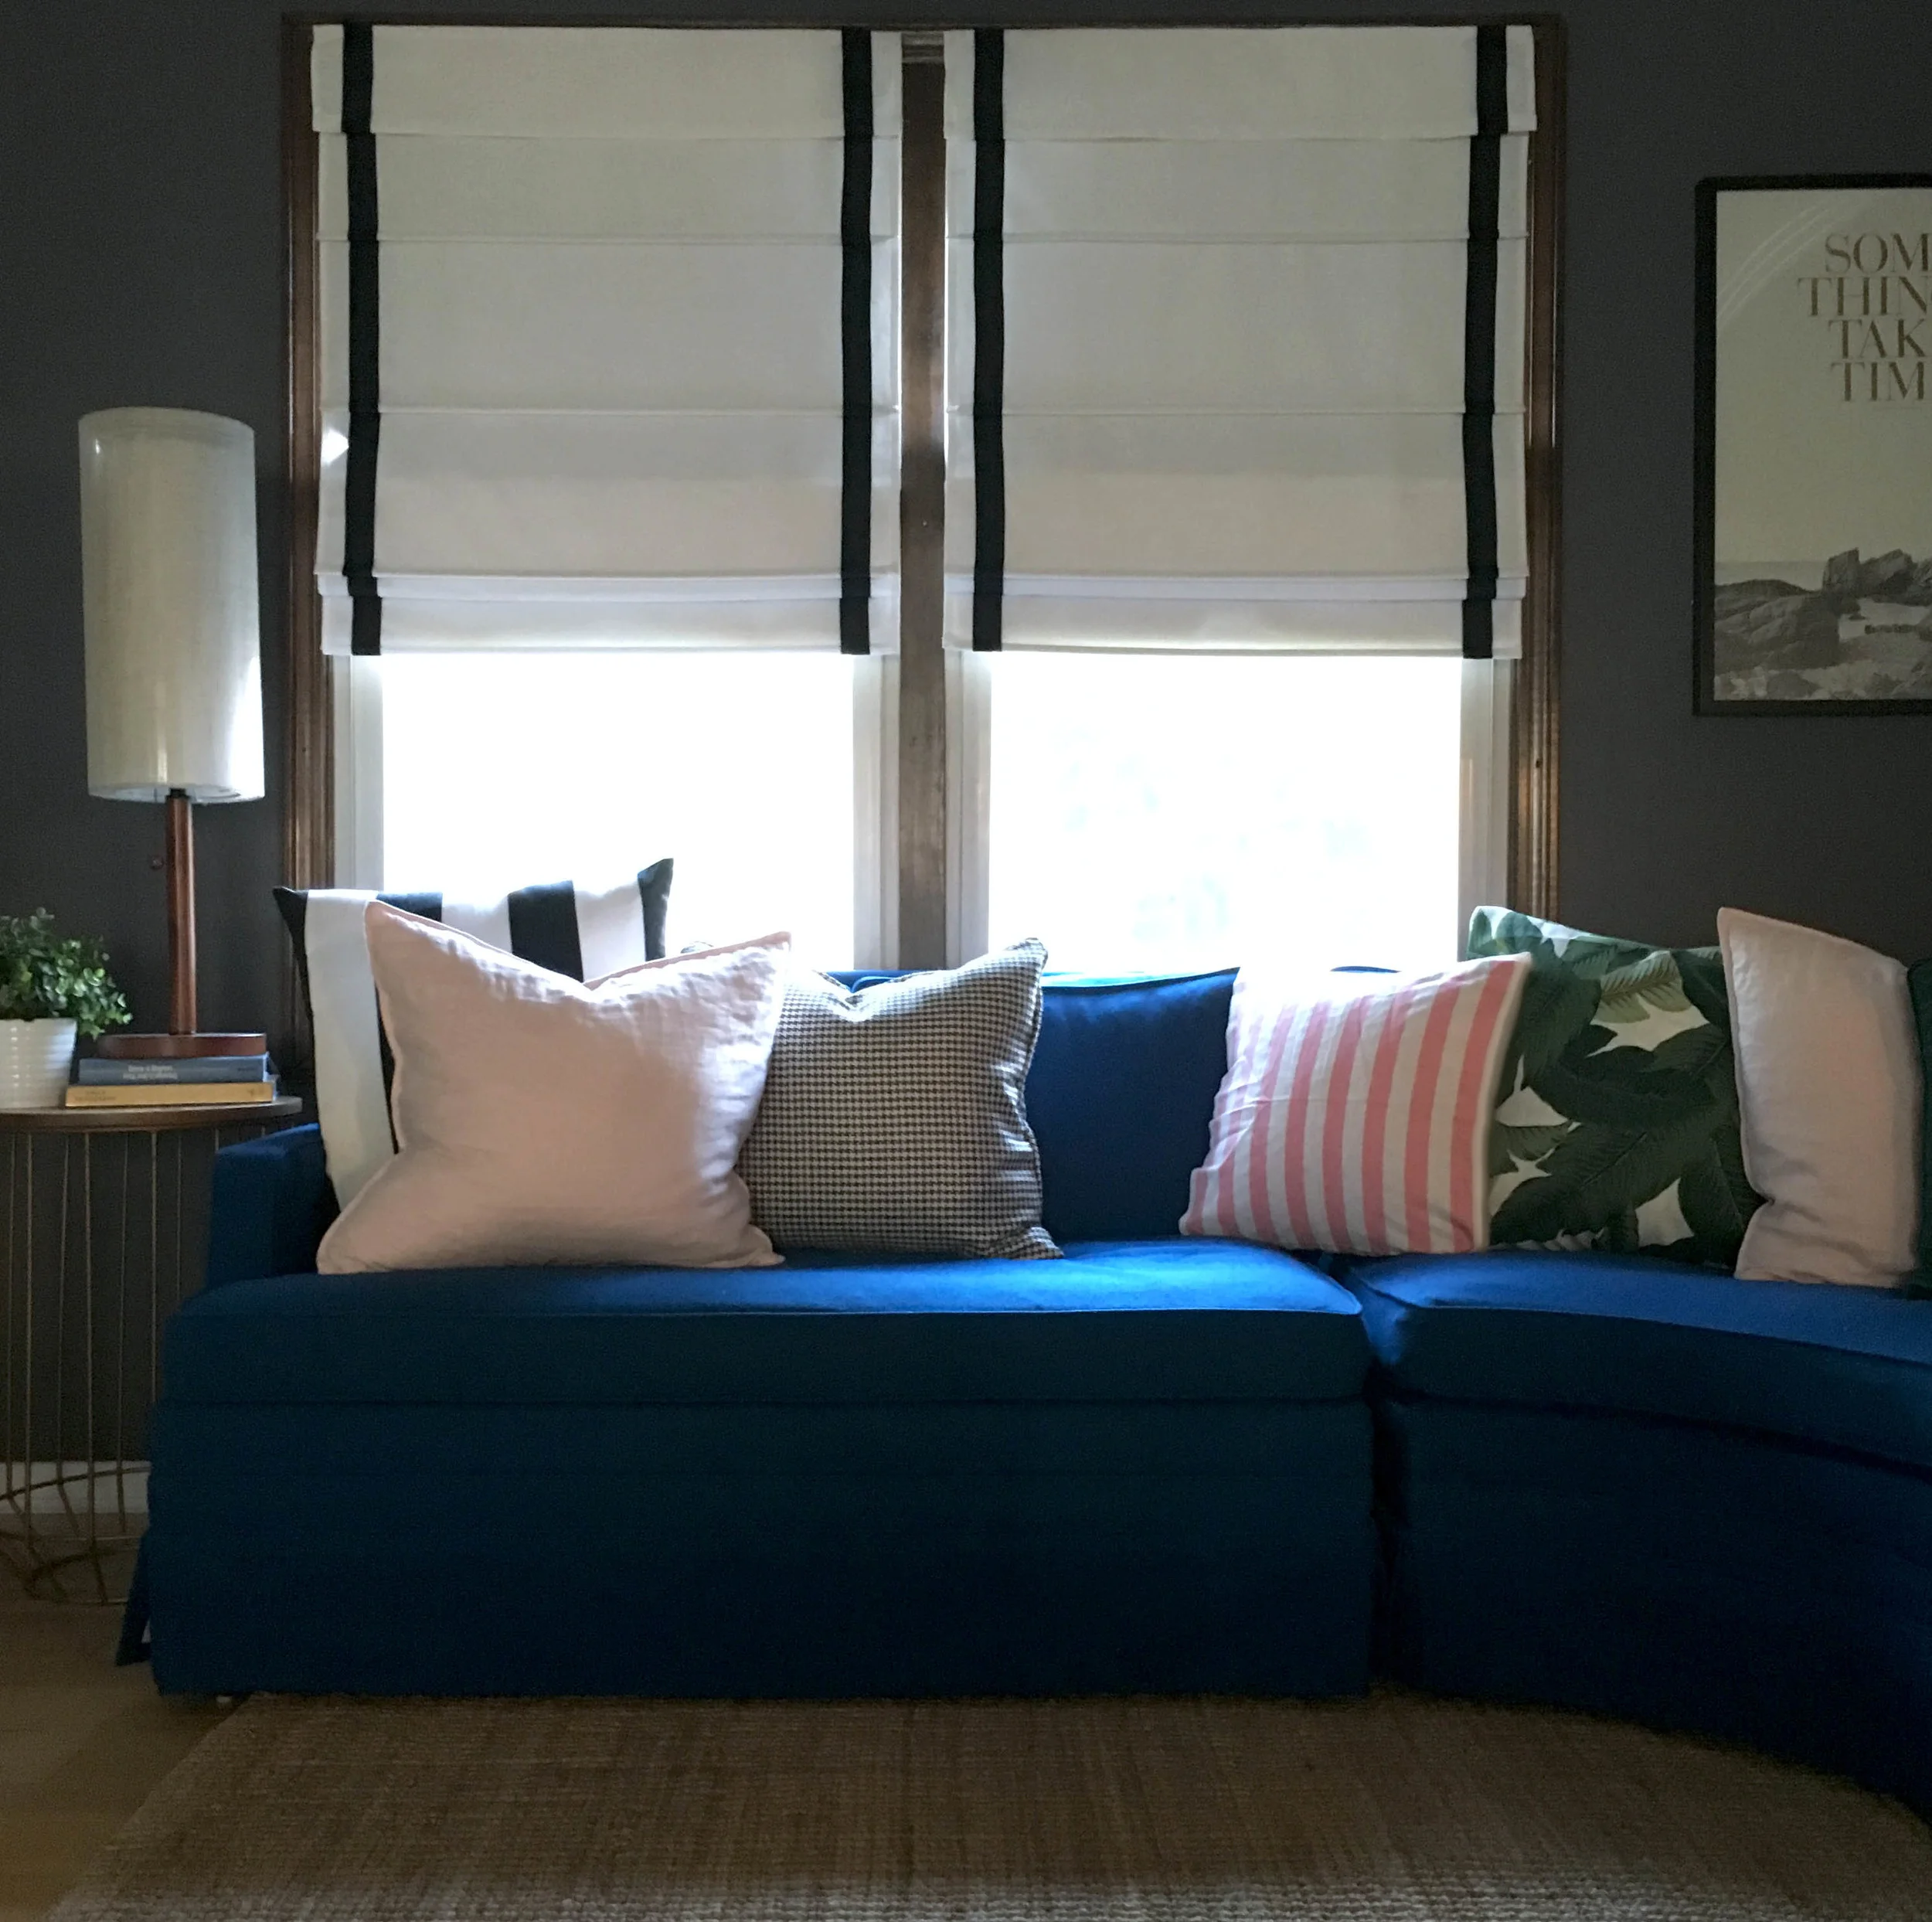
In our house there is a revolving door of furniture swaps--I am forever re-arranging things or buying new pieces on Craigslist and re-listing the old. It's something my husband doesn't always find the most adorable thing about me, but he graciously humors my craziness. When I found this near-perfect cobalt sectional from the 50's it was love at first sight. I think this may be a keeper for the long haul so I desperately needed to address the old window treatments as they no longer worked with this couch in front of them. This space where the sofa is was previously being used as our dining room and while I loved the adorable little elephant curtains, floor length curtains behind the couch weren't really working.
I loved the crisp, classic look of these roman shades with black trim but $120/shade was more than I willing was to spend so I decided to try DIY-ing them instead. My original thought was make the whole shade from scratch, but these lined, cordless blinds were only $40/ea. at Home Depot and came with all the mounting hardware. I spent about $25 total on supplies for both shades, making each one less than $55! Not too shabby!!
Here is the incredibly easy process I followed for adding black trim to pre-made roman shades.
What You Need to Get Started
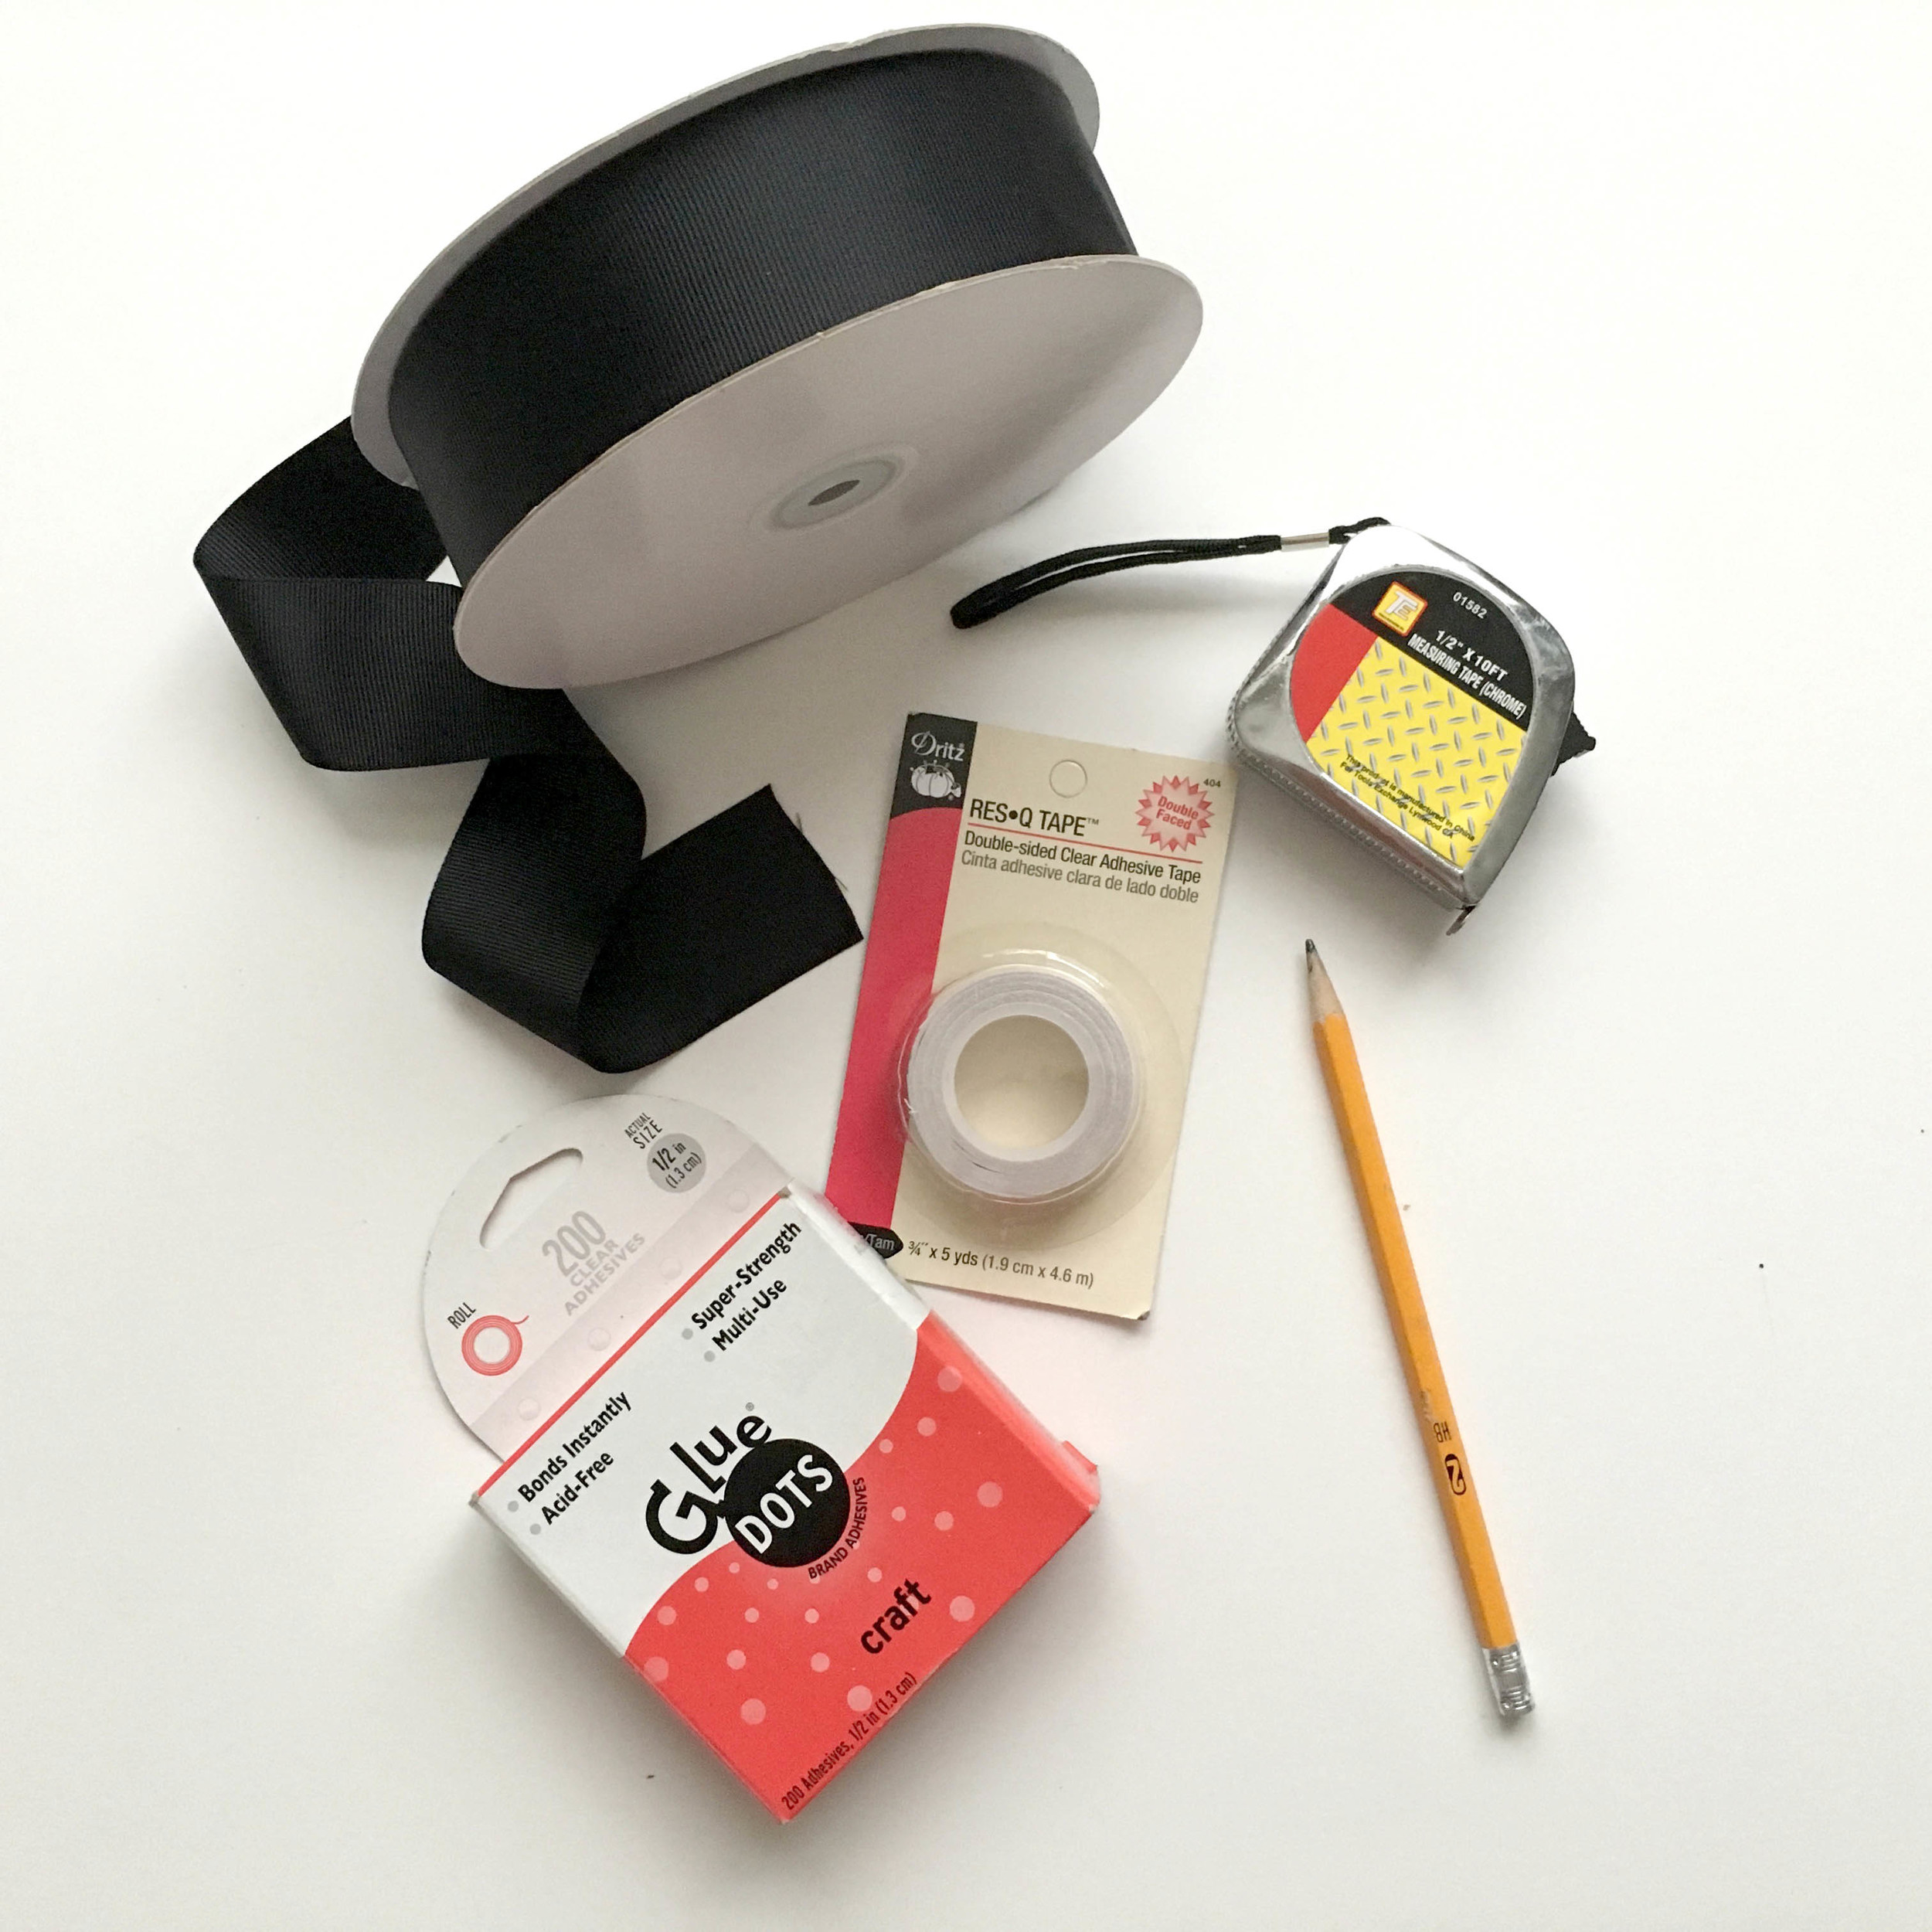
The list of supplies for this project is pretty minimal and not very expensive. One thing I forgot to show is scissors, but you'll want to have those on hand.
- Roman Shade in desired color and size
- Grosgrain Ribbon
- Double Sided Tape (YEP, you read that right!)
- Glue Dots
- Tape Measure
- Pencil
- Scissors
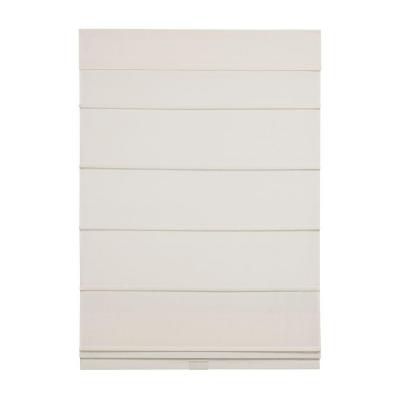
Stretch Out the Shade
This sounds silly to point out, but the first time I went to work on these it caught me by surprise. Because these are cordless, they kind of coil up when they aren't hung. My solution of piling heavy books on each end wasn't genius or Instagram worthy, but it worked great!

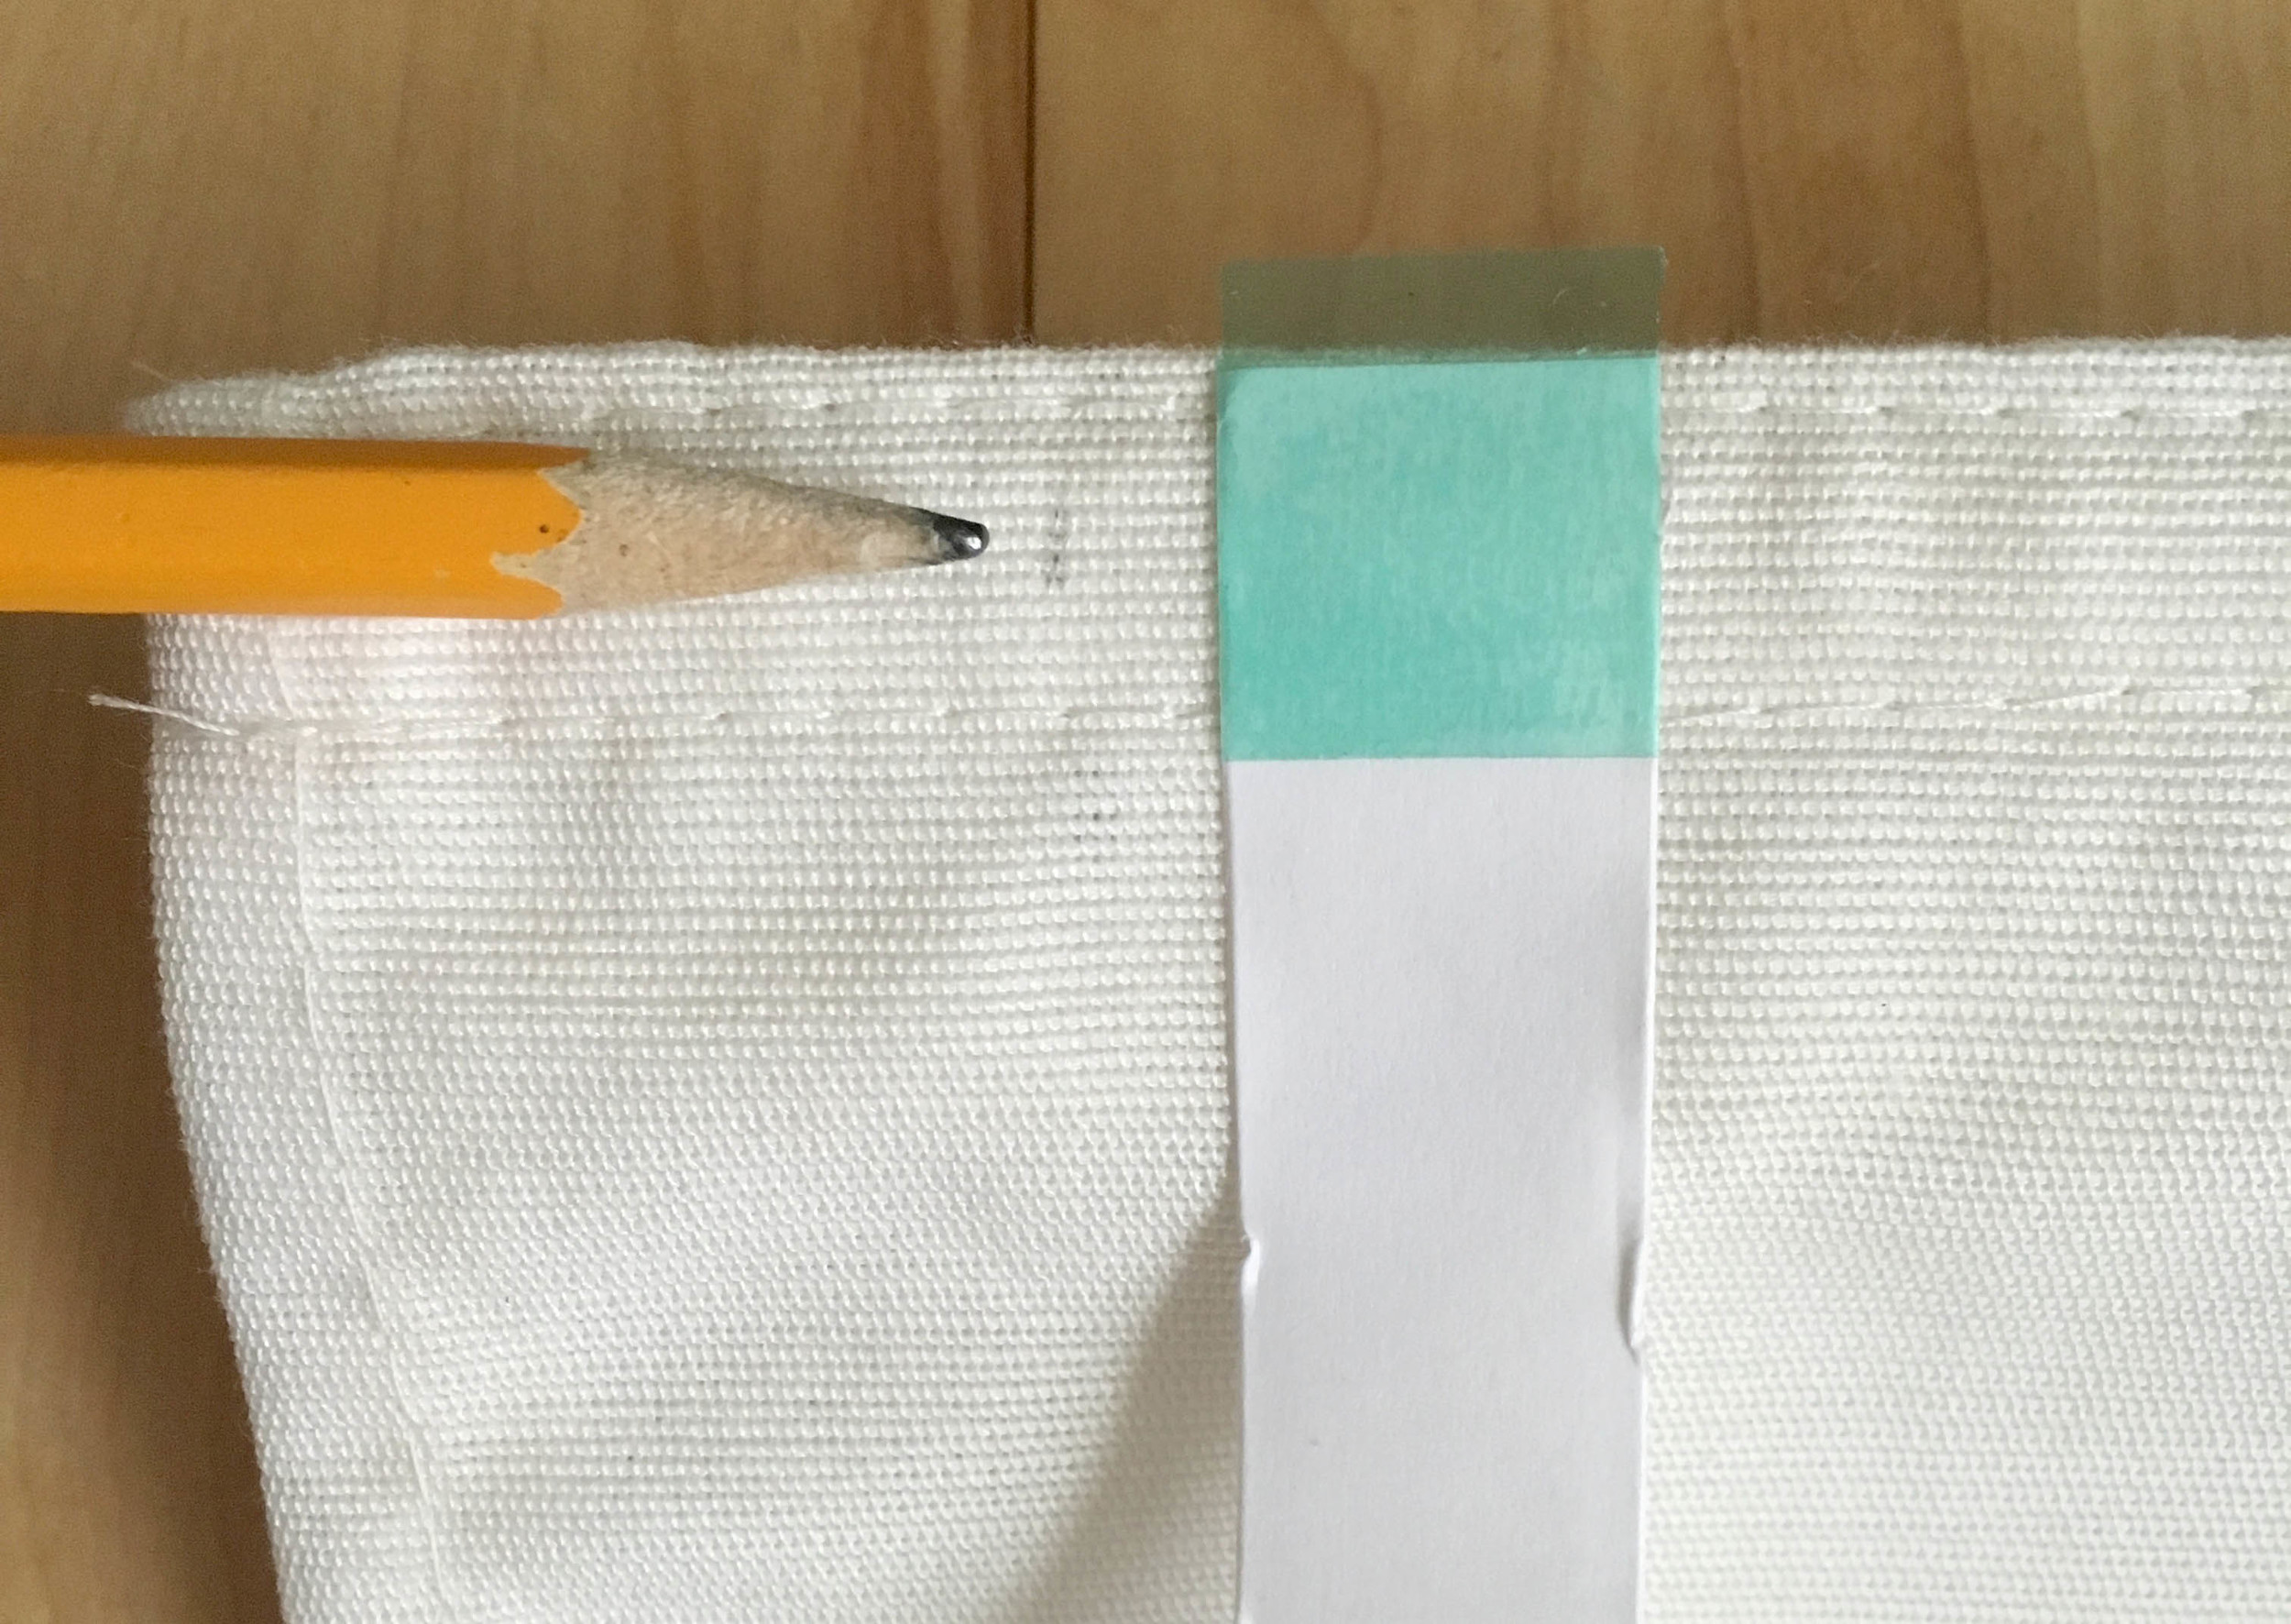
Measuring and Marking Where Your Trim Will Go
Because my ribbon was 1 1/2" wide I decided to use that same dimension for the amount of the white shade that would show around the outside edge. I think this creates a clean, proportional look. Just measure and make small pencil dashes all around the perimeter of the shade. Be sure to flip up the top flap and mark the underside as well.

Applying Double Sided Tape
Once you have your pencil marks to guide you, it's time to apply the double sided tape. Rather than lining your tape up with your pencil marks, you want it to be centered with the where the ribbon will be. You can just hold your ribbon up and eyeball the placement.
Leave the top side coating of the tape in place and be sure to press firmly as you go. When you reach a corner, just cut the tape and start again forming the L shape of the corner.

If you bought the same, or comparable, supplies as I listed above, then most likely at the very end (for me this is the top flap on the opposite side of where I started) you will run out of tape. Don't worry--we can use the Glue Dots for the last little bit. Leave the section as-is for now and you can address it when you get to that spot with the ribbon.

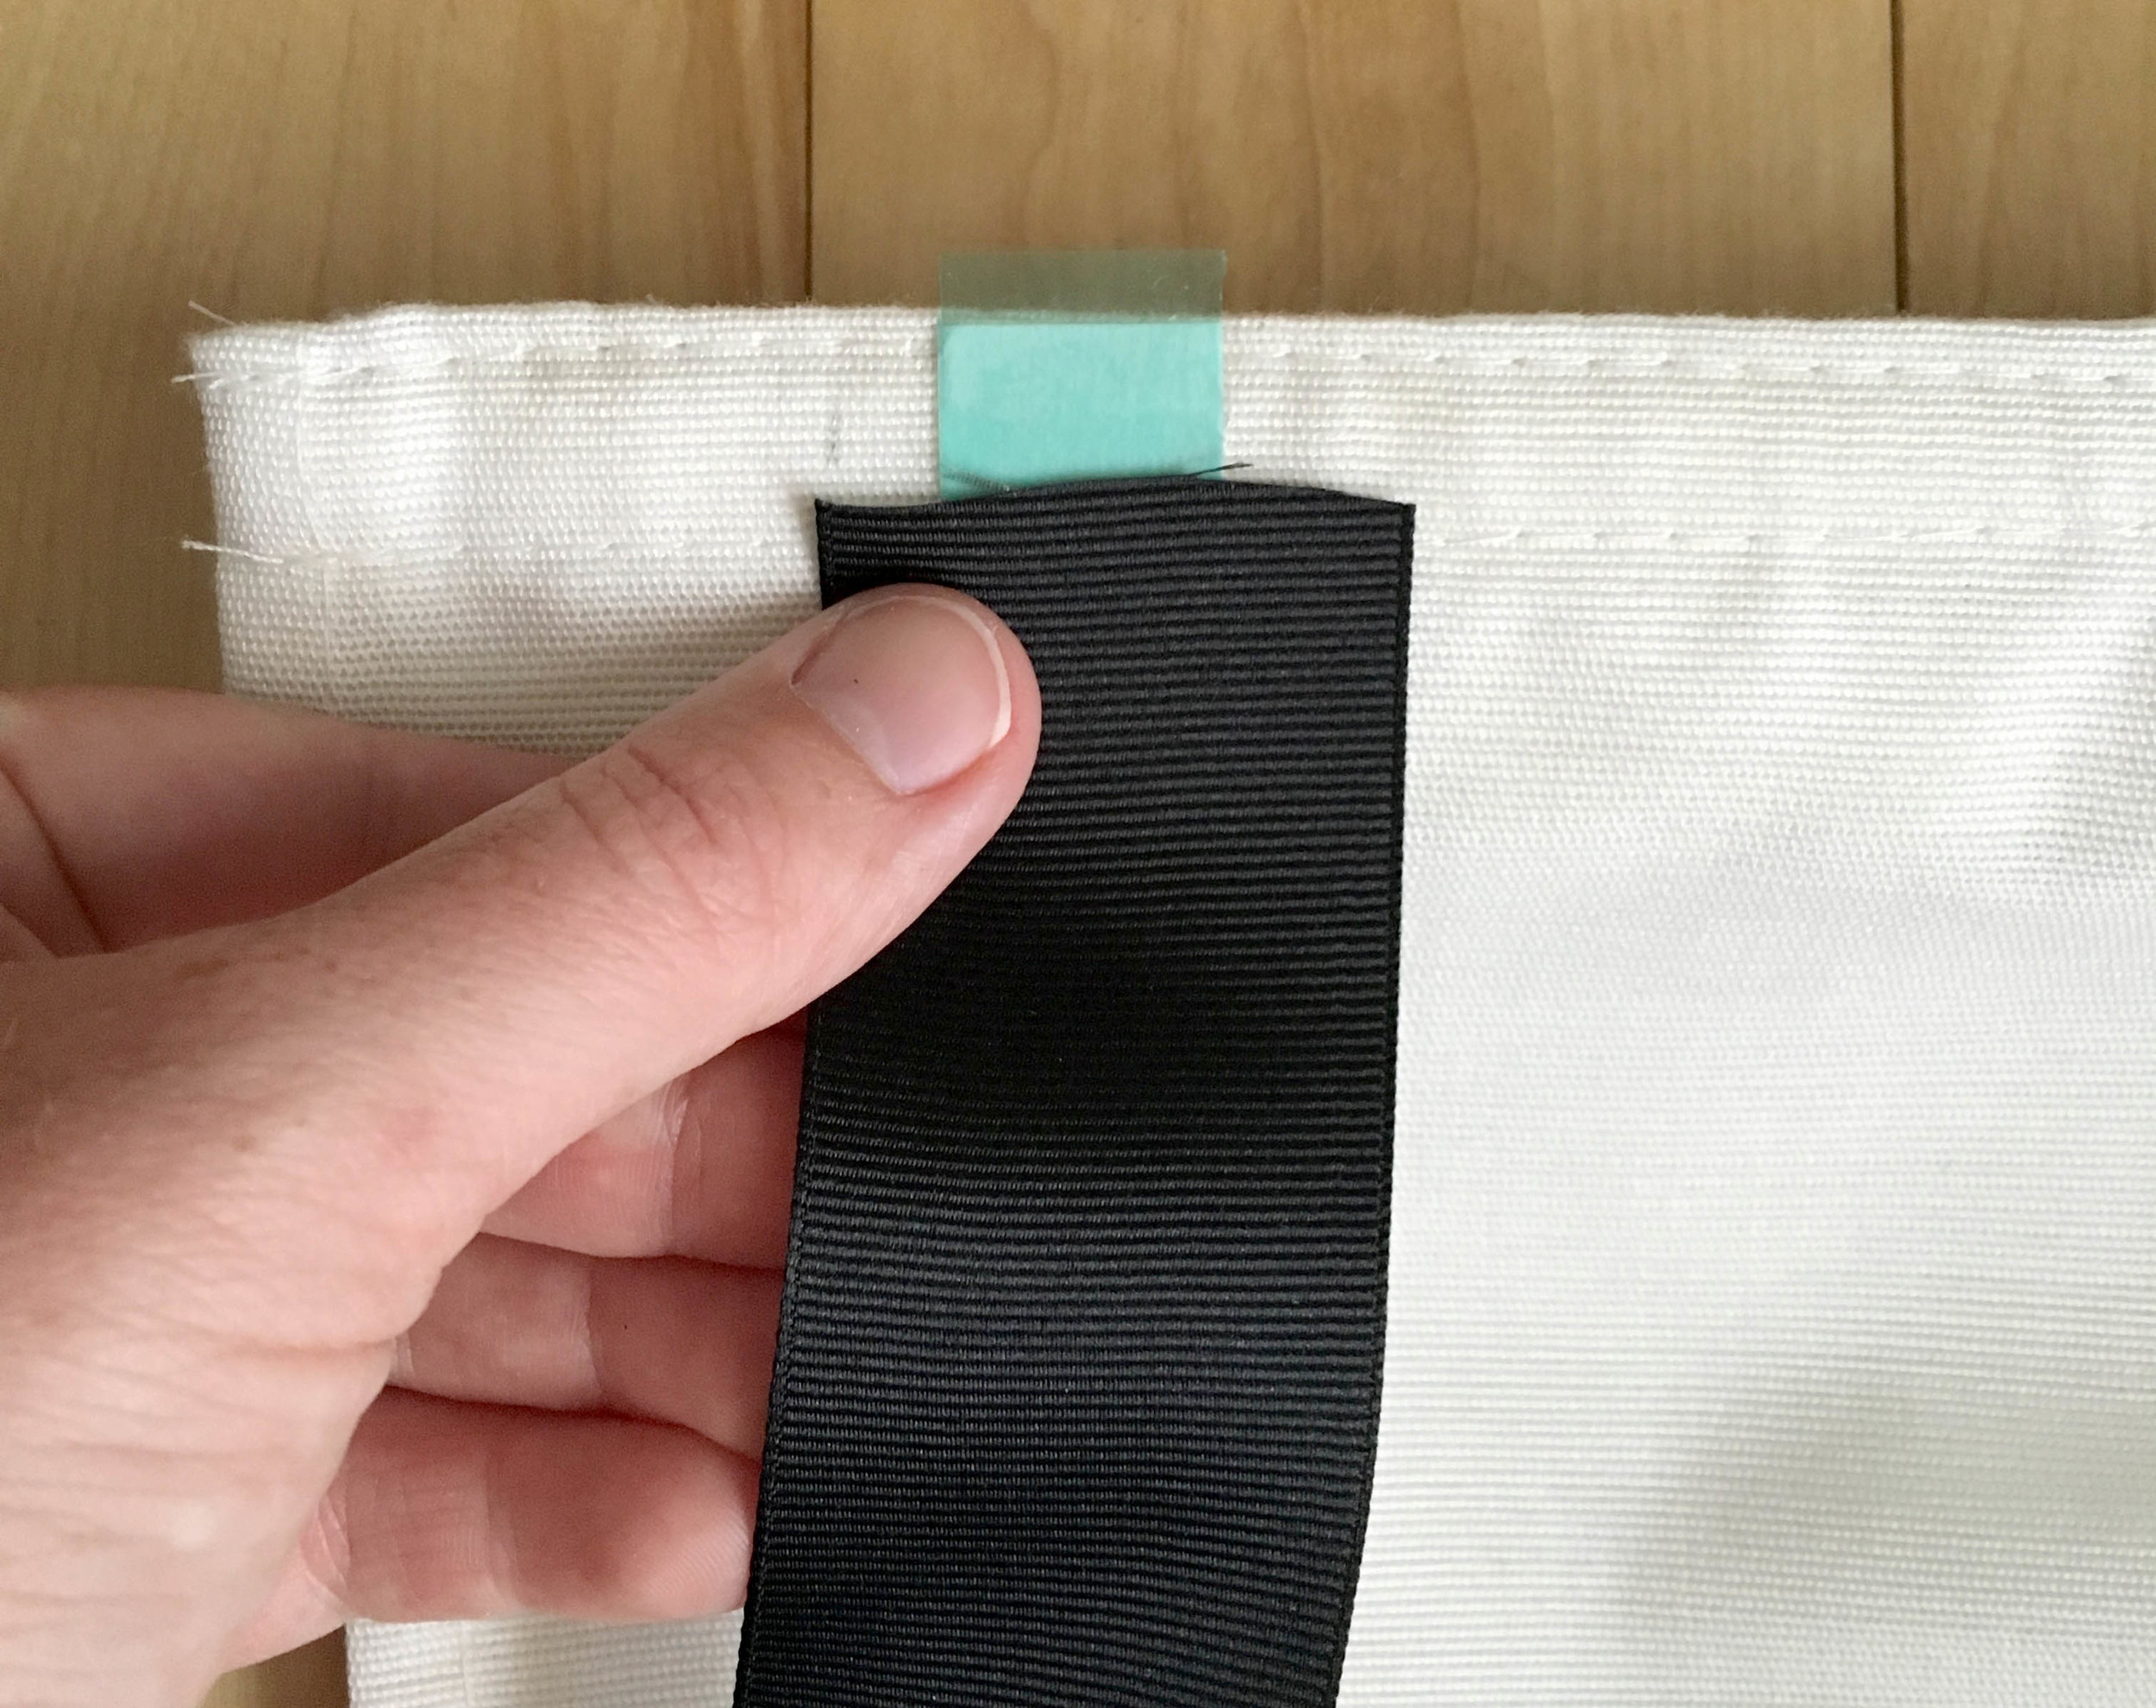
Adding the Grosgrain Ribbon
Now the fun part! Use one of your Glue Dots to secure the top of the ribbon behind the velcro at the top of the flap. This will give you a clean finish rather than seeing a raw edge. Then just follow your tape line, removing the papery top coat of the tape and pressing the ribbon down as you go. Be sure you are keeping the outer edge of the ribbon lined up with your pencil marks. You can peel the ribbon back and re-adjust as needed, but try to minimize this as the tape becomes less sticky and can get bunched up.
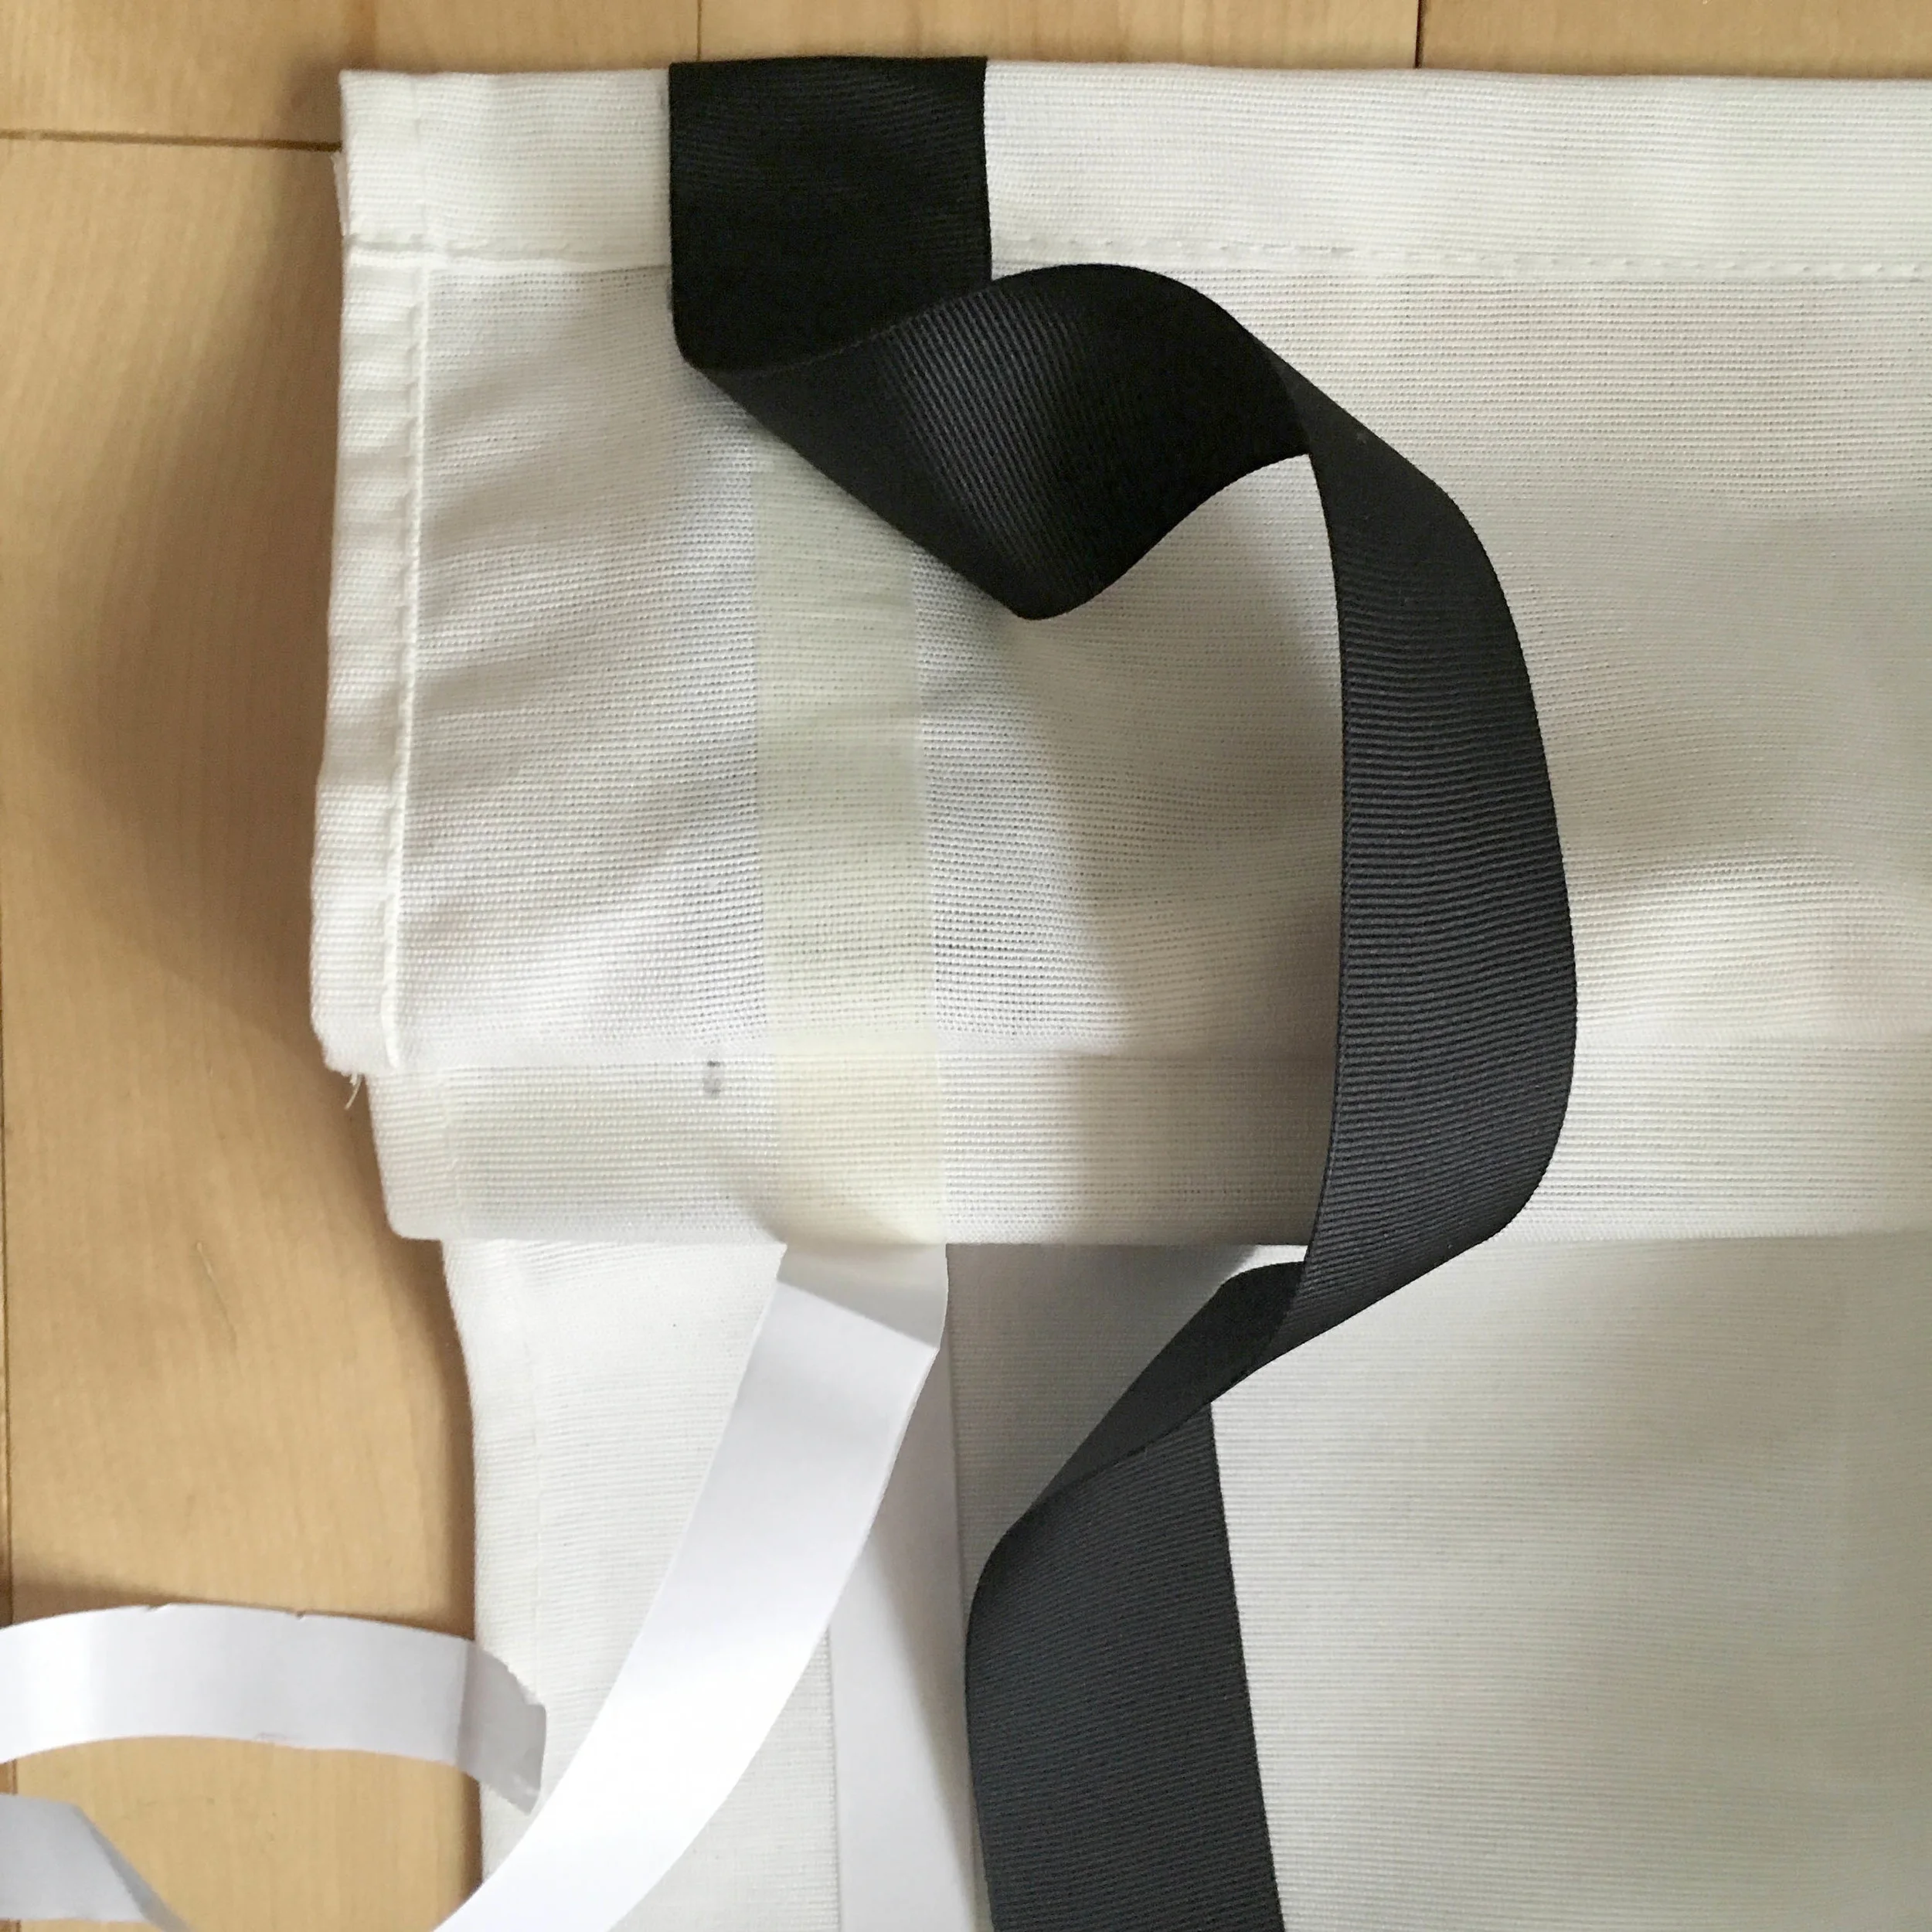

When you get to your first corner, unlike the tape, DO NOT CUT THE RIBBON! Bring the vertical stripe all the way down to the 1 1/2" mark on the bottom then fold the ribbon back up, creating a 45 degree angled line and keep going horizontally. Secure the small flap at the 45 corner angle with one or two Glue Dots. Repeat this process for the second corner.
When you get to the spot where you ran out of double sided tape, just be sure to have your Glue Dots nearby and use them as needed to finish up the last few inches. Cut the ribbon to the appropriate length and secure under the velcro with a Glue Dot just like the opposite side.
And that's all! Beautiful no-sew DIY black border roman shades.