Last summer, my friend Shauna reached out about helping her give her living room a little pick me up. I introduced the project here and shared the inspiration and direction for the room. With such a cheerful, California Boho vibe it was a lot of fun to work on. It often doesn't require big expensive changes to freshen a space and this room is a great example of that. Rearranging some existing art and decor, a little paint, adding a few new and new-vintage pieces, along with some fresh greenery and I'm loving the result! I'm super excited that she sent some after pictures so I can show you all how it turned out!


Before and After: A Living and Dining Room Makeover
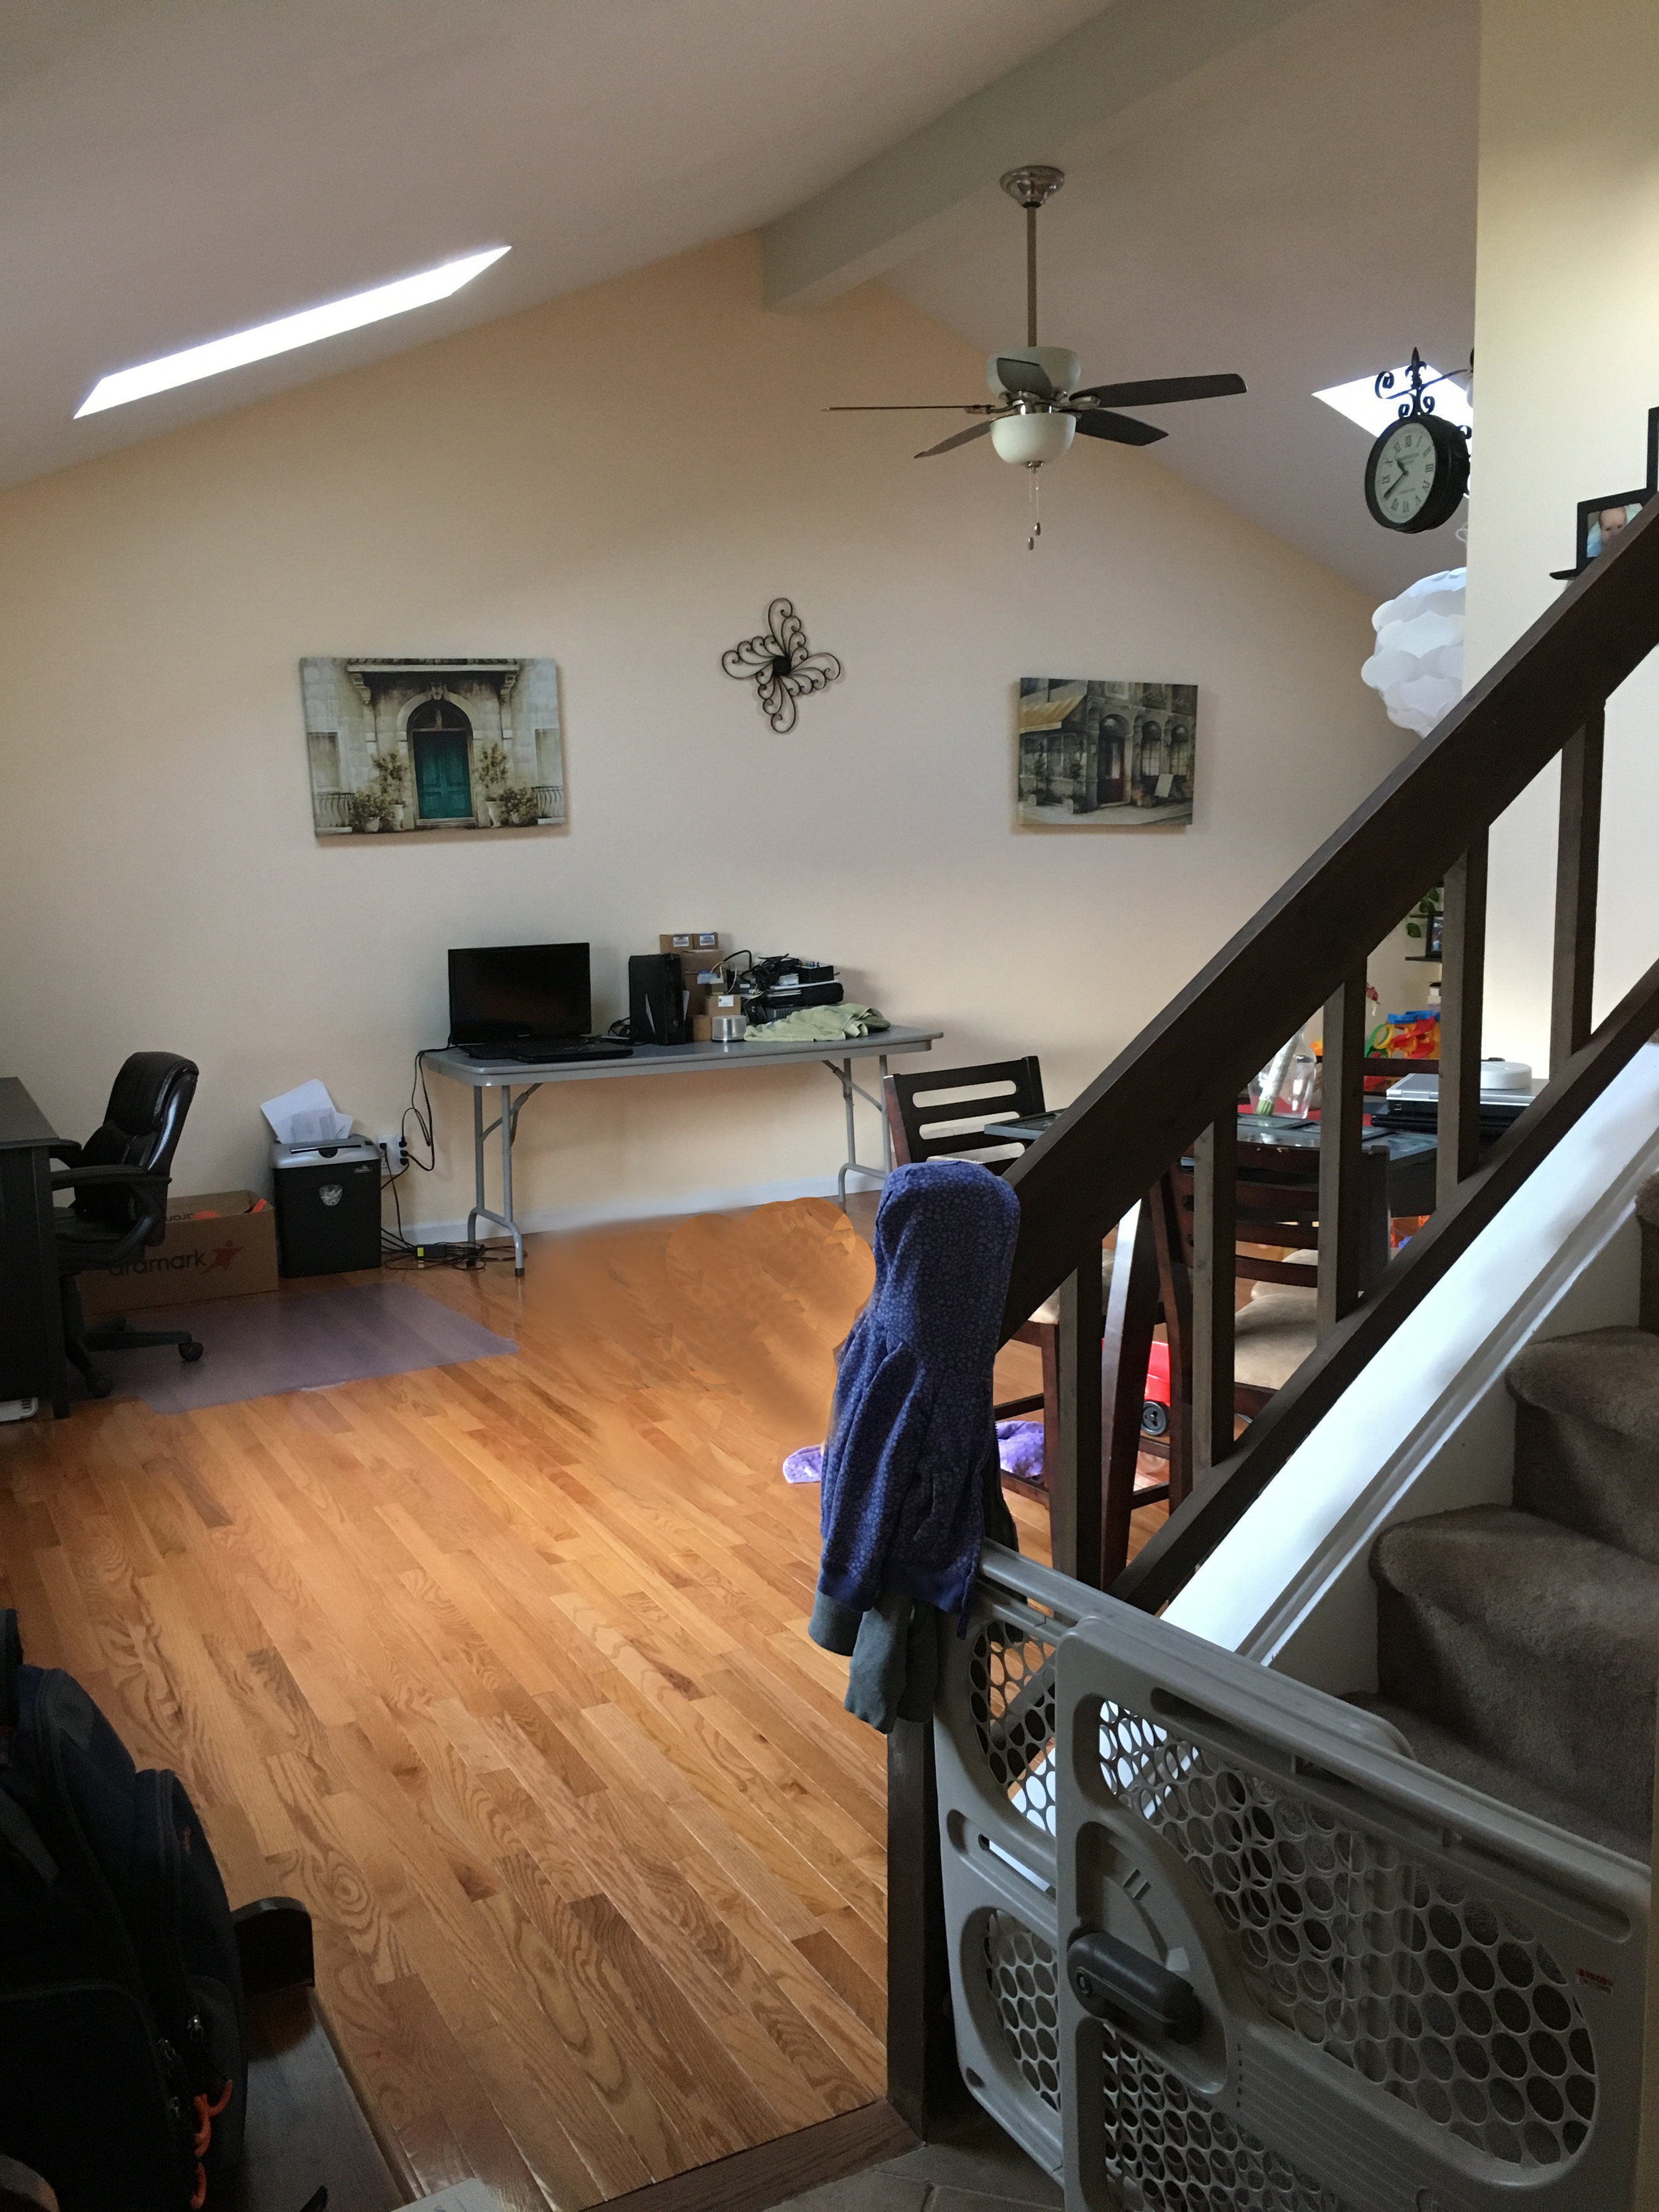
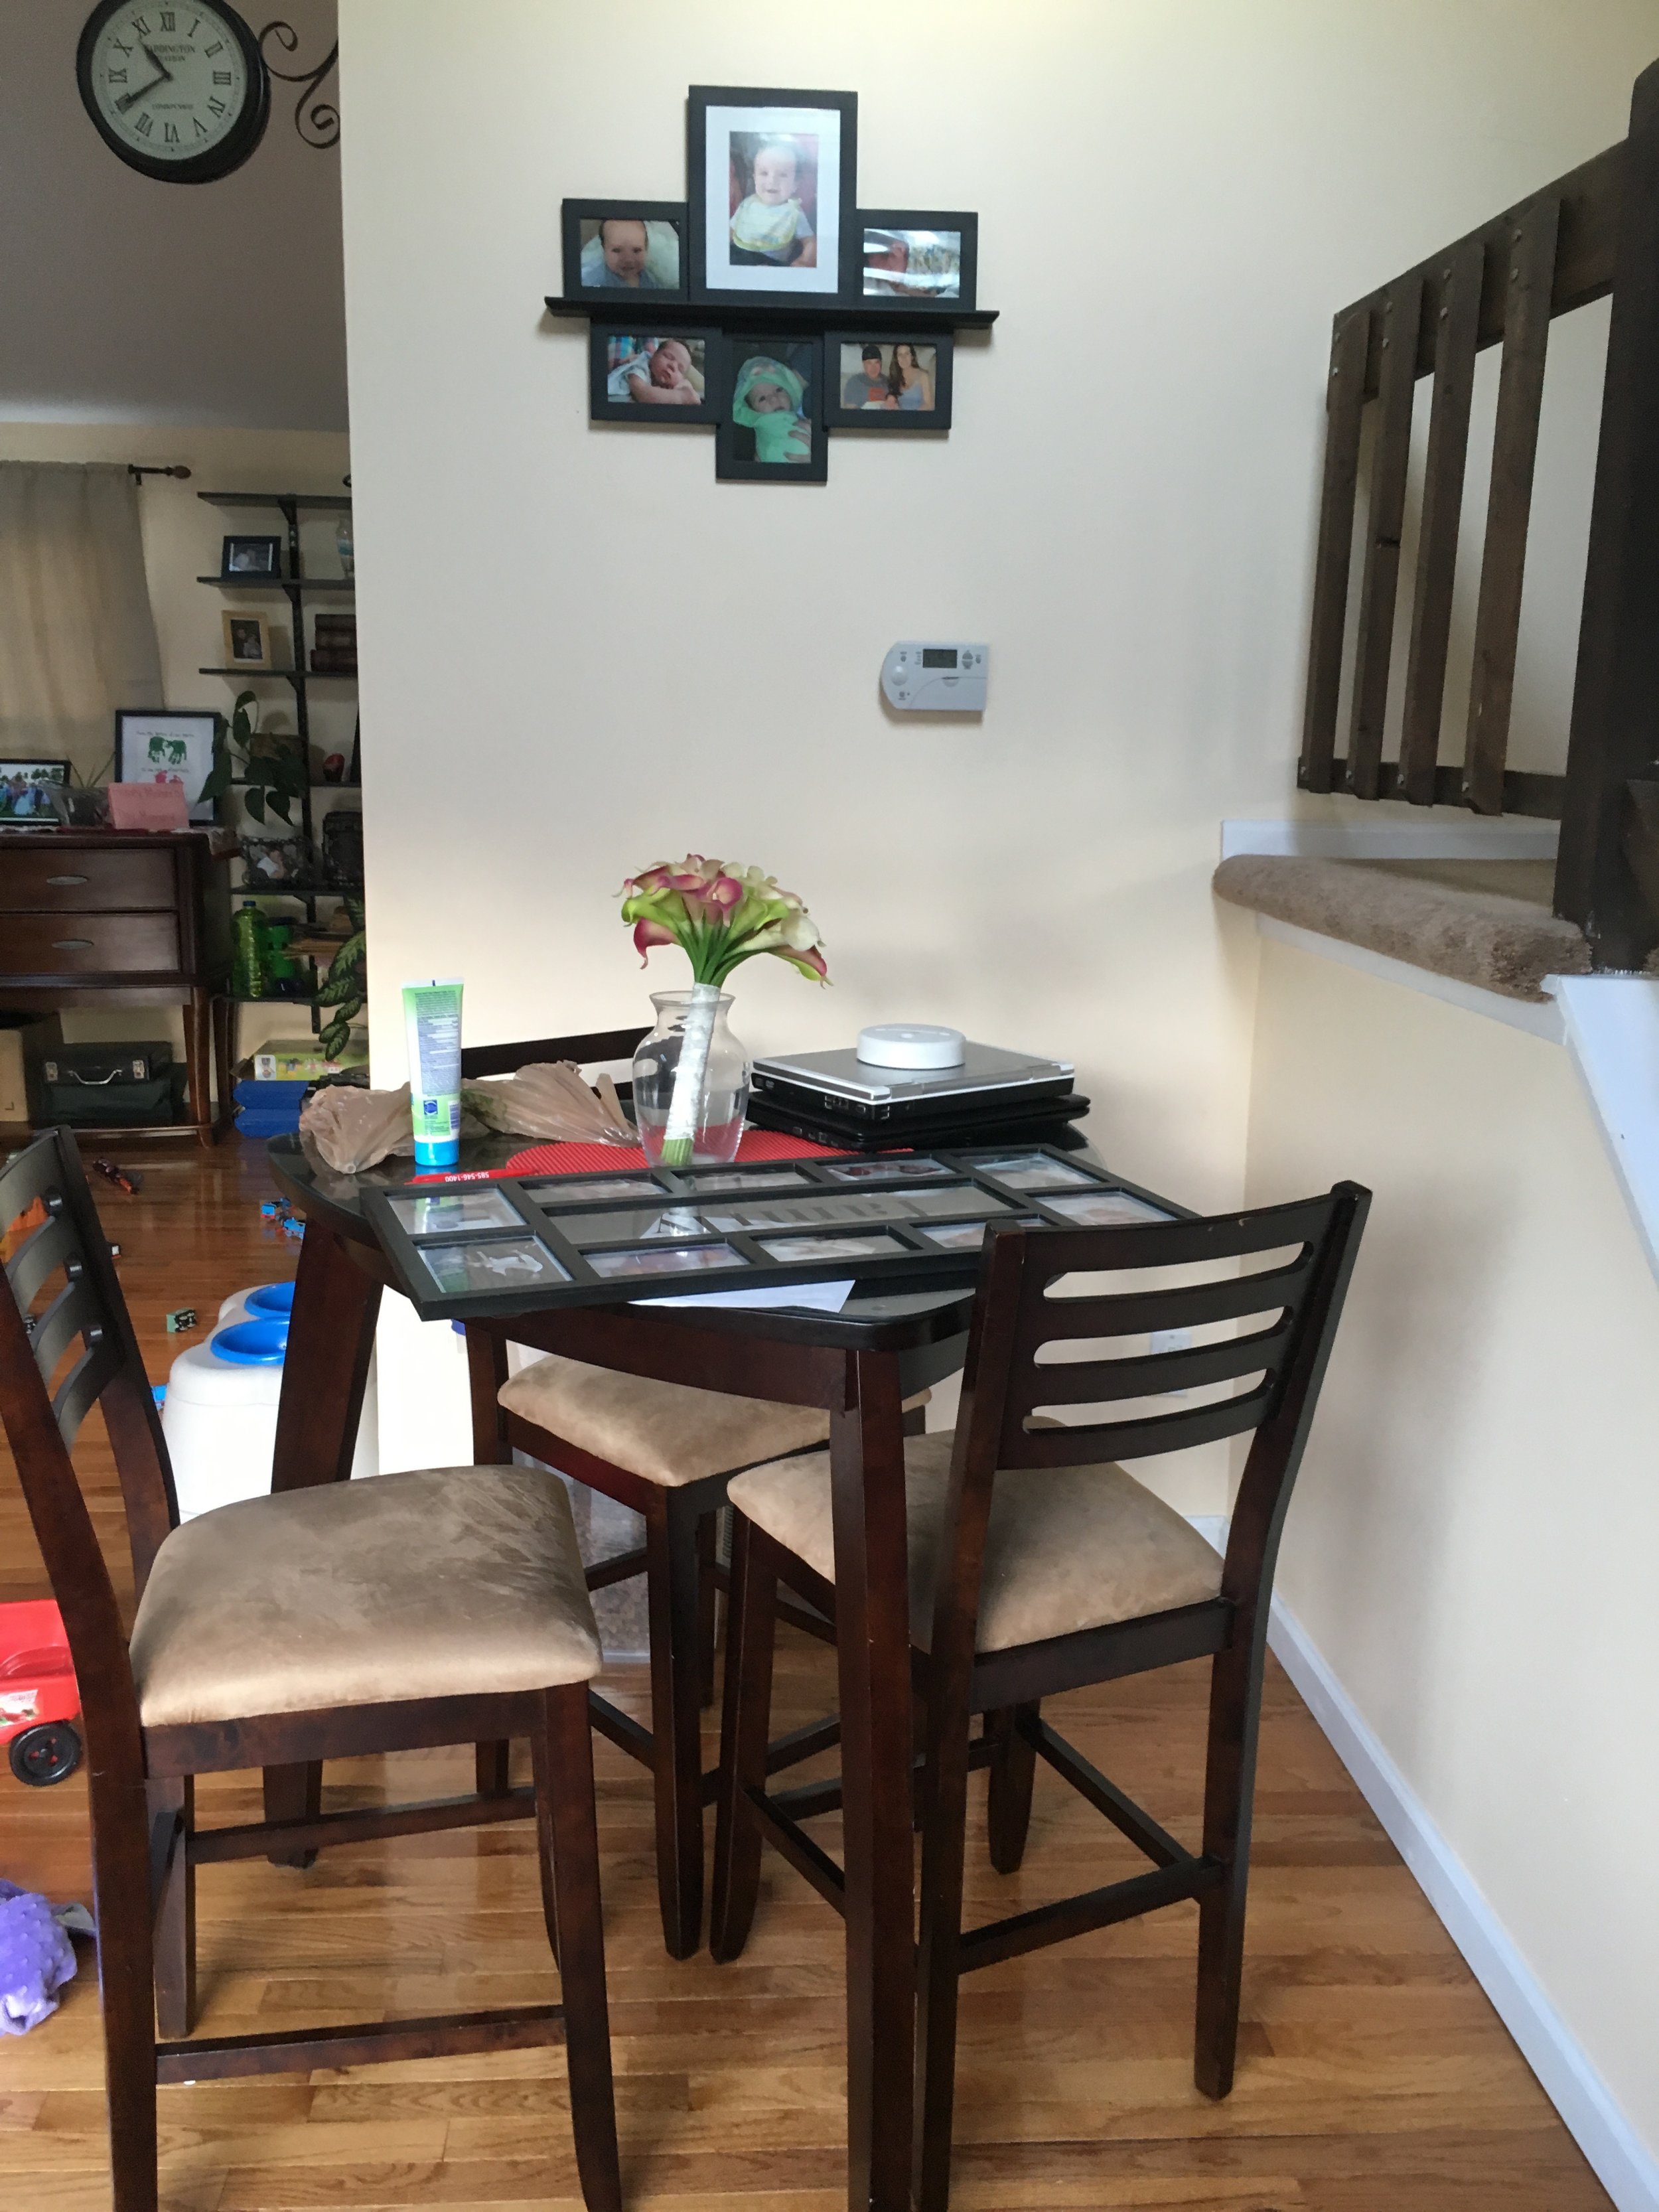
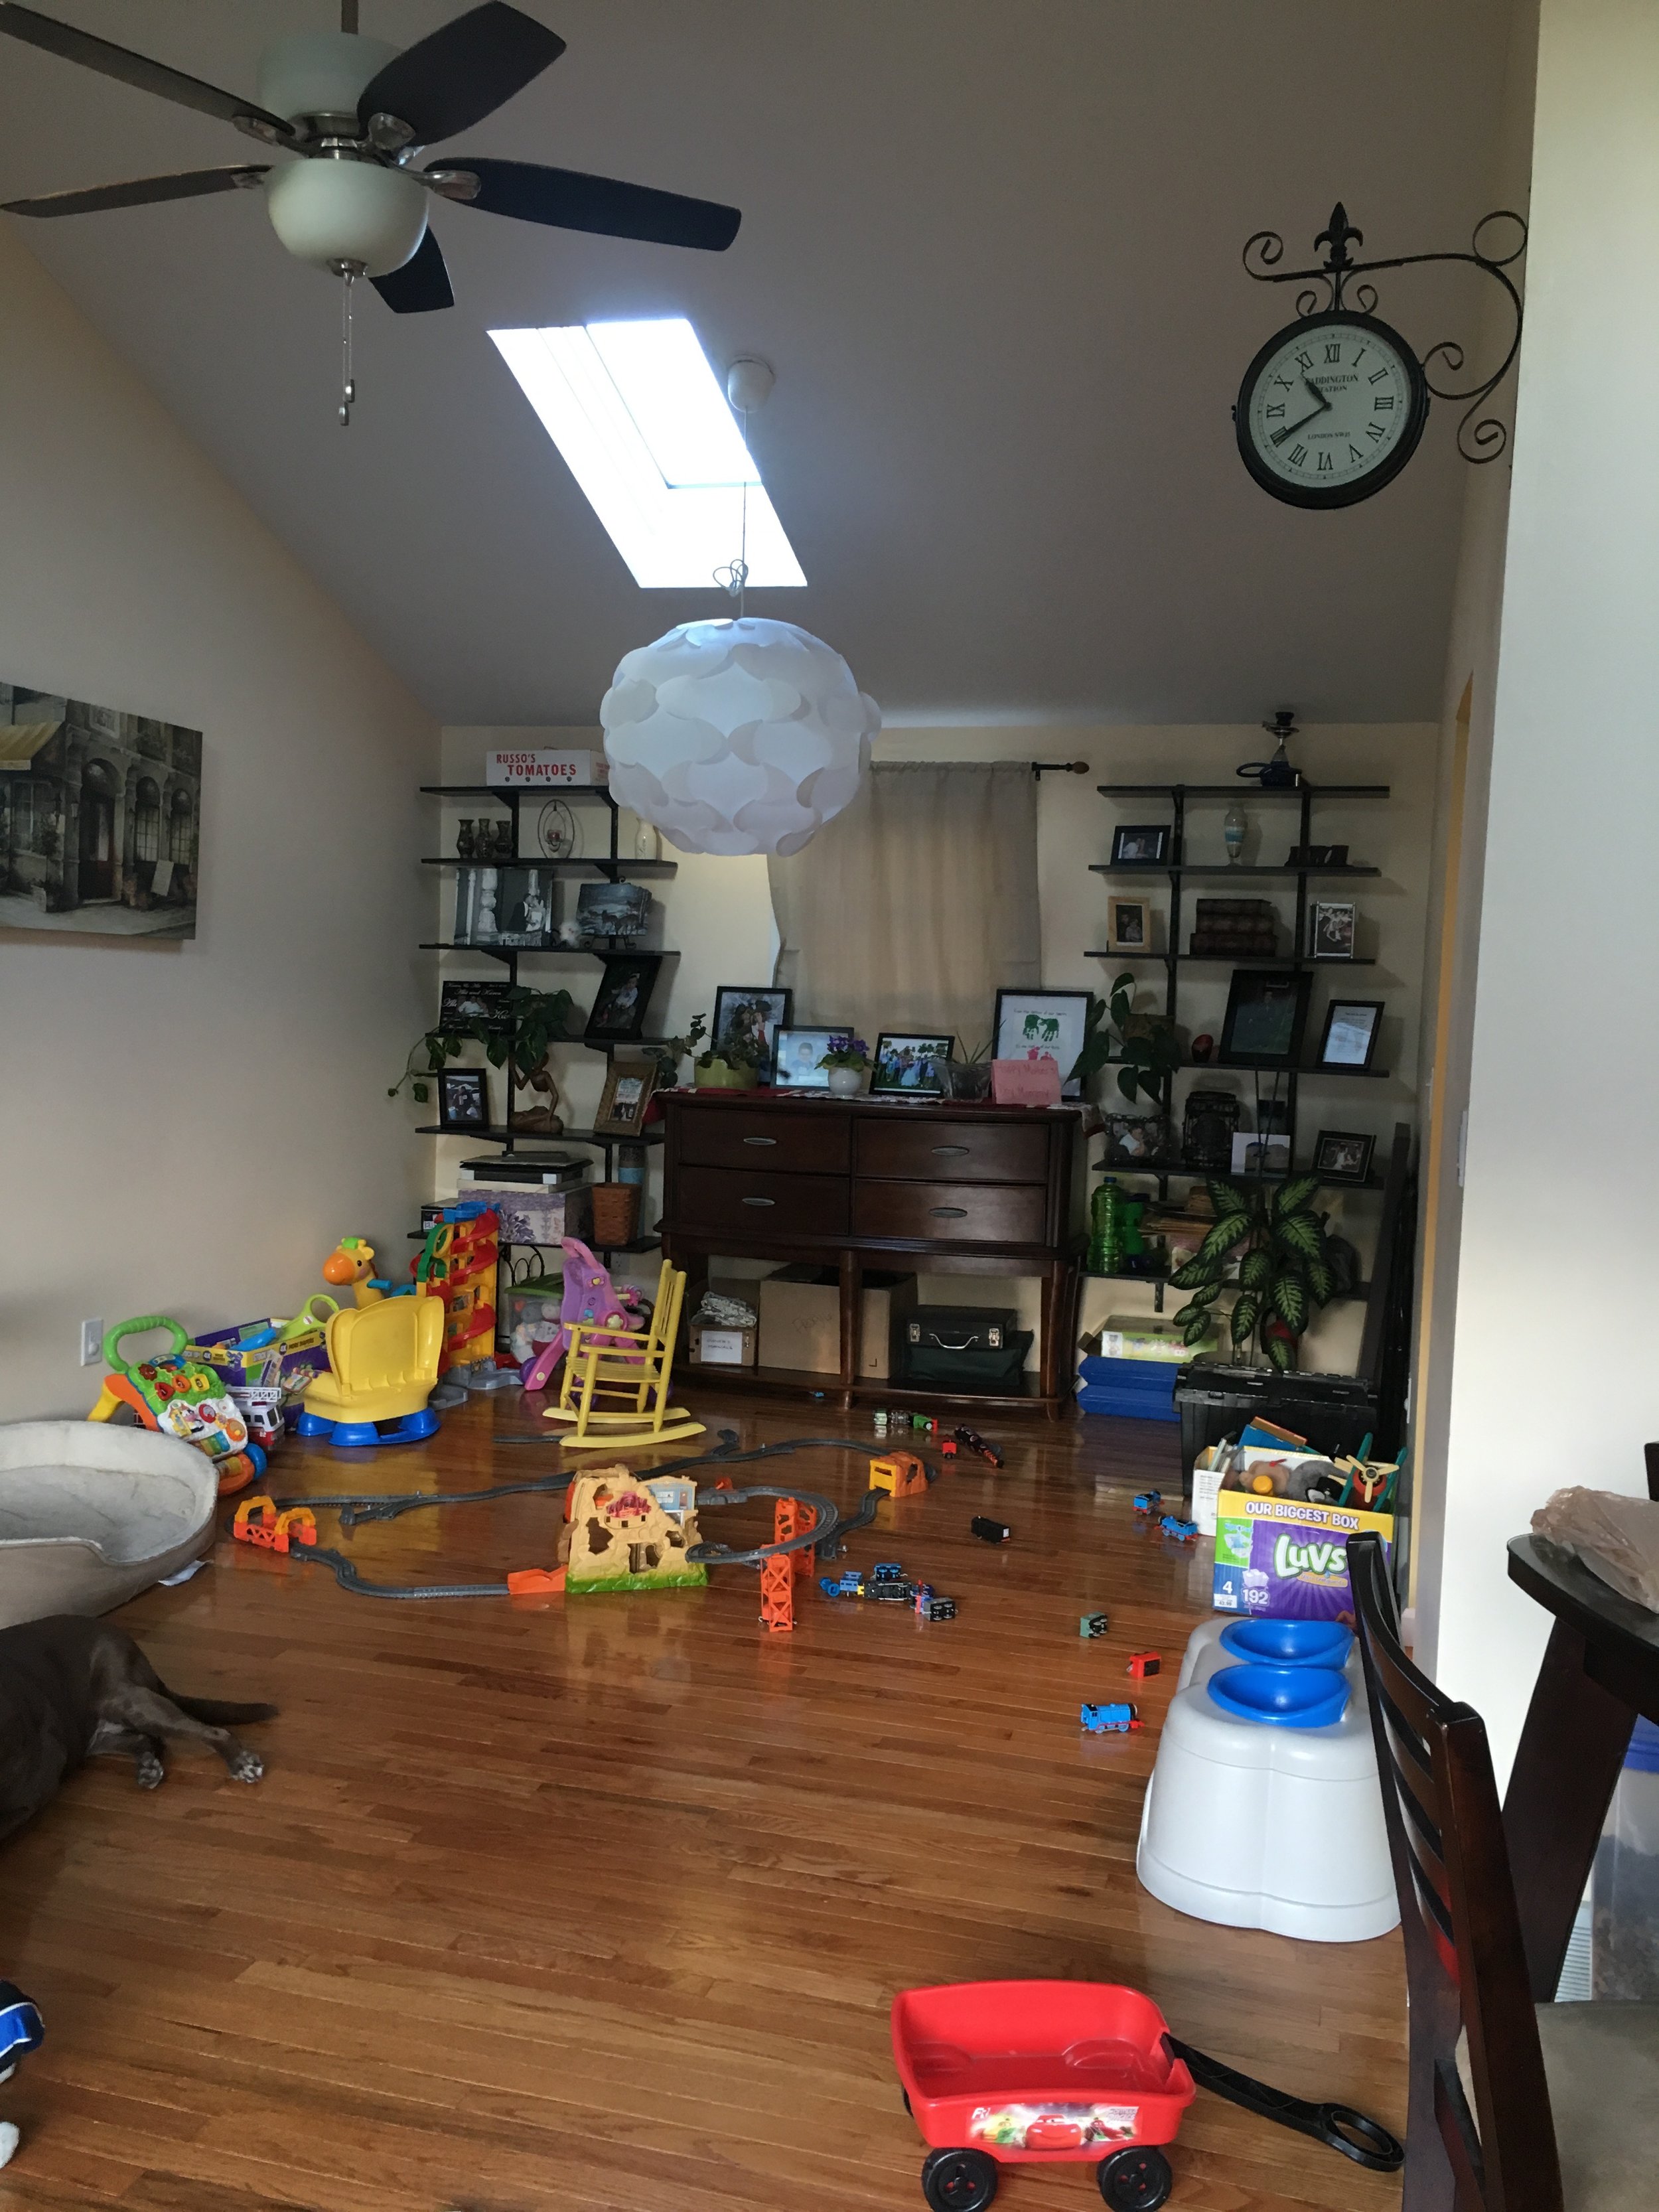
When the client first contacted me about this project, I was pretty excited to tackle this multi-use space. The set up they currently had was functioning as a playroom, office, and catch-all area that was drastically underutilized but there was SO MUCH space, gorgeous vaulted ceilings, and they didn't want to keep any of the current furniture. Can I just tell you how much I love a blank a canvas!? The challenge was to reclaim a portion as an adult living area and a separate dining area, which meant two whole rooms worth of furniture and accessories on a modest budget. I also love a good challenge!
Here are the before pictures:

After we met with the client and went over their answers to our Style Survey, we put together two looks for them to choose from. One is a little softer and more casual, the other uses darker tones and conveys a bit more formality. They said they really wanted a sectional sofa, but there just wasn't room in the floor plan and we opted for a sofa with an attached chaise. This a great option if you want that lounge-y feel but don't have the space for a full-sized sectional!

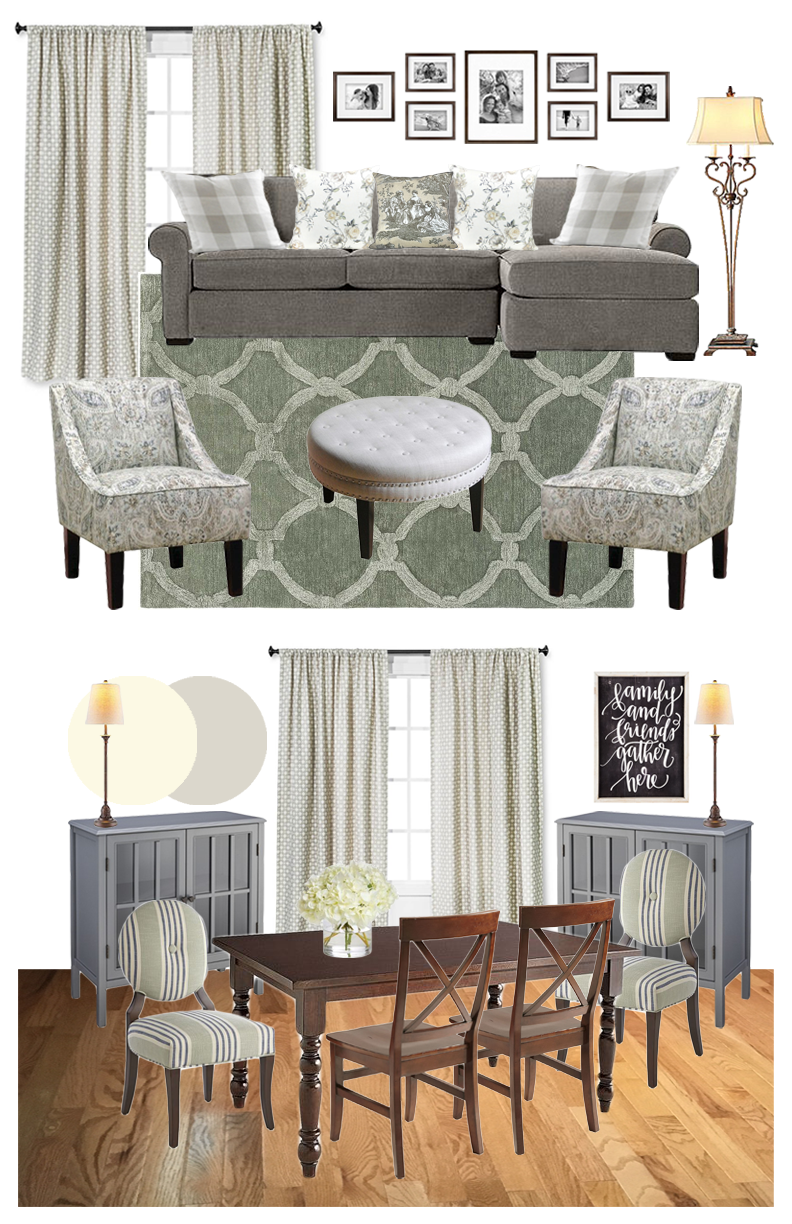
The client chose the softer, more casual design but said they would prefer something other than leather for the armchairs and a coffee table with some storage. The other piece they weren't crazy about were the side cabinets for the dining room, and said they wanted more detail on the doors. So we sent over the following options for these three items.


They went with Option 2 for the armchair, Option 1 for the coffee table, and Option 2 for the dining room cabinet. (I was secretly hoping they would go with that cabinet because I love how the mint chairs and dark green work together!)
After all the new pieces arrived, we scheduled the install/styling session and in about four hours they had a grown up living area, dining room, and welcoming entryway furnished, accessorized, and under budget!


Decorating For Fall Without Breaking the Bank
I have a confession -- I've never been much of a seasonal decorator. Often because I didn't have the money to spare on things with such a short window of use, or because I hate to store things I'm not currently using, or even sometimes just because I'm lazy and didn't see the point. There were years that we travelled for Christmas and I didn't even set up the tree that is tucked away in the basement--now that is the epitome of too-lazy-to-be-bothered. For much of my life, the only thing I rotated seasonally was candle scents and the types of food I cooked. (Soup is a winter food, people!)
Since having a little one, my perspective has shifted a little bit though. Growing up, I remember my mom's house always feeling cozy and seasonally appropriate. We loved dragging out the rubbermaid totes of Christmas decorations every year or bringing in fresh flowers from the yard in the summers. I want my little guy to experience that sense of coziness and being home. I want to signal the ebb and flow of changing seasons inside our home as well as pointing to their presence outdoors. It feels connected and important somehow.
Buuut.... I still don't want to spend tons on short-lived decor, I strongly dislike kitschy things, and I still hate to store lot's of extra stuff.
I decided to do a kind of trial run with some fall decorations and I have to say I'm loving it!
Let me share the strategy I adopted.
Decorate For the Seasons, Not the Holidays
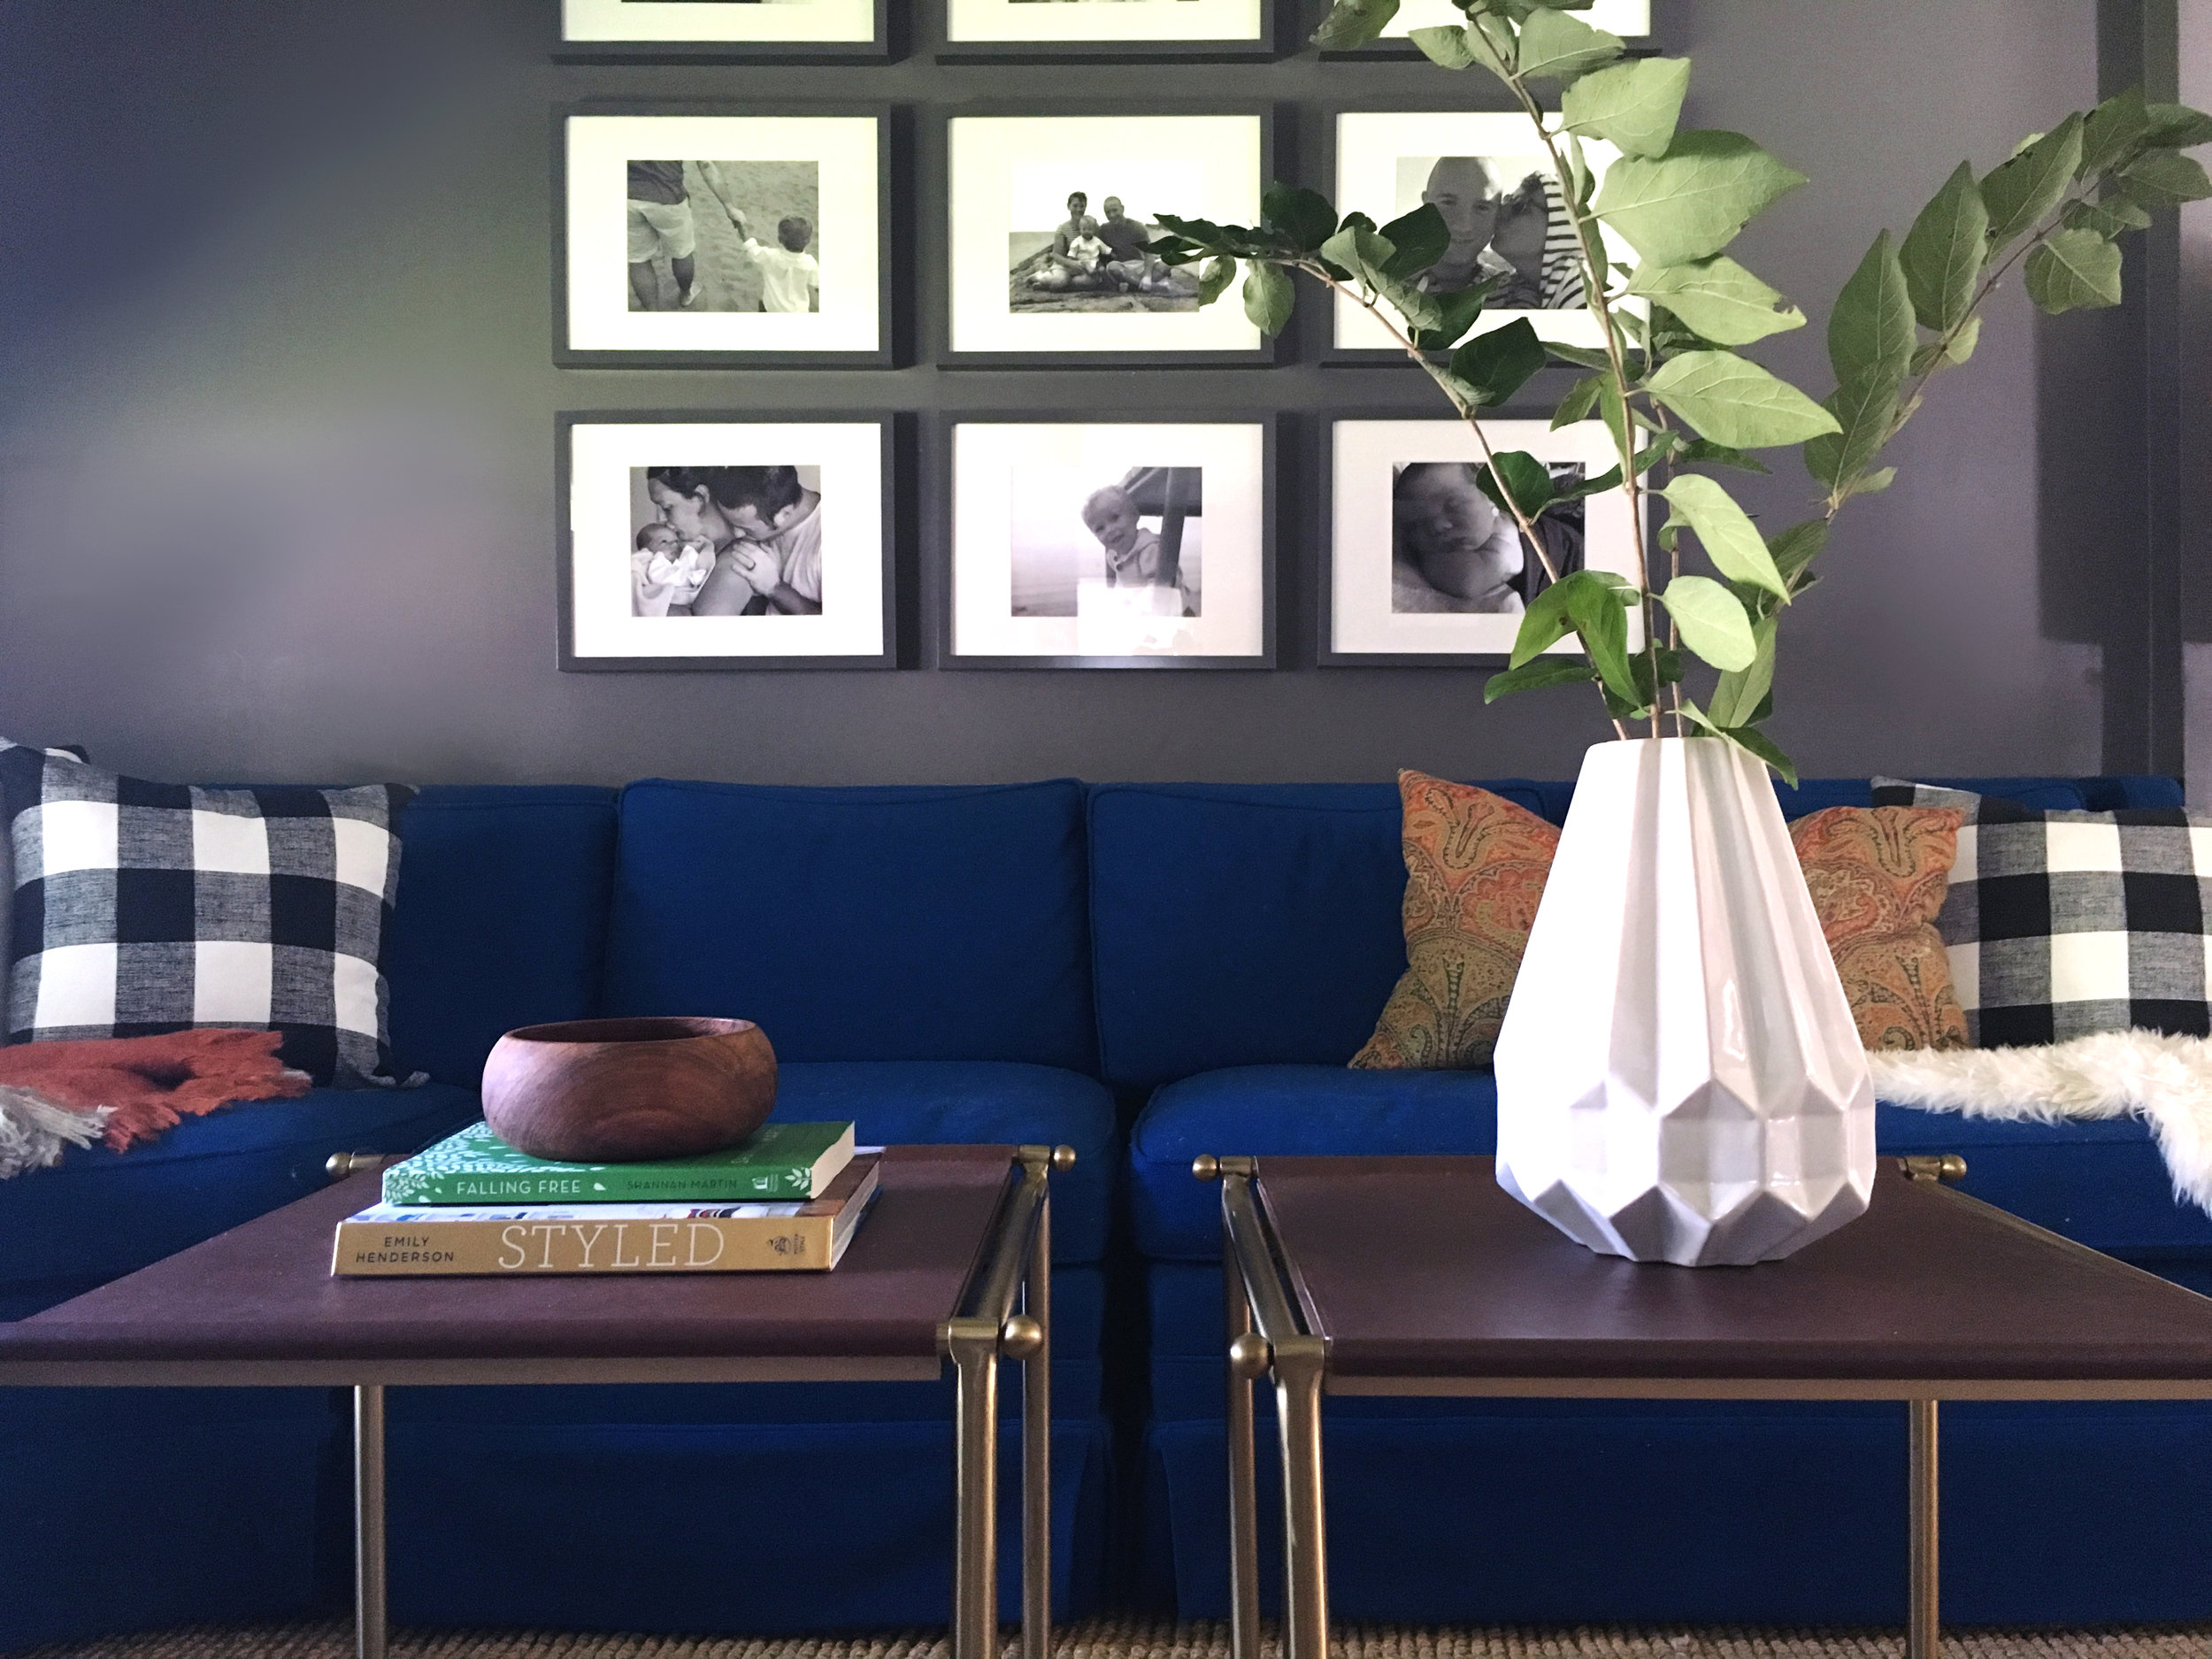
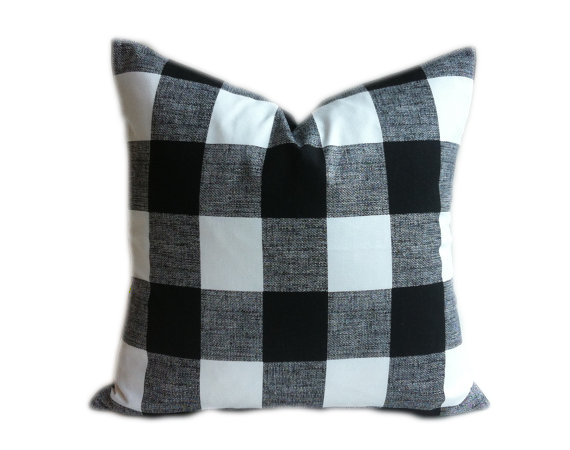
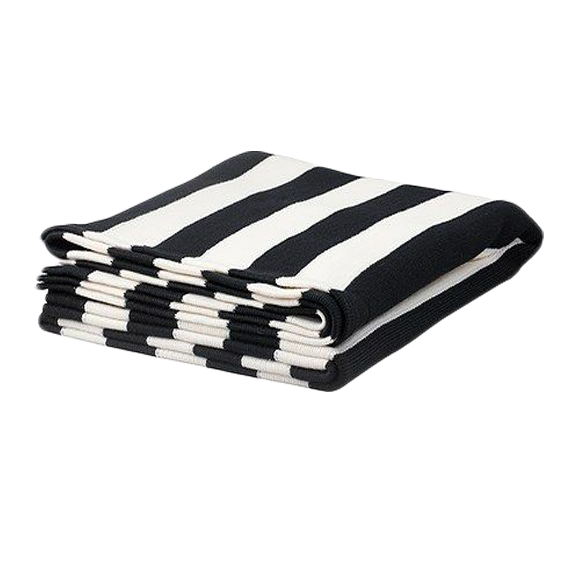
I'll start with the disclaimer that for me, this isn't 100% true of Christmas. And I'm okay with incorporating a few things that are specific to a particular holiday. Mostly though, I skip things that are distinctly Halloween, Thanksgiving, Easter, etc and go for tones, textures, colors, and patterns that fit the time of year. I had some blush colored linen pillow covers on the couch throw pillows over the summer but I've since replaced them some black and white buffalo check, dark green velvet, and a chunky knit oatmeal colored cover.
(Tip -- pillow covers are AWESOME!! Much easier to store and way cheaper than rotating actual pillows.)


Choose Items That Bridge Multiple Seasons
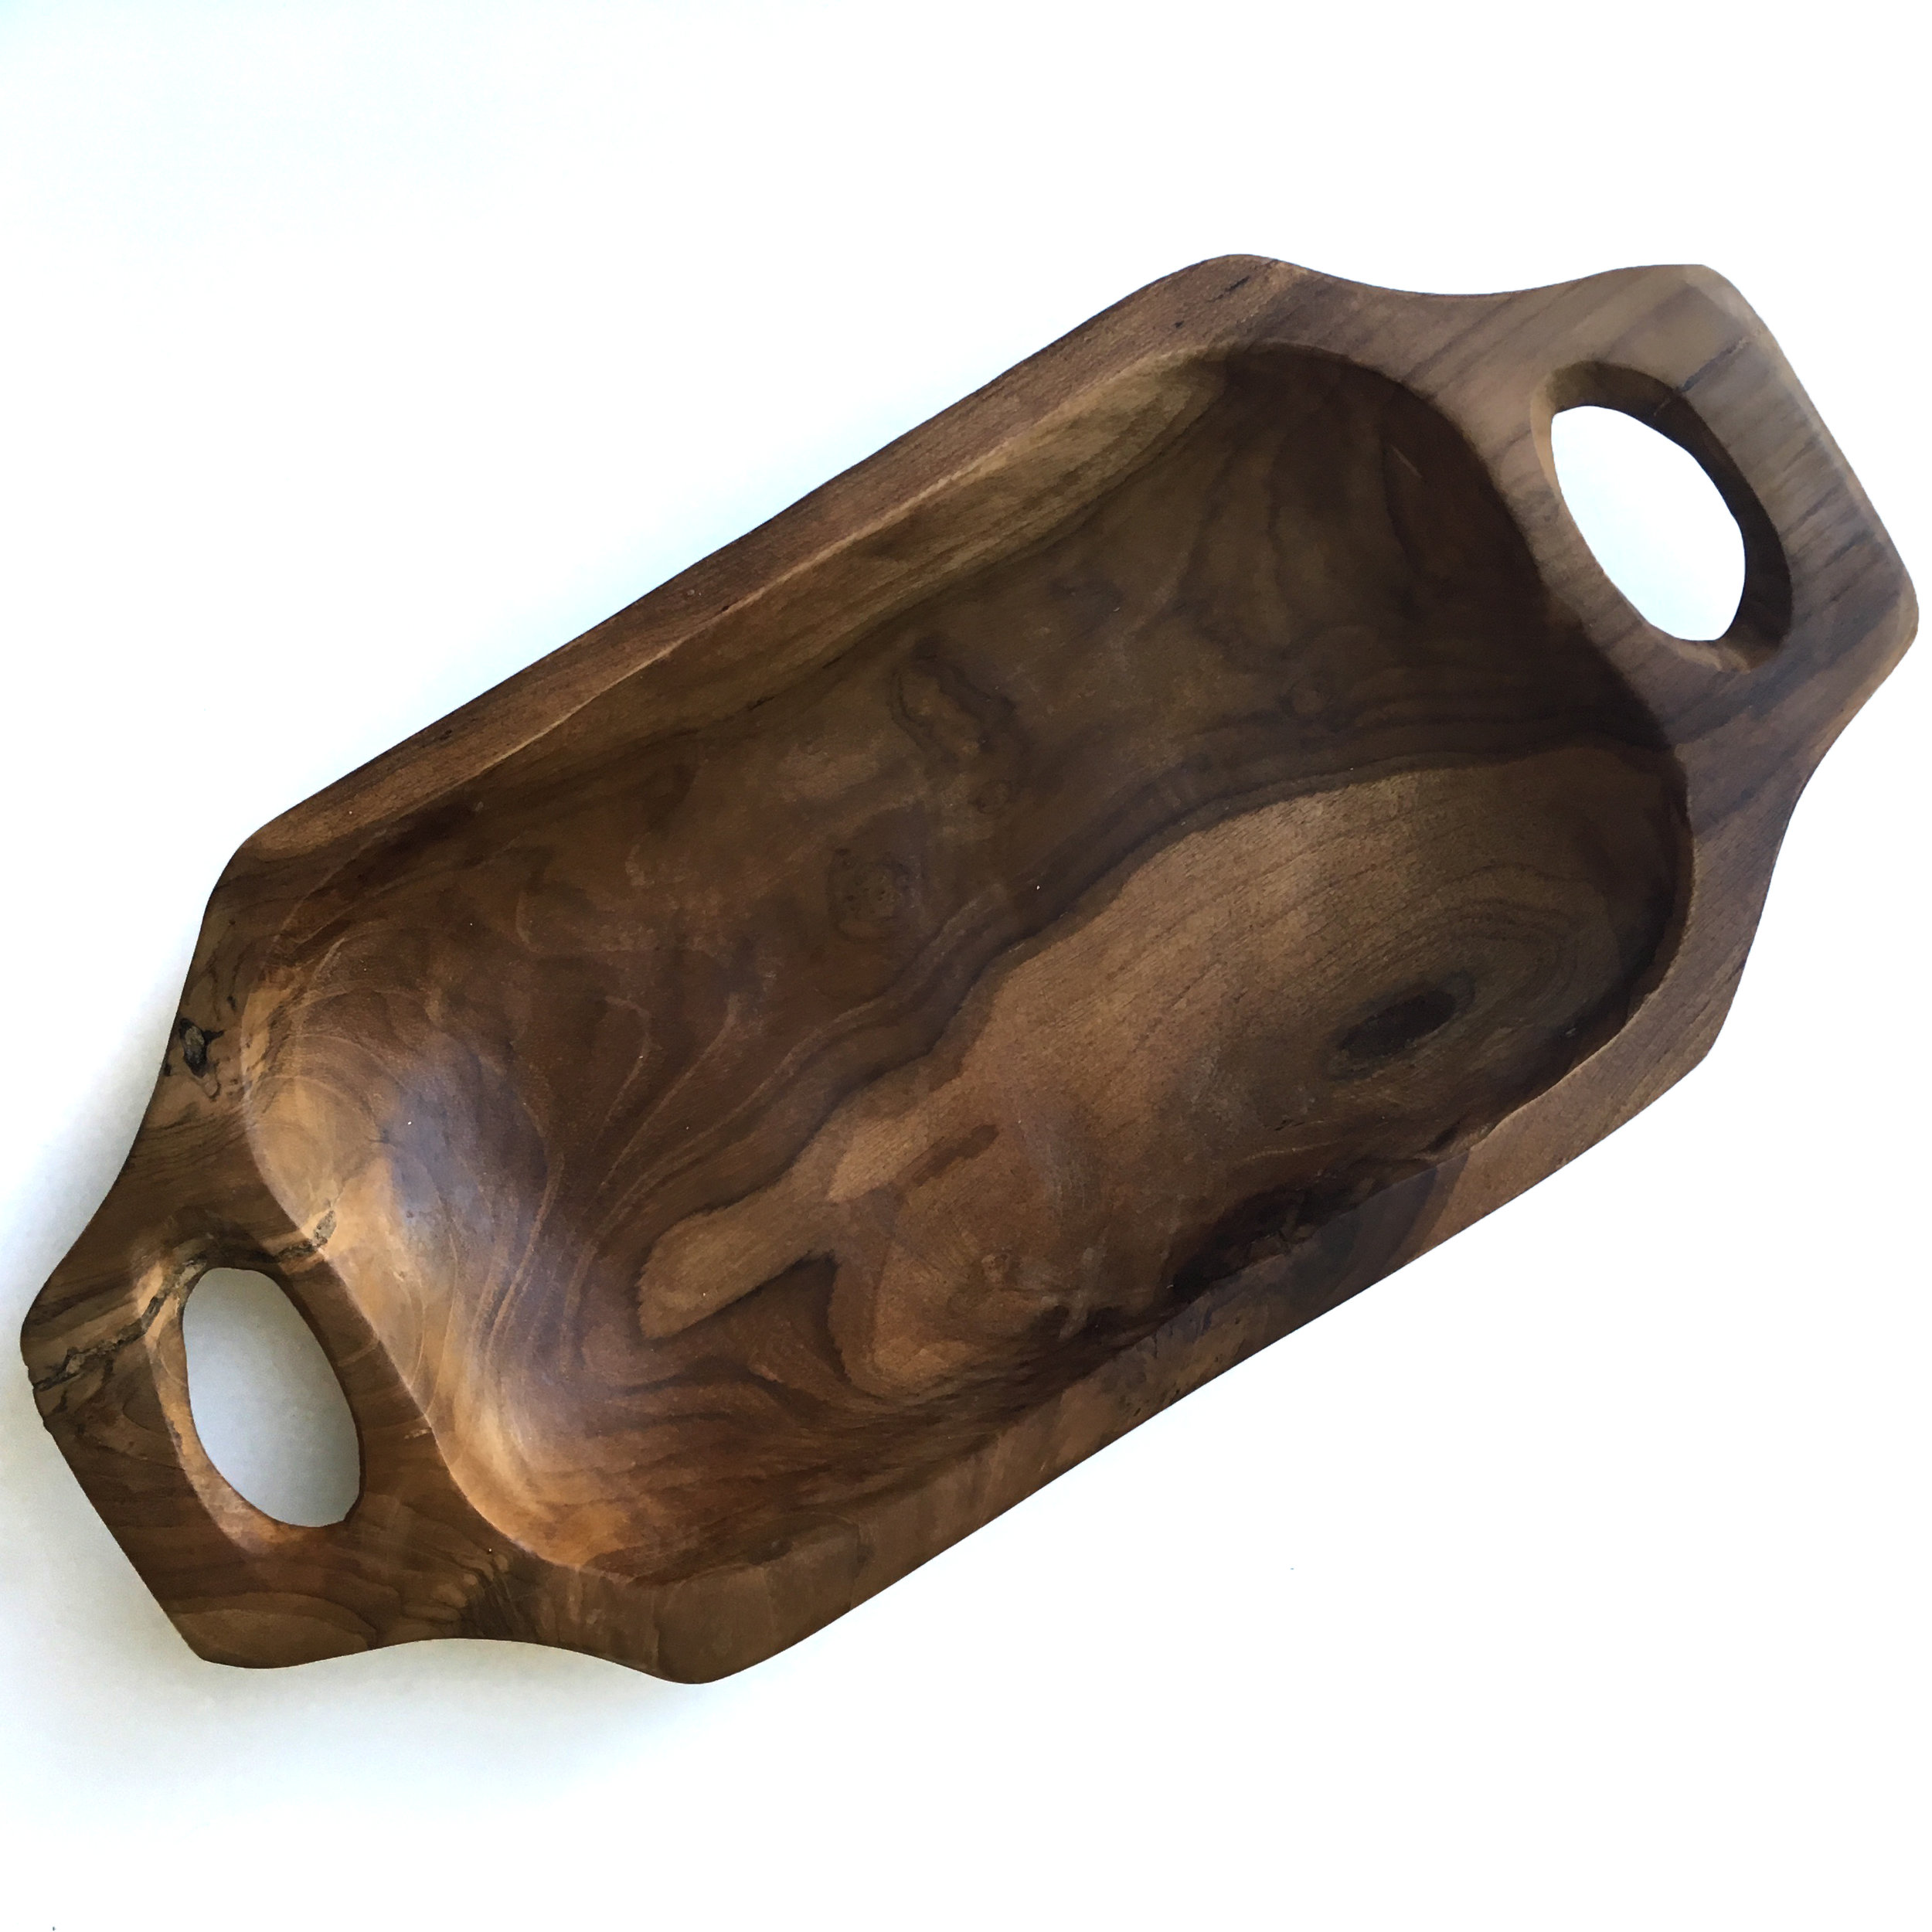
Did you see that gorgeous wooden serving bowl? It was $20 at TJMaxx and while that may not sound like a lot, it was more than spent on any other single item. But, it is also the most versatile!! In the fall is can hold apples, gourds, pinecones etc... in the winter I could fill it with some greens and berries or sparkly trinkets, and in the summer lemons would be perfect!
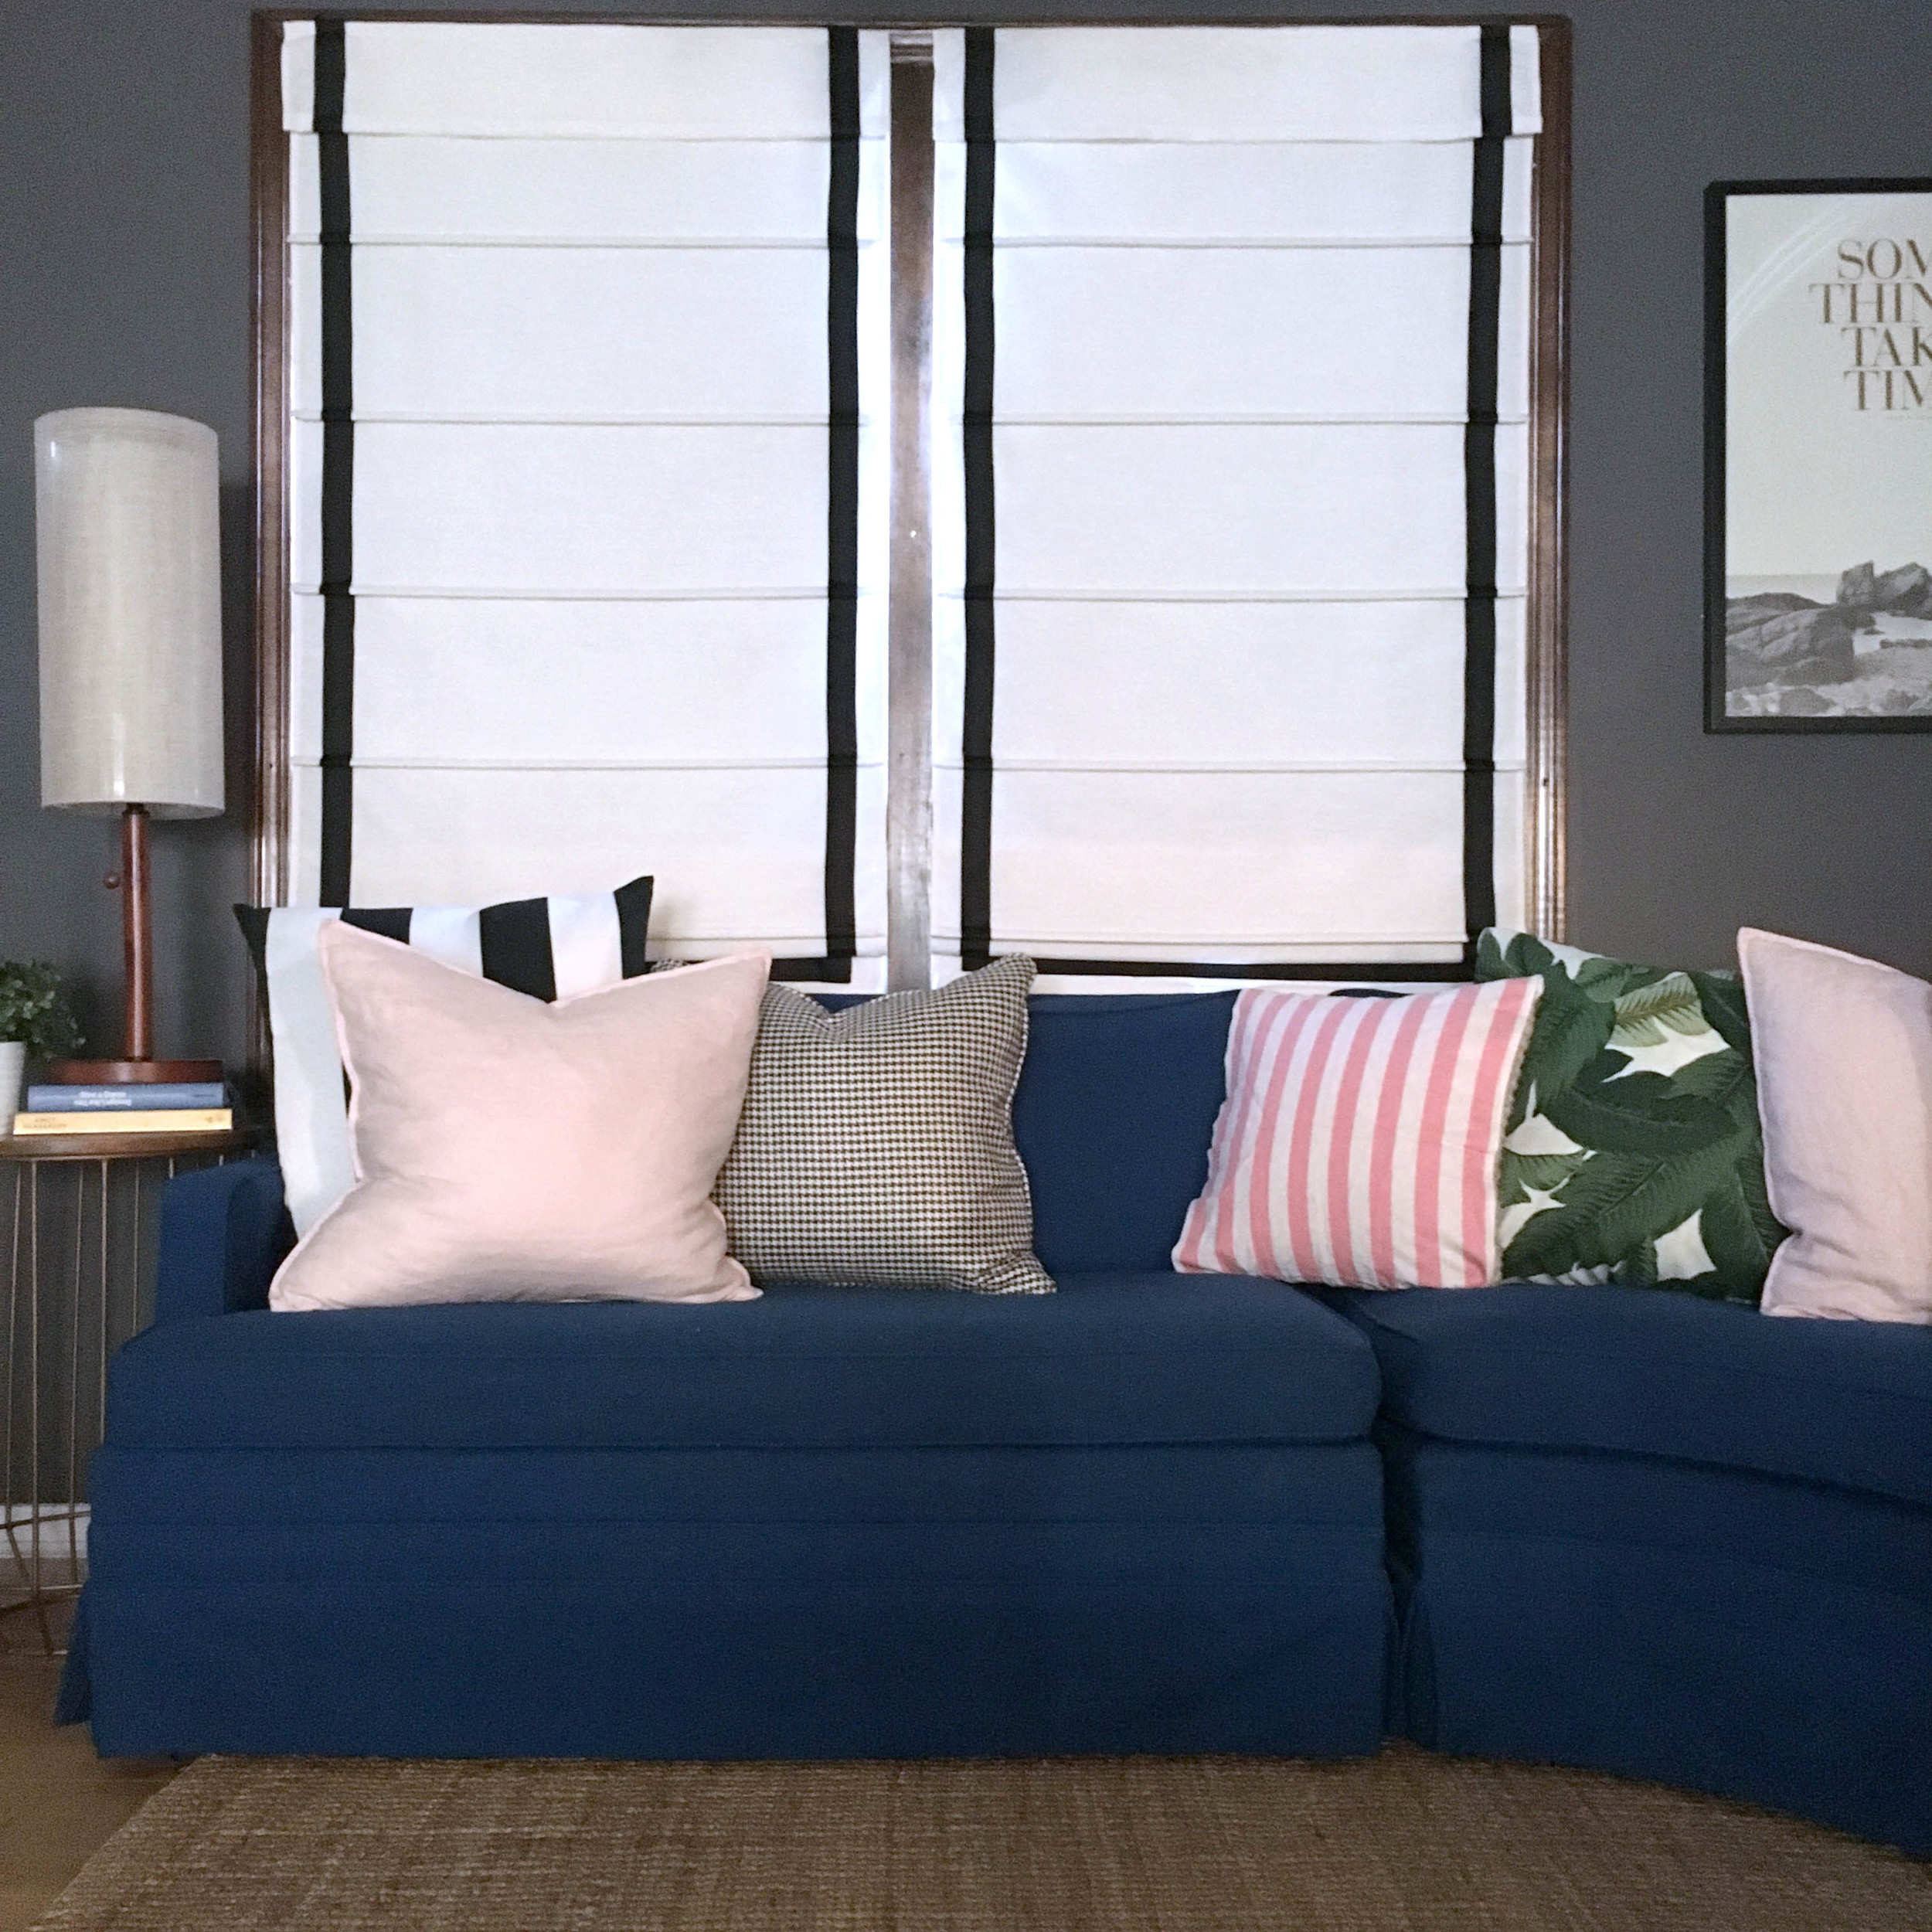
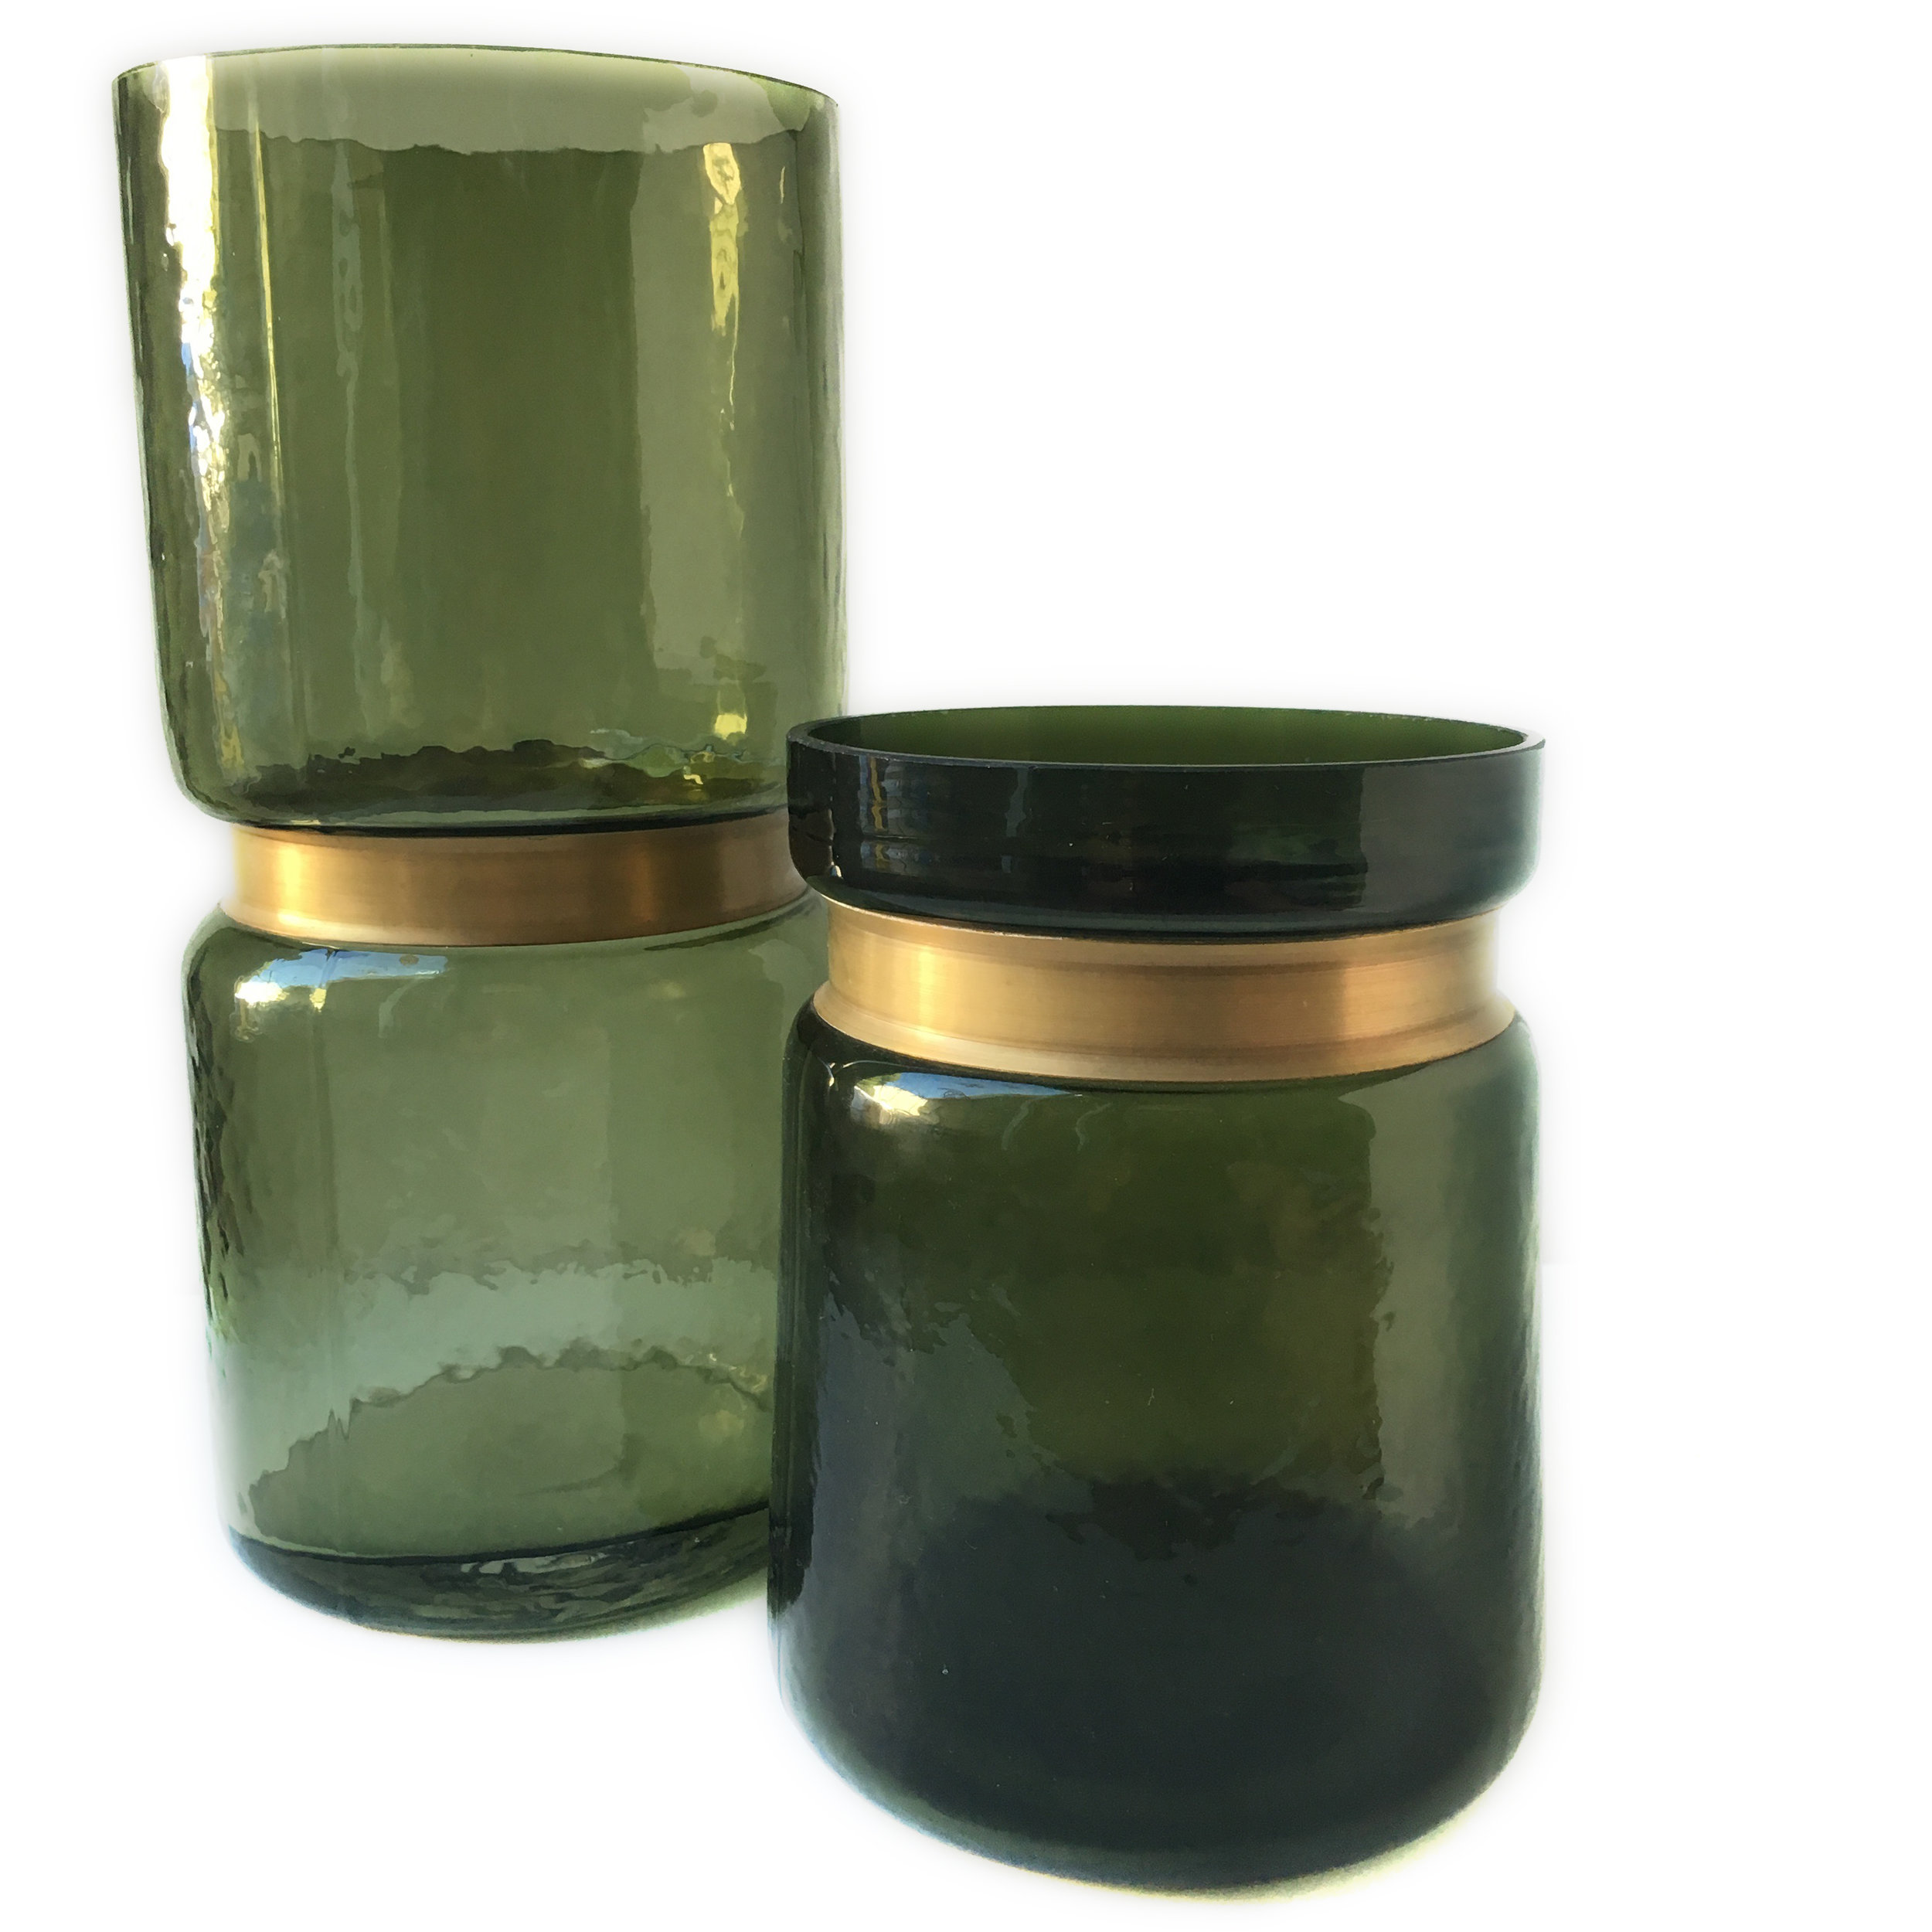
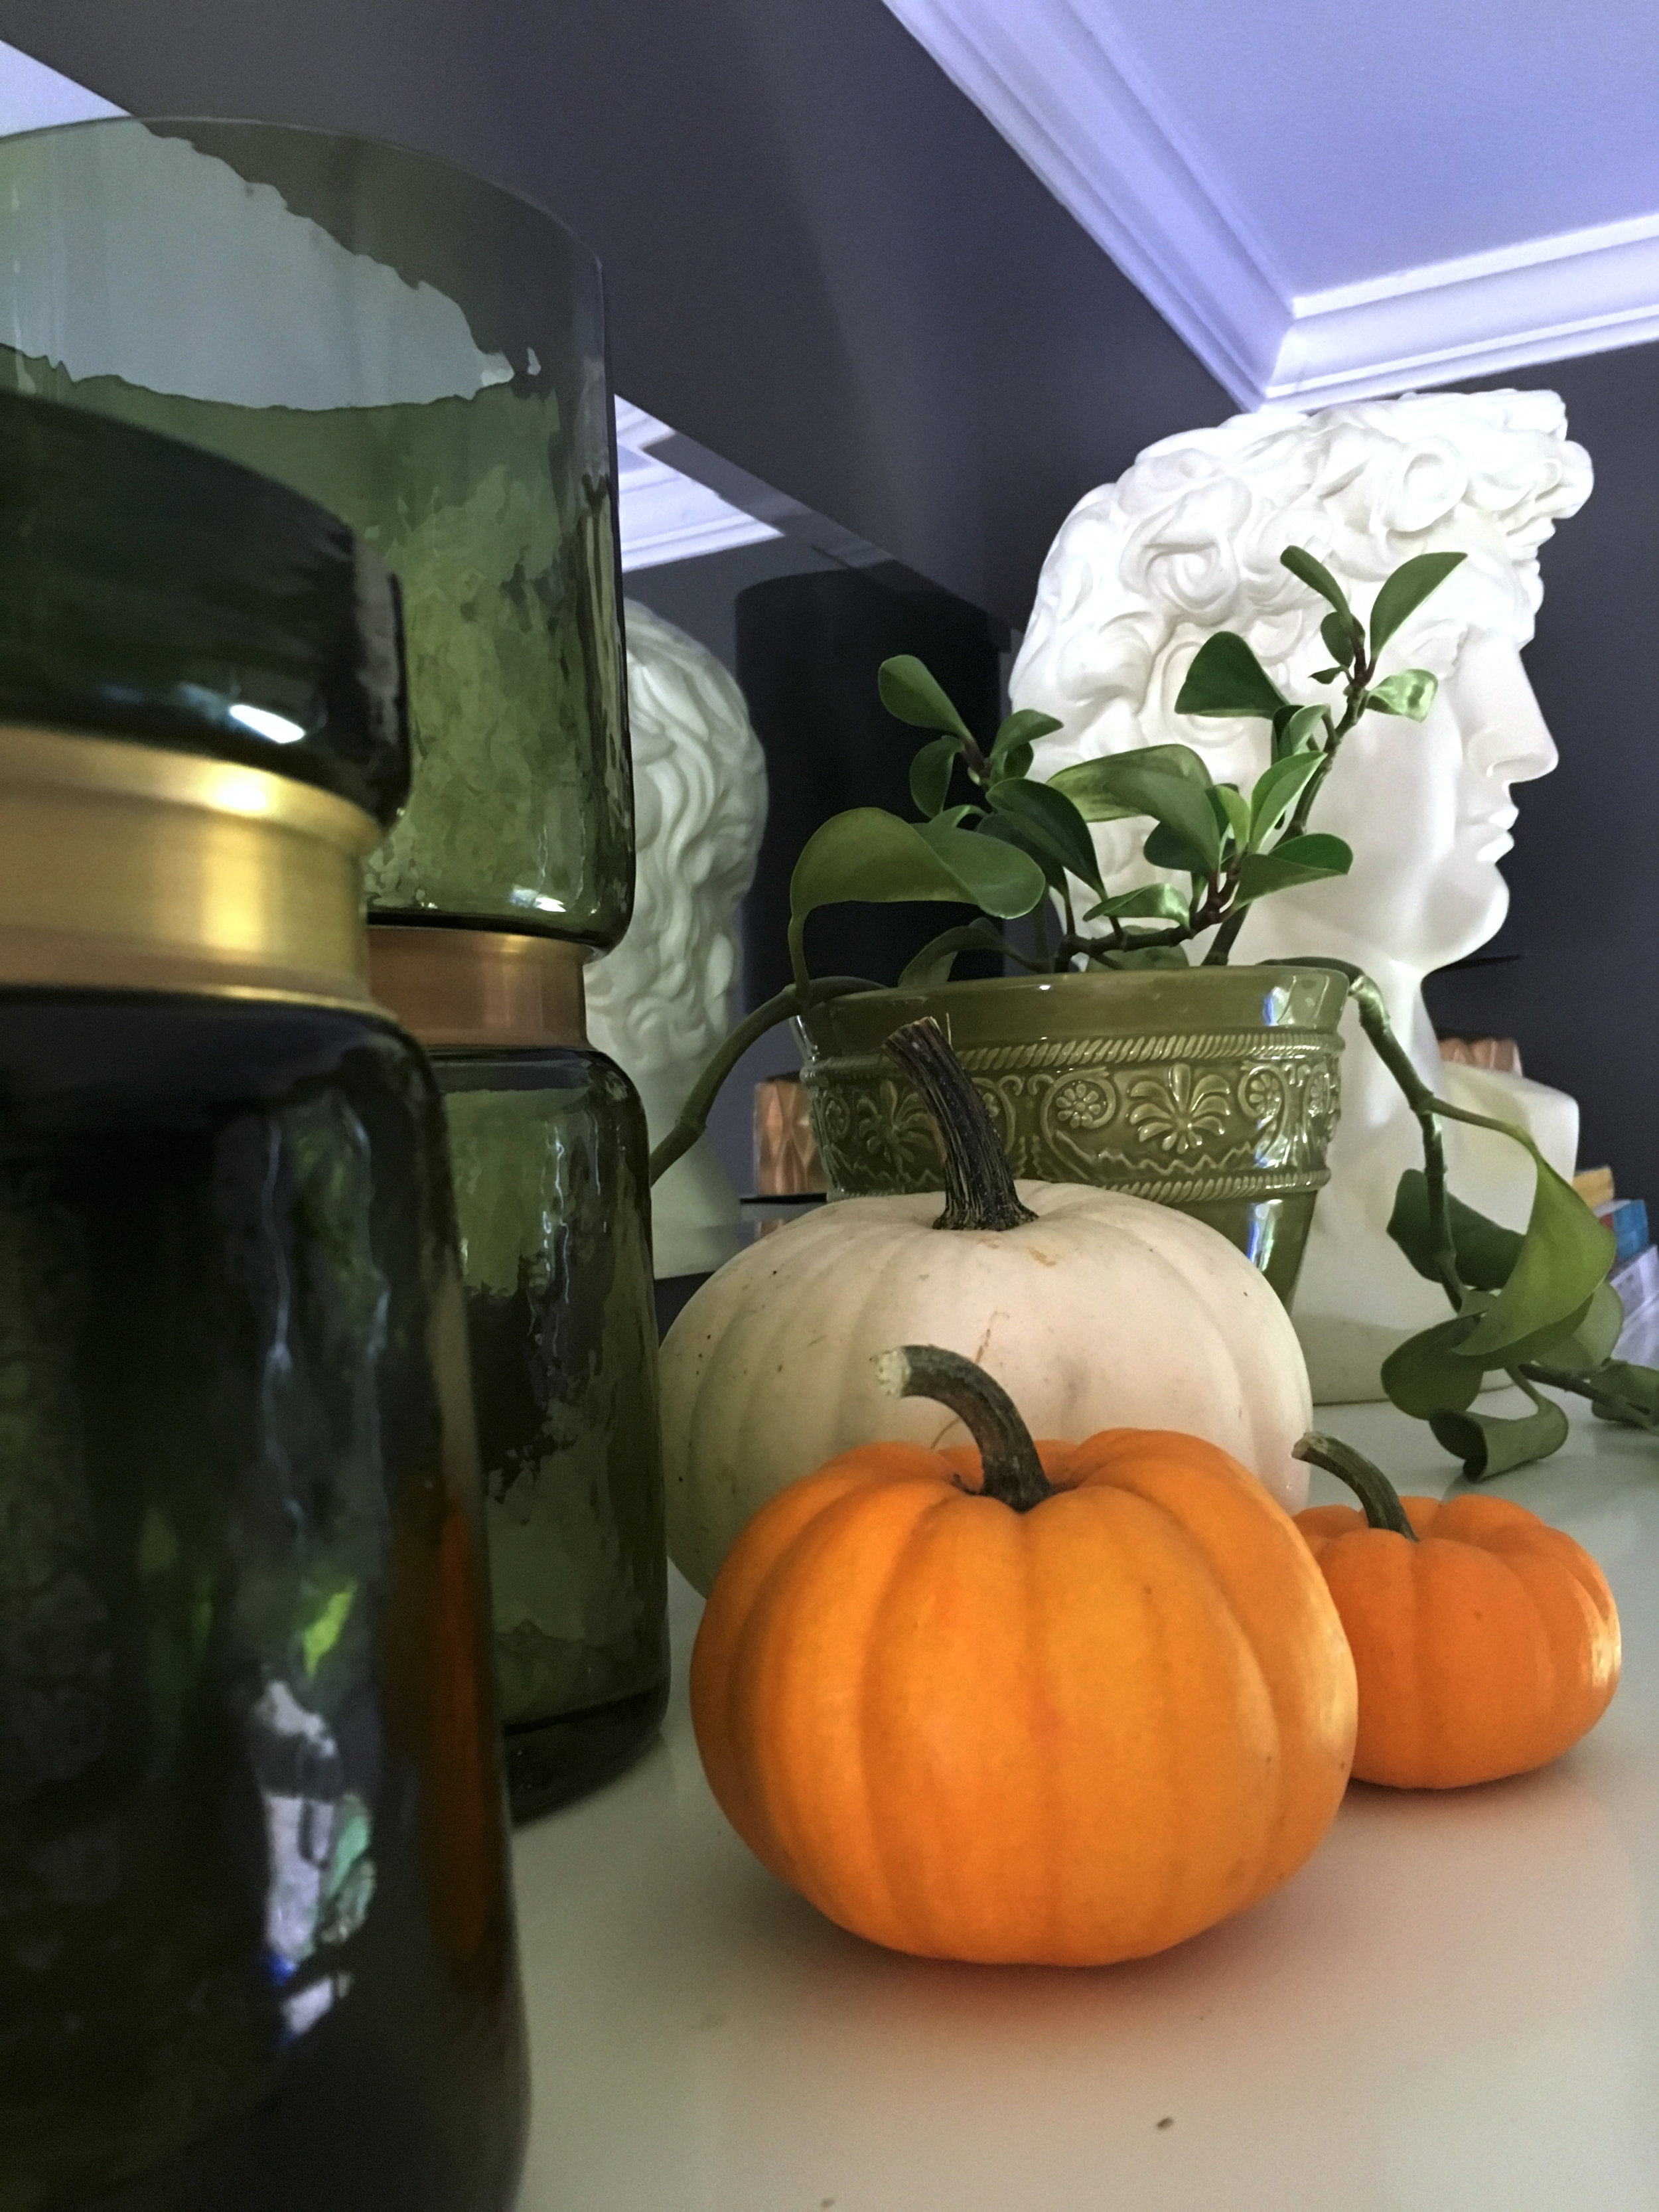
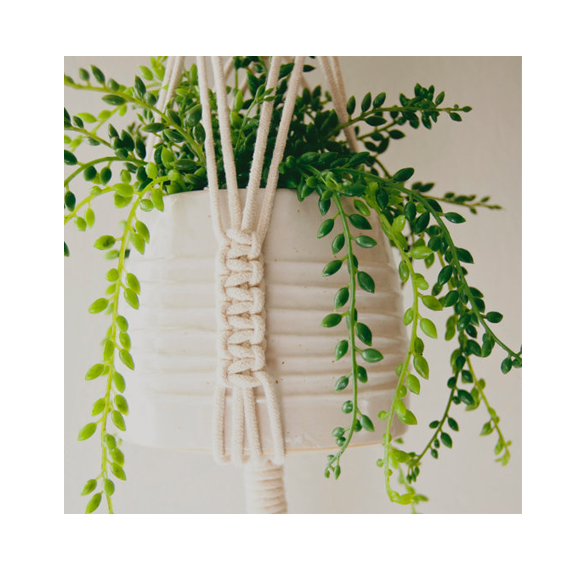
I haven't decided if the boxwood wreaths will stay up year round, but at the very least they will transition beautifully into our Christmas decor. (Don't they look great on those roman shades!? If you missed the tutorial, you can read it here.) Same for the buffalo check pillow covers and kitchen towels. The green vases were on clearance at Target and I while the green and gold are perfect for autumn, they will be beautiful for Christmas or anytime.

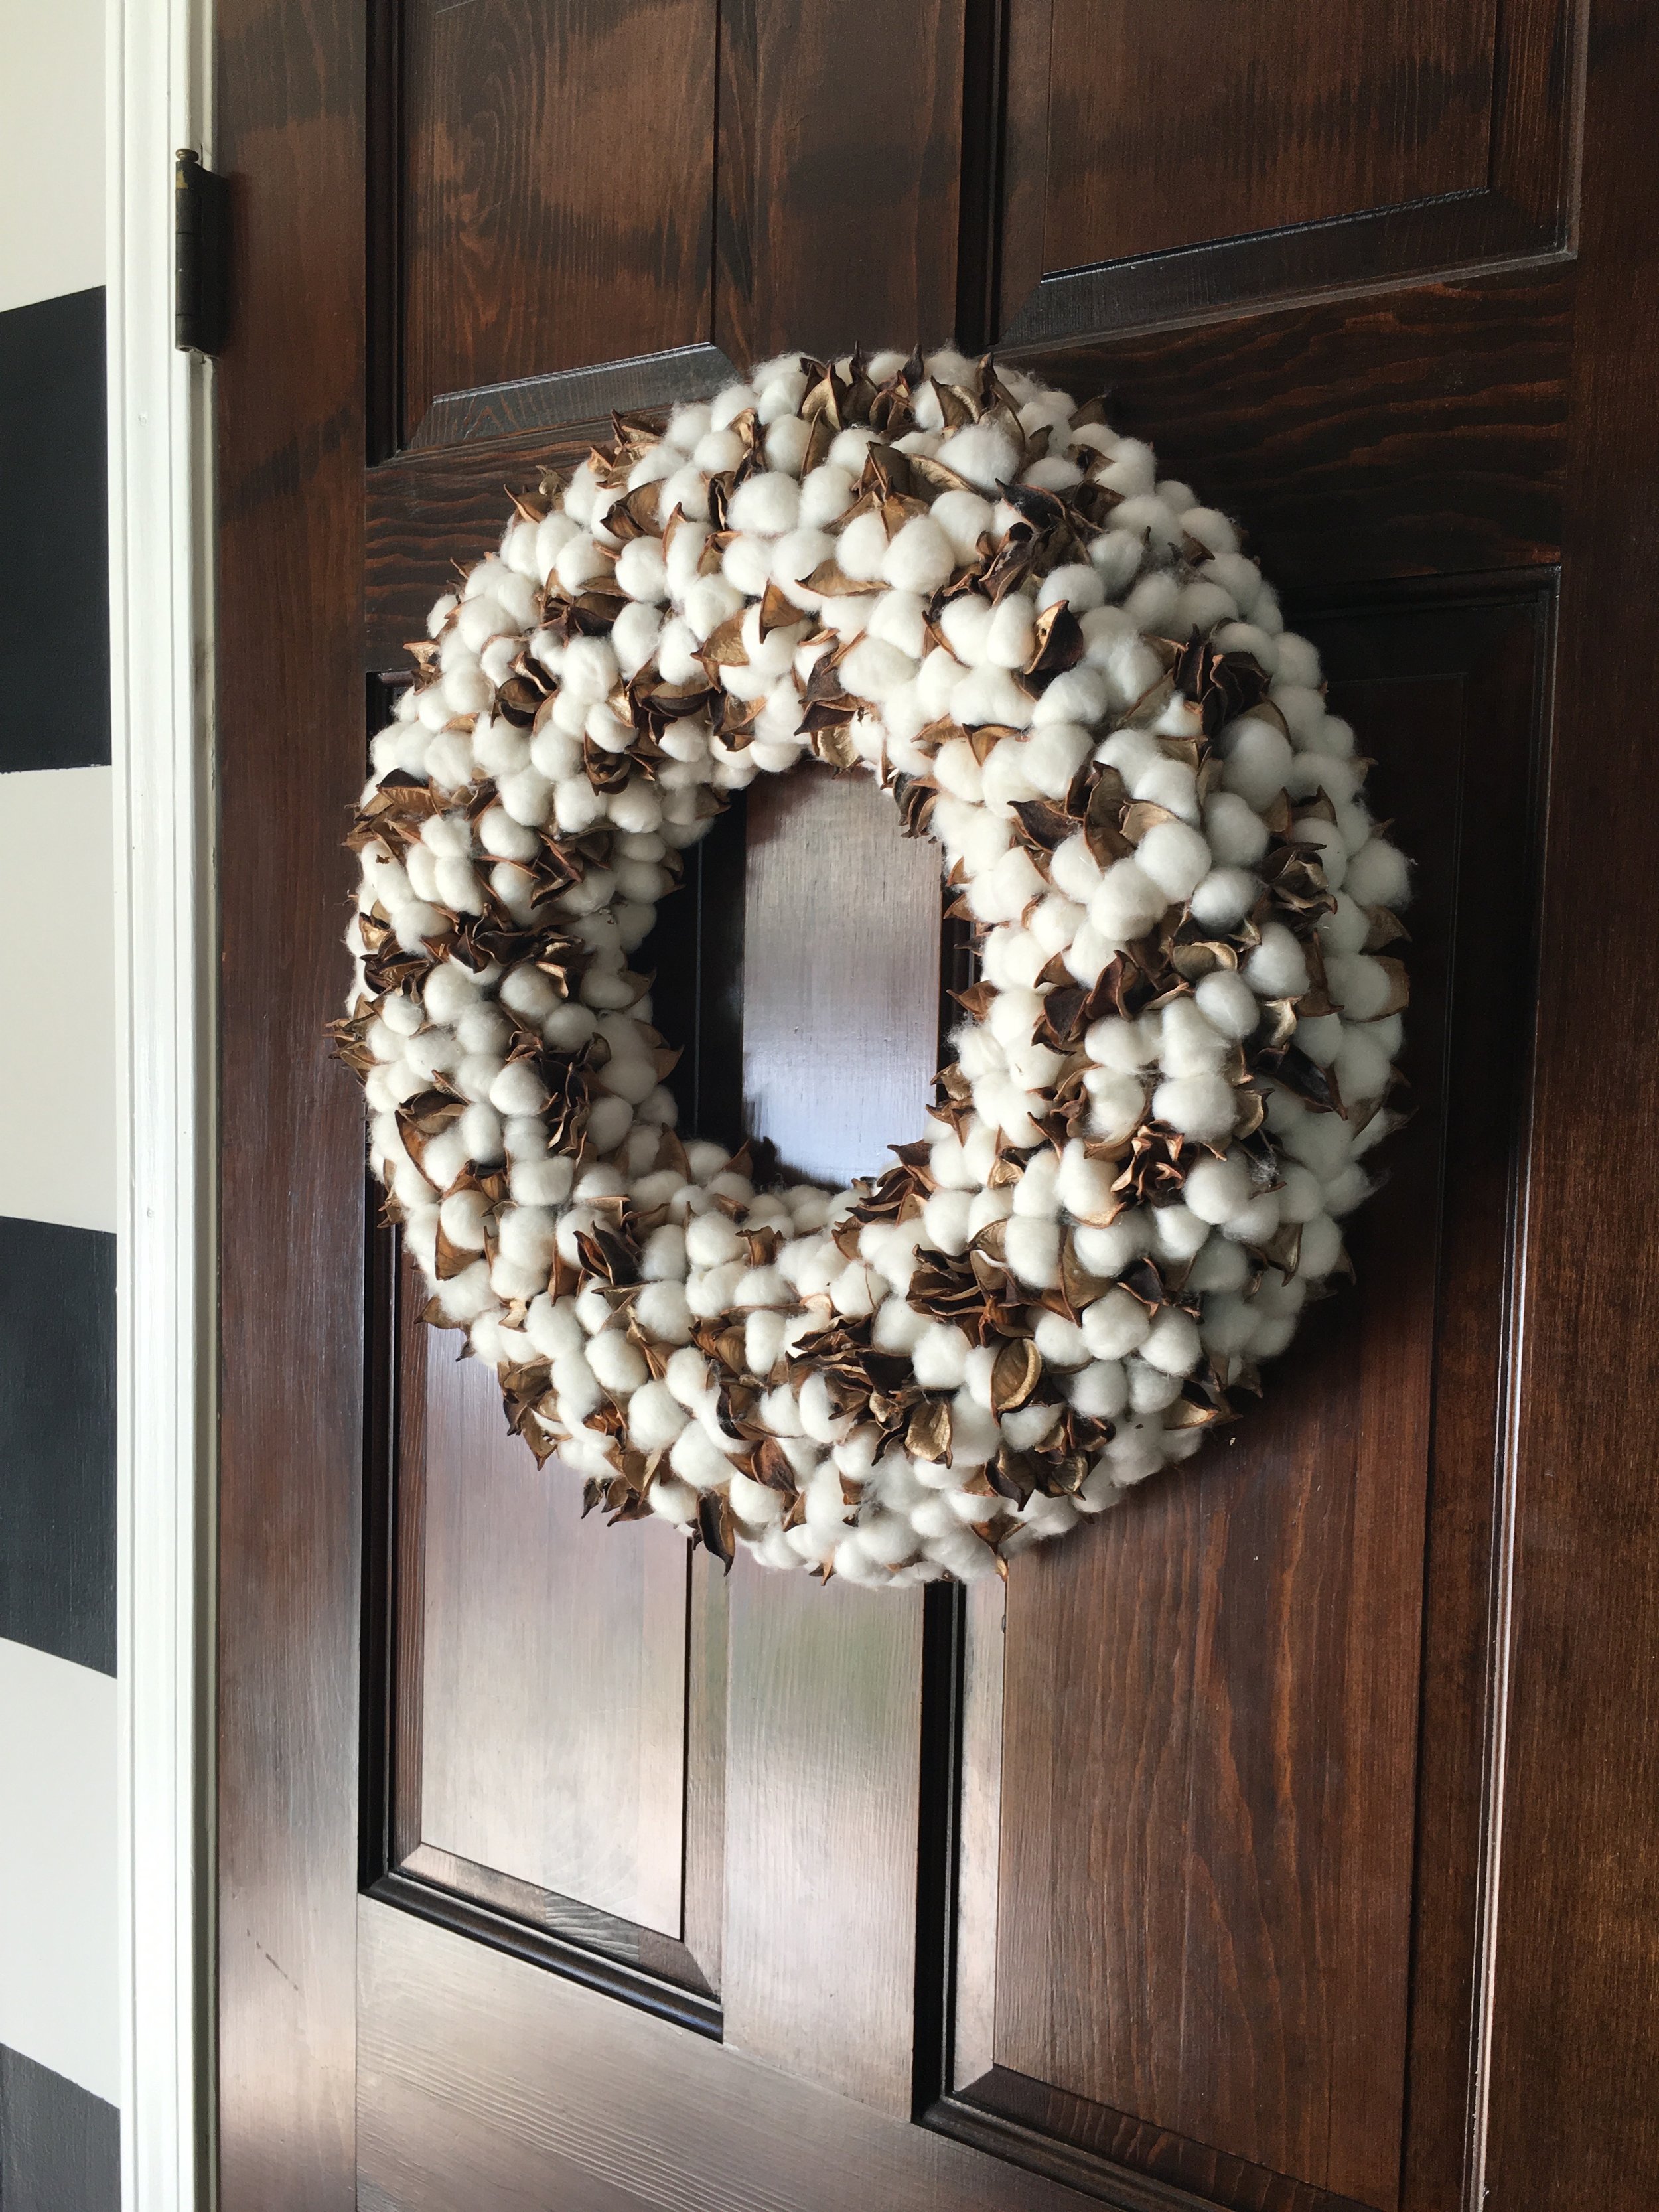
I picked up that cotton ball wreath at the end of the season last year (the best time to bargain hunt for next year!) and I love that it works seasonally from mid September right through until February/March.

Glass, ceramics, wood, metals, and greenery (real OR fake ;) ) are some of the best neutral statement pieces you can invest in! Collect things you love that aren't too squarely seasonal and then curate little vignettes mixing and matching some inexpensive items like mini pumpkins to set a festive tone.
Sometimes seasonal decorating is just about adding or removing layers. Through the summer I've enjoyed the ease of bare tile floors in the kitchen but as the air got a little chillier, I found I wanted to add some coziness. I picked up this blue rug, and while the color has nothing to do with any particular season, I really like it. Something as simple as a small rug went a long way to adding a layer of warmth and texture to the whole kitchen.


So my final tally of fall decorating pieces is this:
- Two Green Vases | $5 and $7 respectively
- Wooden Tray | $20
- Two Buffalo Print Pillow Covers | $18/ea
- White Ceramic Acorn | $6
- "Be Thankful" Sign | $5
- Buffalo Check Dishtowel | $3
- Two Boxwood Wreaths | $15/ea
- Kitchen Rug | $15
- Orange and Tan Plaid Throw Blanket | $15 (not shown)
- Assorted Pumpkins and Gourds | $10
Total: $137
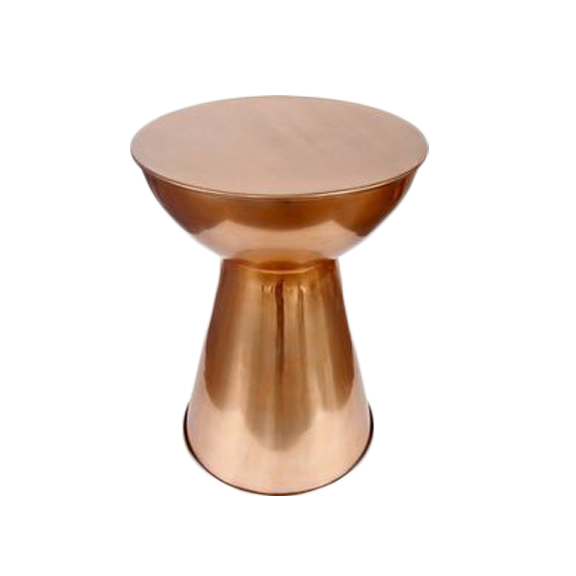
*If I'm being honest/generous in "what counts as fall decorating purchases" I would tell you that I recently bought those leather and brass stools ($25/ea on clearance) and the white ceramic faceted vase ($14) bringing my total to $201... but I'm choosing not to count those as "seasonal." ;)
While I'm confessing, I feel like I should also tell you that we are currently sporting some pretty sweet vinyl window clings these days... because you know, a toddler lives here too and as parents we have to sacrifice certain things. Like our front doors.


How about you? Do you change up your decor for the seasons? What is your favorite way to stretch those dollars? I love hearing about how you make your home your own--comment below and tell me about it!
Bohemian Living Room Refresh
When Shauna sent me a note saying she needed help refreshing her living room, and that she loved the vintage bohemian vibe, I was super pumped for this project! She already had several pieces, both furniture and art, that she wanted to continue using, but was looking to freshen up the space and incorporate some pink.
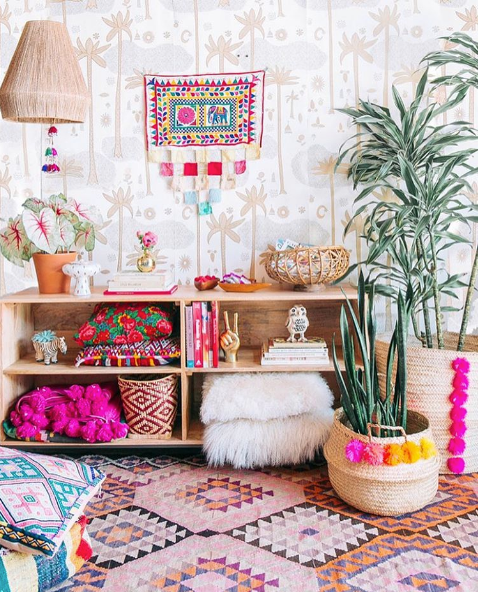
Inspirational Images


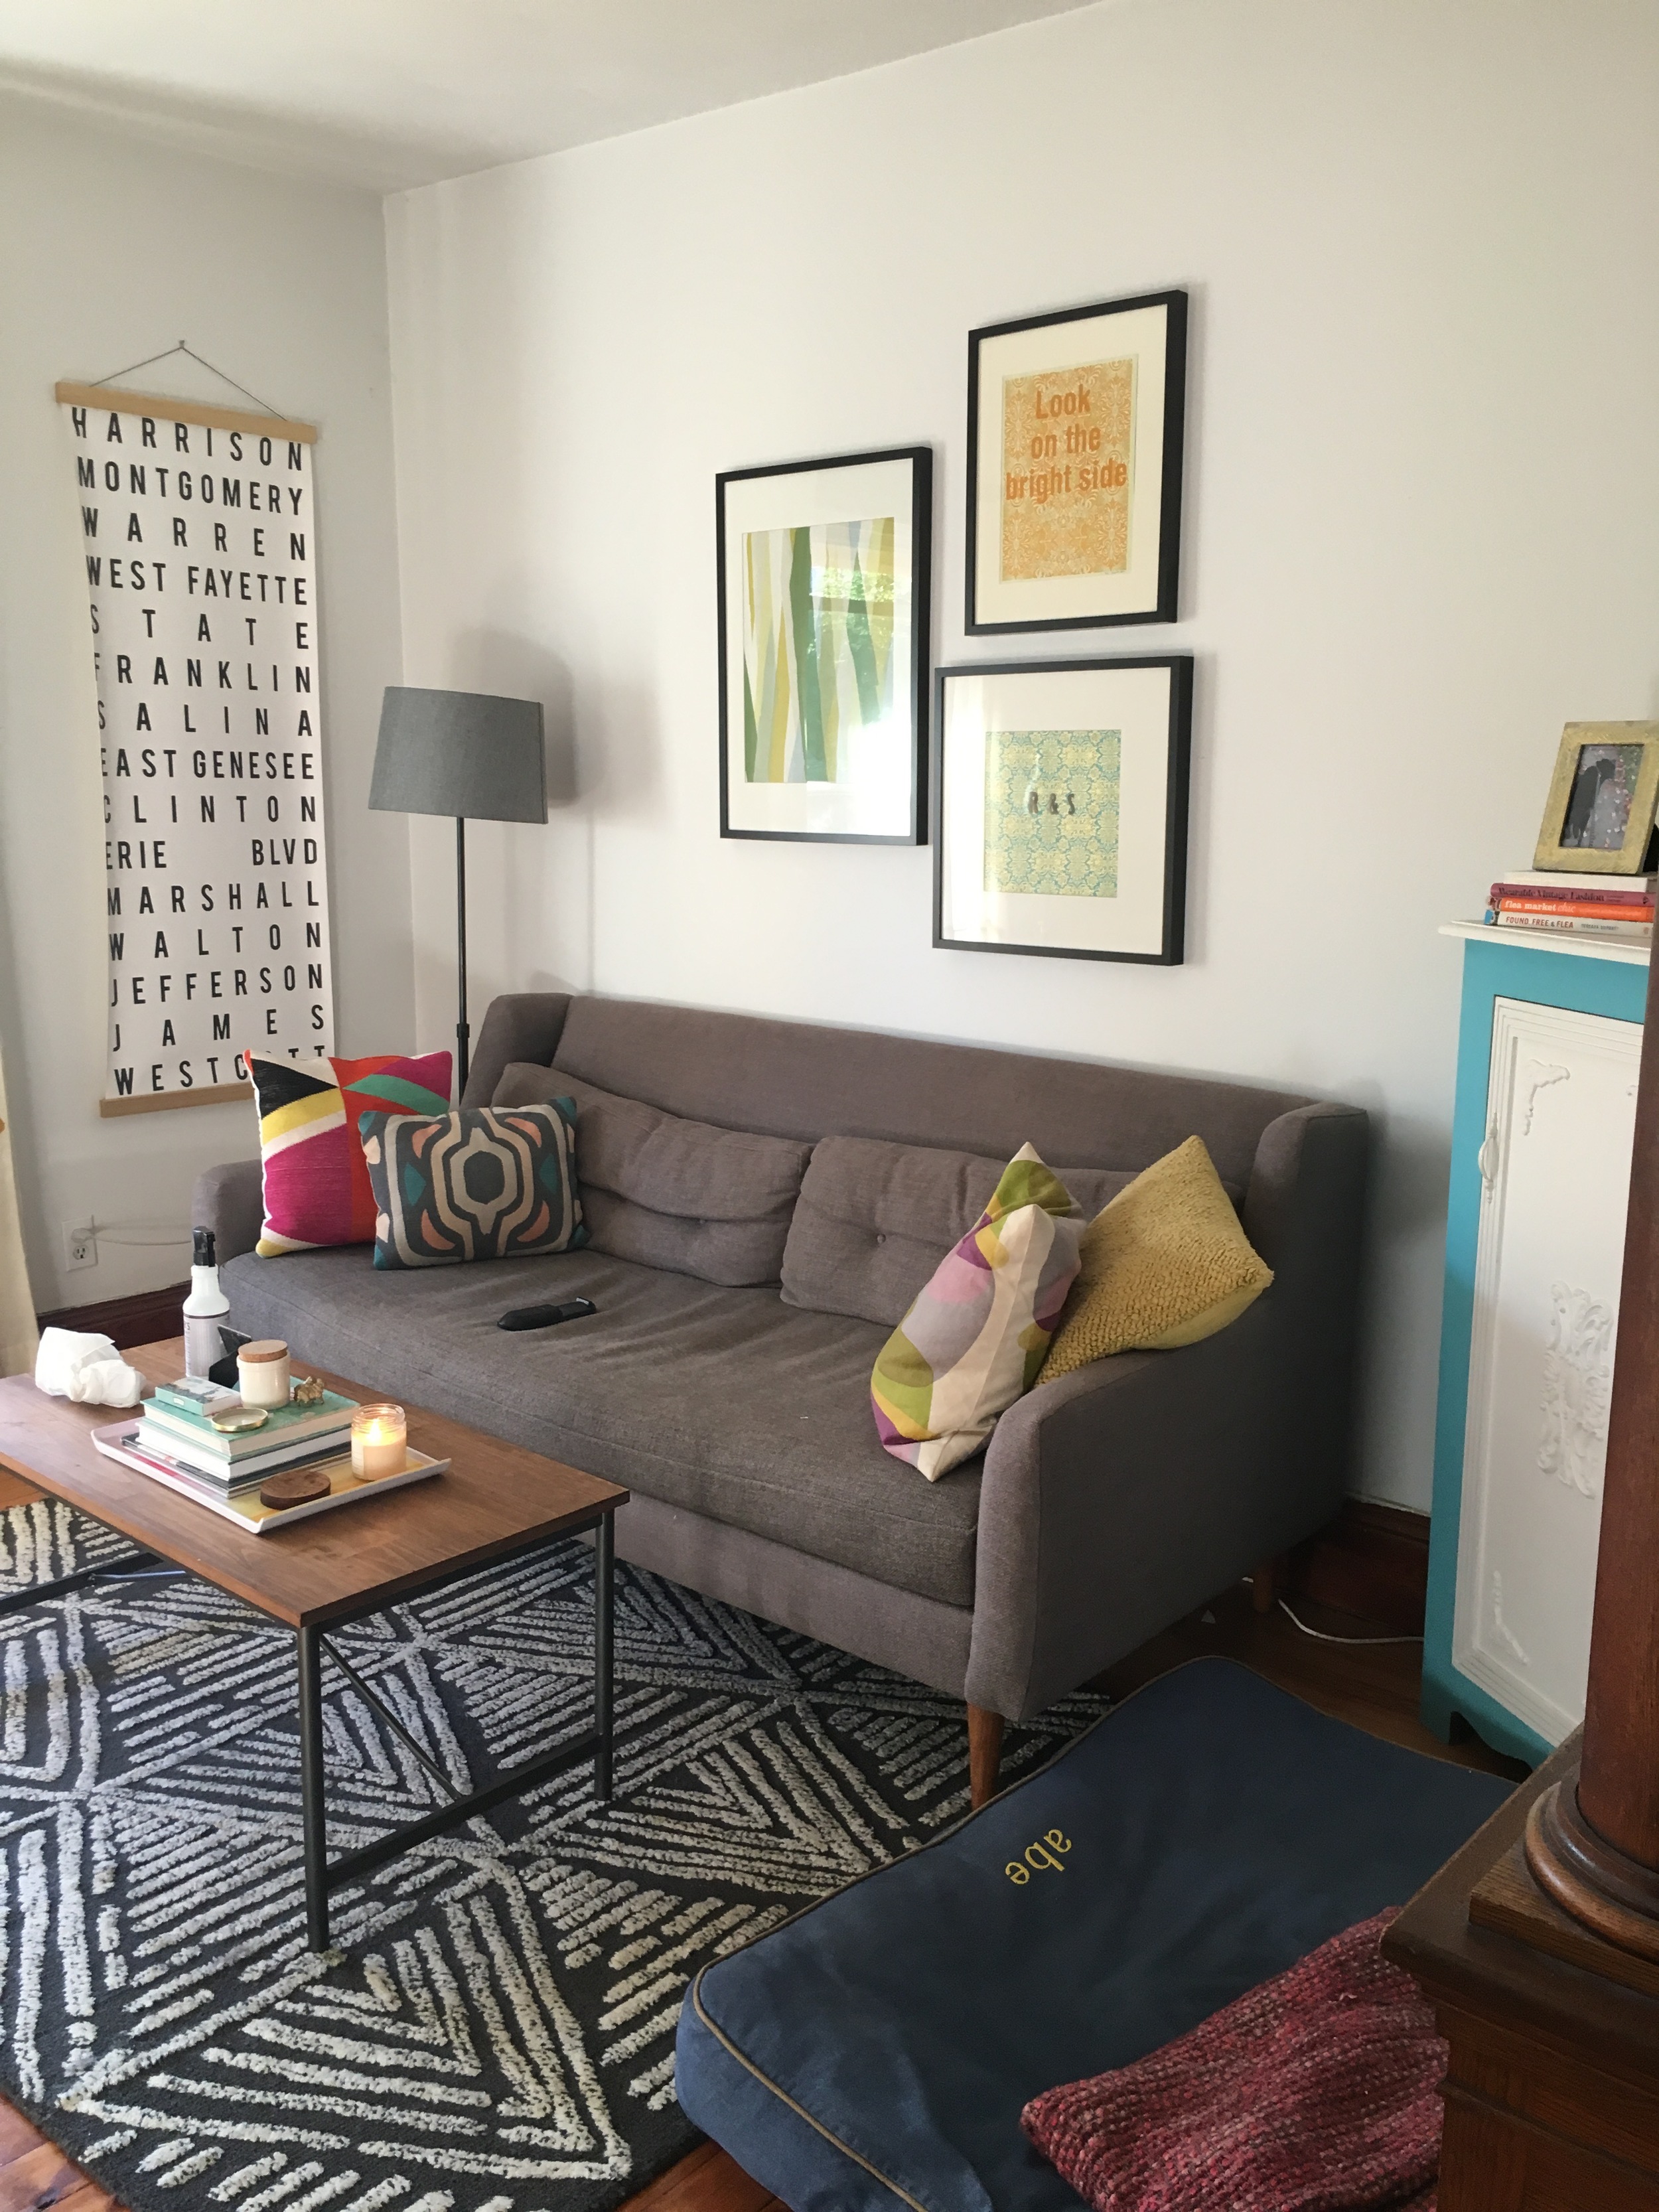
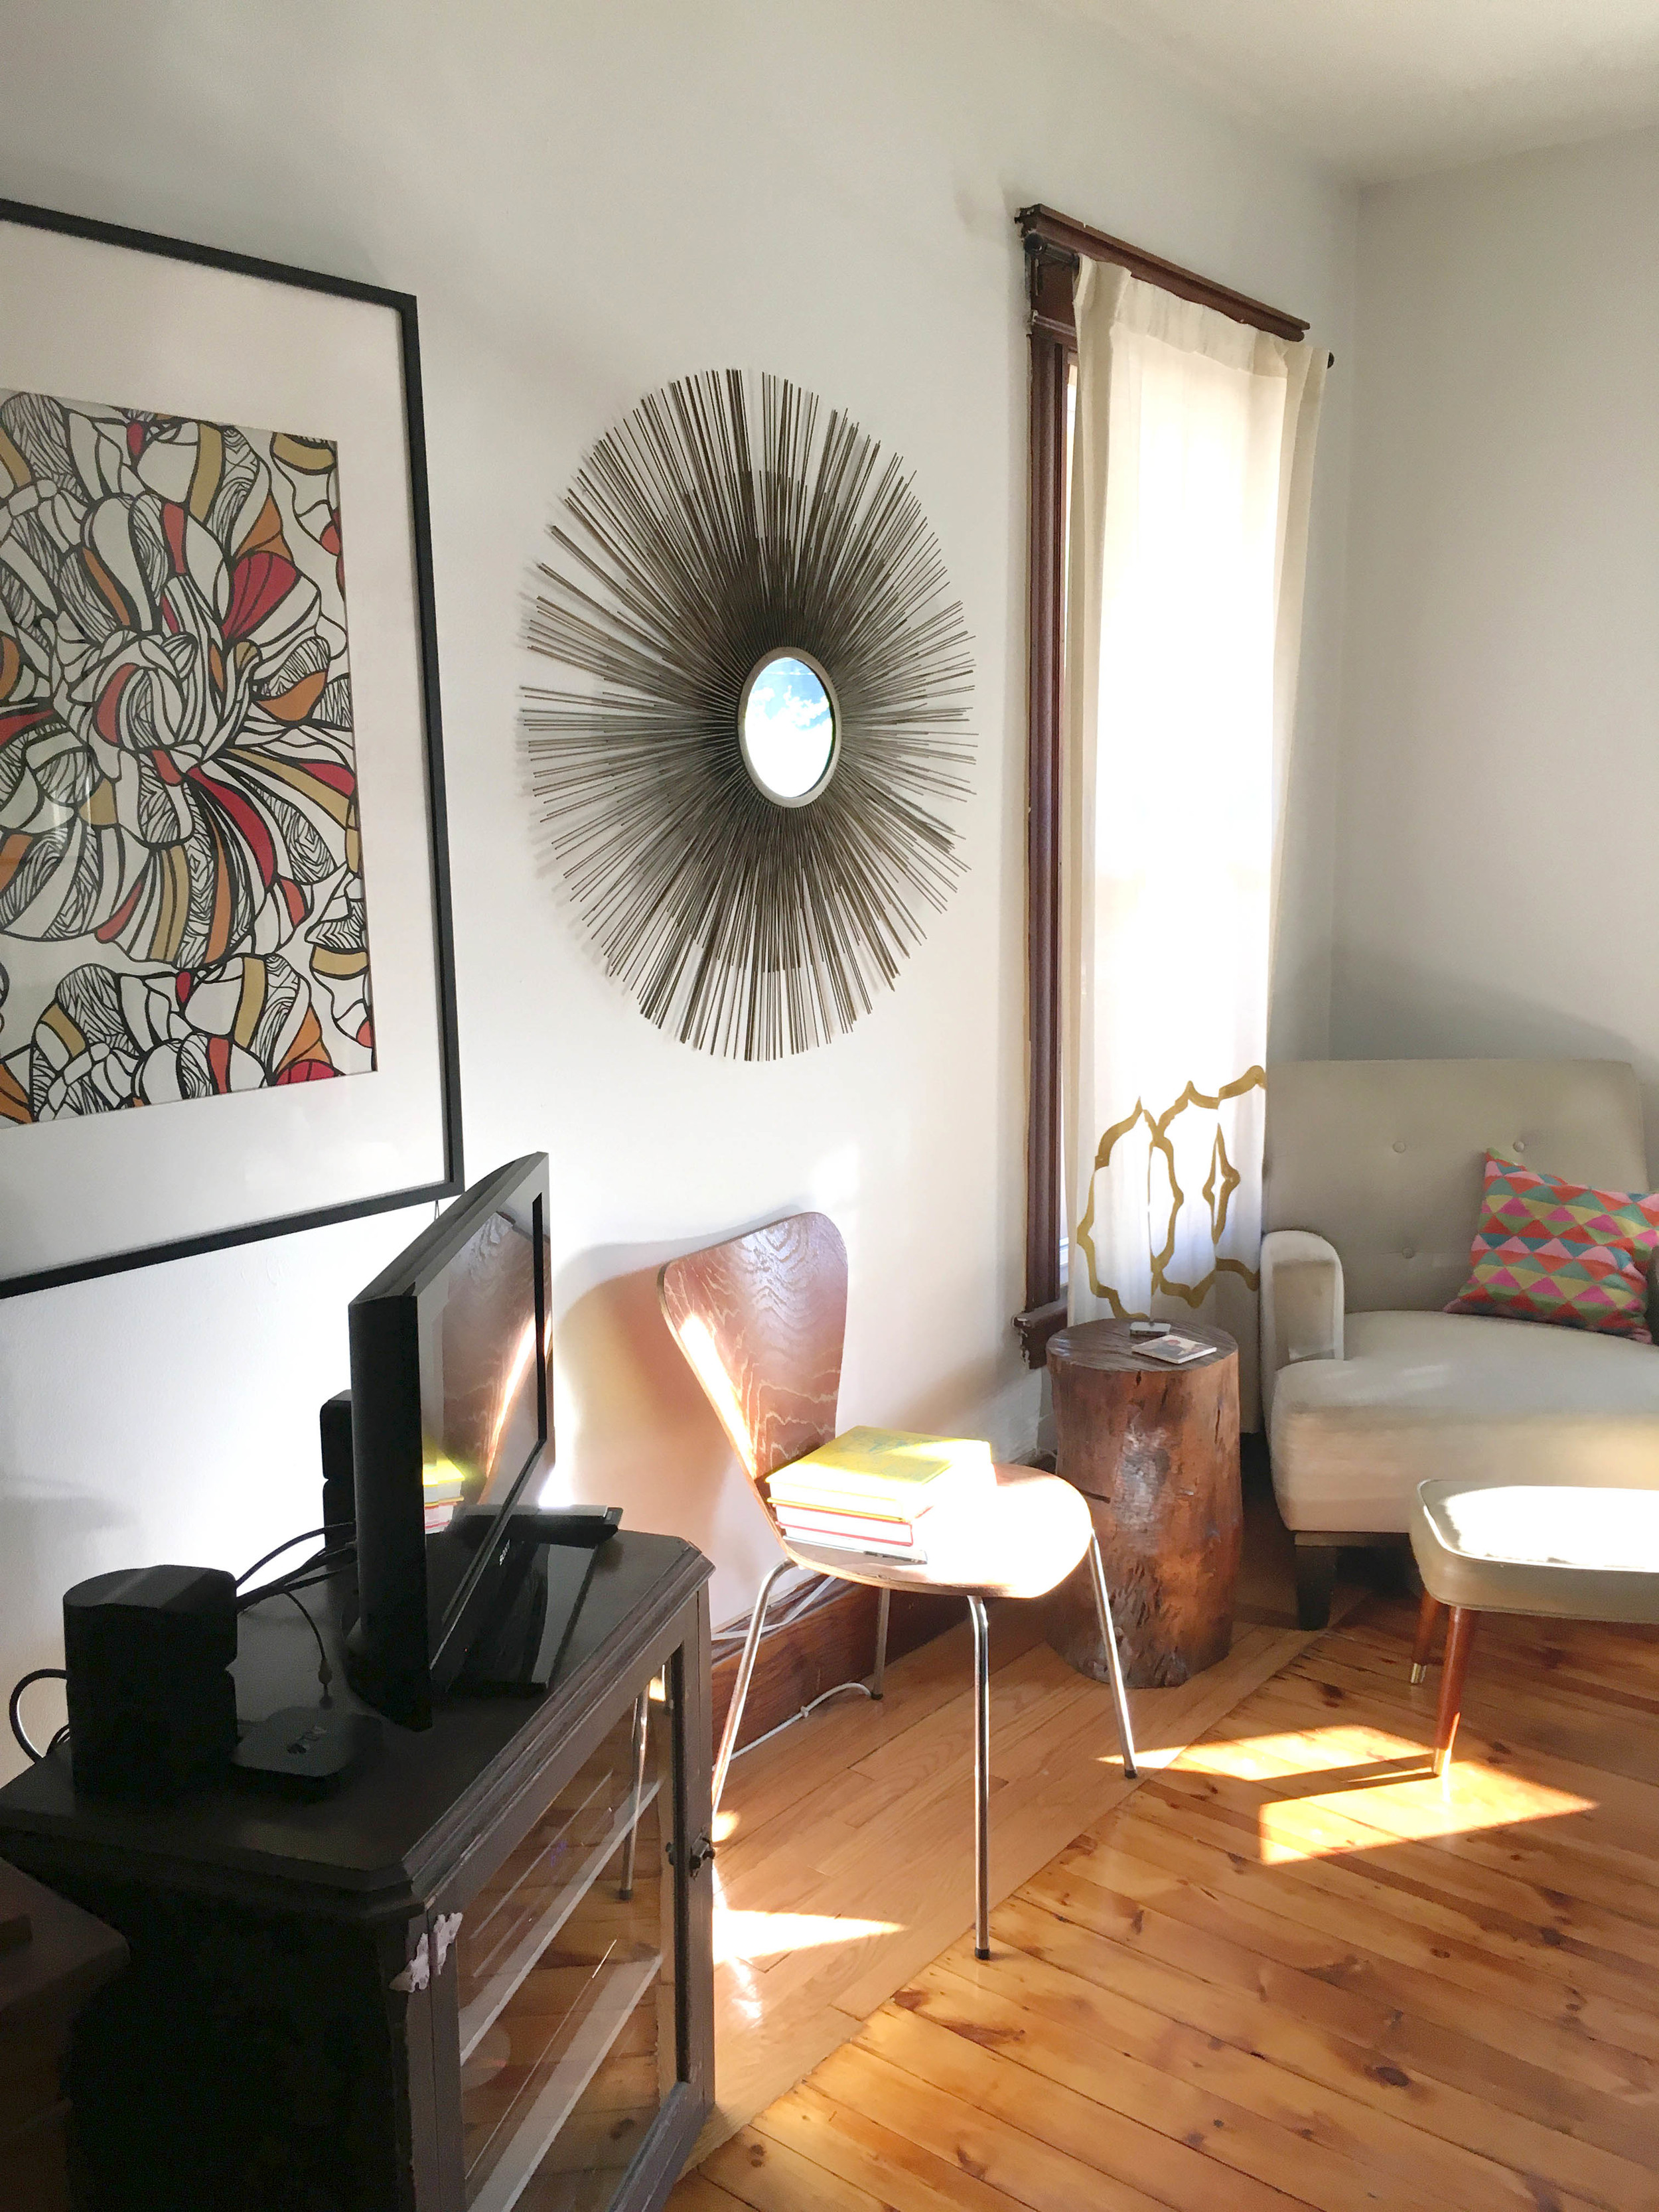
Before Pictures and the "Keep List"
From these "before" pictures, she wanted or needed to keep the following:
- Sofa
- Coffee Table
- Beige Chair and Ottoman
- Art over Sofa
- Black and White Syracuse Street Name Art
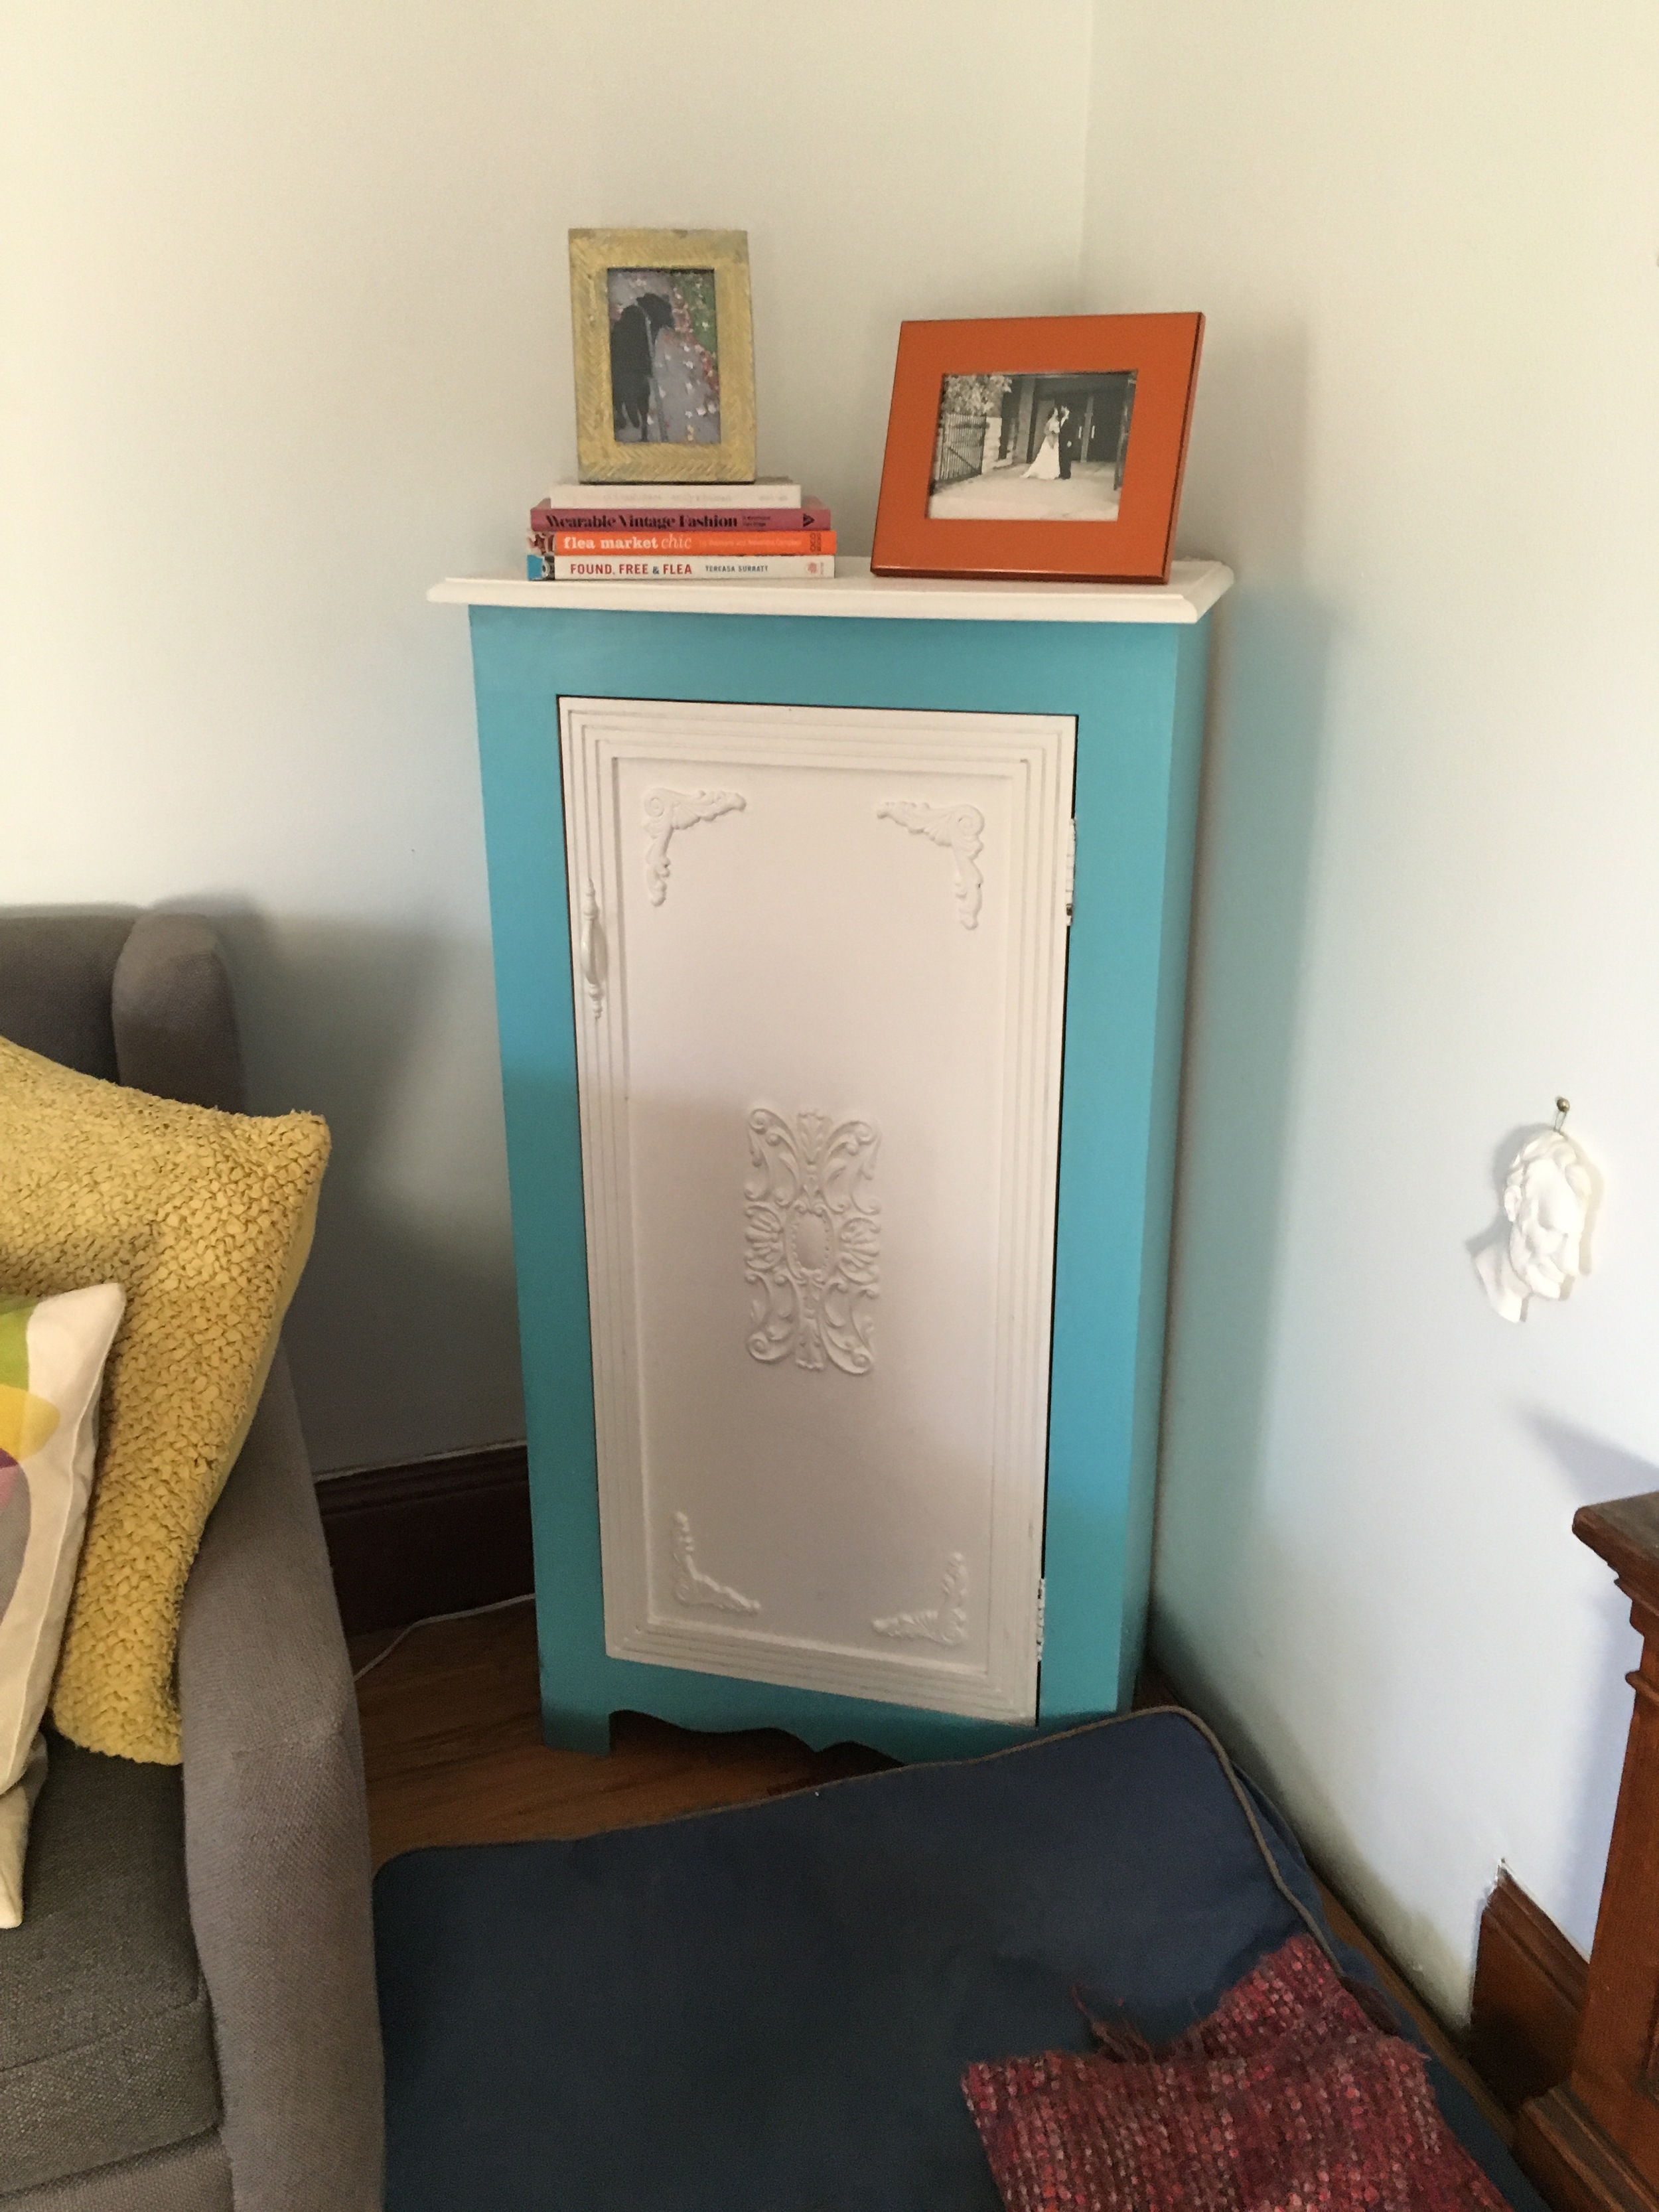
- Blue and White Cabinet (open to painting)
- Starburst Mirror
- Vintage Rug (not shown in pictures)
The client also had a pink heart print she wanted to use and requested a silhouette of her puppy, Abe, be incorporated.
Achieving Bohemian Style
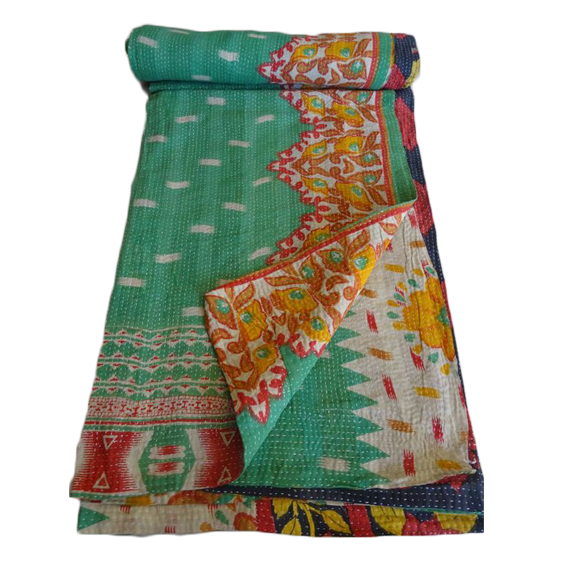
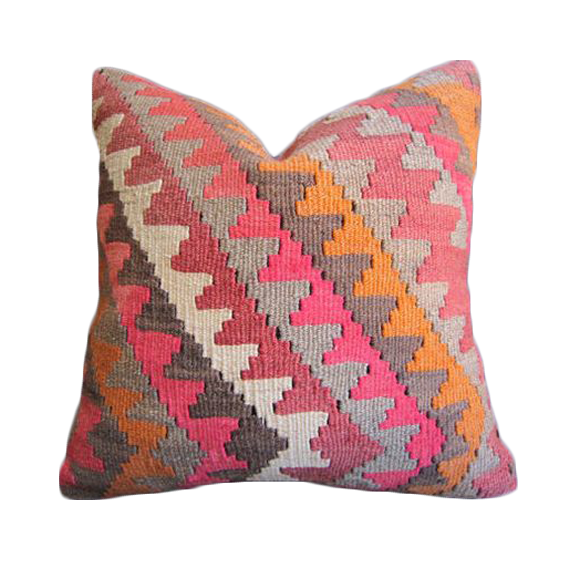
When trying to achieve an eclectic, bohemian feel the key is to layer things in a way that feels collected and accumulated but not cluttered. To accomplish this, quality and authenticity are incredibly important! While rattan and kilim patterns are en vogue right now, choosing vintage items rather than reproductions helps to establish a rich, storied environment. A few original paintings balance the pop art and adding plants is a must for any bohemian inspired room.
When searching for vintage furniture, art, and accessories, Craigslist, Etsy, Chairish, and 1st Dibs are all great places to start.
The mood board we sent the client shows new and "new vintage" items mixed with the furniture and art from their "keep list". Rearranging, painting furniture, and some new textiles can go a long way in updating a room!
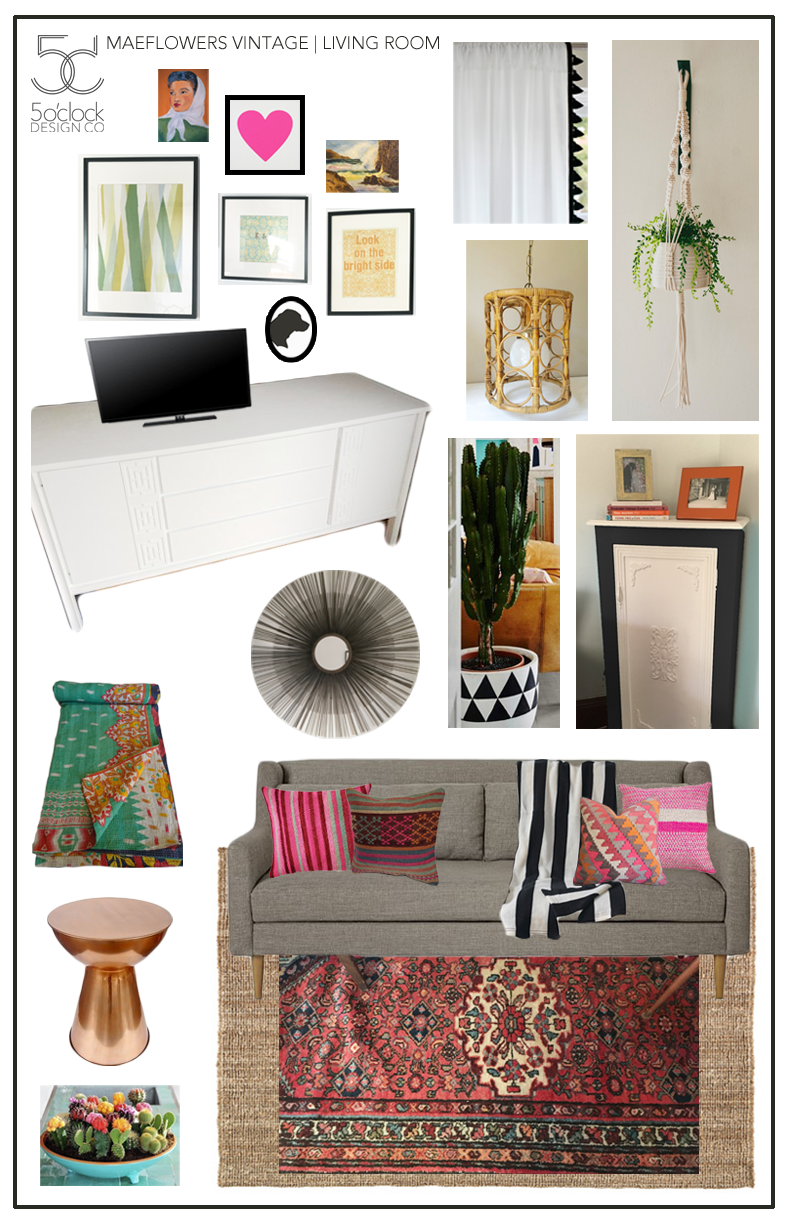
I can't wait to share pictures of the finished room once it all comes together, but for now, here are some links to shop this look for your own home!
Shop the Look


DIY No-Sew Black Border Roman Shade Trim
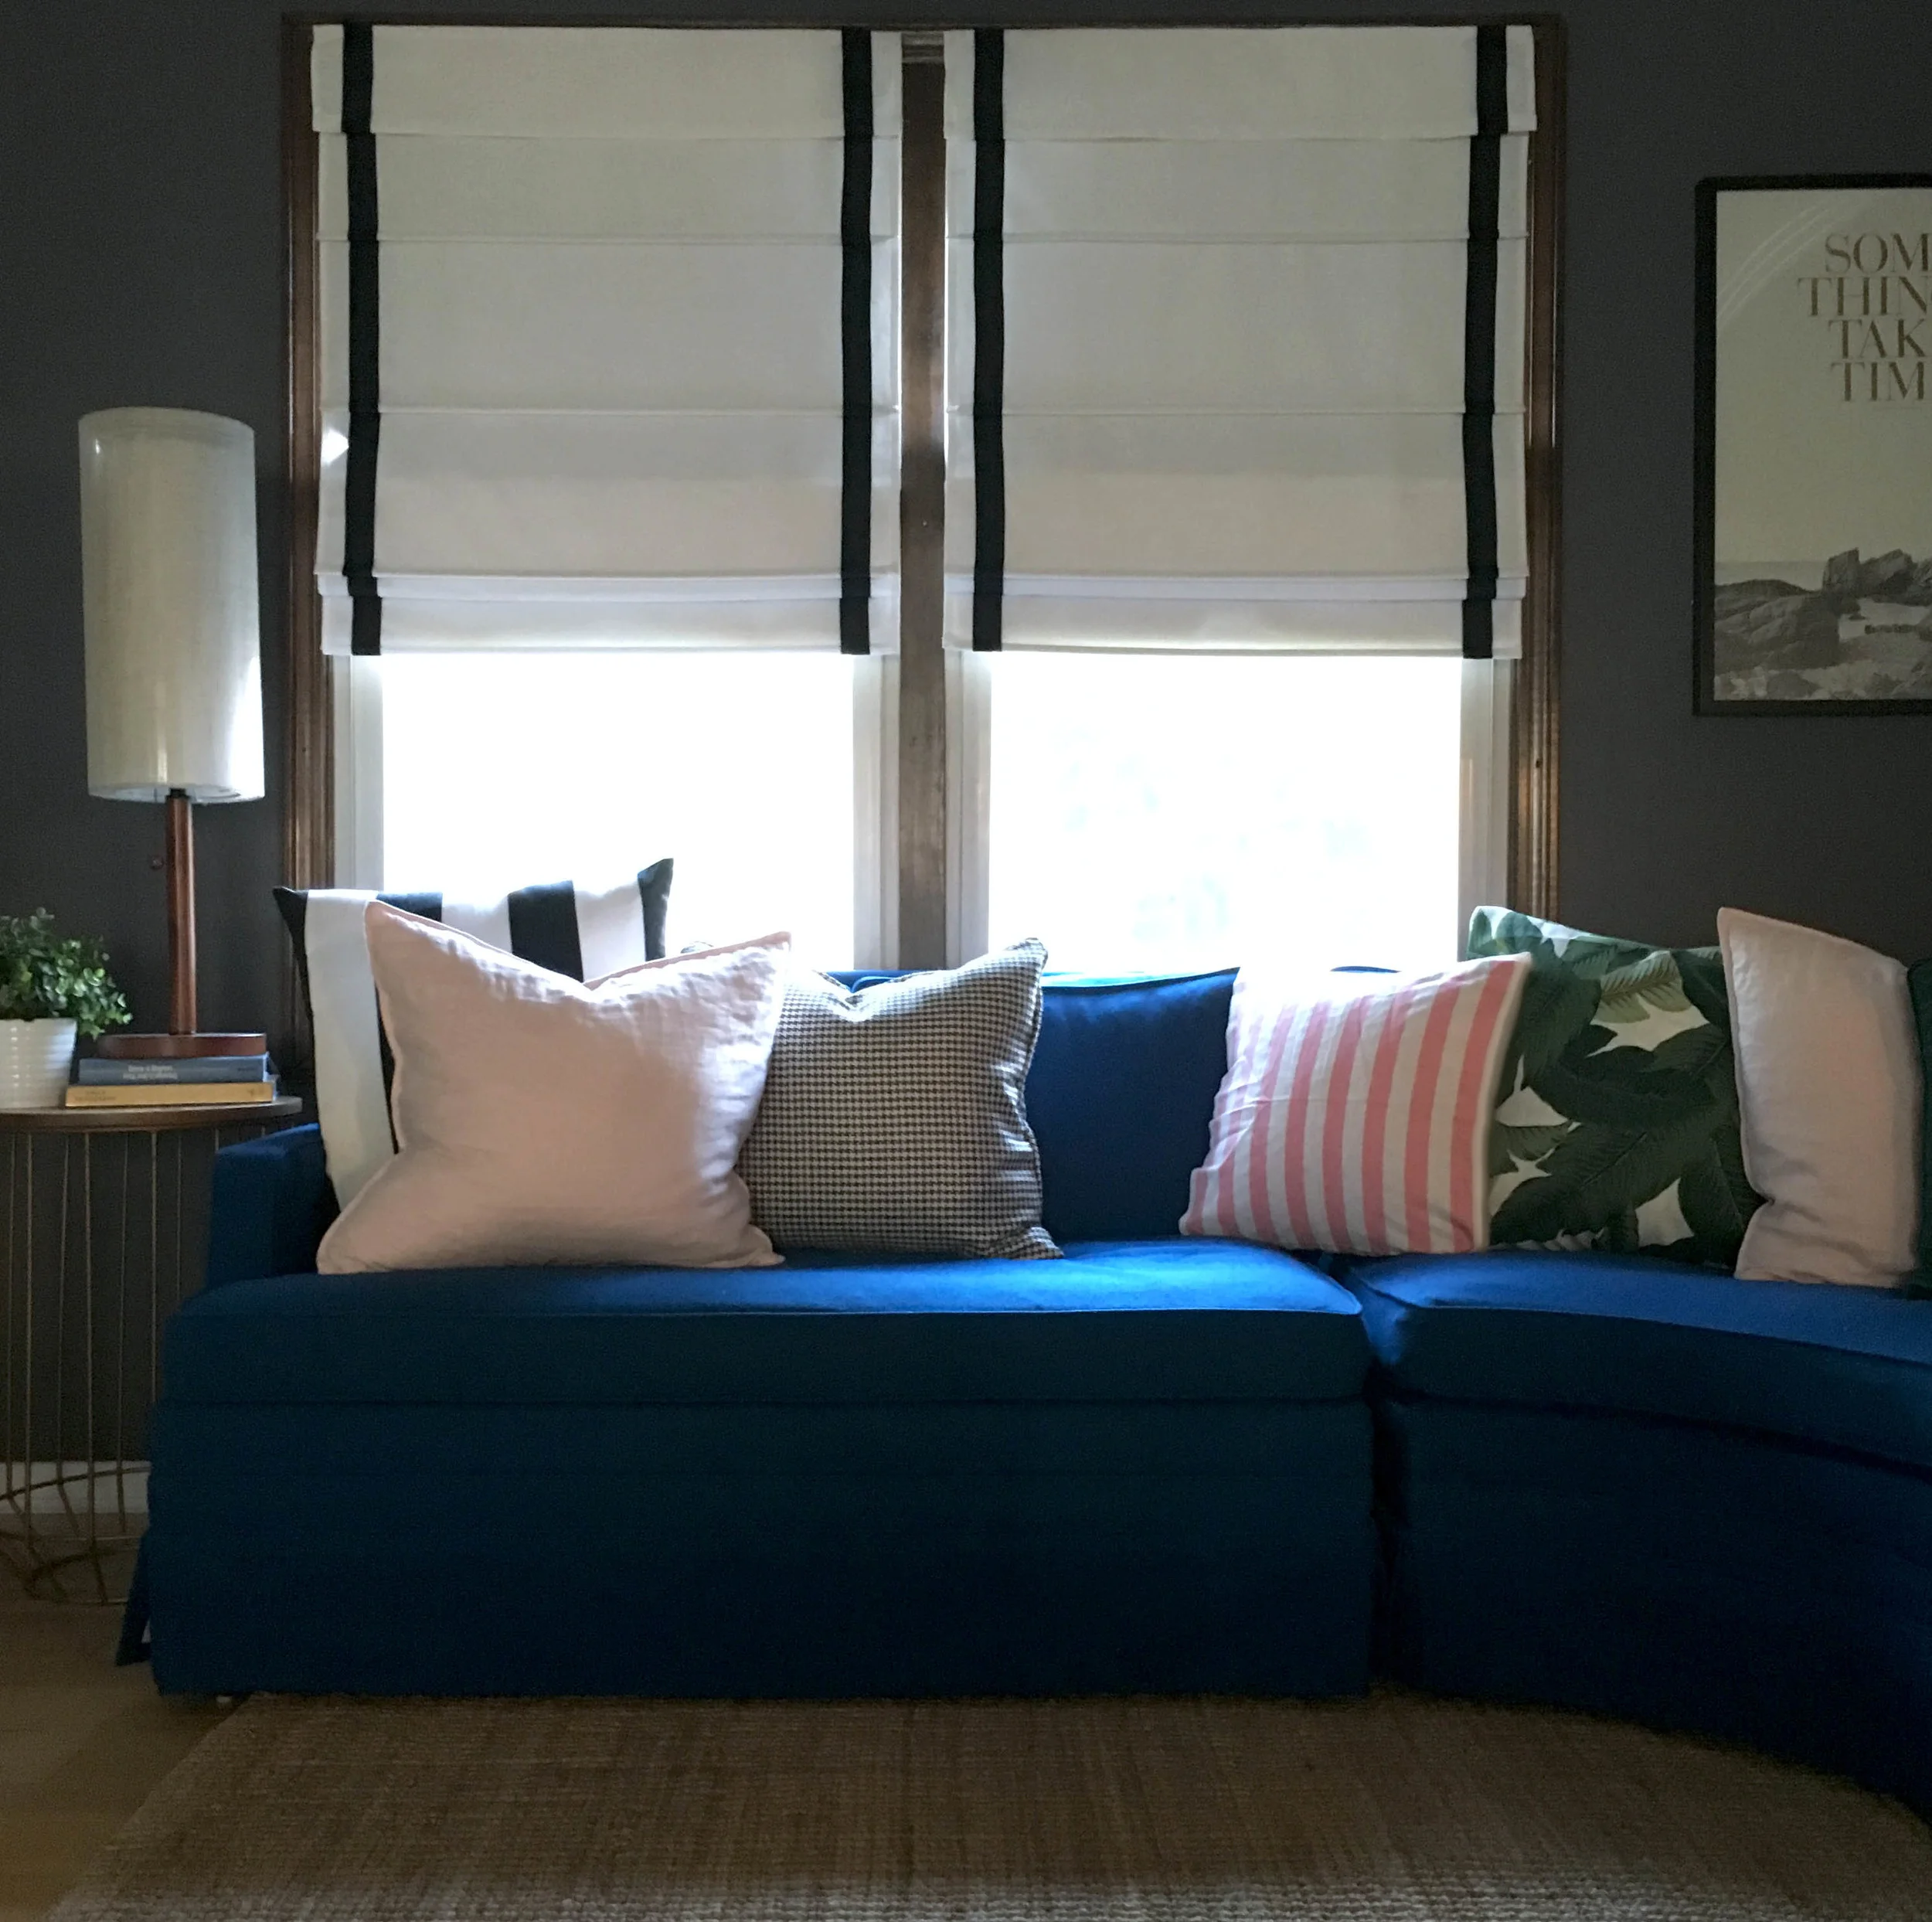
In our house there is a revolving door of furniture swaps--I am forever re-arranging things or buying new pieces on Craigslist and re-listing the old. It's something my husband doesn't always find the most adorable thing about me, but he graciously humors my craziness. When I found this near-perfect cobalt sectional from the 50's it was love at first sight. I think this may be a keeper for the long haul so I desperately needed to address the old window treatments as they no longer worked with this couch in front of them. This space where the sofa is was previously being used as our dining room and while I loved the adorable little elephant curtains, floor length curtains behind the couch weren't really working.
I loved the crisp, classic look of these roman shades with black trim but $120/shade was more than I willing was to spend so I decided to try DIY-ing them instead. My original thought was make the whole shade from scratch, but these lined, cordless blinds were only $40/ea. at Home Depot and came with all the mounting hardware. I spent about $25 total on supplies for both shades, making each one less than $55! Not too shabby!!
Here is the incredibly easy process I followed for adding black trim to pre-made roman shades.
What You Need to Get Started
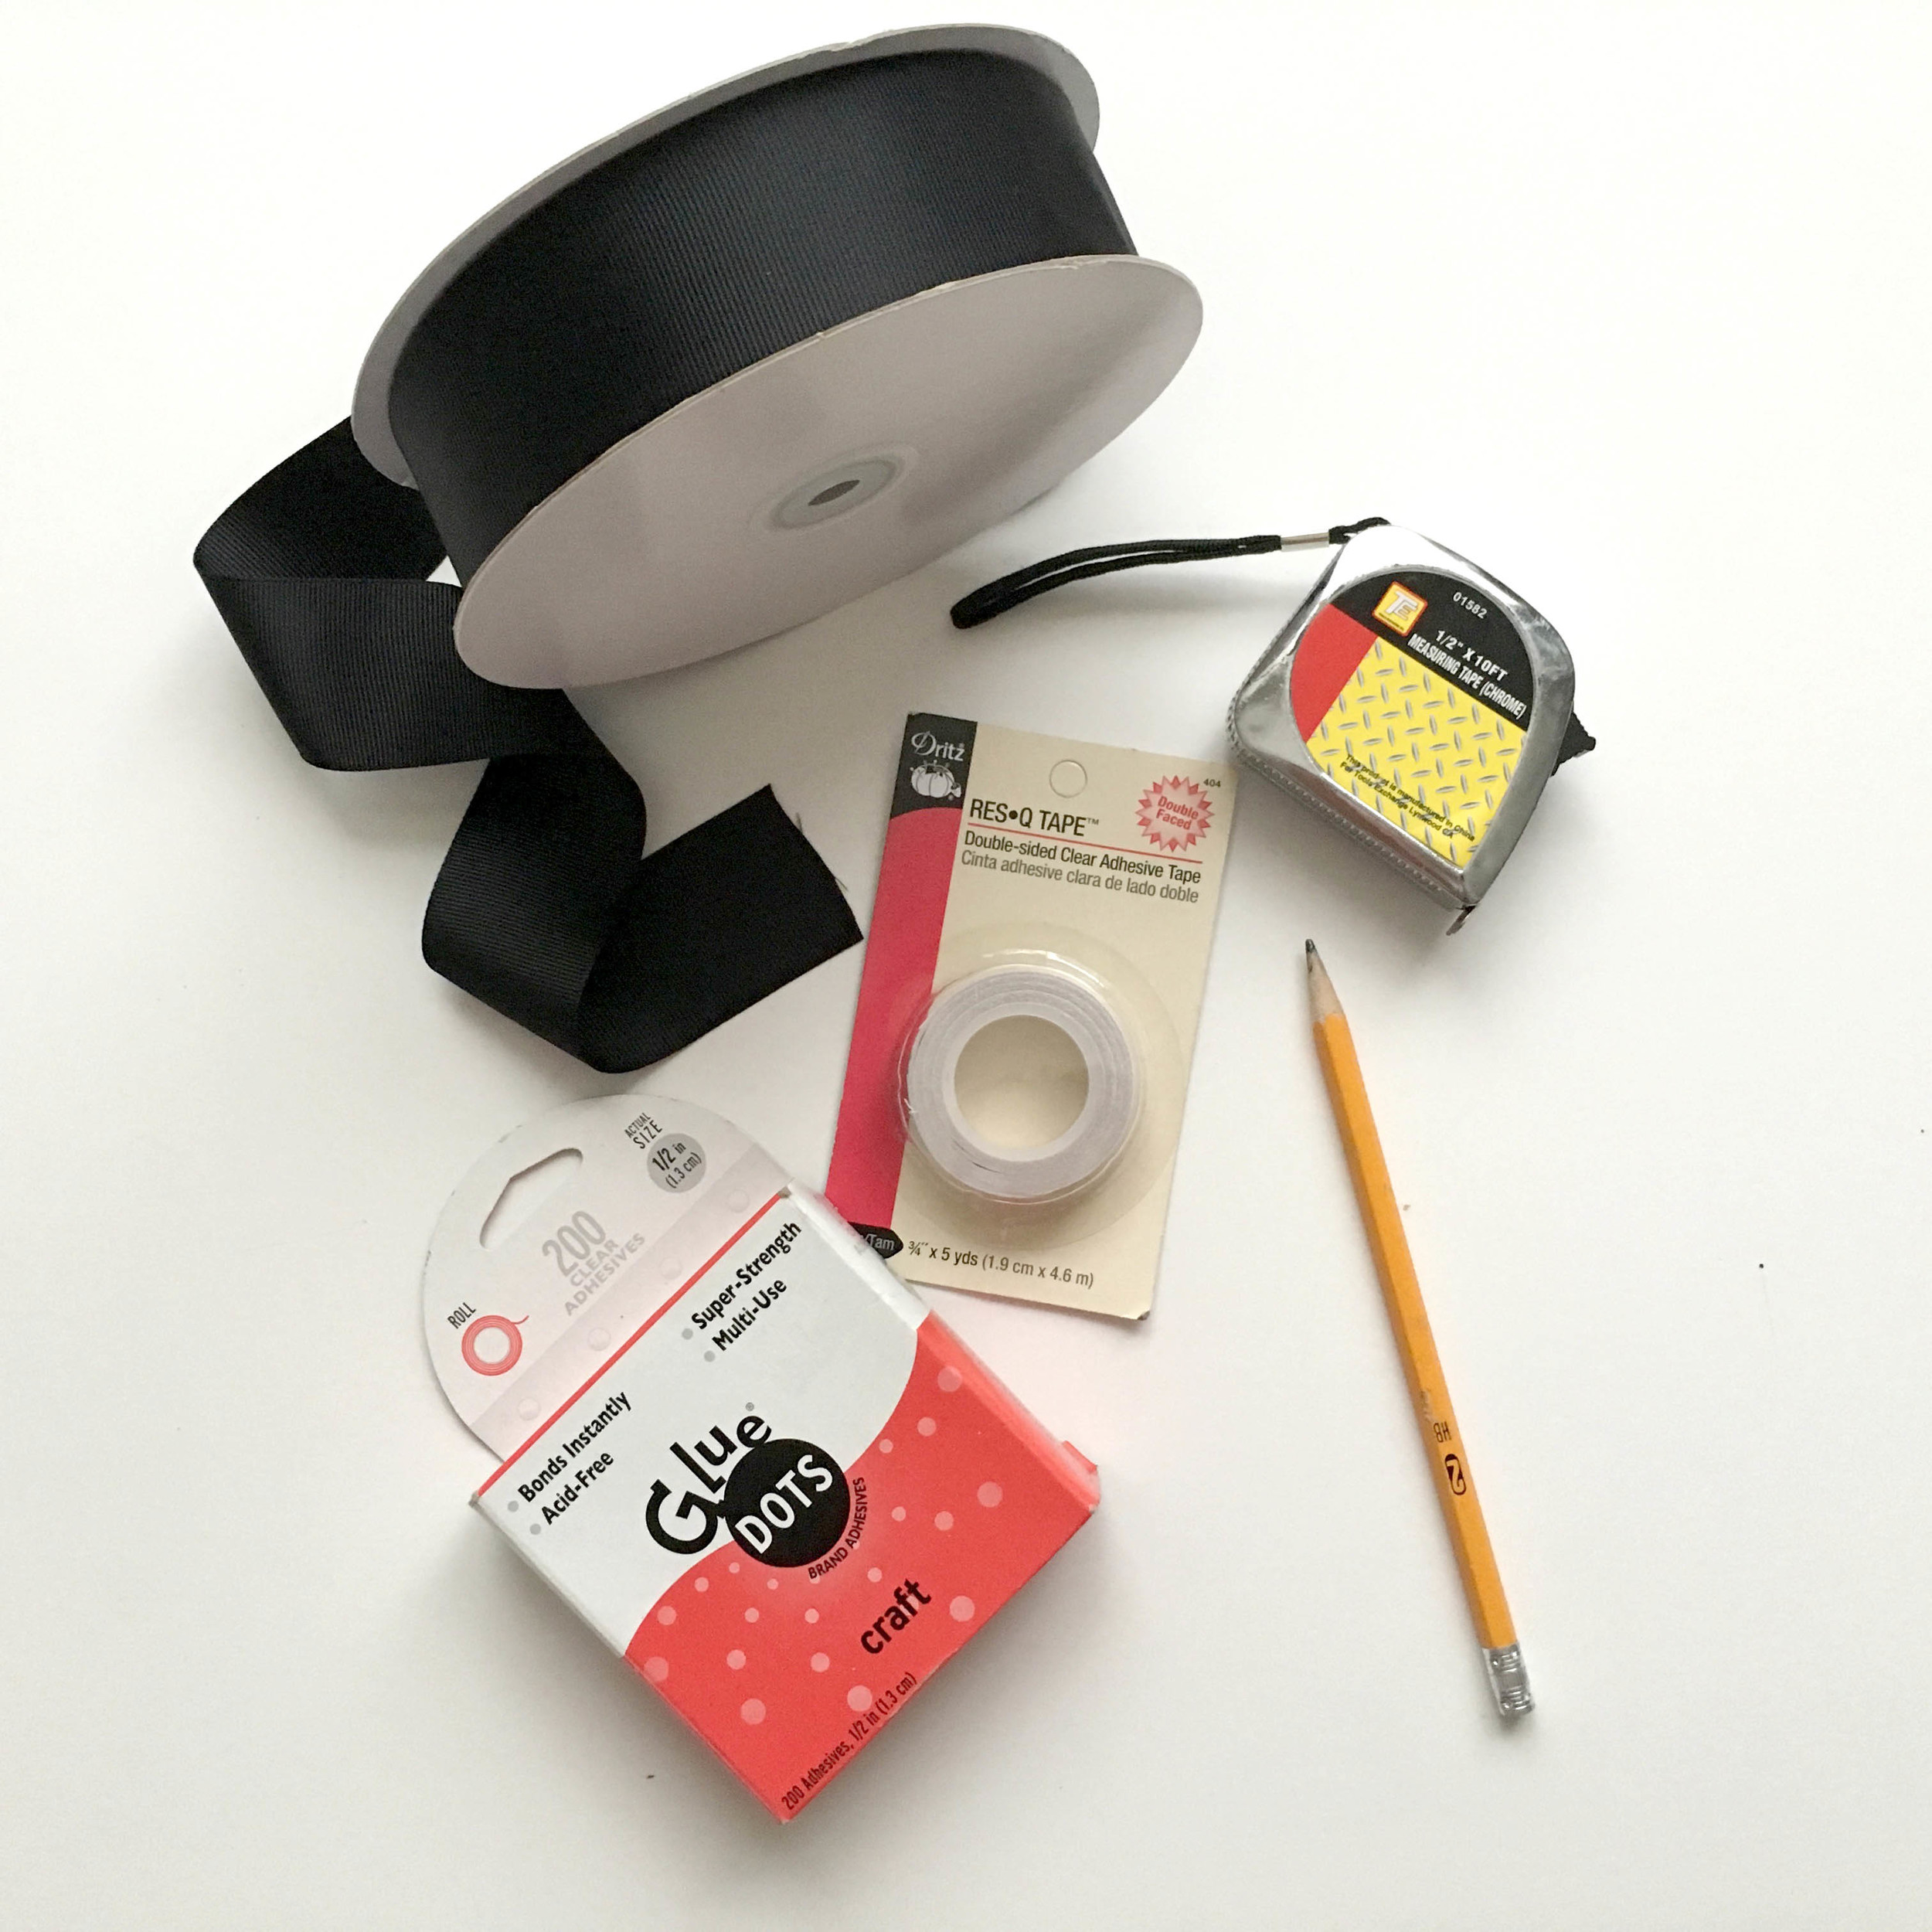
The list of supplies for this project is pretty minimal and not very expensive. One thing I forgot to show is scissors, but you'll want to have those on hand.
- Roman Shade in desired color and size
- Grosgrain Ribbon
- Double Sided Tape (YEP, you read that right!)
- Glue Dots
- Tape Measure
- Pencil
- Scissors
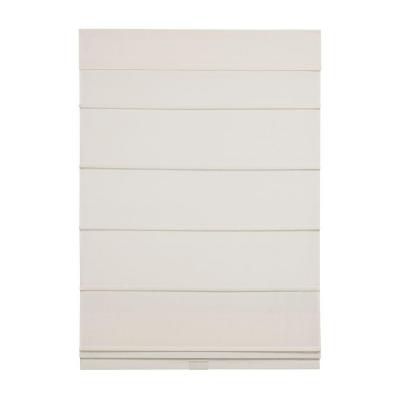
Stretch Out the Shade
This sounds silly to point out, but the first time I went to work on these it caught me by surprise. Because these are cordless, they kind of coil up when they aren't hung. My solution of piling heavy books on each end wasn't genius or Instagram worthy, but it worked great!

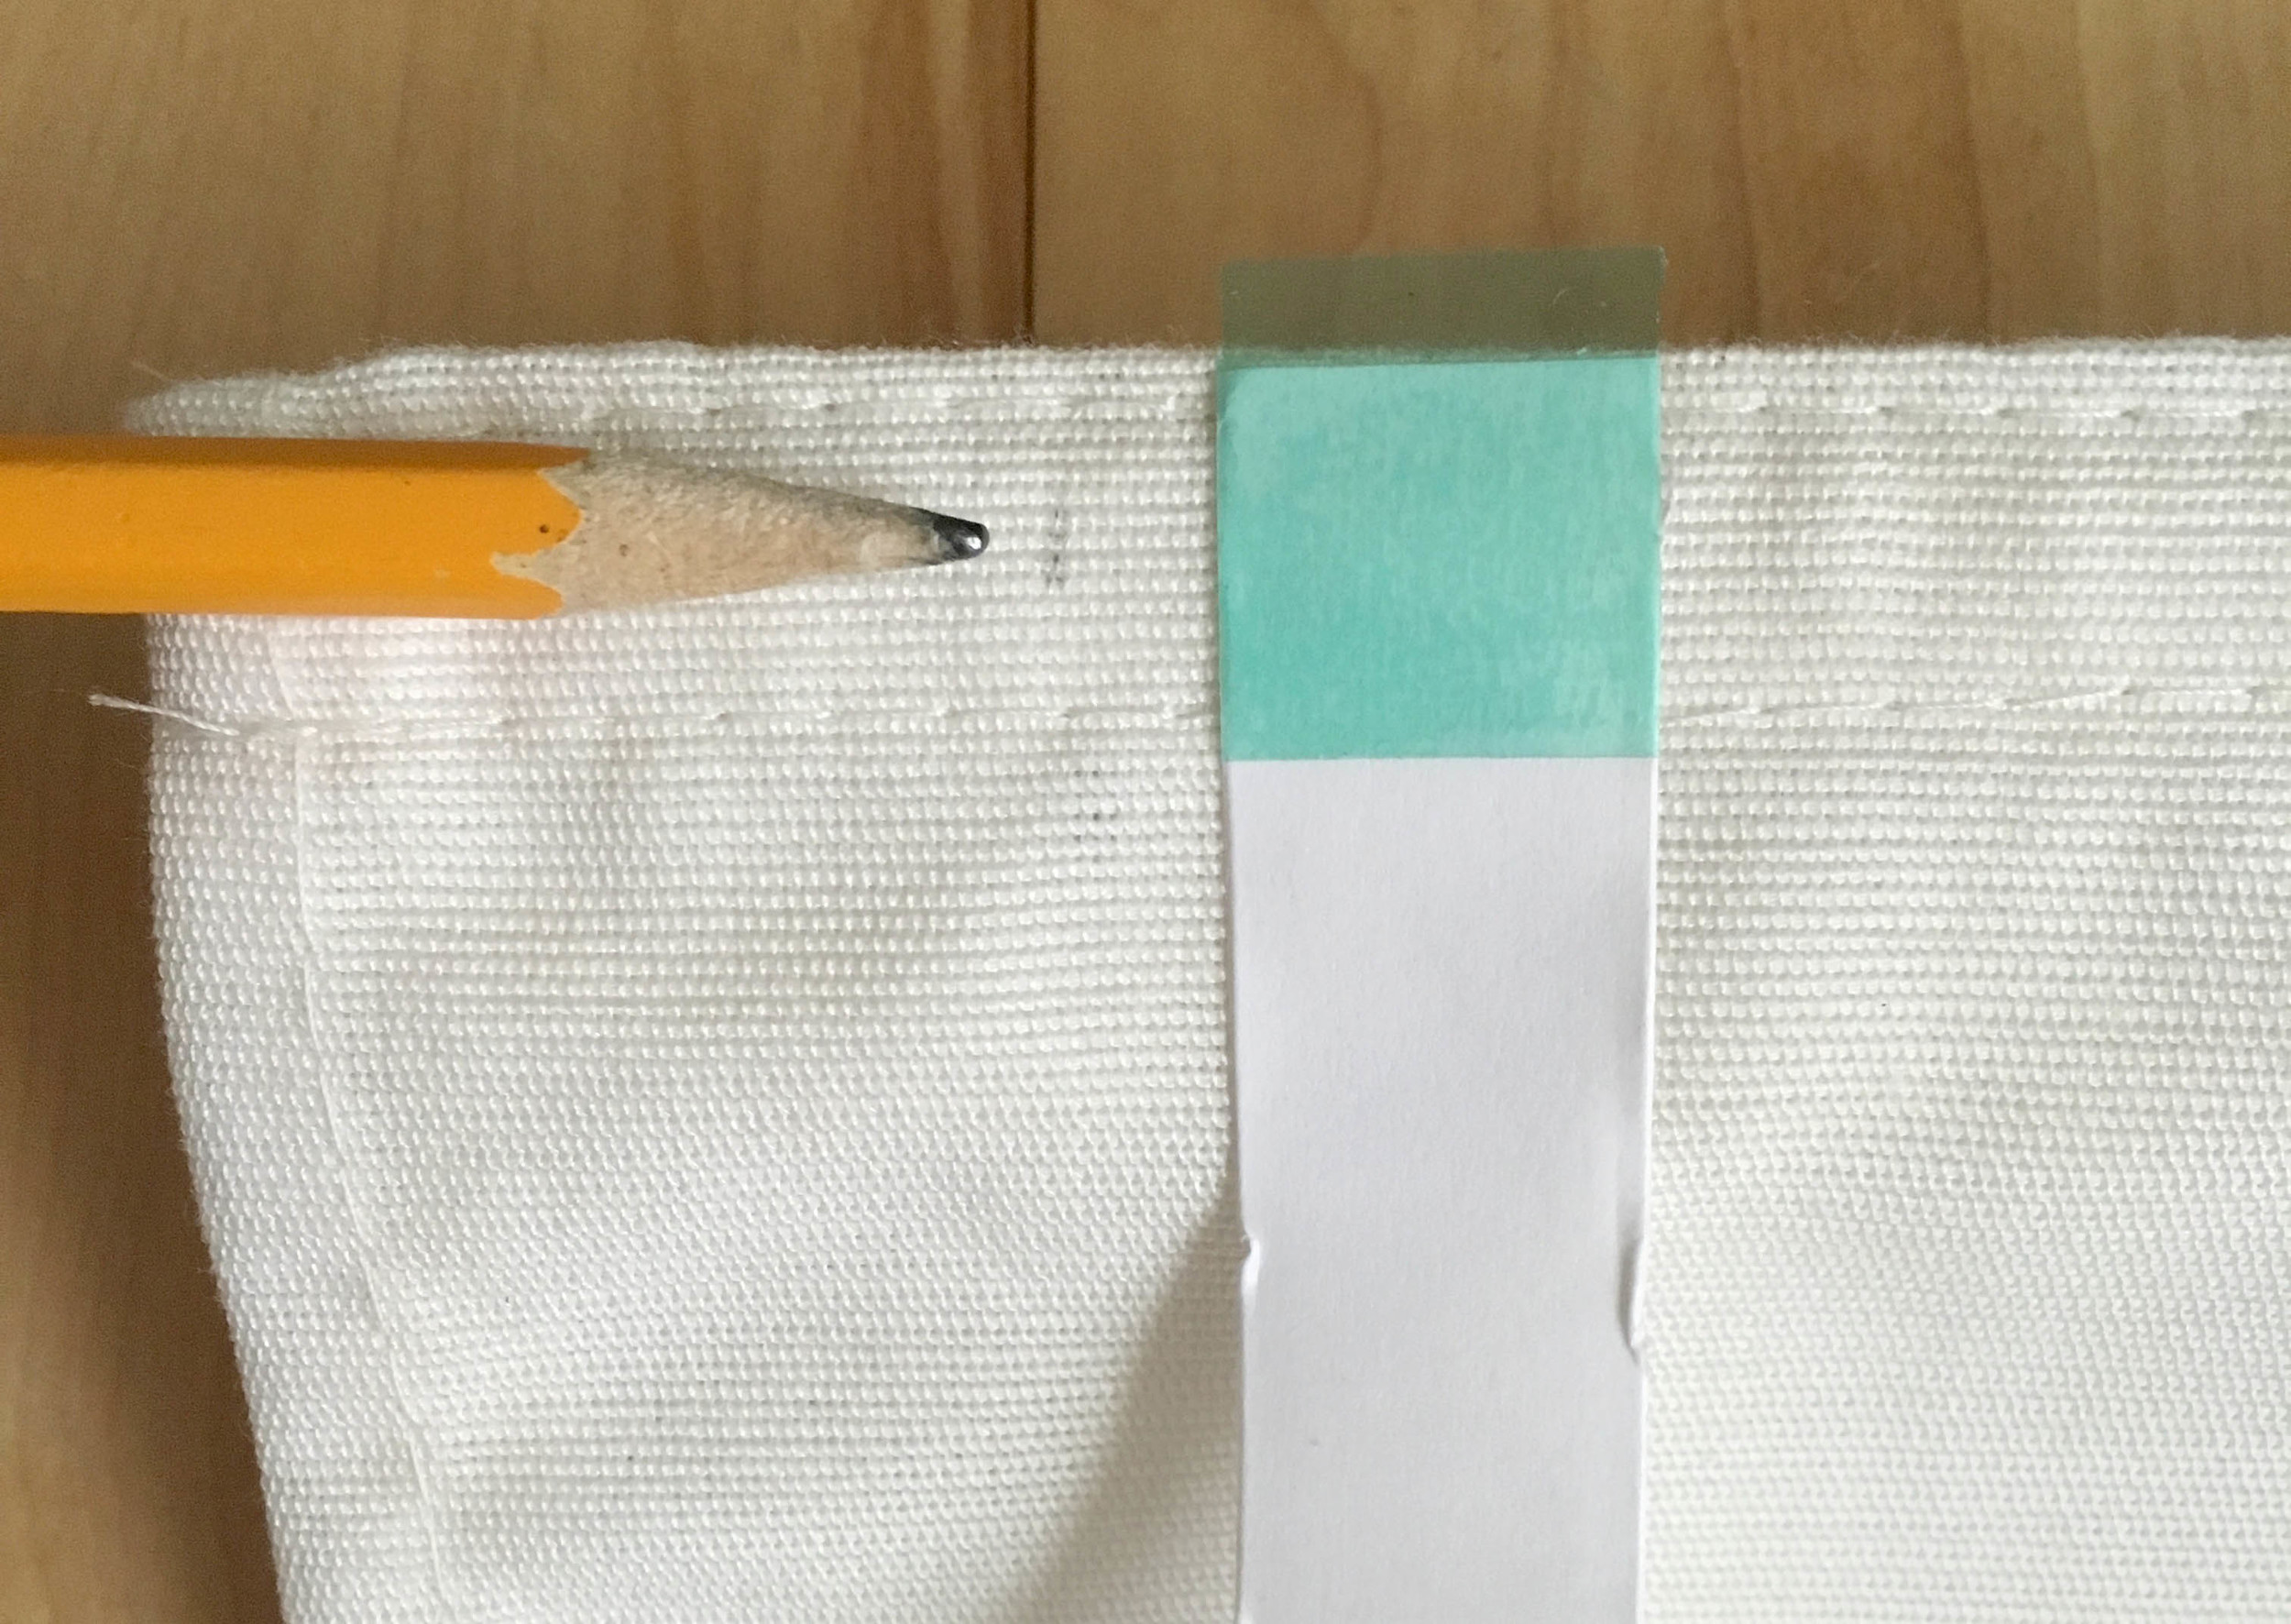
Measuring and Marking Where Your Trim Will Go
Because my ribbon was 1 1/2" wide I decided to use that same dimension for the amount of the white shade that would show around the outside edge. I think this creates a clean, proportional look. Just measure and make small pencil dashes all around the perimeter of the shade. Be sure to flip up the top flap and mark the underside as well.

Applying Double Sided Tape
Once you have your pencil marks to guide you, it's time to apply the double sided tape. Rather than lining your tape up with your pencil marks, you want it to be centered with the where the ribbon will be. You can just hold your ribbon up and eyeball the placement.
Leave the top side coating of the tape in place and be sure to press firmly as you go. When you reach a corner, just cut the tape and start again forming the L shape of the corner.

If you bought the same, or comparable, supplies as I listed above, then most likely at the very end (for me this is the top flap on the opposite side of where I started) you will run out of tape. Don't worry--we can use the Glue Dots for the last little bit. Leave the section as-is for now and you can address it when you get to that spot with the ribbon.

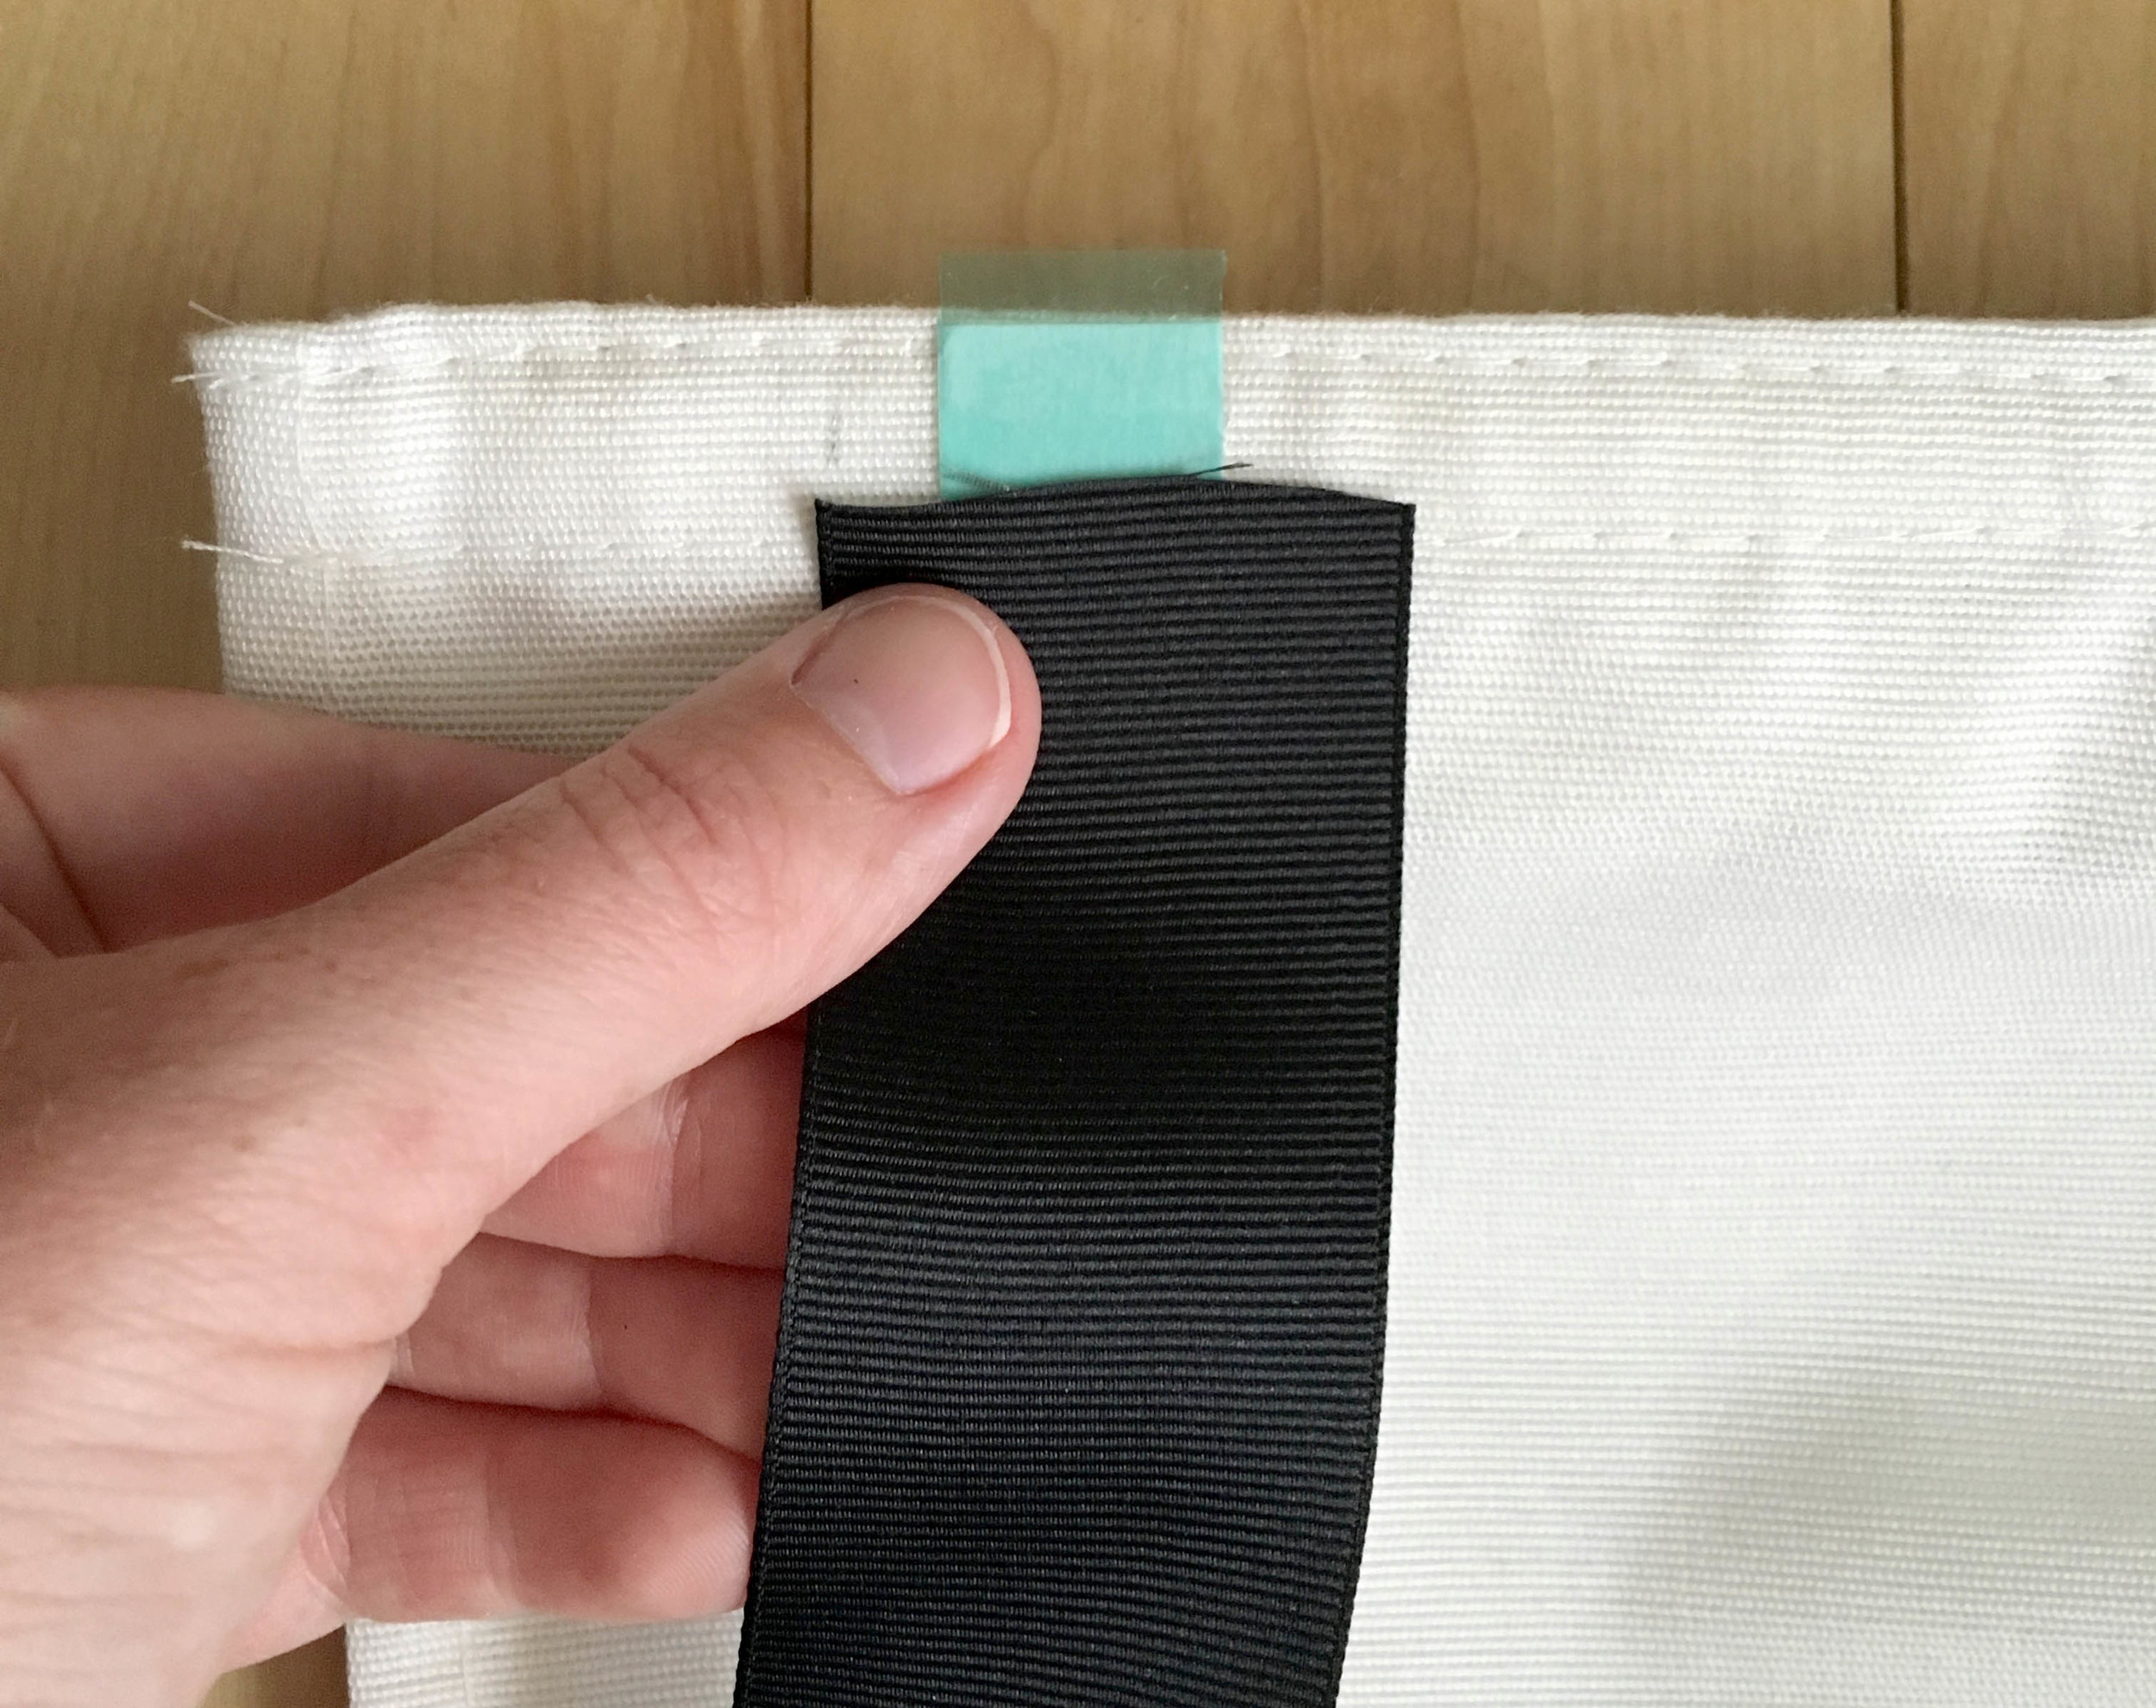
Adding the Grosgrain Ribbon
Now the fun part! Use one of your Glue Dots to secure the top of the ribbon behind the velcro at the top of the flap. This will give you a clean finish rather than seeing a raw edge. Then just follow your tape line, removing the papery top coat of the tape and pressing the ribbon down as you go. Be sure you are keeping the outer edge of the ribbon lined up with your pencil marks. You can peel the ribbon back and re-adjust as needed, but try to minimize this as the tape becomes less sticky and can get bunched up.
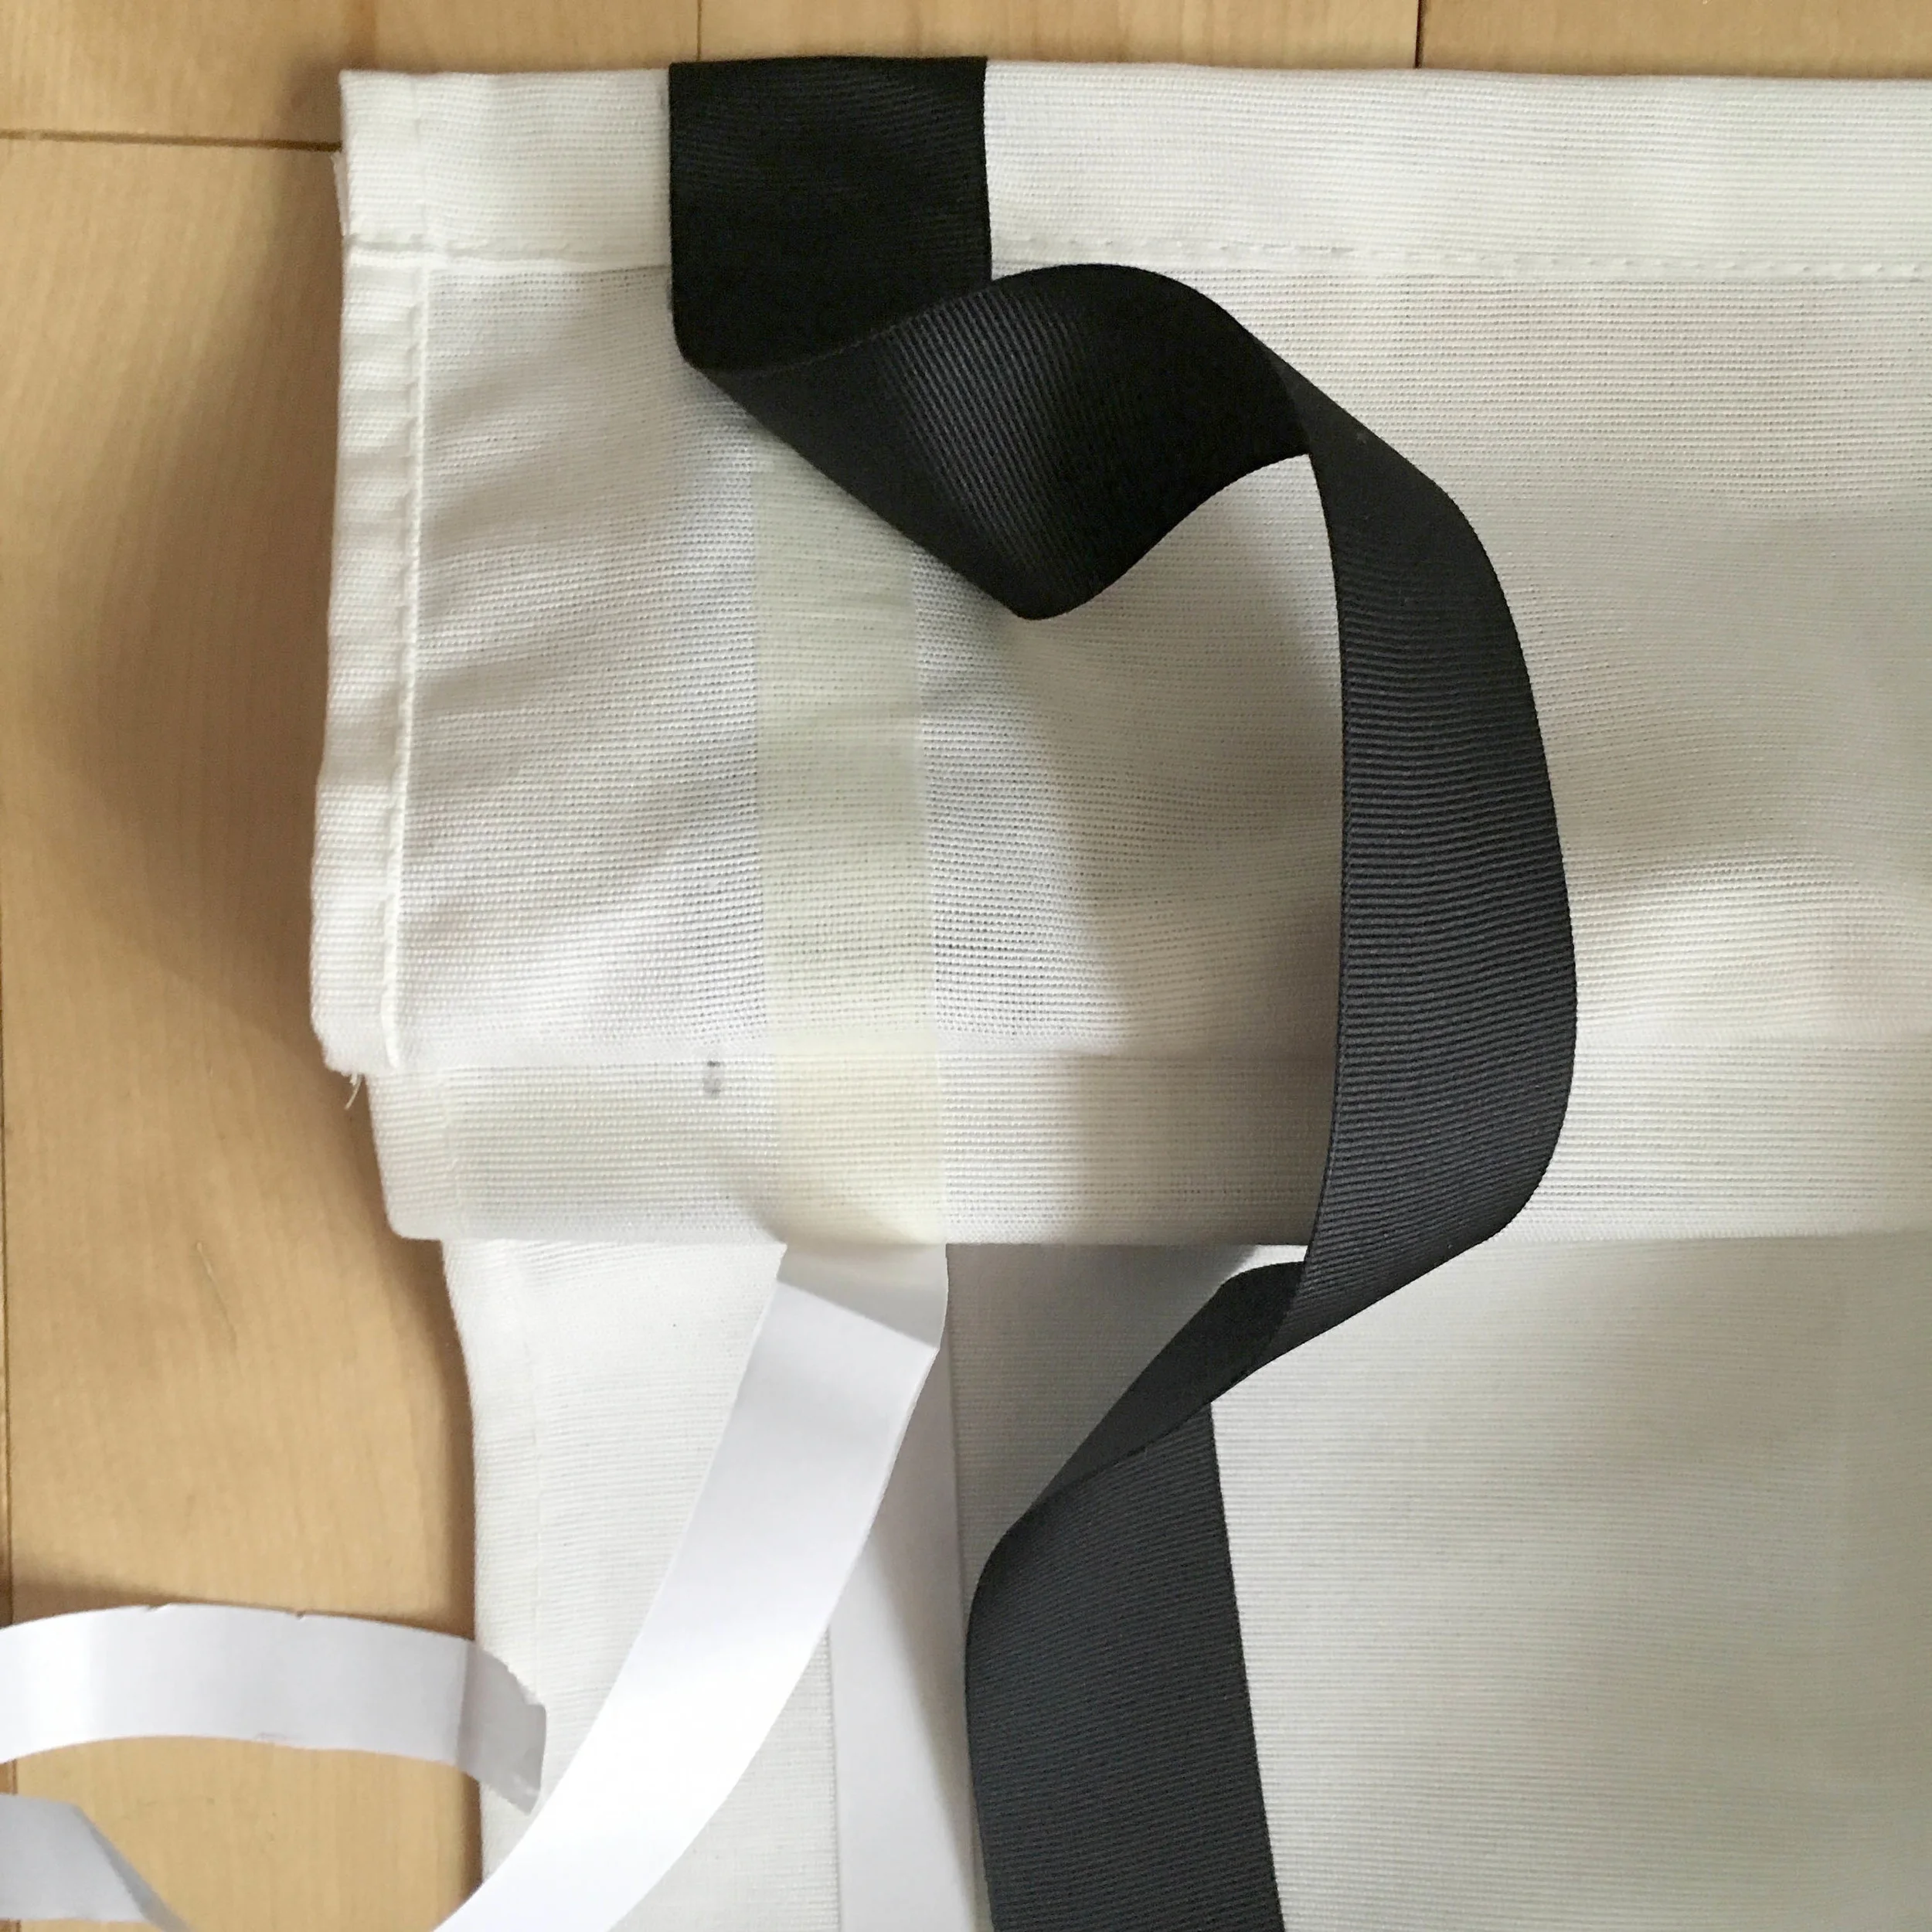

When you get to your first corner, unlike the tape, DO NOT CUT THE RIBBON! Bring the vertical stripe all the way down to the 1 1/2" mark on the bottom then fold the ribbon back up, creating a 45 degree angled line and keep going horizontally. Secure the small flap at the 45 corner angle with one or two Glue Dots. Repeat this process for the second corner.
When you get to the spot where you ran out of double sided tape, just be sure to have your Glue Dots nearby and use them as needed to finish up the last few inches. Cut the ribbon to the appropriate length and secure under the velcro with a Glue Dot just like the opposite side.
And that's all! Beautiful no-sew DIY black border roman shades.