DIY No-Sew Black Border Roman Shade Trim

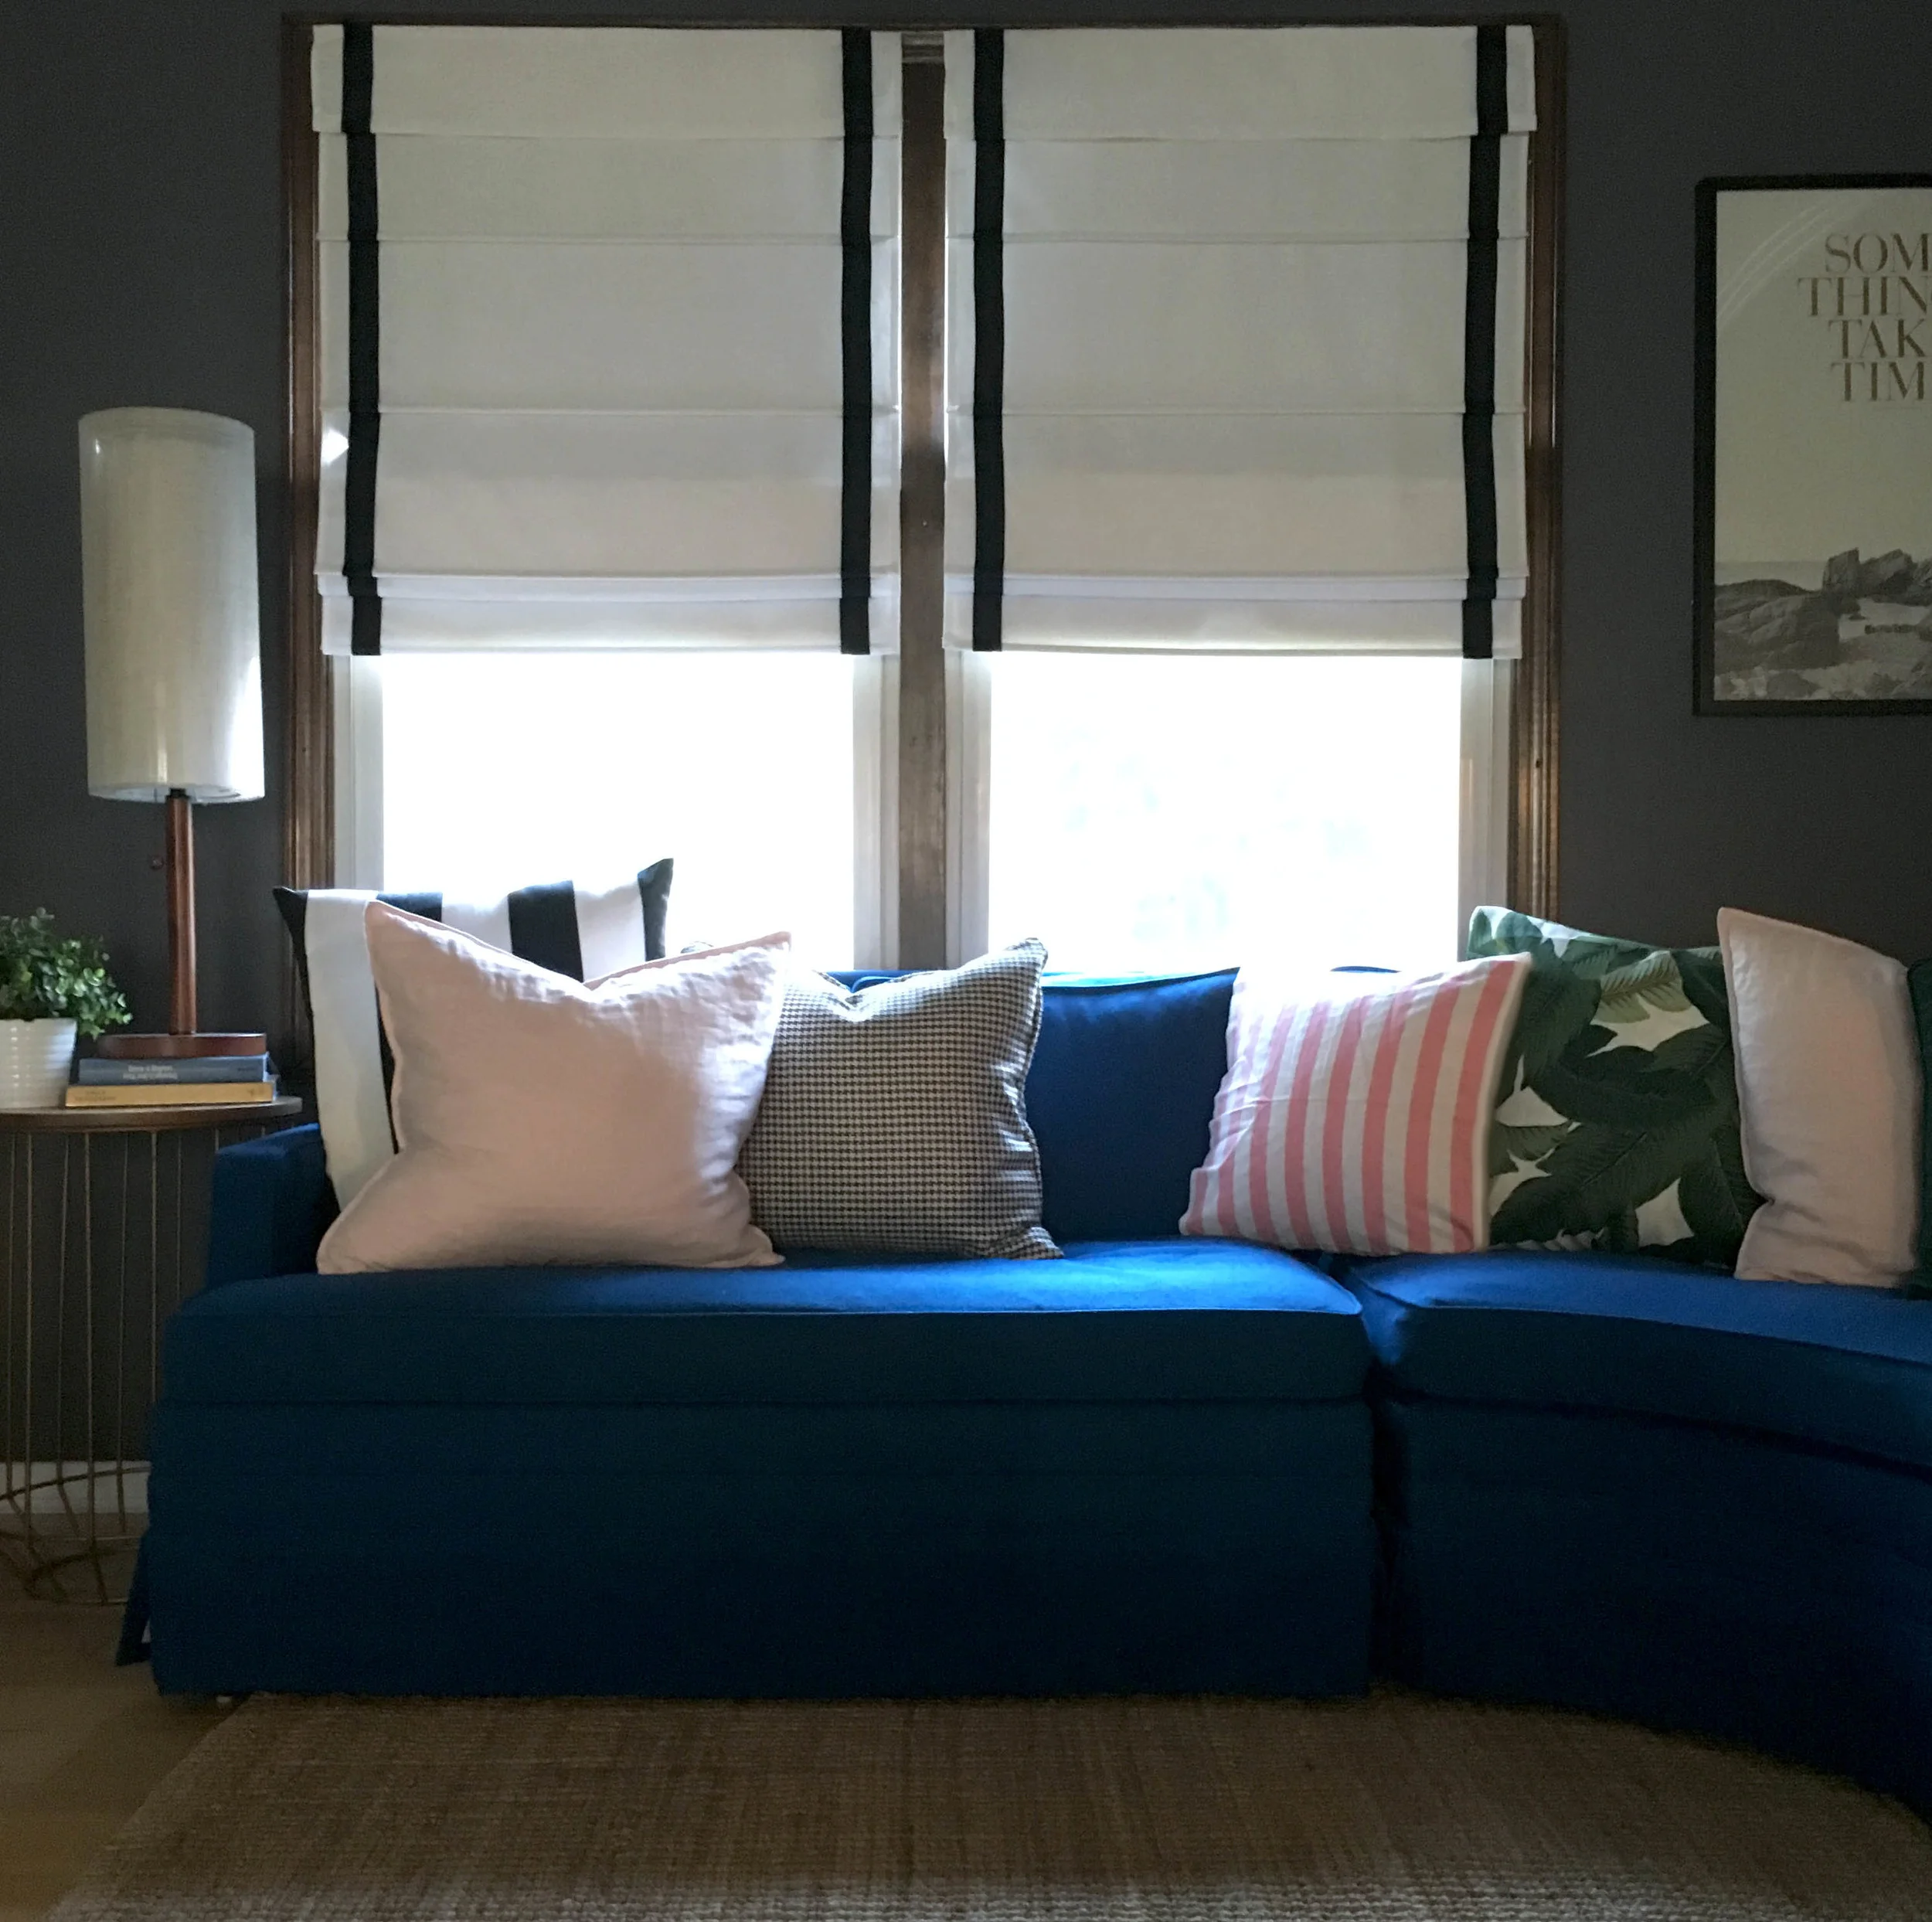
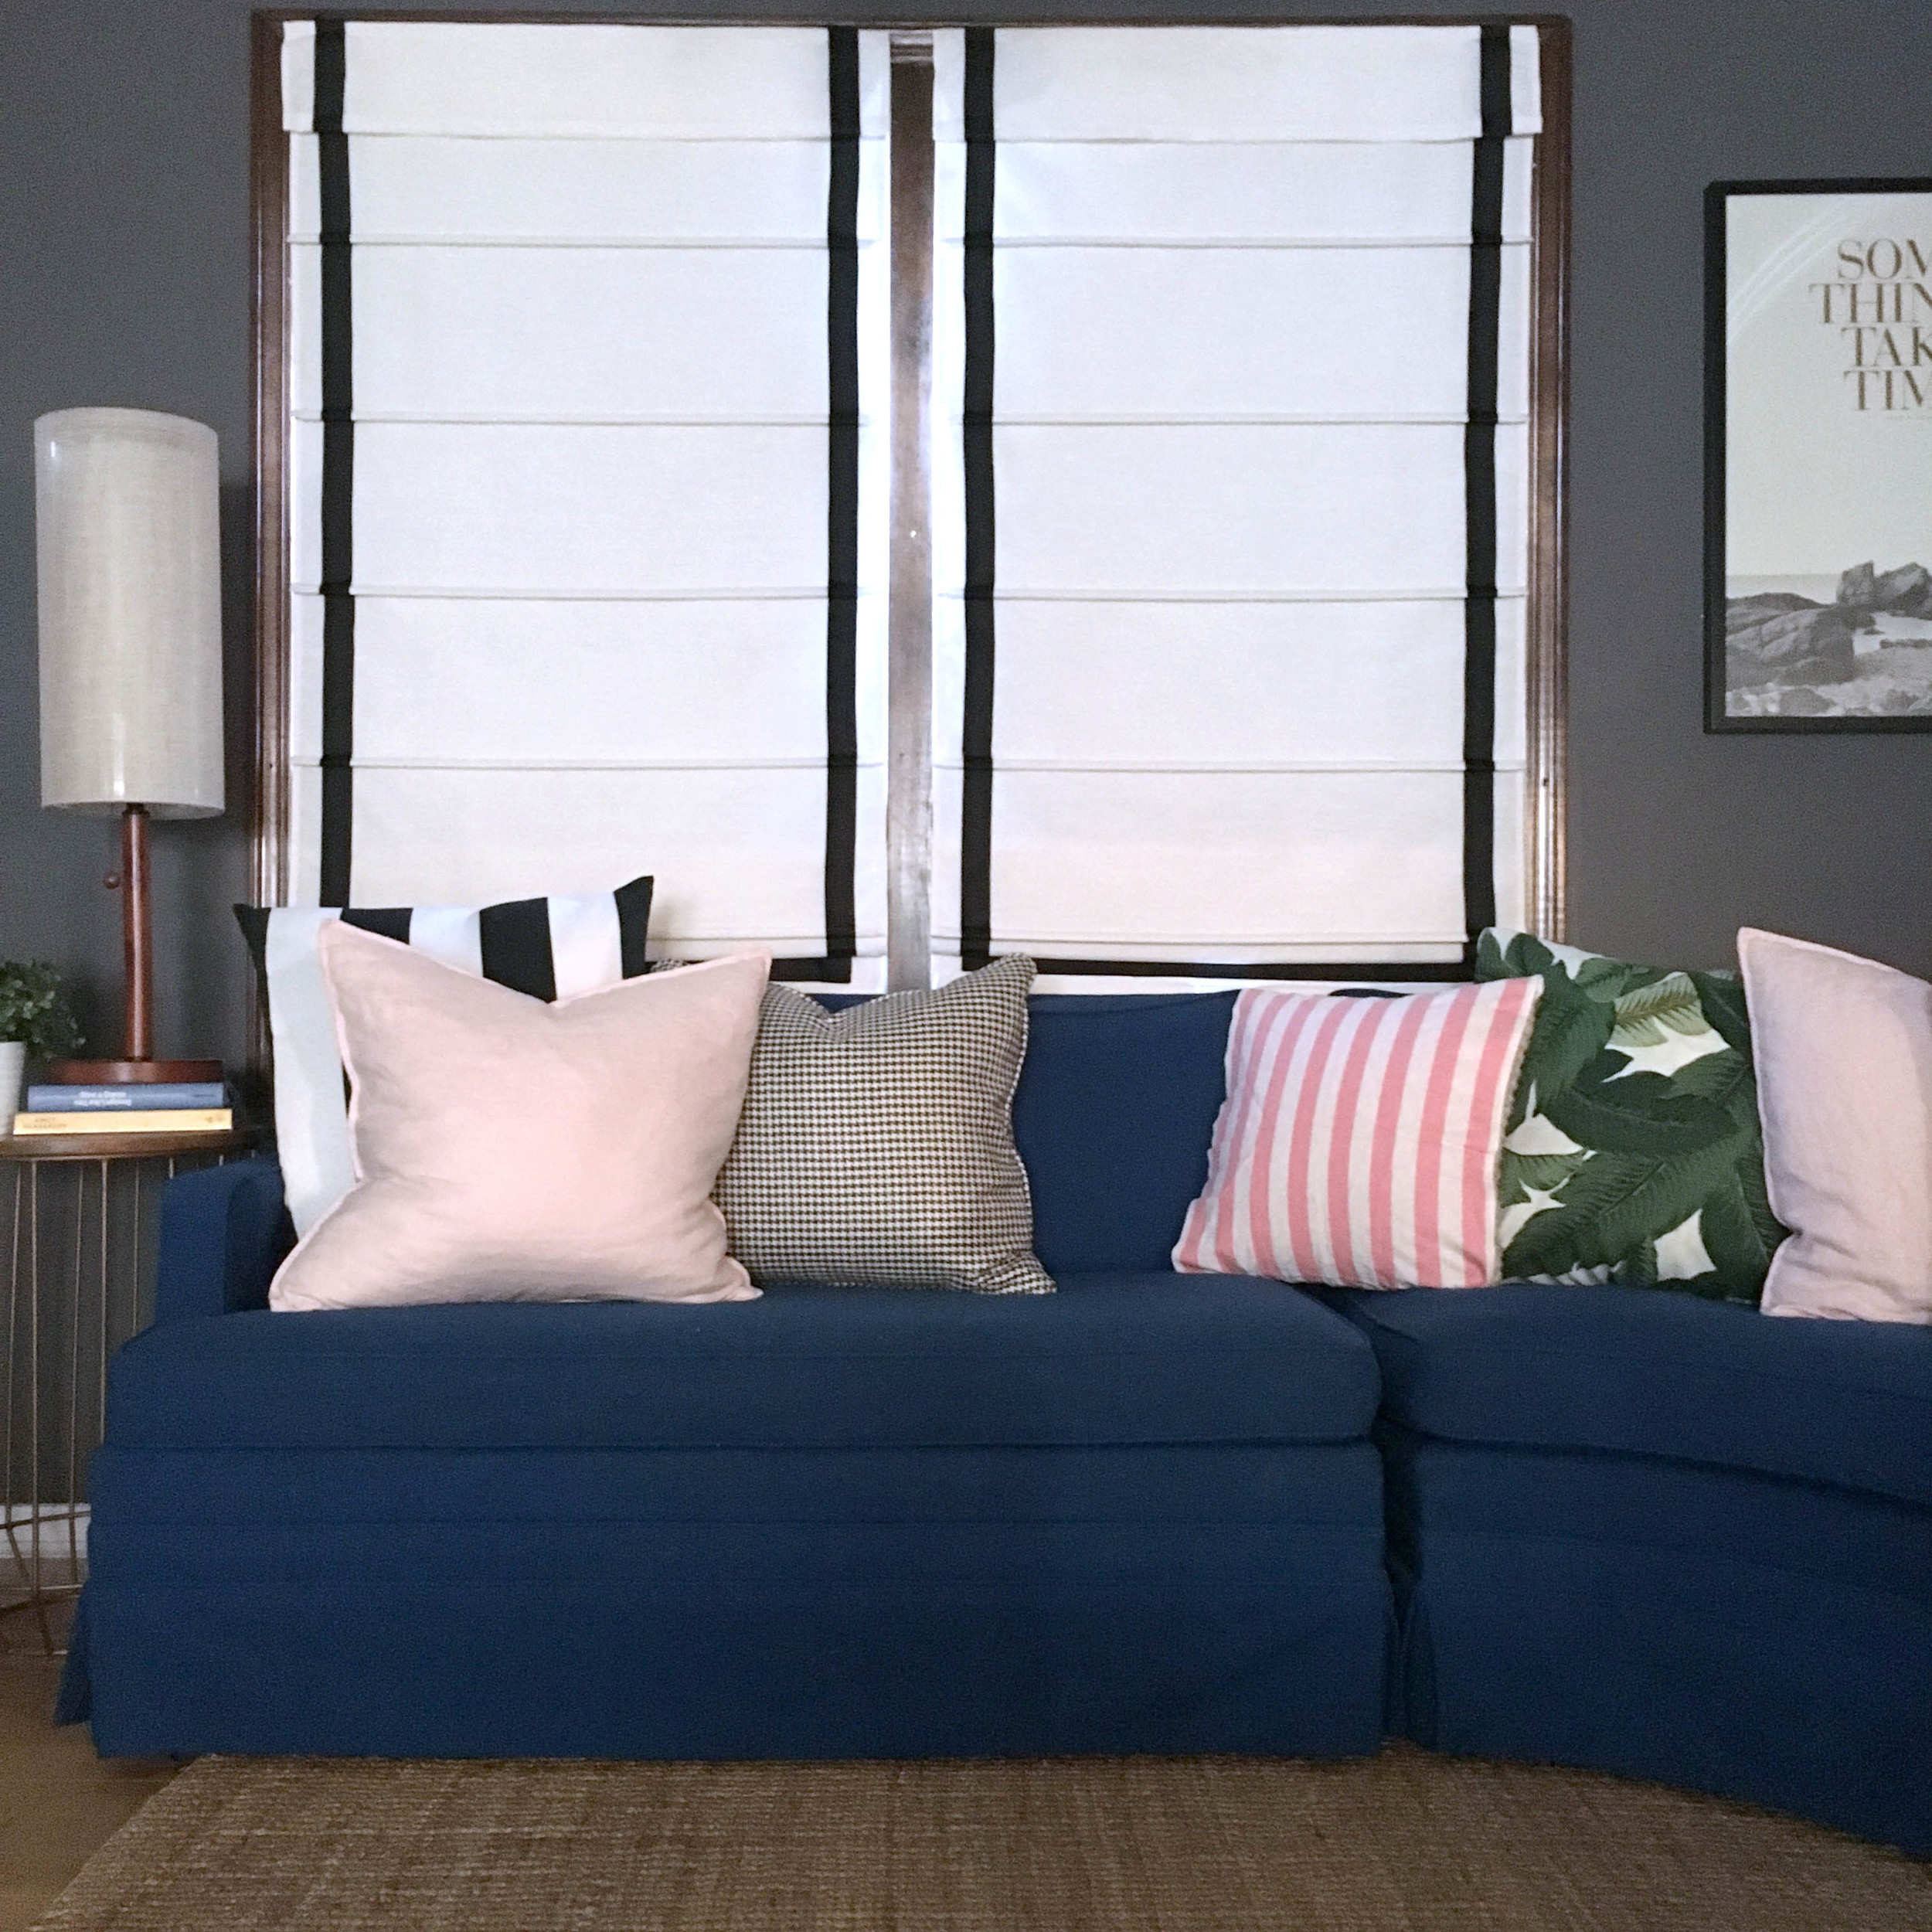
In our house there is a revolving door of furniture swaps--I am forever re-arranging things or buying new pieces on Craigslist and re-listing the old. It's something my husband doesn't always find the most adorable thing about me, but he graciously humors my craziness. When I found this near-perfect cobalt sectional from the 50's it was love at first sight. I think this may be a keeper for the long haul so I desperately needed to address the old window treatments as they no longer worked with this couch in front of them. This space where the sofa is was previously being used as our dining room and while I loved the adorable little elephant curtains, floor length curtains behind the couch weren't really working. 

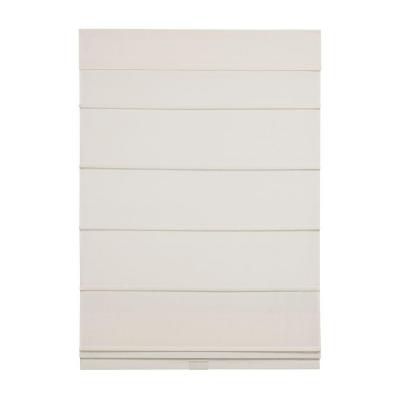
I loved the crisp, classic look of these roman shades with black trim but $120/shade was more than I willing was to spend so I decided to try DIY-ing them instead. My original thought was make the whole shade from scratch, but these lined, cordless blinds were only $40/ea. at Home Depot and came with all the mounting hardware. I spent about $25 total on supplies for both shades, making each one less than $55! Not too shabby!! 

Here is the incredibly easy process I followed for adding black trim to pre-made roman shades. 

DIY Adding Grosgrain Ribbon to Roman Shade


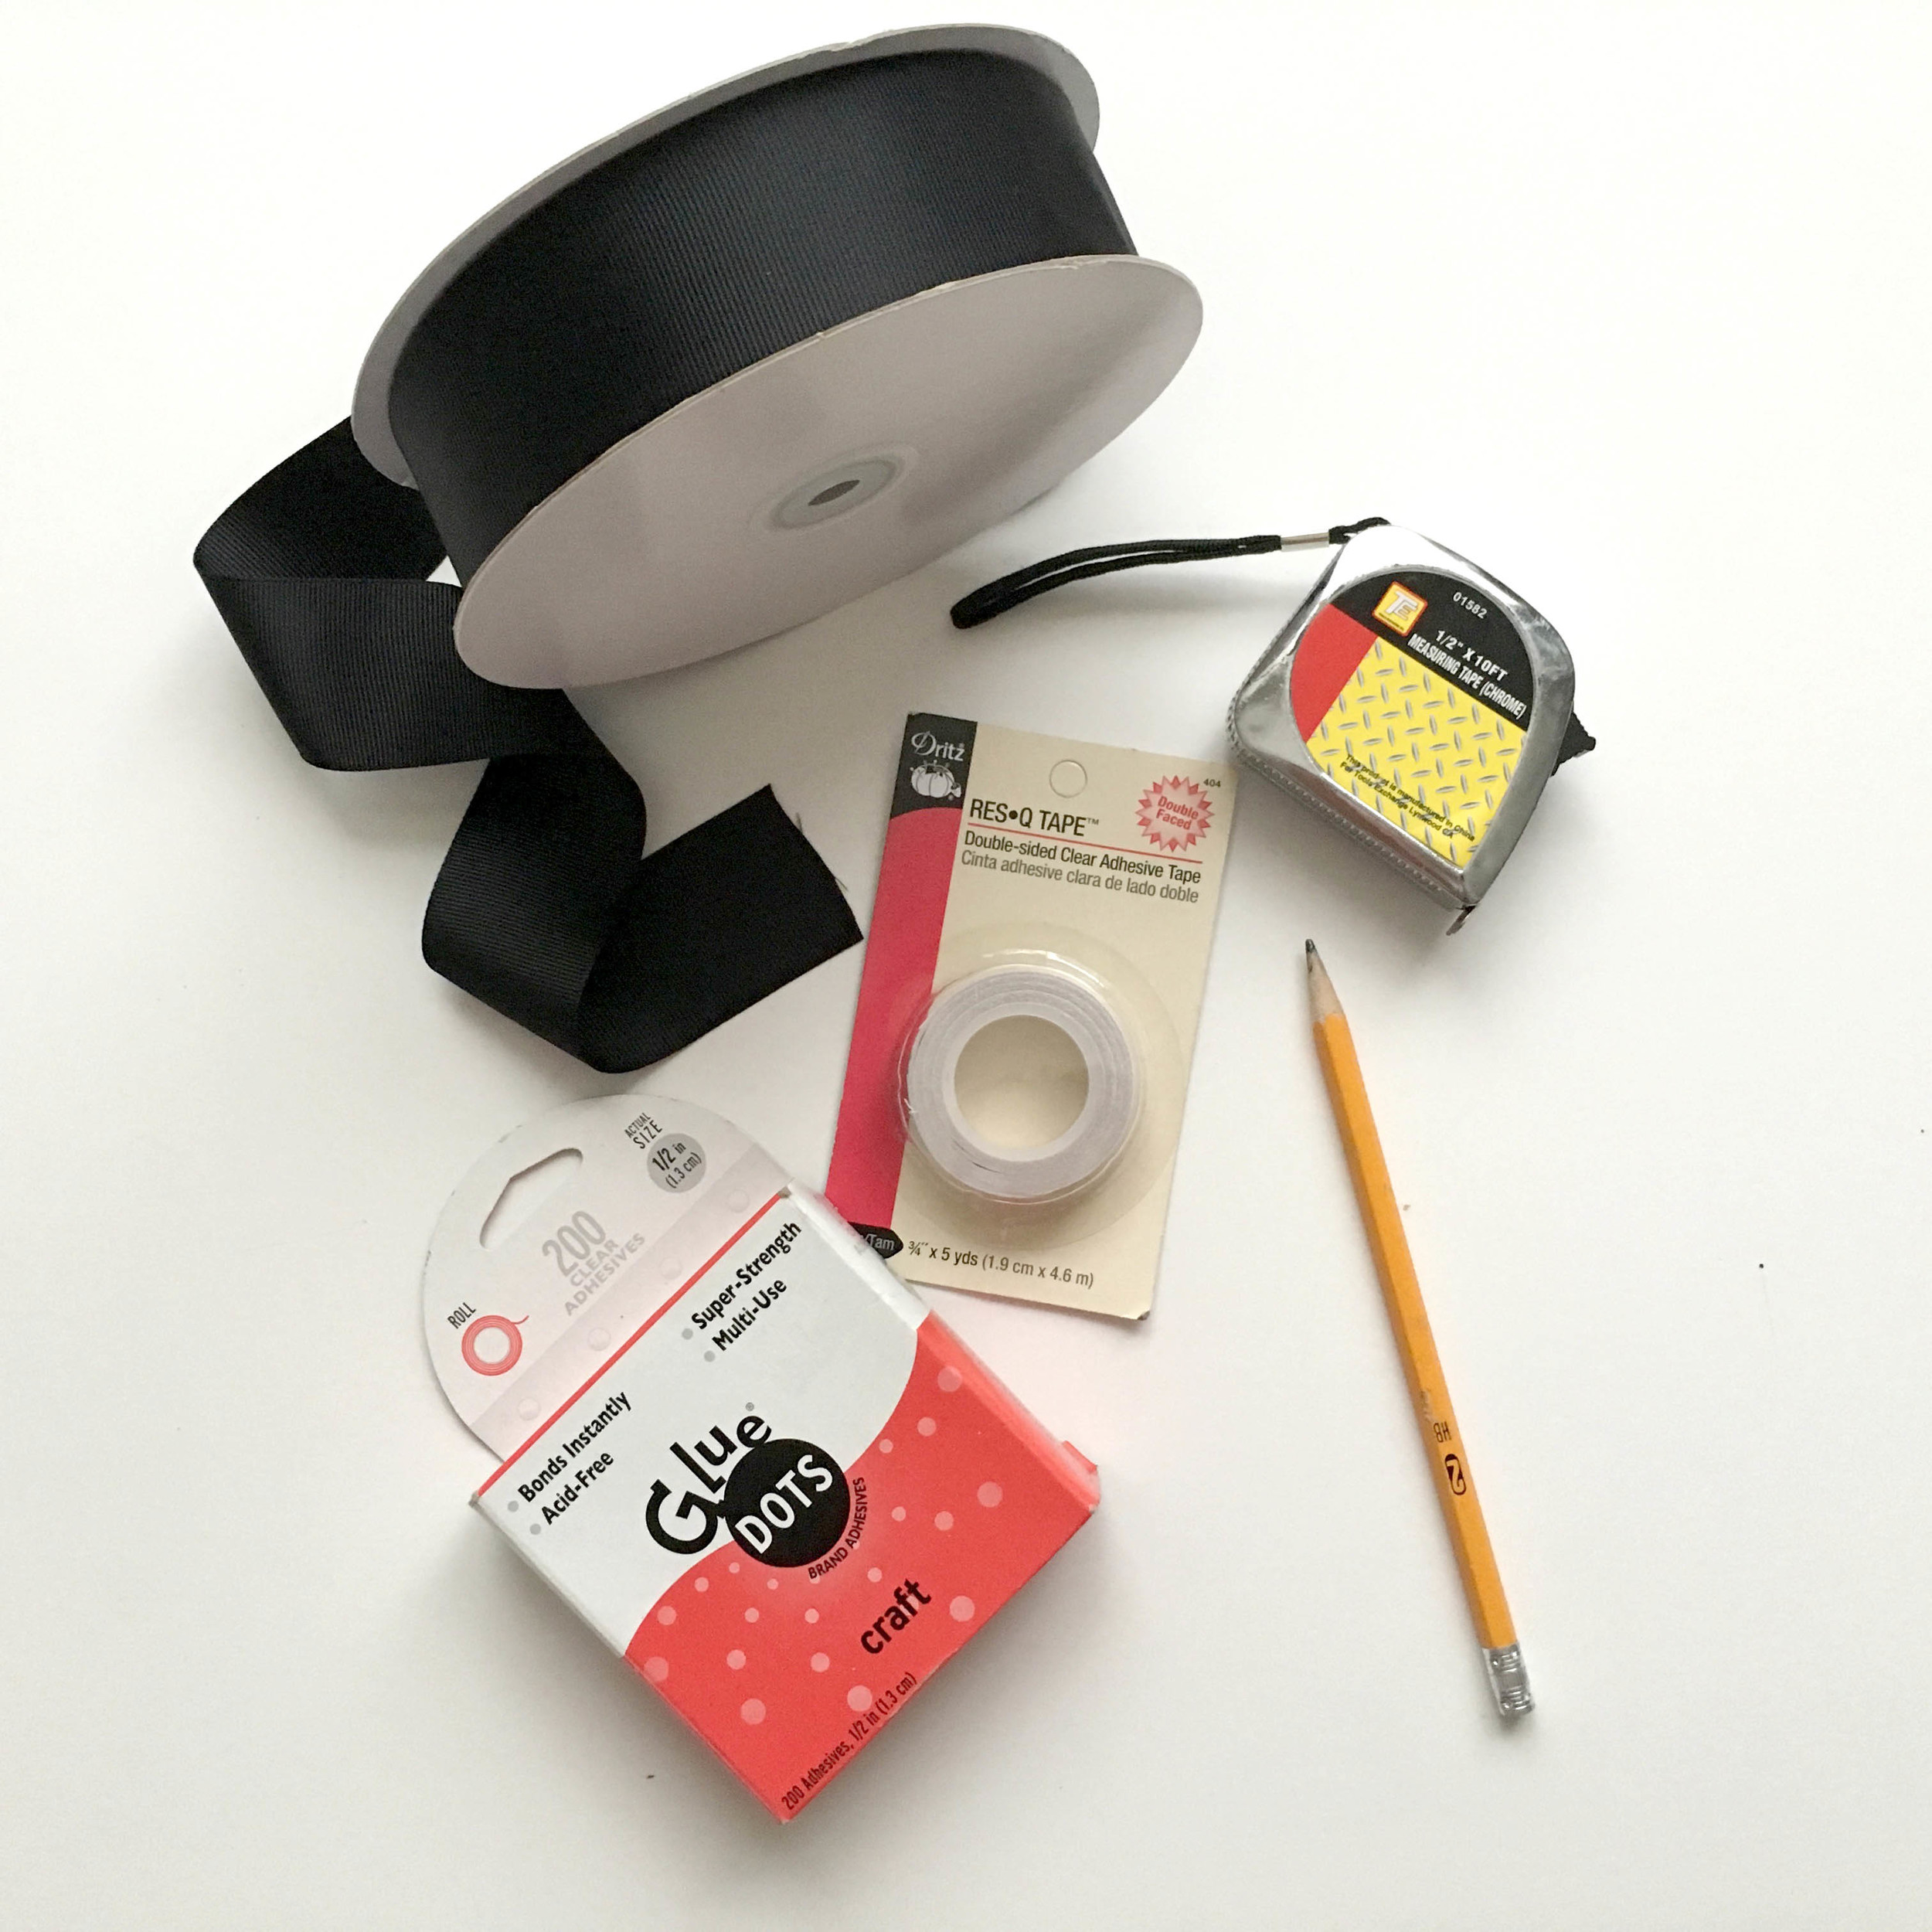
What You Need to Get Started

The list of supplies for this project is pretty minimal and not very expensive. One thing I forgot to show is scissors, but you'll want to have those on hand. 

Stretch Out the Shade

This sounds silly to point out, but the first time I went to work on these it caught me by surprise. Because these are cordless, they kind of coil up when they aren't hung. My solution of piling heavy books on each end wasn't genius or Instagram worthy, but it worked great! 

Roman Shade DIY

Measuring and Marking Where Your Trim Will Go

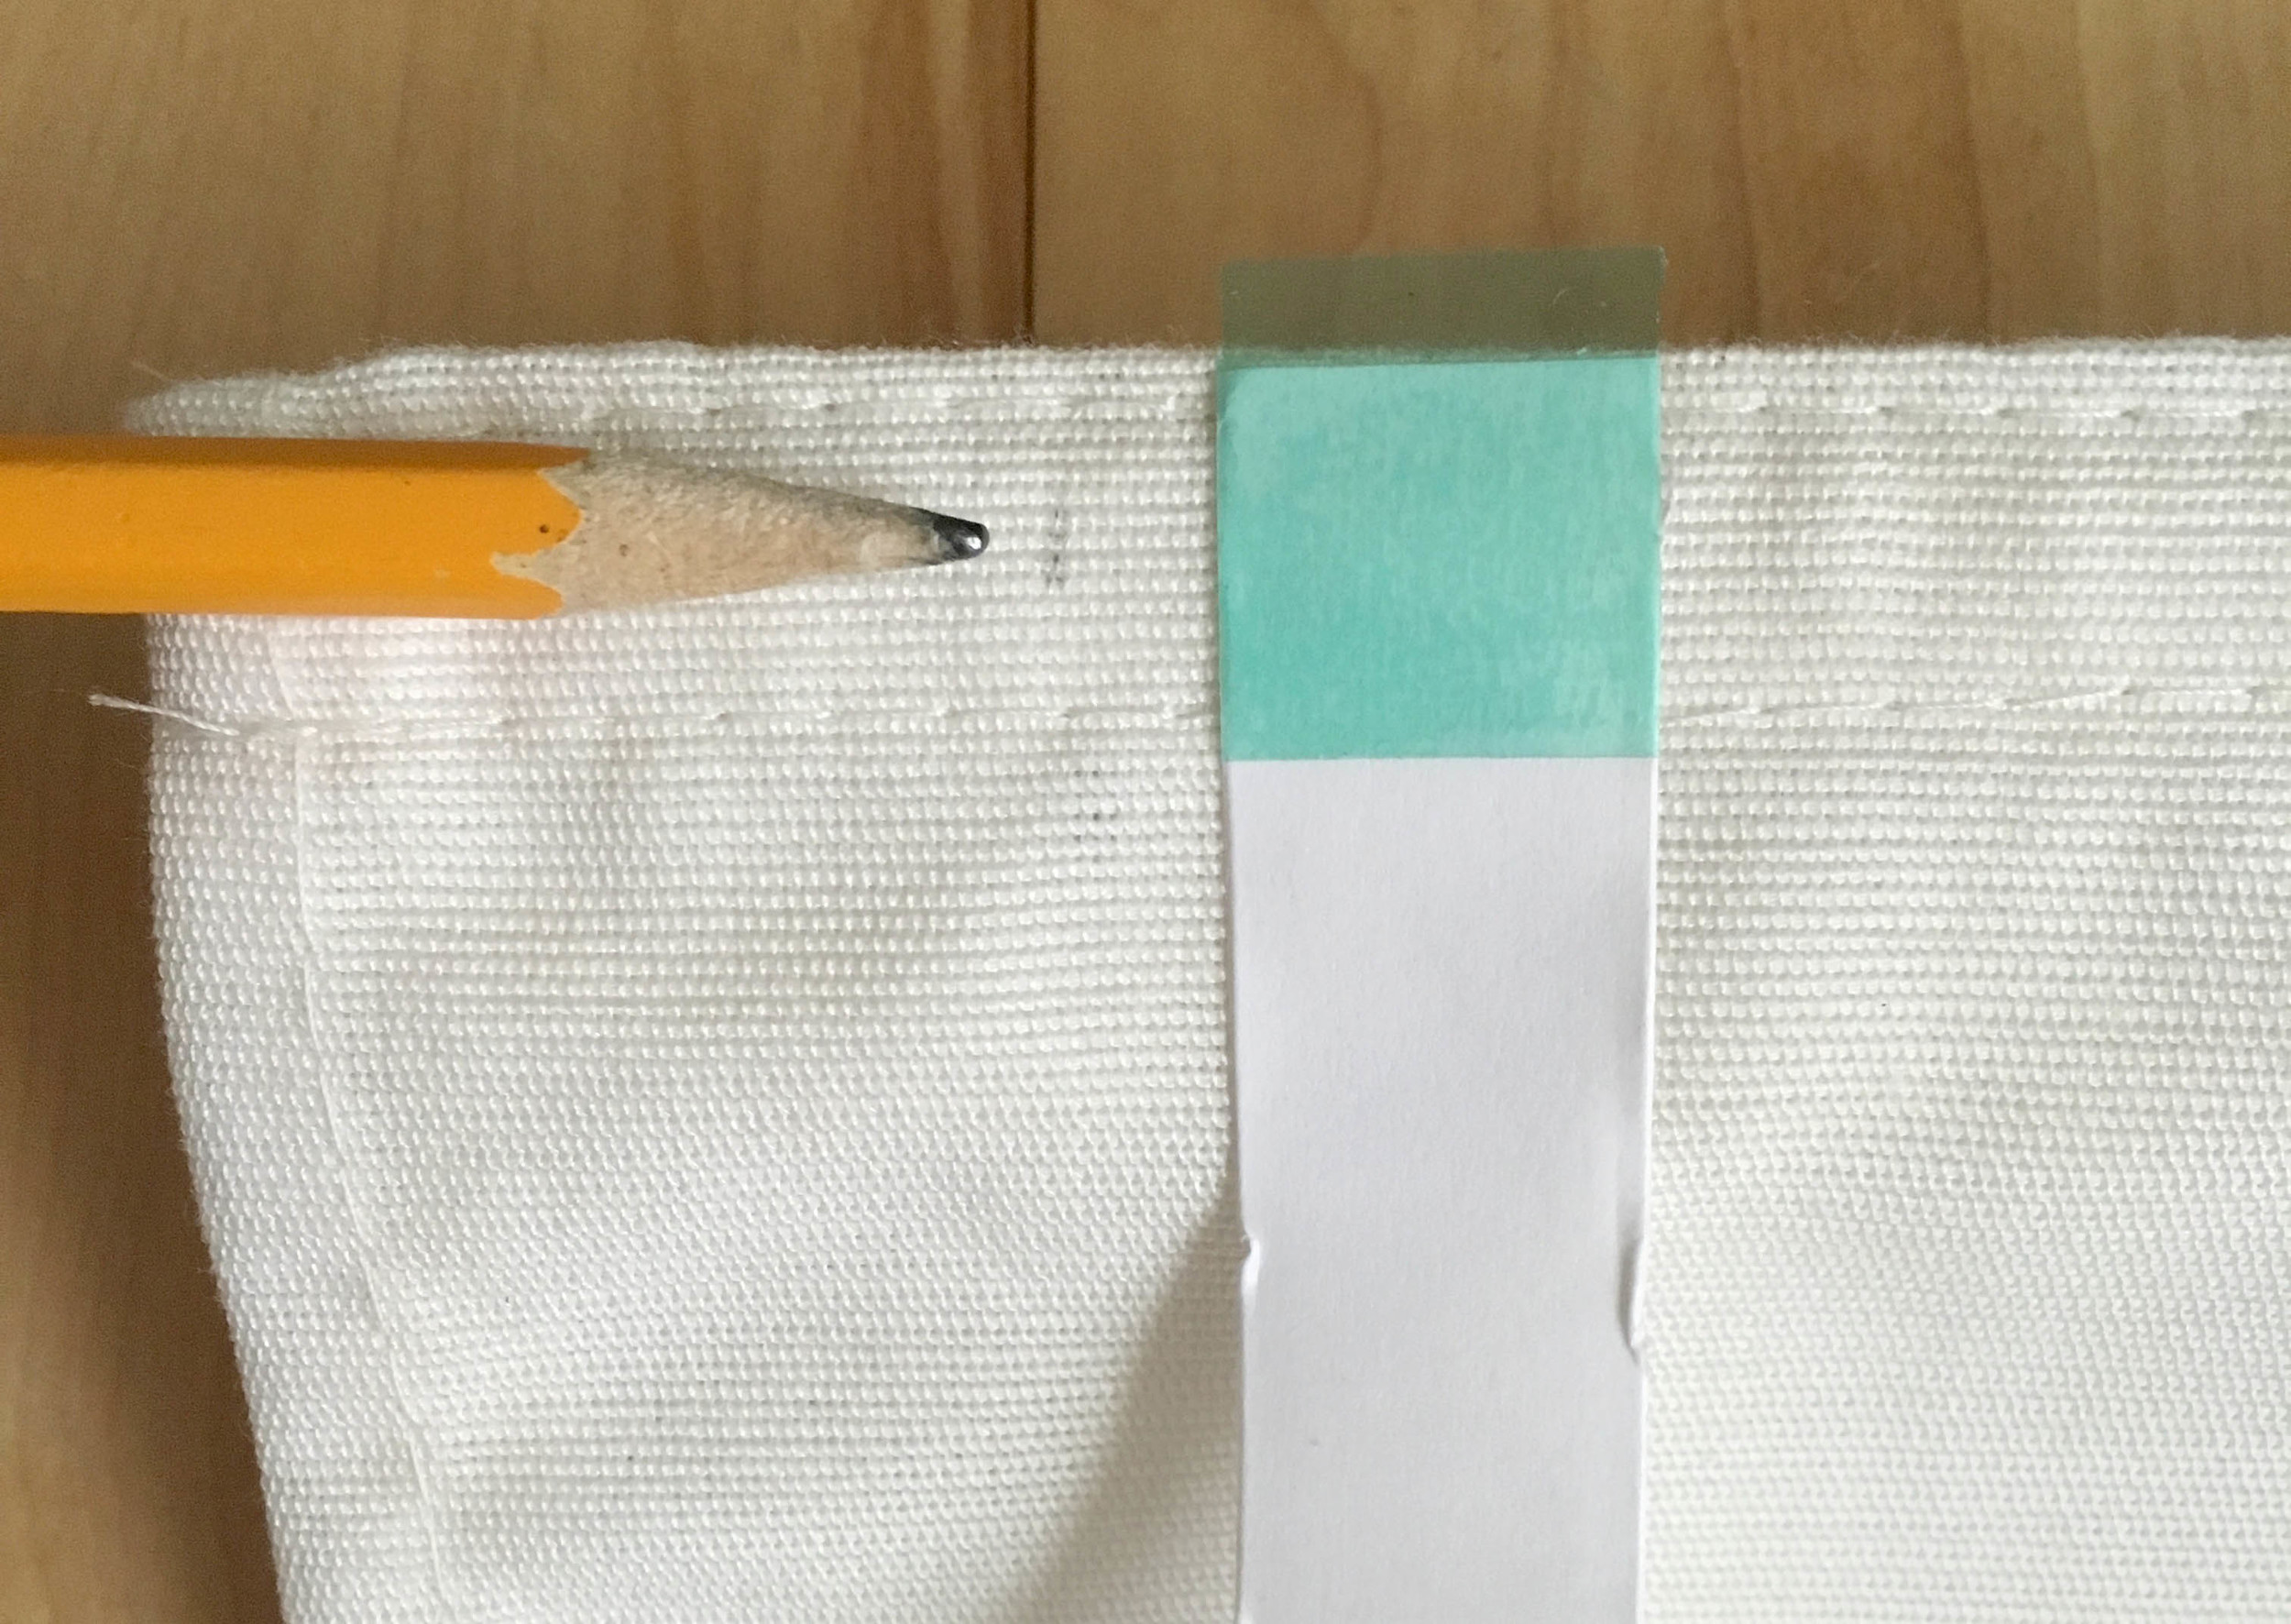
Because my ribbon was 1 1/2" wide I decided to use that same dimension for the amount of the white shade that would show around the outside edge. I think this creates a clean, proportional look. Just measure and make small pencil dashes all around the perimeter of the shade. Be sure to flip up the top flap and mark the underside as well.

Measuring 1.5" for Border on Roman Shade

Applying Double Sided Tape

Once you have your pencil marks to guide you, it's time to apply the double sided tape. Rather than lining your tape up with your pencil marks, you want it to be centered with the where the ribbon will be. You can just hold your ribbon up and eyeball the placement. 

Leave the top side coating of the tape in place and be sure to press firmly as you go. When you reach a corner, just cut the tape and start again forming the L shape of the corner.

Using Double Sided Tape to Apply Trim on Roman Shade

If you bought the same, or comparable, supplies as I listed above, then most likely at the very end (for me this is the top flap on the opposite side of where I started) you will run out of tape. Don't worry--we can use the Glue Dots for the last little bit. Leave the section as-is for now and you can address it when you get to that spot with the ribbon.

Using Double Sided Tape to Add Trim on Roman Shades

Adding the Grosgrain Ribbon

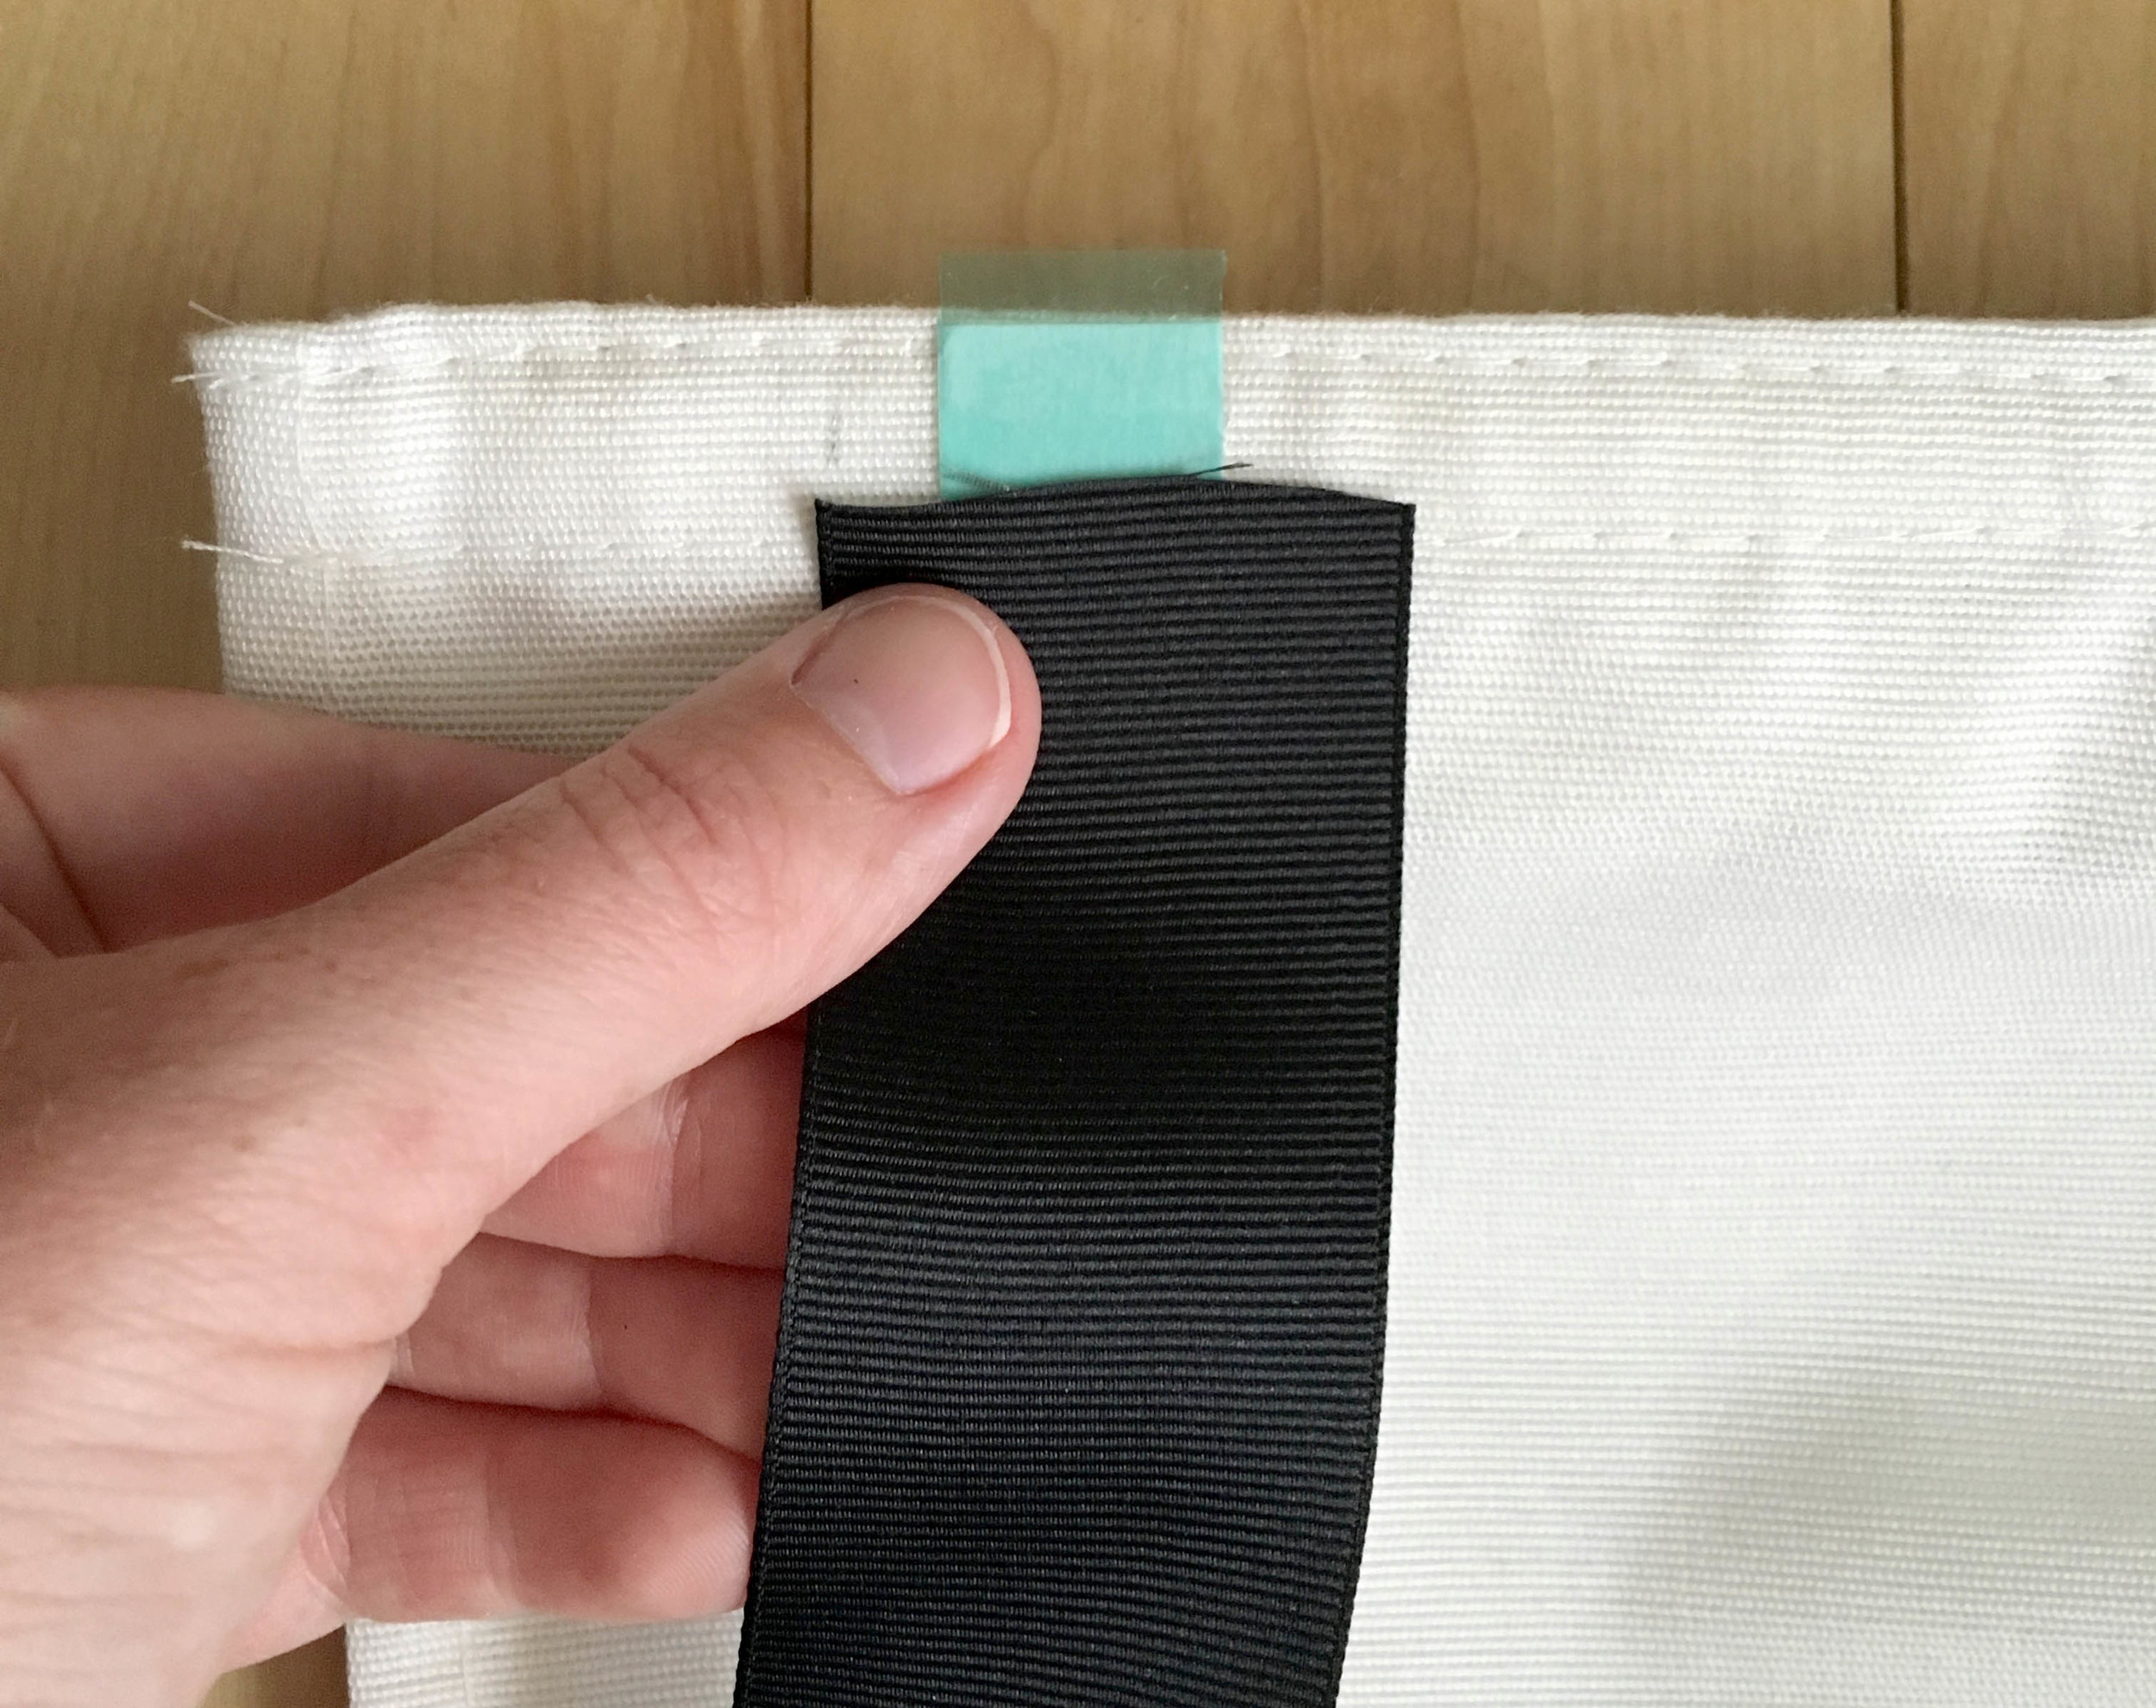
Now the fun part! Use one of your Glue Dots to secure the top of the ribbon behind the velcro at the top of the flap. This will give you a clean finish rather than seeing a raw edge. Then just follow your tape line, removing the papery top coat of the tape and pressing the ribbon down as you go. Be sure you are keeping the outer edge of the ribbon lined up with your pencil marks. You can peel the ribbon back and re-adjust as needed, but try to minimize this as the tape becomes less sticky and can get bunched up. 

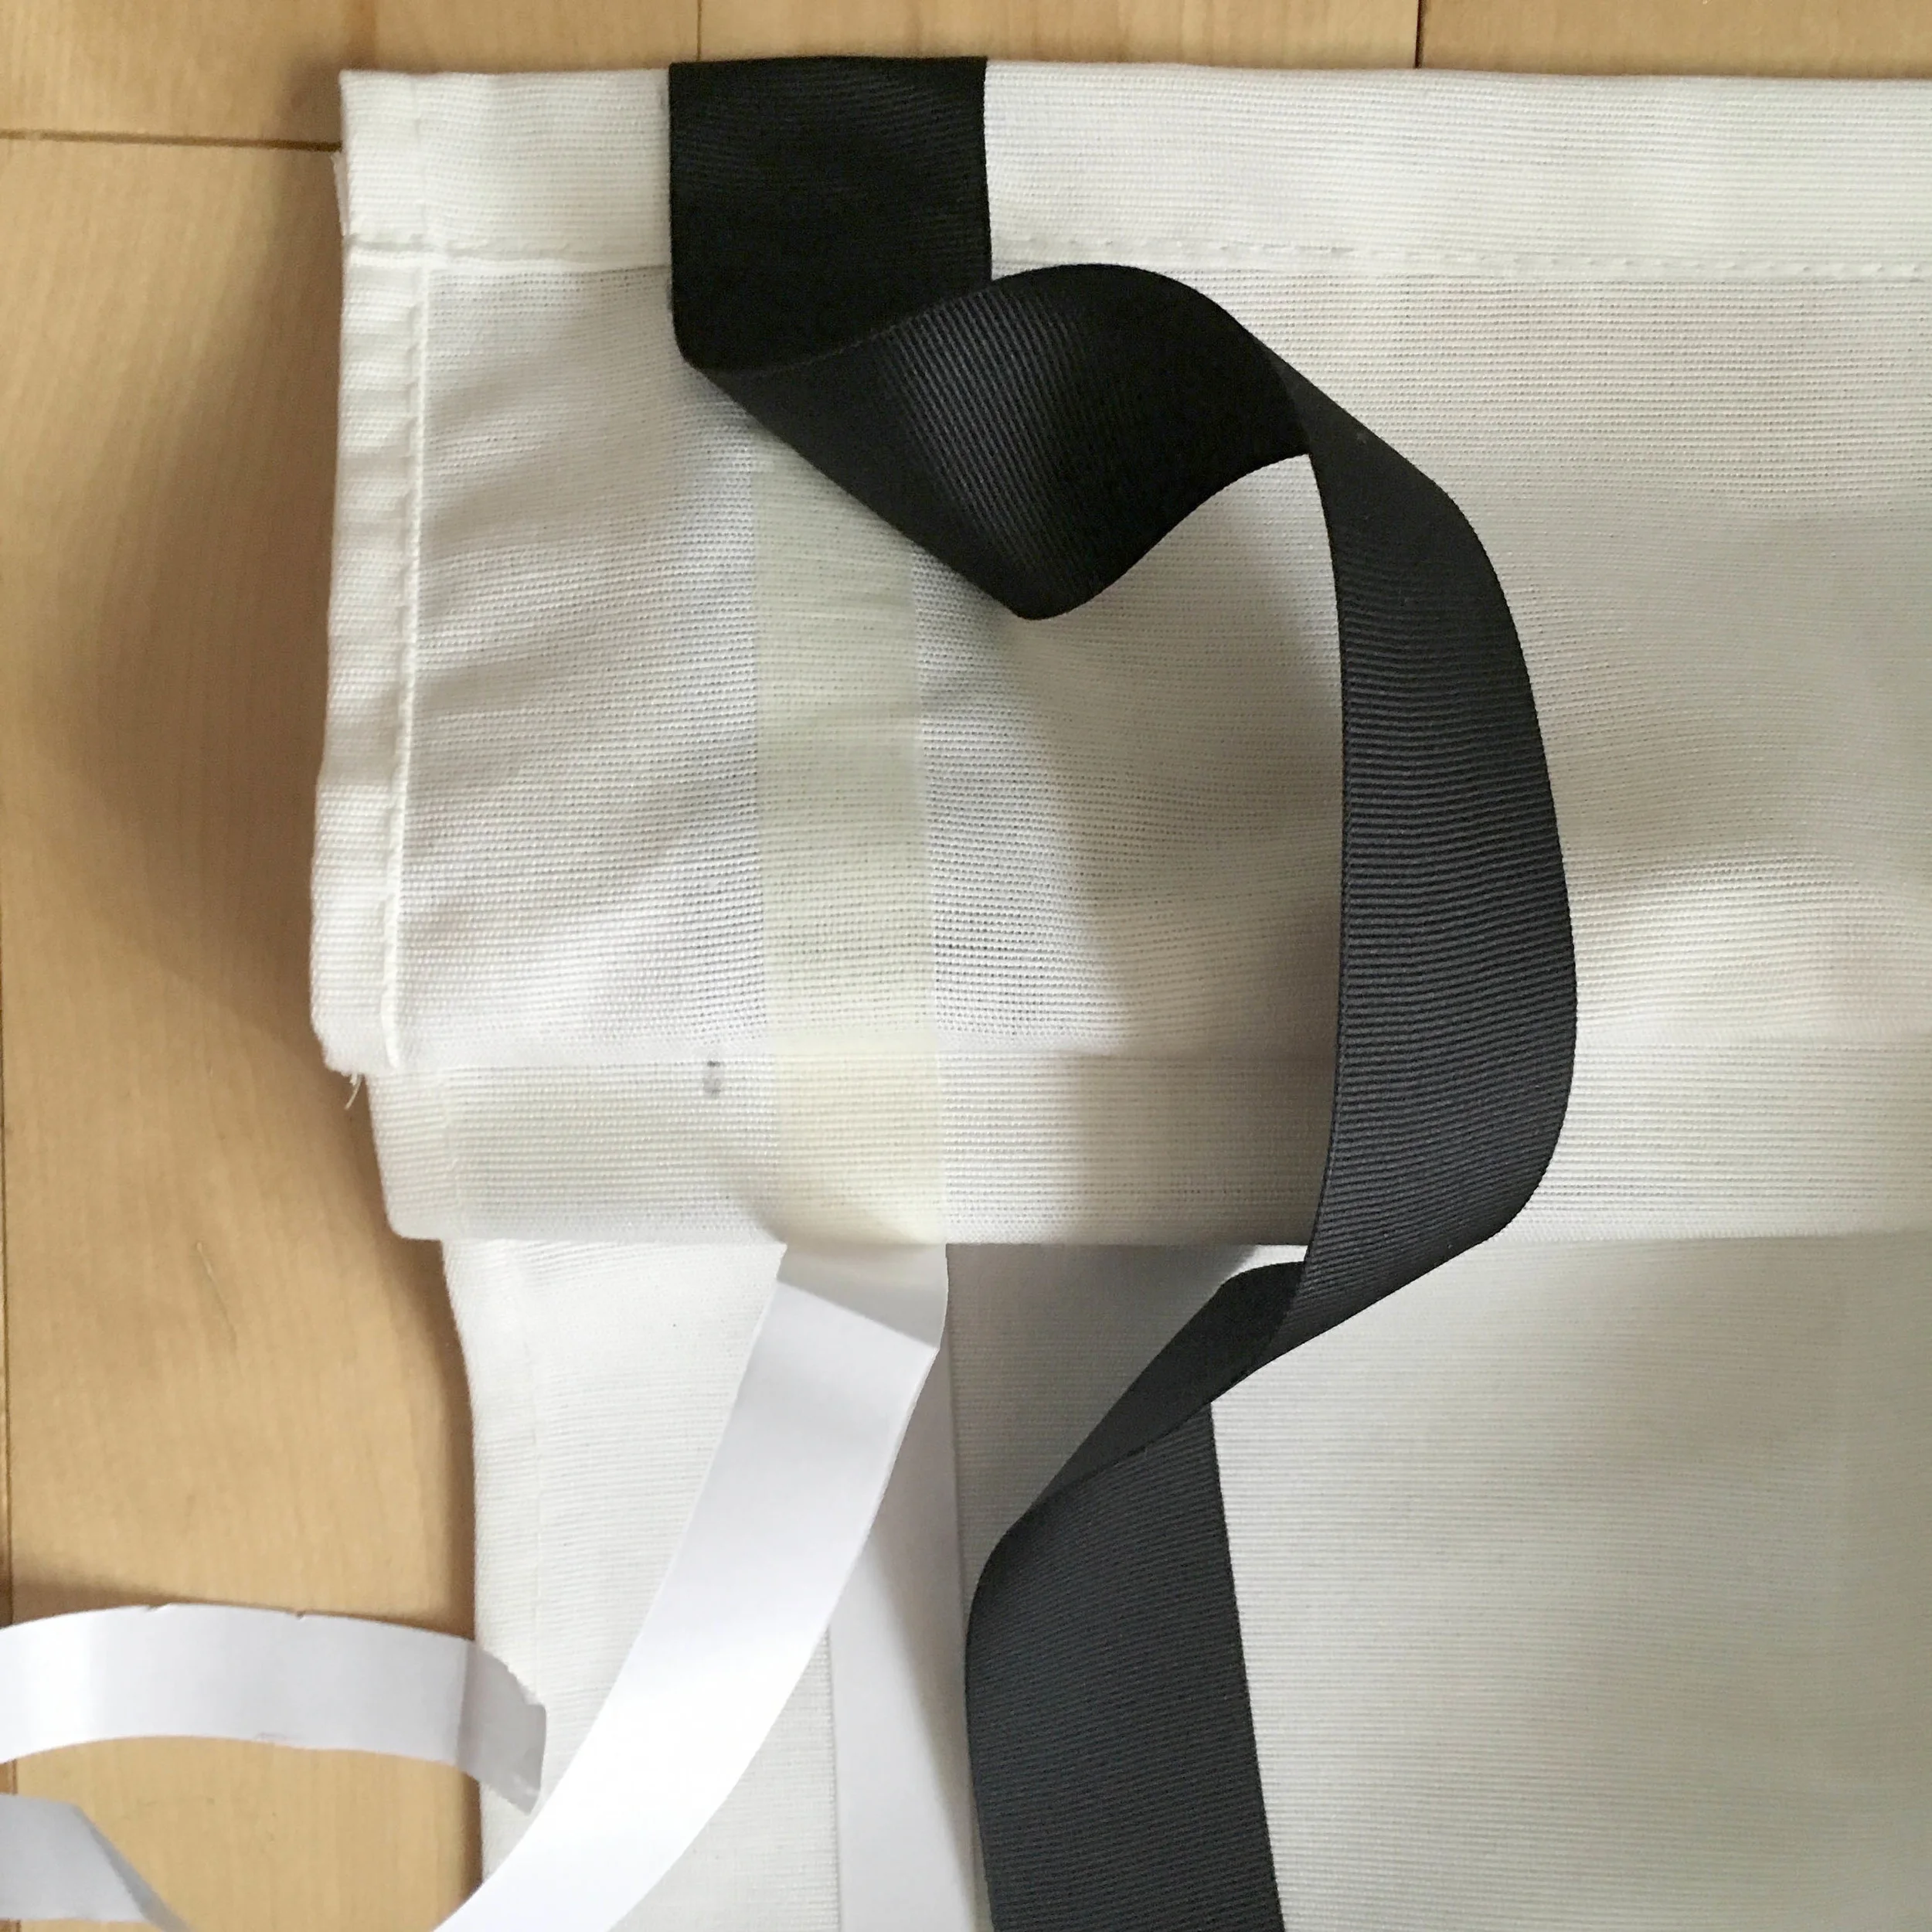
When you get to your first corner, unlike the tape, DO NOT CUT THE RIBBON! Bring the vertical stripe all the way down to the 1 1/2" mark on the bottom then fold the ribbon back up, creating a 45 degree angled line and keep going horizontally. Secure the small flap at the 45 corner angle with one or two Glue Dots. Repeat this process for the second corner. 

When you get to the spot where you ran out of double sided tape, just be sure to have your Glue Dots nearby and use them as needed to finish up the last few inches. Cut the ribbon to the appropriate length and secure under the velcro with a Glue Dot just like the opposite side. 

And that's all! Beautiful no-sew DIY black border roman shades. 

DIY Trim Border on Roman Shade

DIY Agate Inspired Coasters

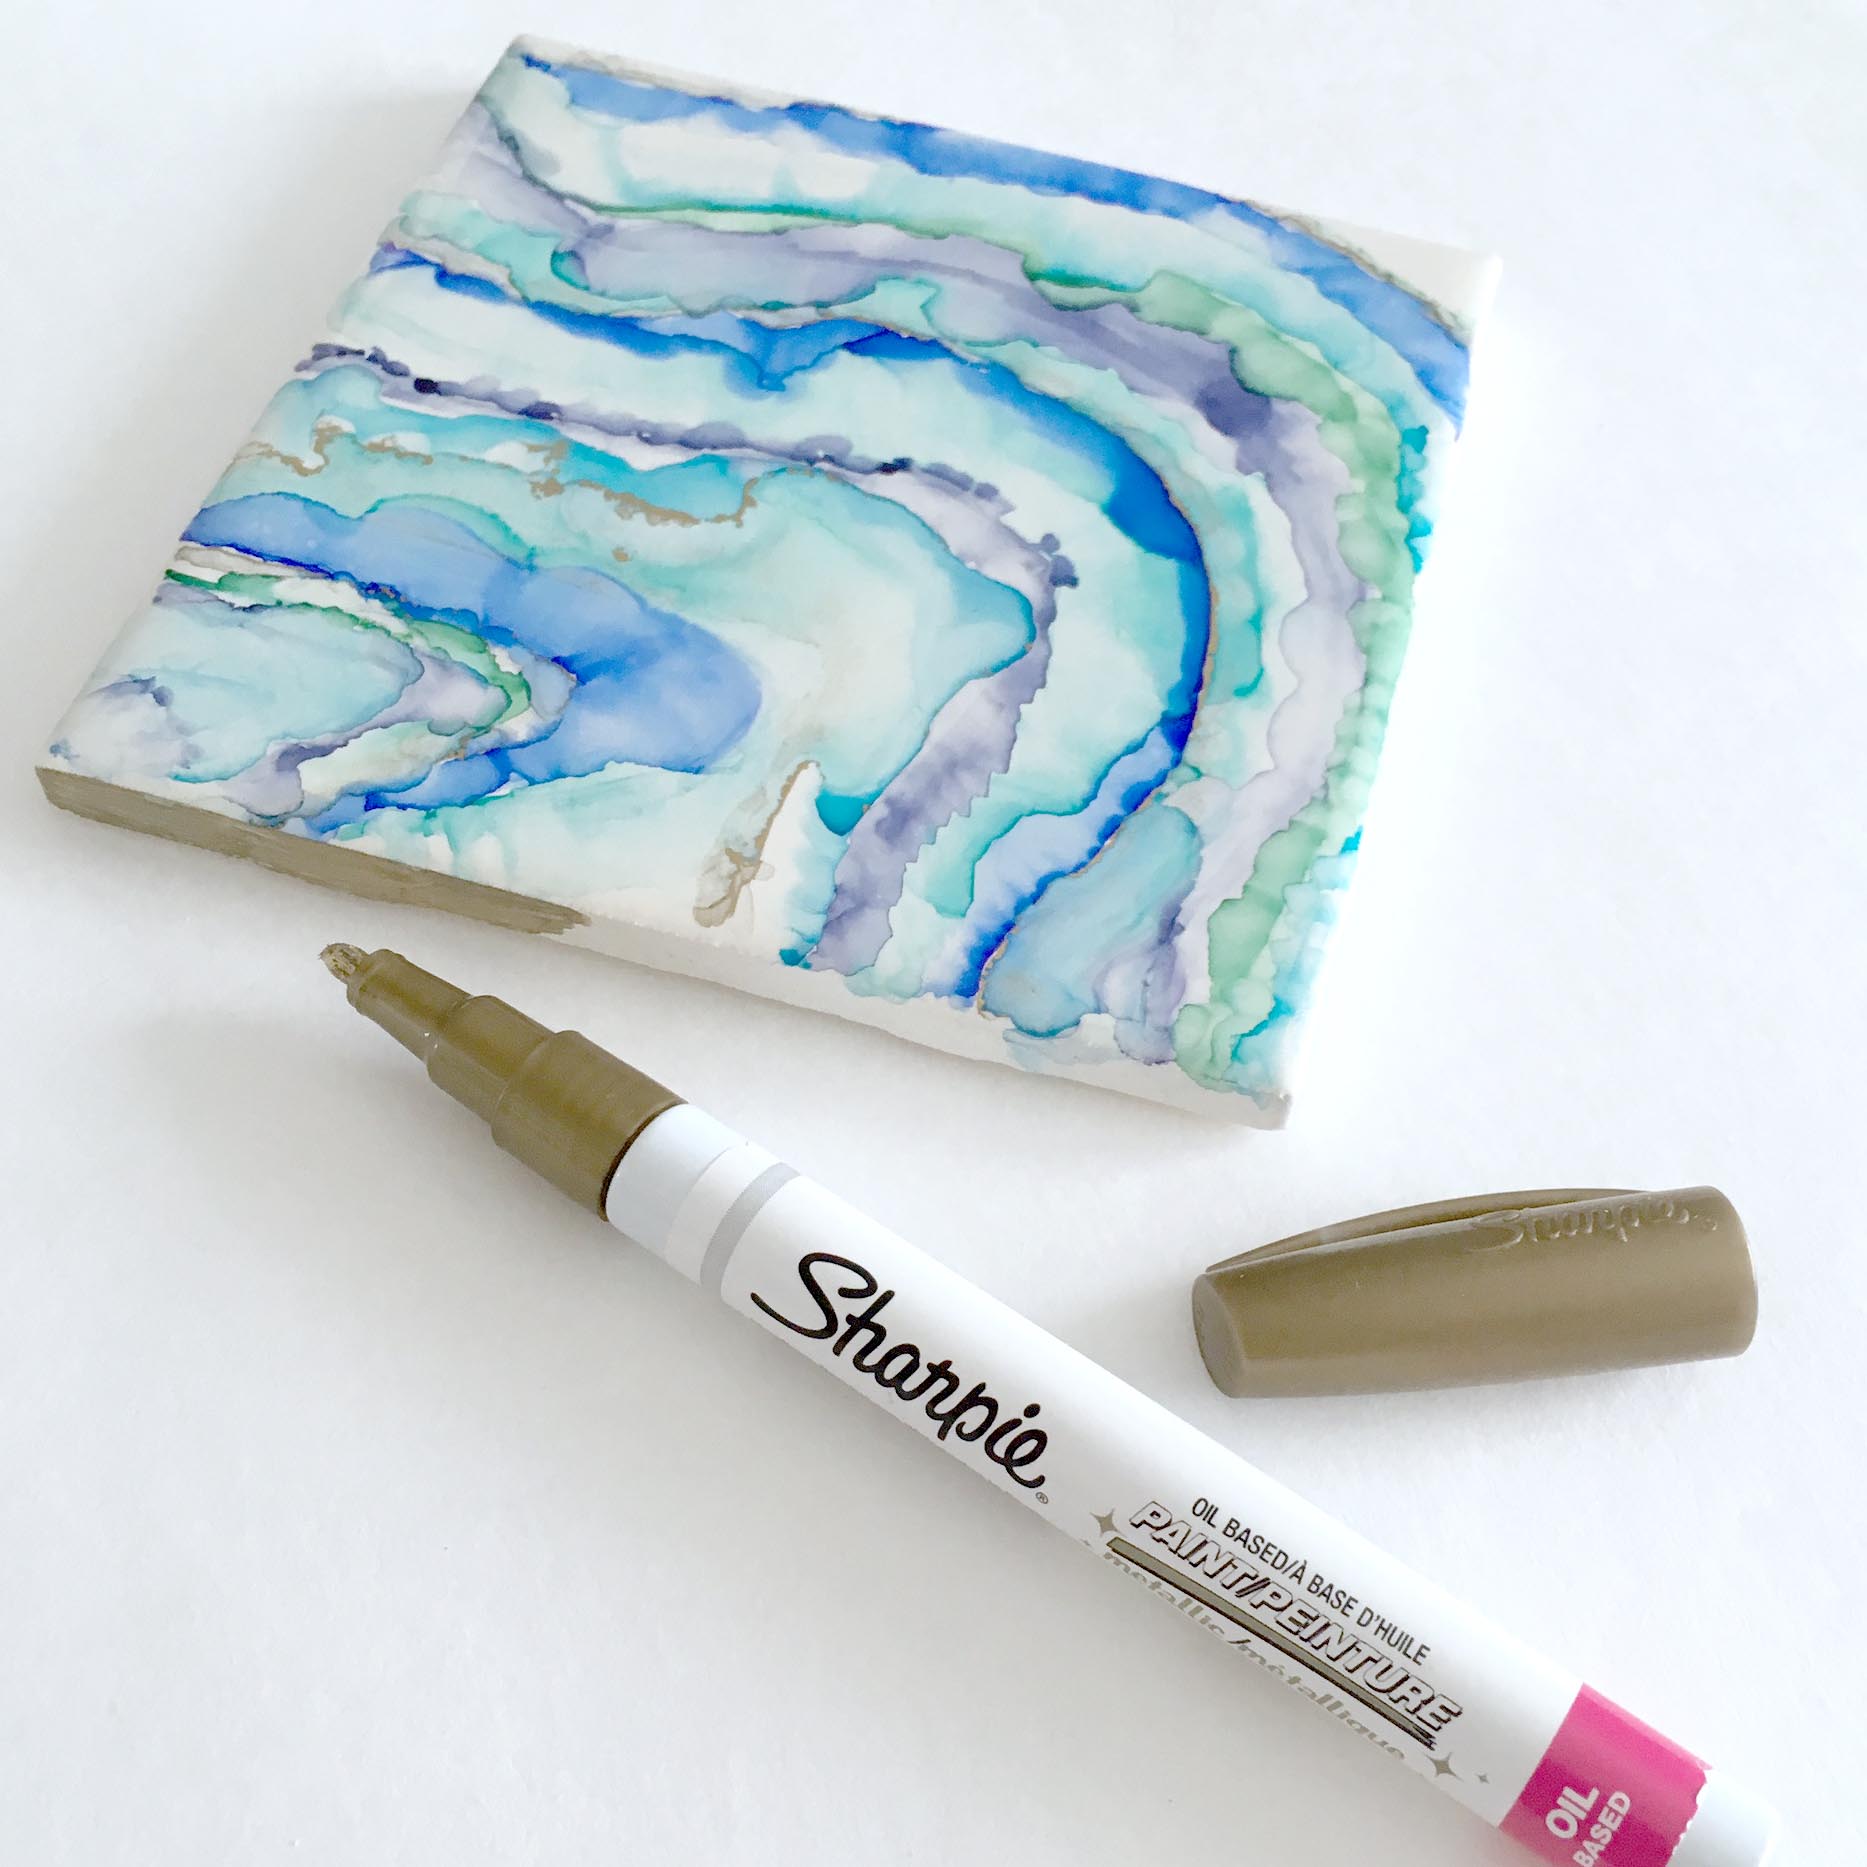
Agate is having a moment in the spotlight and I couldn't be happier. The colors, pattern, and texture have such an organic, fluid feel. I've had my eye on some agate art but haven't been able to think of the perfect place for it. This DIY project was just what I needed to fill the gap. Making these coasters was so much fun! It is easy, doesn't take too long, you probably already have the materials around the house, and the results are beautiful!

DIY Agate Inspired Coasters // Sharpie Art // Geode

Supplies Needed:

  • White Square Glazed Tiles ( mine were 4.25" x 4.25" ) 
  • Colored Sharpie Markers
  • Rubbing Alchohol
  • Paper Towels
  • Paint Brushes
  • Gold OIL BASED Sharpie
  • Clear Glaze
DIY Agate Inspired Coasters // Sharpie Art

Before you start working on a tile, it is helpful to decide what the color palette is going to be. I like to select a fairly monochrome set of colors for each tile. Don't hesitate to use a color on more than one tile, however. In fact, this will help to unify the set as a whole. 

Creating the Agate Effect

  • Start by drawing a curved line across the face of the tile. I think the balance of the pattern is better if you avoid starting directly in a corner.
     
  • Dip your brush in the rubbing alcohol and then push/smear toward the line you drew. This step takes some experimentation but if you make a mistake, just dip a paper towel in rubbing alcohol and wipe it away.
     
  • Repeat the first two steps, being sure to dab your brush dry often. 
     
  • Another useful technique is to tilt the tile after you have applied some rubbing alcohol. The rubbing alcohol pushes the ink and you can get pretty creative tilting and rotating the tile.
DIY Agate Inspired Coasters // GIF
DIY Agate Inspired Coasters // Sharpie Art
DIY Agate Inspired Coasters // Sharpie Art // Geode

Gold Veining

Use the gold, oil base Sharpie throughout your pattern to create this incredible veining effect! The oil base reacts a little differently to the rubbing alcohol, and almost clings to the sides of the adjacent colors. Seriously, how amazing are those gold edges!?  

DIY Agate Inspired Coasters // Gold Veining // Gold Oil Sharpie

Gilded Edges

Once you are happy with the pattern on the surface of your tile, use the gold Sharpie to color the edges of each tile. I recommend doing two sides, waiting a few minutes for those to dry, and then finishing the last two. It is also important to be careful not to touch the top of the tile as your fingers will smudge the pattern.

DIY Agate Inspired Coaster // Sharpie Art // Geode

Seal the Tile

The next step is to seal the whole tile with a clear coat. This will both protect the beautiful artwork you just created, and seal out any potential moisture when being used as a coaster. I am disappointed that the gold veining and edges lose a little bit of their luster when the clear coat is applied, but I have not found an effective alternative. If you find a better product or method, please let me know!

Do not worry if the surface of the tile appears cloudy as you are spraying the sealant--it will clear up as it dries. 

DIY Agate Inspired Coasters // Sharpie Art // Gold Oil Sharpie

Apply Backing

Lastly you will want to choose some sort of a backing for your tile. The purpose of the backing is to protect your tabletop from the scratchy, unfinished side of the tile. Felt is common choice, but personally, I don't think it does this project justice. High quality fabric in a coordinating print or solid would be lovely. I also think small adhesive tabs in the corners would work as well. They are usually made of plastic, rubber, or felt (and yes, felt would be okay in this application).

I actually haven't completed this last step yet because I am considering mounting the tiles inside a frame and hanging them as art. ( Like this

DIY Agate Inspired Coasters // Agate Art // Geode

Save this idea for later or share it with your friends by pinning it to your one of your Pinterest boards! You can also follow us on Pinterest to see more DIY projects and tutorials!

Kitchen Update: Stripping Cupboards and Finish Selections

The last week and a half have been consumed by this kitchen renovation.  (If you missed that this was happening, you can catch up on the details here.) A little bit of trial and error, a LOT of hard work, and a few late nights, but we are making progress!

Here are some of the finishes we've made a decision on:

Originally I thought I wanted true black paint for the lower cabinets, but after some helpful feedback and some continued Pinterest browsing, we settled on this dark, charcoal gray instead. It is Kendall Charcoal by Benjamin Moore. I am literally jumping up and down in excitement to get this on the cupboards to see how it looks! Also, the guy at the paint store was so nice and full of helpful tips. Hooray for happy, nice people--you make me smile!

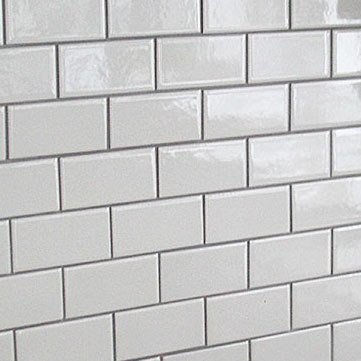
I was almost 100% sure that I wanted to use a dark grout with my white subway tile but I was still a little nervous about it being SO DARK. Then I found this medium gray grout that Jen over at With Heart blog used in her kitchen makeover and I knew that this was the one! I also discovered that I can create and pay for an order online with Home Depot and then when I get to the store with baby in tow, it will be waiting for me--no running around finding everything! How awesome it that!?

Another change in the paint game: I really, really wanted a pale, icy blue for the wall color. I taped paint chips to the wall for at least a week so I could be sure of the exact shade... then, when i got the first coat on, I realized I had a made a mistake. The rest of the house just doesn't work with my beautiful ice blue. Instead I'll go with the neutral gray we've used throughout the house: Silver Spoon by Olympic Paint. 

And here's the nitty gritty of what we've been working on!

Image progression: existing cabinet where the microwave is sitting, me checking to see if there is tile underneath the cupboard, YES! there was, so I ripped that sucker out! (all by myself, I might add!)

Because the previous paint job was so bad--lots of texture, drips, etc--I decided it would be worth the effort to strip it all off before starting with the new paint layers. I'm using Citrustrip because it isn't as harsh as and chemically as others and so far I have been happy with the results. This part is almost done and my poor fingers will be happy for the break!

Kitchen Renovation

 I can't believe that I am sitting here writing this post with my windows open, my bare feet, and in a short sleeve shirt. I know to some of you this may not seem like a big deal, but it is NOVEMBER! and in Central New York, anything over 45 degrees this late in the year is like being on vacation! Seriously, I might go pull out my bathing suit and work on my tan. (joking!)

Ok, so all kidding aside, I am so excited to start this next project. It's going to be a biggie, but I'm diving in head first--I'm finally going to tackle my kitchen! It's the one room in the house I haven't really done a lot with since moving in. It's not that it's awful, it's just not me. But that is about to change! 

I thought I would start by showing you some before pictures and then share some images I've pulled for inspiration. I would classify this as a medium-sized renovation. Here's what I plan on updating:

  • Painting the walls
  • Painting the cabinets (I'm thinking dark on the lowers and light on the uppers)
  • Hardware for the cabinets
  • Light Fixtures
  • White subway tile backsplash with dark grout
  • Fixing a broken cupboard and creating a microwave shelf
  • Under cabinet lighting
  • Possibly some open shelving in place of the hanging pots and pans rack
  • Window treatment

Since it's so much harder to be objective about your own space, I would love to hear your ideas and feedback! Comment below and tell me what you think!

Kitchen Renovation Before Pic
Kitchen Renovation Paint Swatches

I taped the paint swatches of colors I'm considering to wall so I could get a feel for how the colors looked throughout the day in different lighting. It is amazing how much different they look in natural and artificial light! Some of them turn so blue in the evening! Right now I'm leaning toward the third from the top. It is the lightest and I like the color best at night.

Kitchen Renovation Before Pic

This is the broken cupboard (well, drawer actually) that I mentiond. I'm thinking about removing the drawer and its hardware entirely, the cupboard door beneath it, as well as the brace that separates the two. This will leave a big open space where I can build a shelf for the microwave so that I can reclaim the counter space for something prettier. 

I'm also debating taking down the pots and pans rack and putting up some open shelving. We'll see though, the man of the house is pretty attached to it. ;)

`

`

Here the tin backsplash behind the stove is coming down and the new white subway tile will fill that space. I may also try to add some crown molding. The people who lived here before us boxed in the space between the top of the cupboards and the ceiling, but I think some trim would really give it a more finished look.

Kitchen Renovation Before Pic

The counters are a black granite tile with black grout. Not my fave, but not really in the budget to replace them either. Typically I would coordinate vertical and horizontal surfaces in darks and lights, but I am so tired of keeping these (poorly painted) white cabinets clean! That's why I'm thinking black on the lower cupboards, but a fresh coat of white on the uppers. I'm afraid it would become really dark and heavy with all black or I would just do that. To tie in the transition, I'm contemplating dark grout with the white subway tile.

I would love to hear your opinion or words of wisdom if you've learned by experience! Please use the comment feature below to share your thoughts!

And now, a few pictures I've collected as inspiration. Most of these kitchens go above and beyond the scope of this project, but hey, who doesn't love looking at pictures of pretty kitchens!?

How to Paint a Striped Wall

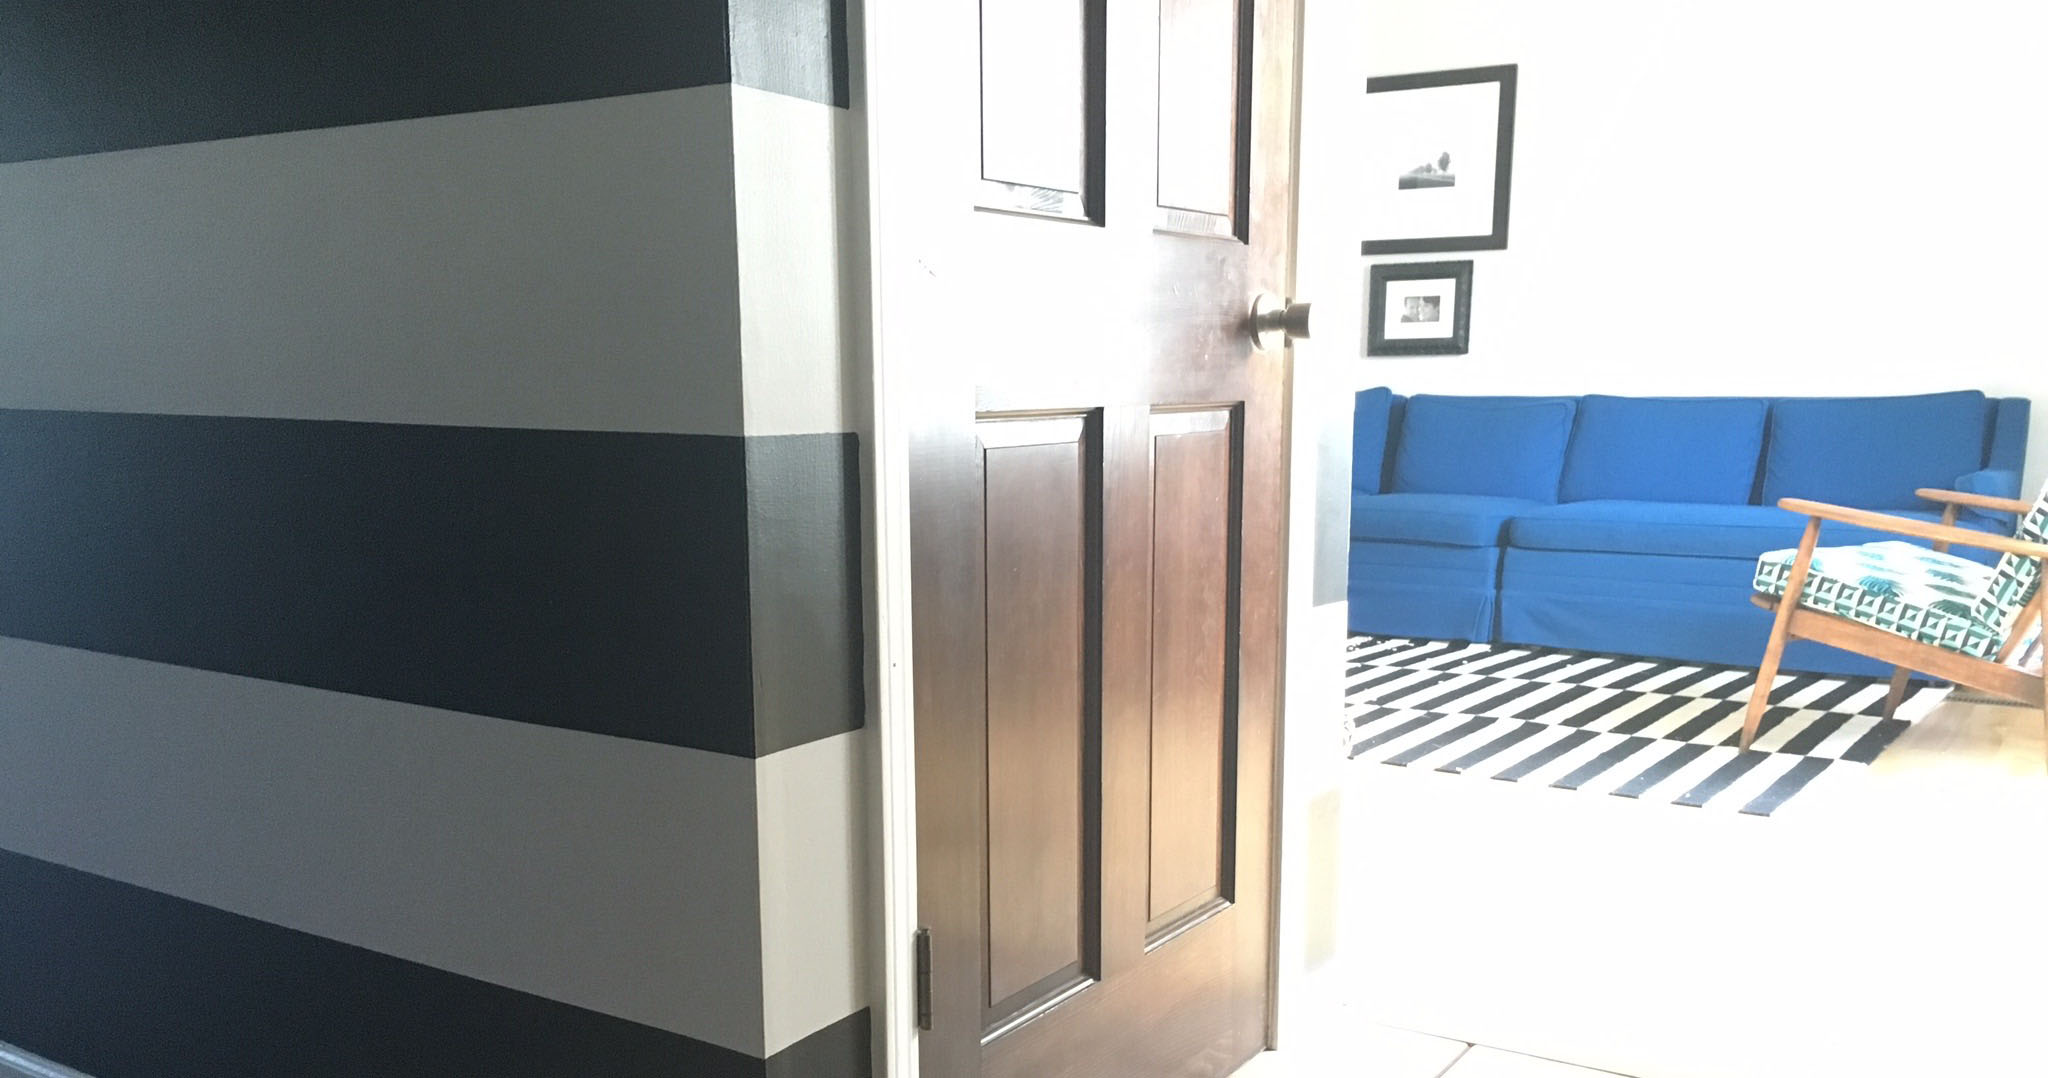
striped wall // black and white stripes // entryway

I am so excited to share this project with you because I absolutely love how it turned out! I've been thinking about it for awhile but hadn't found the time, or nerve, or something to get it done. This isn't my first go-around with painting stripes on my walls, but this is definitely the most bold. Last time, I painted a wall in our living room with vertical stripes in two very similar shades for a calm, subtle look. This time I decided horizontal stripes were right for two reasons: with high contrast colors I didn't want to risk the circus tent effect, and because this is in an entry/hallway I felt like the horizontal stripes would be welcoming and draw you into our home. 

So, without further ado--our new striped entryway!

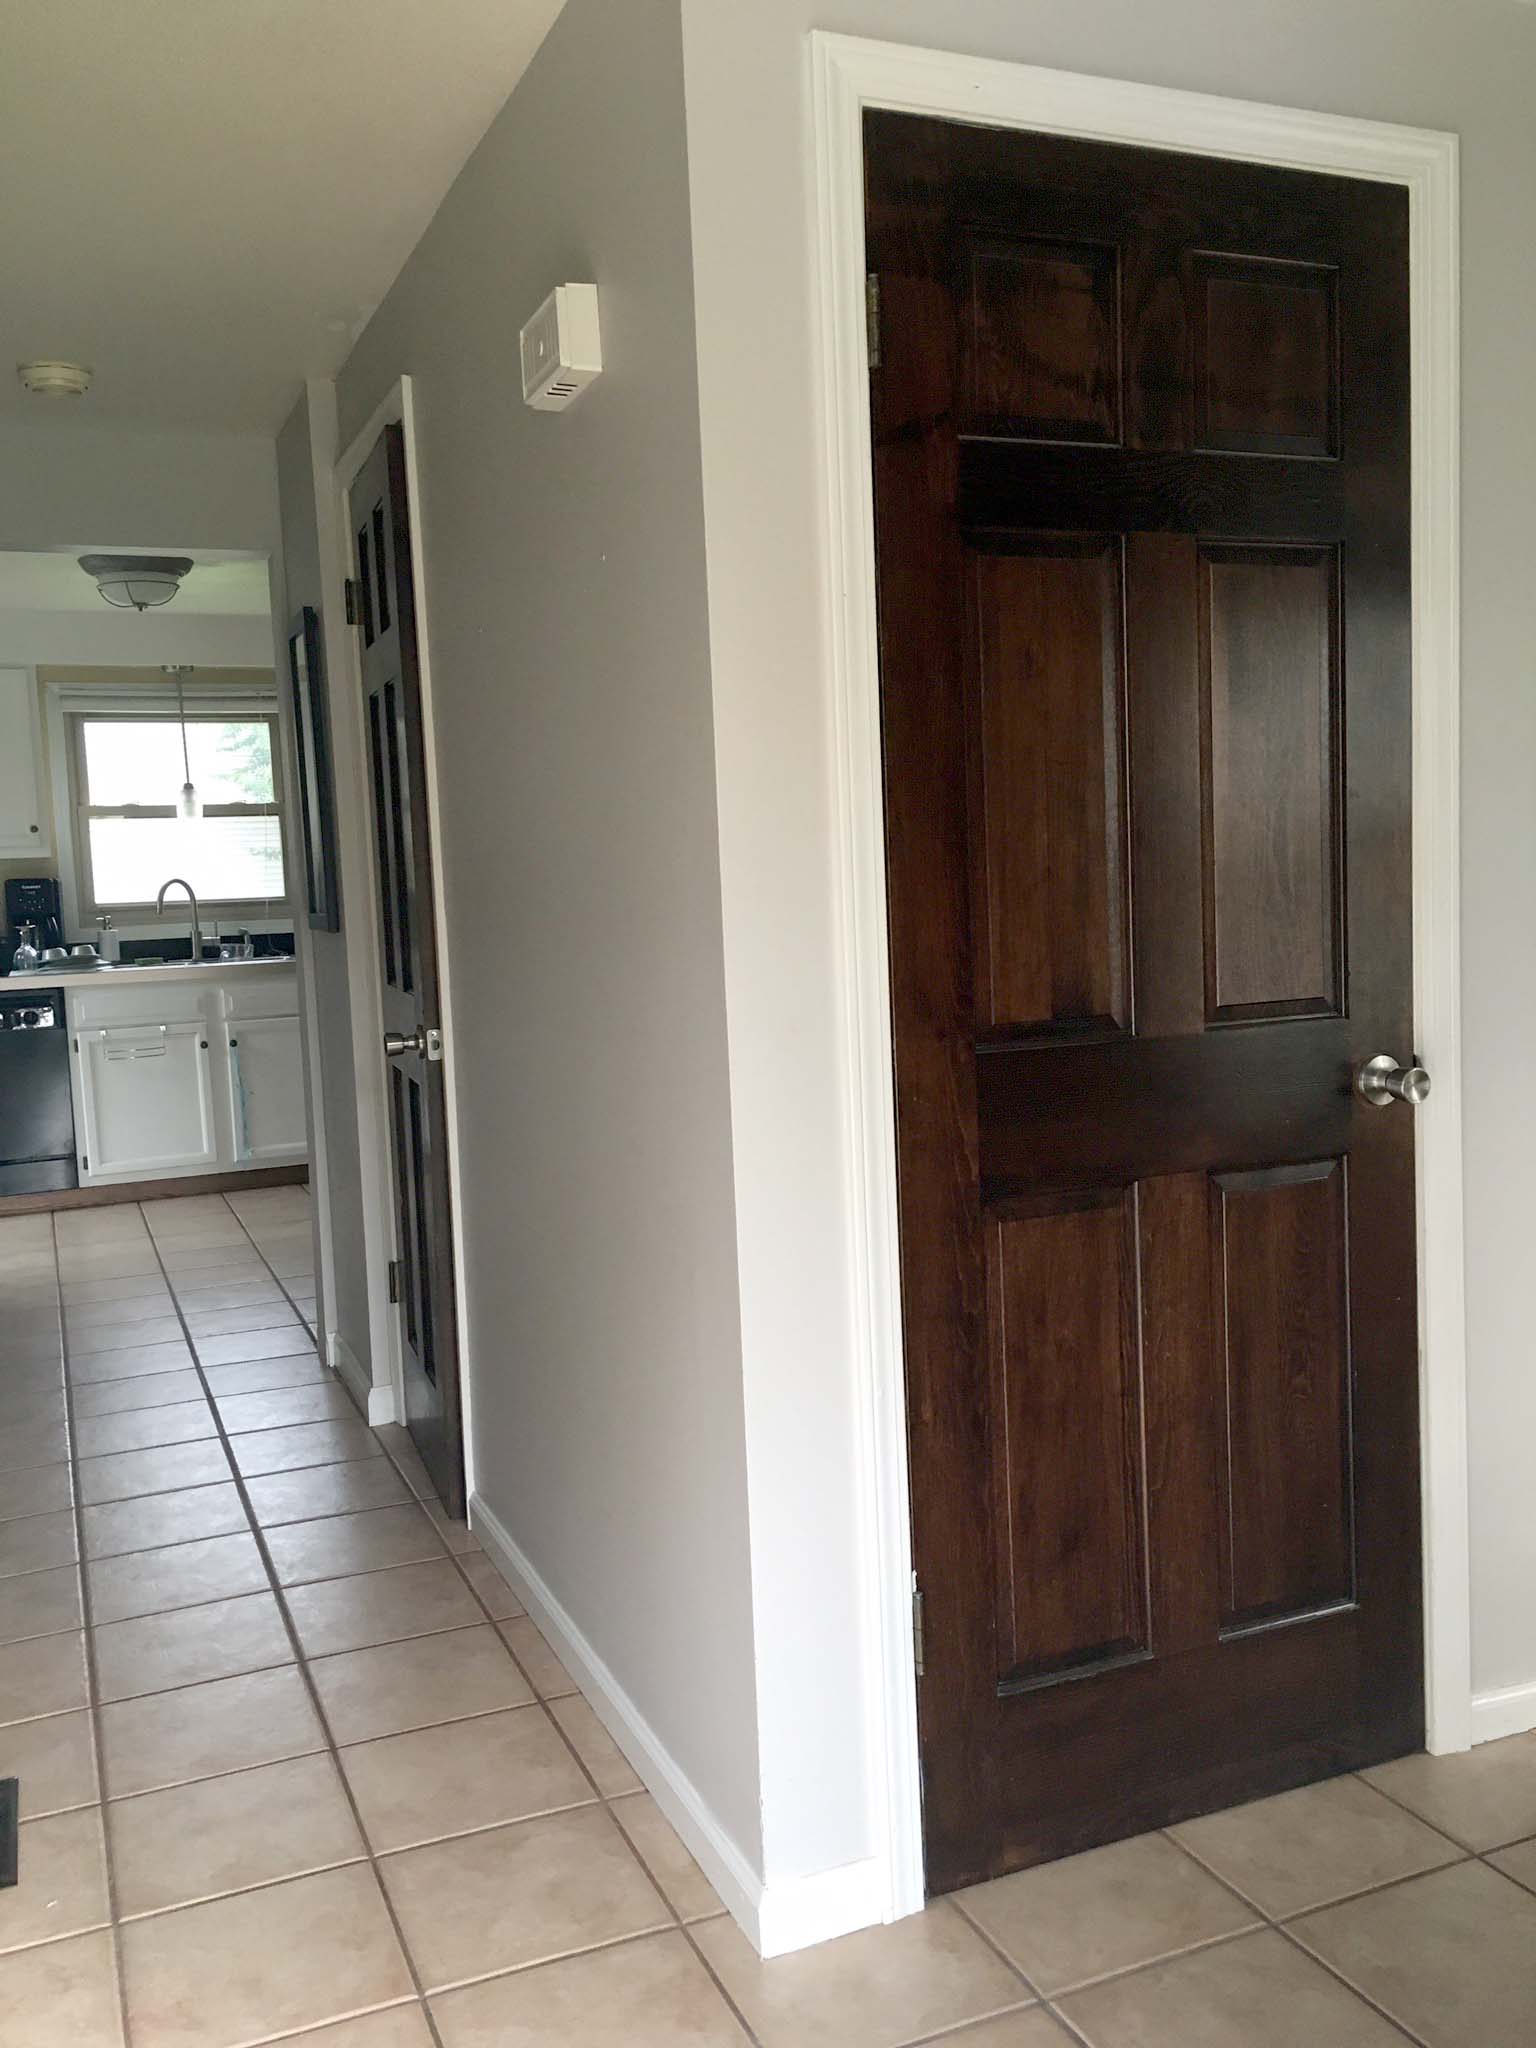
Before pictures:

Before I started with any taping or painting, I made a quick sketch of the wall and made note of the wall height so I could calculate how many stripes I wanted and what size they needed to be. The wall is 90" - 3" baseboards, so the total height I needed to divide into stripes was 87". 87/9 = 9.66 or 9 2/3. I decided to make my marks at 9 3/4 because this was an easier increment with the tape measure I had on hand. I started measuring from the bottom, so that the difference would be made up at the top of the wall, further from the eye. I decided to measure and then tape each line as I went so I didn't risk losing, or confusing, my tiny pencil marks. My husband was so kind to help me with this part of the process (it is MUCH easier with two people!) and had the genius idea to use a chalk line. This helped connect our measurements in a straight line that we then used as a reference to tape. 

Pro Tip: When measuring and taping, remember that the tape counts in your measurement. The stripes that are meant to be painted will appear larger because the size of the tape (in this case 1") is being counted into the height of the not-to-be-painted stripes. This means that for the sections you wish to paint, measure between the tape, and for the other sections, measure including the tape.

Pro Tip: Place a small piece of tape inside the stripes that you are not going to paint so you can clearly see the difference. 

Pro Tip: Seal down the edges of your tape with paint the same color as the wall/not-to-be-painted stripes. This ensures that any tiny bleed through or wicking of paint will blend right in, giving you a crisp, clean line. 

striped wall // black and white stripes // entryway

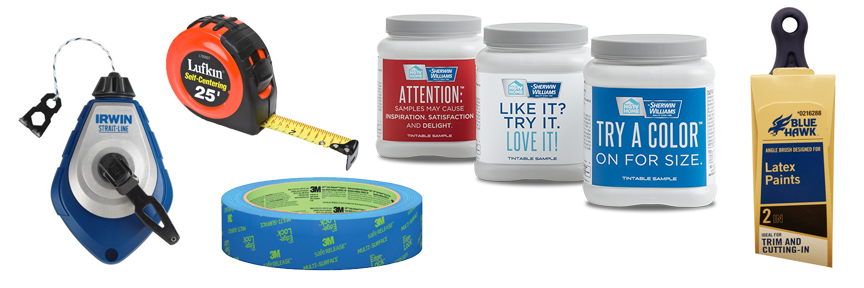
Tools for this project:

  • Tape measure
  • Chalk line
  • 3M brand painters tape (don't skimp and go generic brand here, you want a good seal for crisp, clean lines)
  • A good trim brush--this one is my favorite
  • 1 Quart of Sherwin Williams sample paint (This paint is less than $4 for a quart! It is actually meant for trying out a color on a wall before committing to a larger qty and is only available in an eggshell finish.)
     
how to paint a striped wall // black and white stripes // entryway