Kitchen Update: Stripping Cupboards and Finish Selections

The last week and a half have been consumed by this kitchen renovation.  (If you missed that this was happening, you can catch up on the details here.) A little bit of trial and error, a LOT of hard work, and a few late nights, but we are making progress!

Here are some of the finishes we've made a decision on:

Originally I thought I wanted true black paint for the lower cabinets, but after some helpful feedback and some continued Pinterest browsing, we settled on this dark, charcoal gray instead. It is Kendall Charcoal by Benjamin Moore. I am literally jumping up and down in excitement to get this on the cupboards to see how it looks! Also, the guy at the paint store was so nice and full of helpful tips. Hooray for happy, nice people--you make me smile!

I was almost 100% sure that I wanted to use a dark grout with my white subway tile but I was still a little nervous about it being SO DARK. Then I found this medium gray grout that Jen over at With Heart blog used in her kitchen makeover and I knew that this was the one! I also discovered that I can create and pay for an order online with Home Depot and then when I get to the store with baby in tow, it will be waiting for me--no running around finding everything! How awesome it that!?

Another change in the paint game: I really, really wanted a pale, icy blue for the wall color. I taped paint chips to the wall for at least a week so I could be sure of the exact shade... then, when i got the first coat on, I realized I had a made a mistake. The rest of the house just doesn't work with my beautiful ice blue. Instead I'll go with the neutral gray we've used throughout the house: Silver Spoon by Olympic Paint. 

And here's the nitty gritty of what we've been working on!

Image progression: existing cabinet where the microwave is sitting, me checking to see if there is tile underneath the cupboard, YES! there was, so I ripped that sucker out! (all by myself, I might add!)

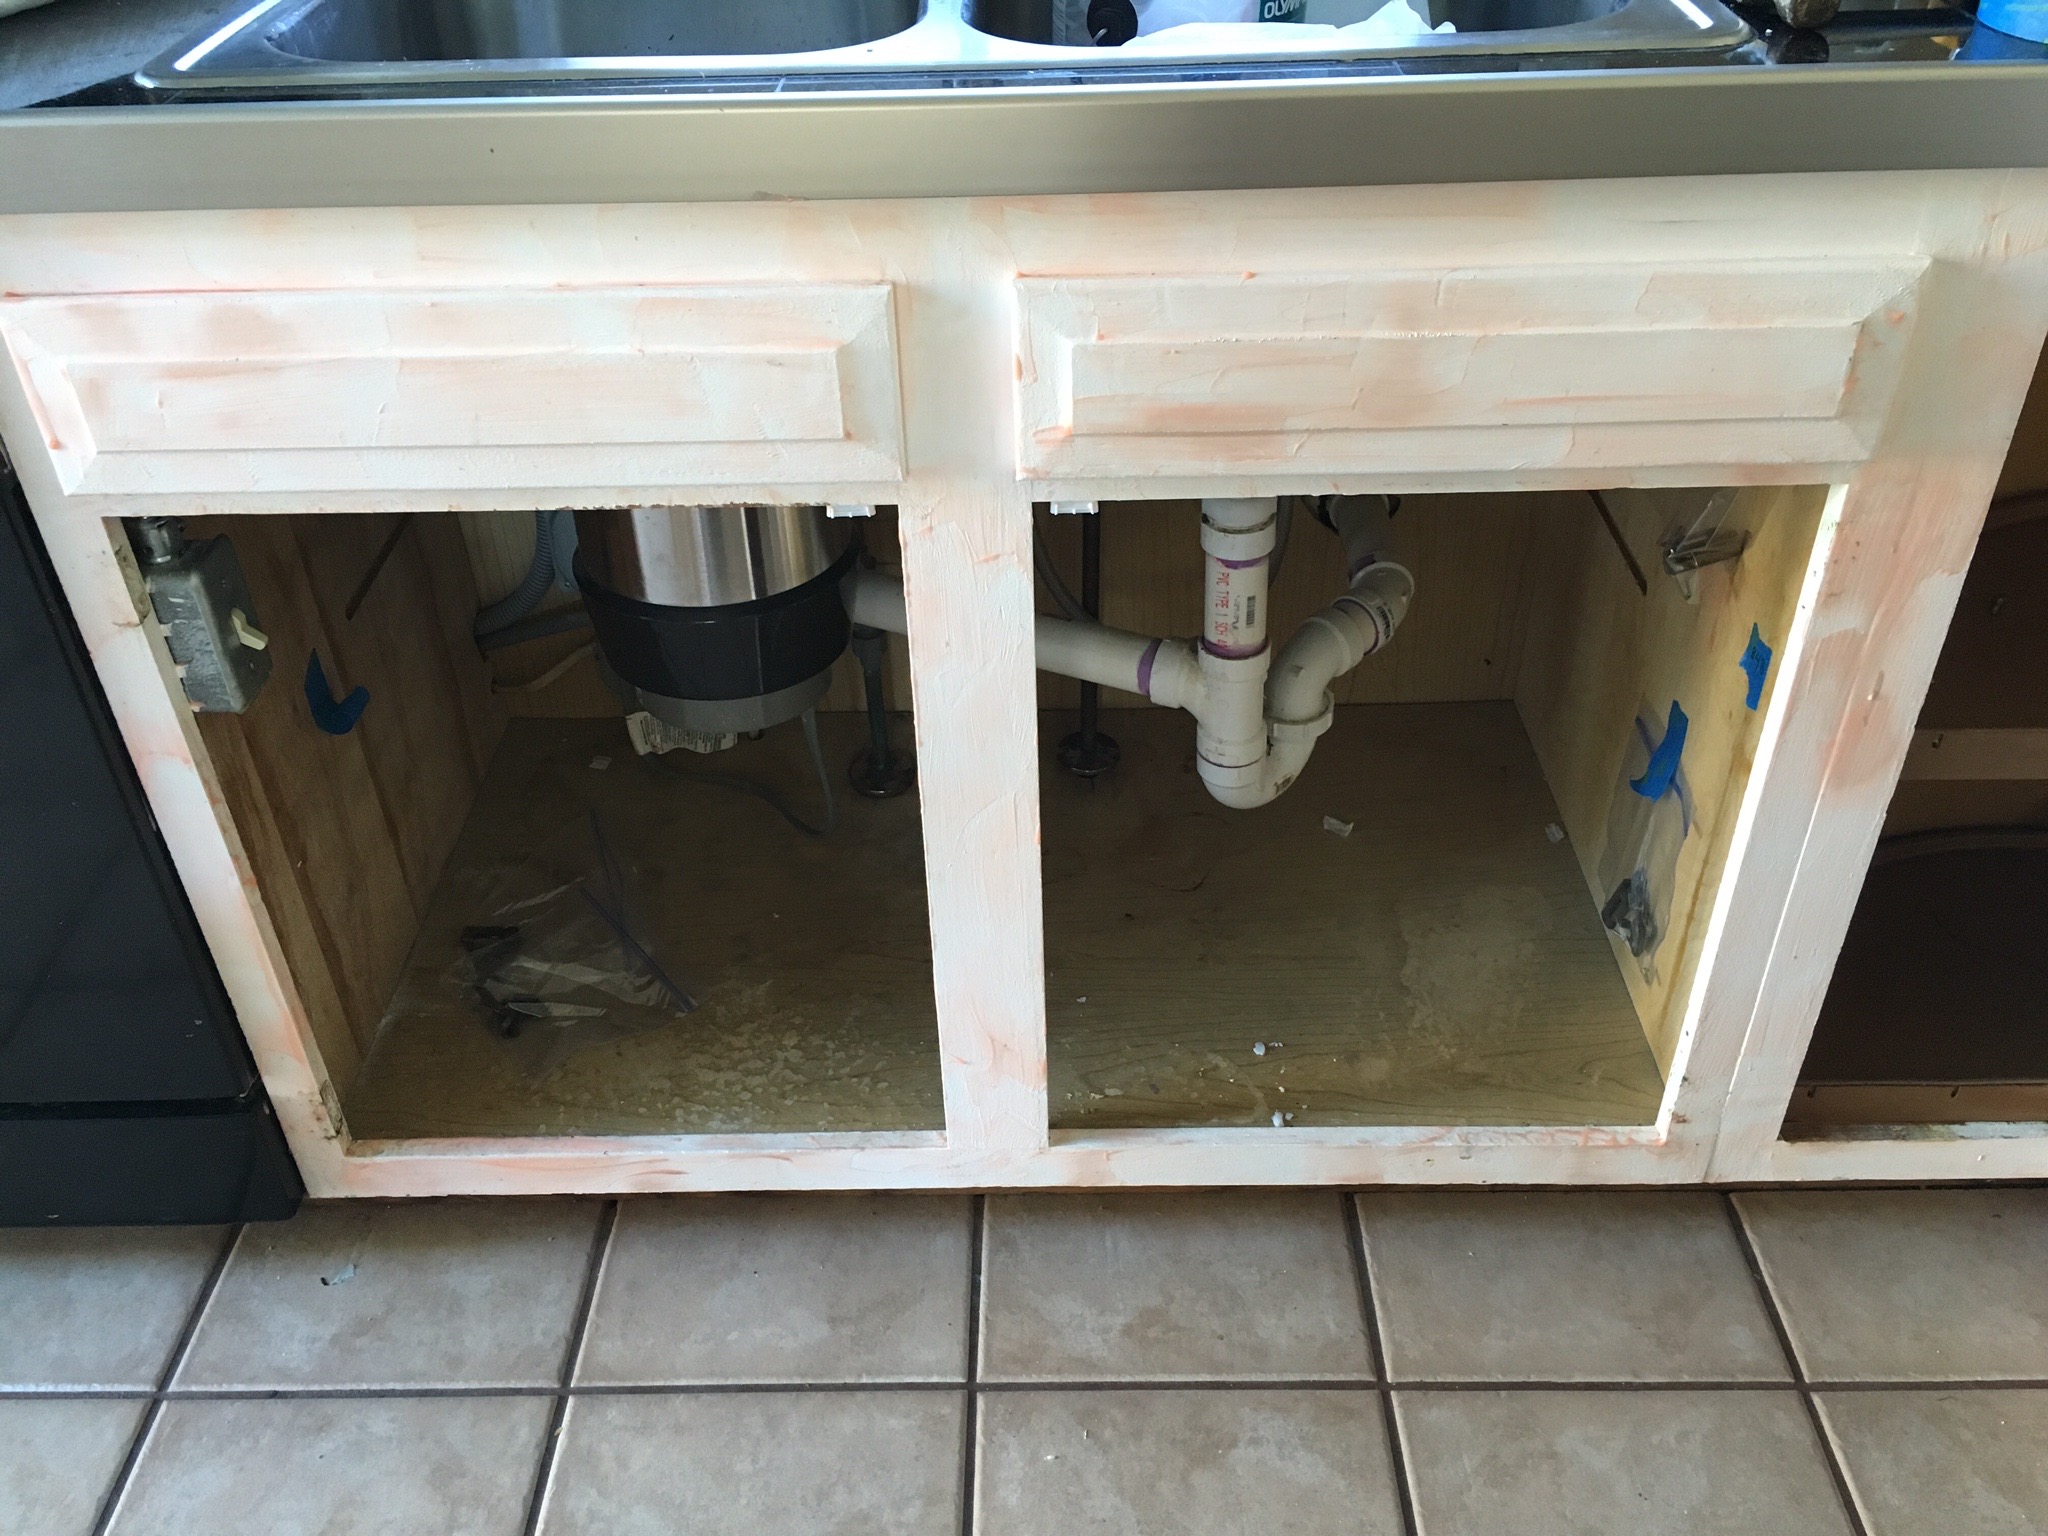
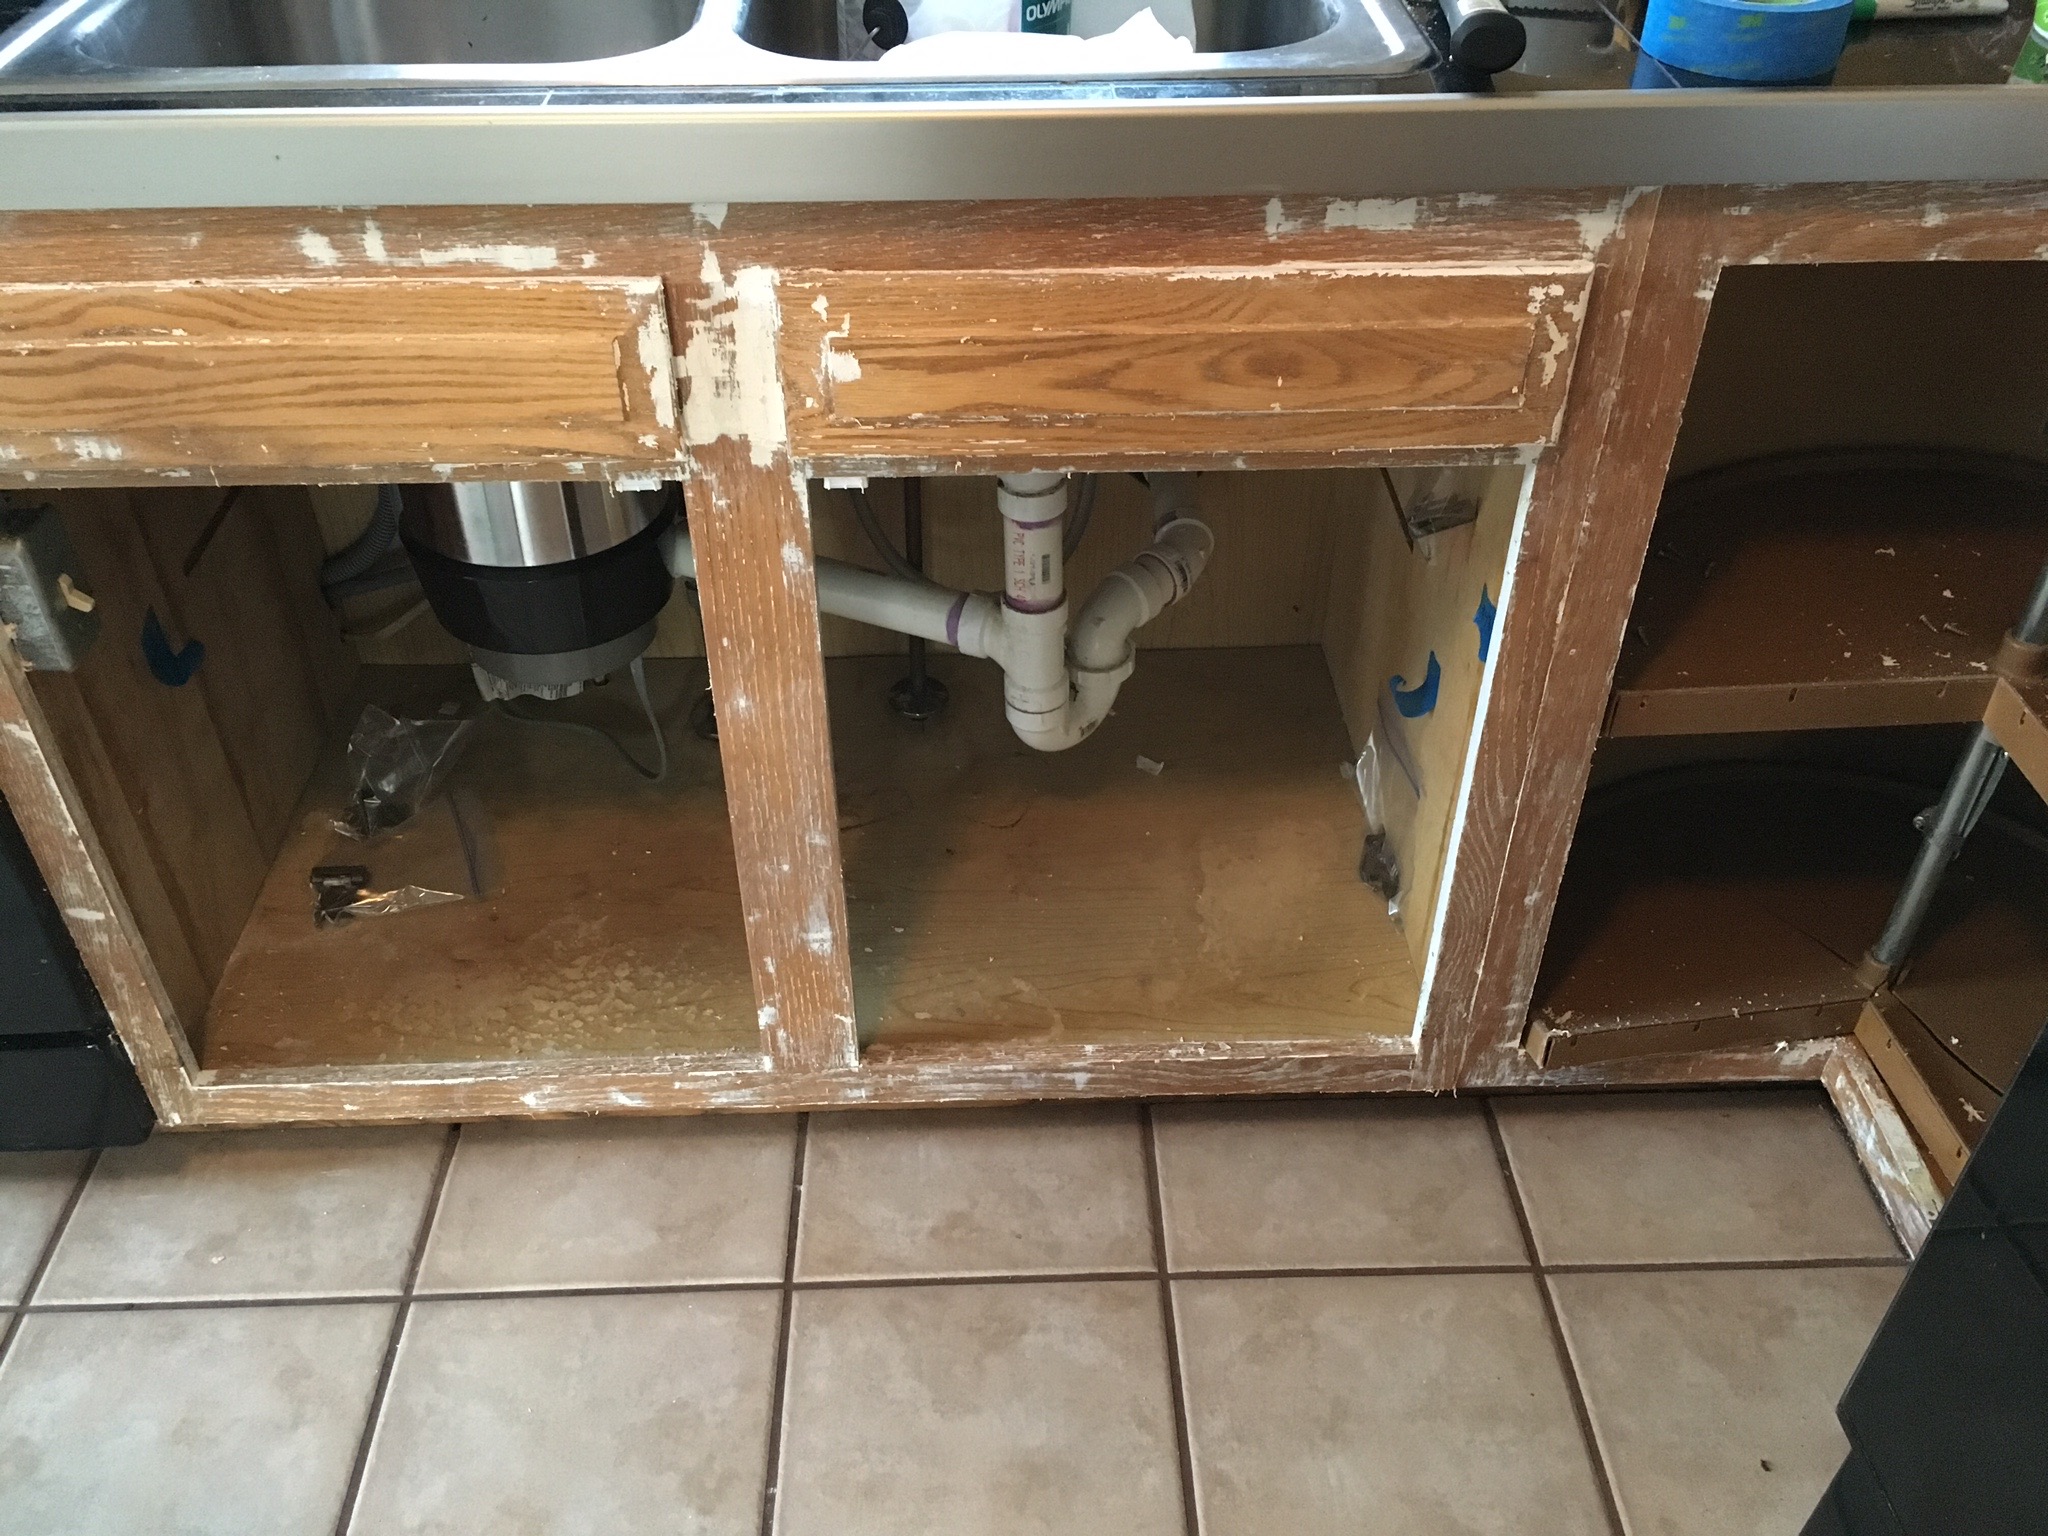
Because the previous paint job was so bad--lots of texture, drips, etc--I decided it would be worth the effort to strip it all off before starting with the new paint layers. I'm using Citrustrip because it isn't as harsh as and chemically as others and so far I have been happy with the results. This part is almost done and my poor fingers will be happy for the break!

Kitchen Renovation

 I can't believe that I am sitting here writing this post with my windows open, my bare feet, and in a short sleeve shirt. I know to some of you this may not seem like a big deal, but it is NOVEMBER! and in Central New York, anything over 45 degrees this late in the year is like being on vacation! Seriously, I might go pull out my bathing suit and work on my tan. (joking!)

Ok, so all kidding aside, I am so excited to start this next project. It's going to be a biggie, but I'm diving in head first--I'm finally going to tackle my kitchen! It's the one room in the house I haven't really done a lot with since moving in. It's not that it's awful, it's just not me. But that is about to change! 

I thought I would start by showing you some before pictures and then share some images I've pulled for inspiration. I would classify this as a medium-sized renovation. Here's what I plan on updating:

  • Painting the walls
  • Painting the cabinets (I'm thinking dark on the lowers and light on the uppers)
  • Hardware for the cabinets
  • Light Fixtures
  • White subway tile backsplash with dark grout
  • Fixing a broken cupboard and creating a microwave shelf
  • Under cabinet lighting
  • Possibly some open shelving in place of the hanging pots and pans rack
  • Window treatment

Since it's so much harder to be objective about your own space, I would love to hear your ideas and feedback! Comment below and tell me what you think!

Kitchen Renovation Before Pic
Kitchen Renovation Paint Swatches

I taped the paint swatches of colors I'm considering to wall so I could get a feel for how the colors looked throughout the day in different lighting. It is amazing how much different they look in natural and artificial light! Some of them turn so blue in the evening! Right now I'm leaning toward the third from the top. It is the lightest and I like the color best at night.

Kitchen Renovation Before Pic

This is the broken cupboard (well, drawer actually) that I mentiond. I'm thinking about removing the drawer and its hardware entirely, the cupboard door beneath it, as well as the brace that separates the two. This will leave a big open space where I can build a shelf for the microwave so that I can reclaim the counter space for something prettier. 

I'm also debating taking down the pots and pans rack and putting up some open shelving. We'll see though, the man of the house is pretty attached to it. ;)

`

`

Here the tin backsplash behind the stove is coming down and the new white subway tile will fill that space. I may also try to add some crown molding. The people who lived here before us boxed in the space between the top of the cupboards and the ceiling, but I think some trim would really give it a more finished look.

Kitchen Renovation Before Pic

The counters are a black granite tile with black grout. Not my fave, but not really in the budget to replace them either. Typically I would coordinate vertical and horizontal surfaces in darks and lights, but I am so tired of keeping these (poorly painted) white cabinets clean! That's why I'm thinking black on the lower cupboards, but a fresh coat of white on the uppers. I'm afraid it would become really dark and heavy with all black or I would just do that. To tie in the transition, I'm contemplating dark grout with the white subway tile.

I would love to hear your opinion or words of wisdom if you've learned by experience! Please use the comment feature below to share your thoughts!

And now, a few pictures I've collected as inspiration. Most of these kitchens go above and beyond the scope of this project, but hey, who doesn't love looking at pictures of pretty kitchens!?