Kitchen Renovation

 I can't believe that I am sitting here writing this post with my windows open, my bare feet, and in a short sleeve shirt. I know to some of you this may not seem like a big deal, but it is NOVEMBER! and in Central New York, anything over 45 degrees this late in the year is like being on vacation! Seriously, I might go pull out my bathing suit and work on my tan. (joking!)

Ok, so all kidding aside, I am so excited to start this next project. It's going to be a biggie, but I'm diving in head first--I'm finally going to tackle my kitchen! It's the one room in the house I haven't really done a lot with since moving in. It's not that it's awful, it's just not me. But that is about to change! 

I thought I would start by showing you some before pictures and then share some images I've pulled for inspiration. I would classify this as a medium-sized renovation. Here's what I plan on updating:

  • Painting the walls
  • Painting the cabinets (I'm thinking dark on the lowers and light on the uppers)
  • Hardware for the cabinets
  • Light Fixtures
  • White subway tile backsplash with dark grout
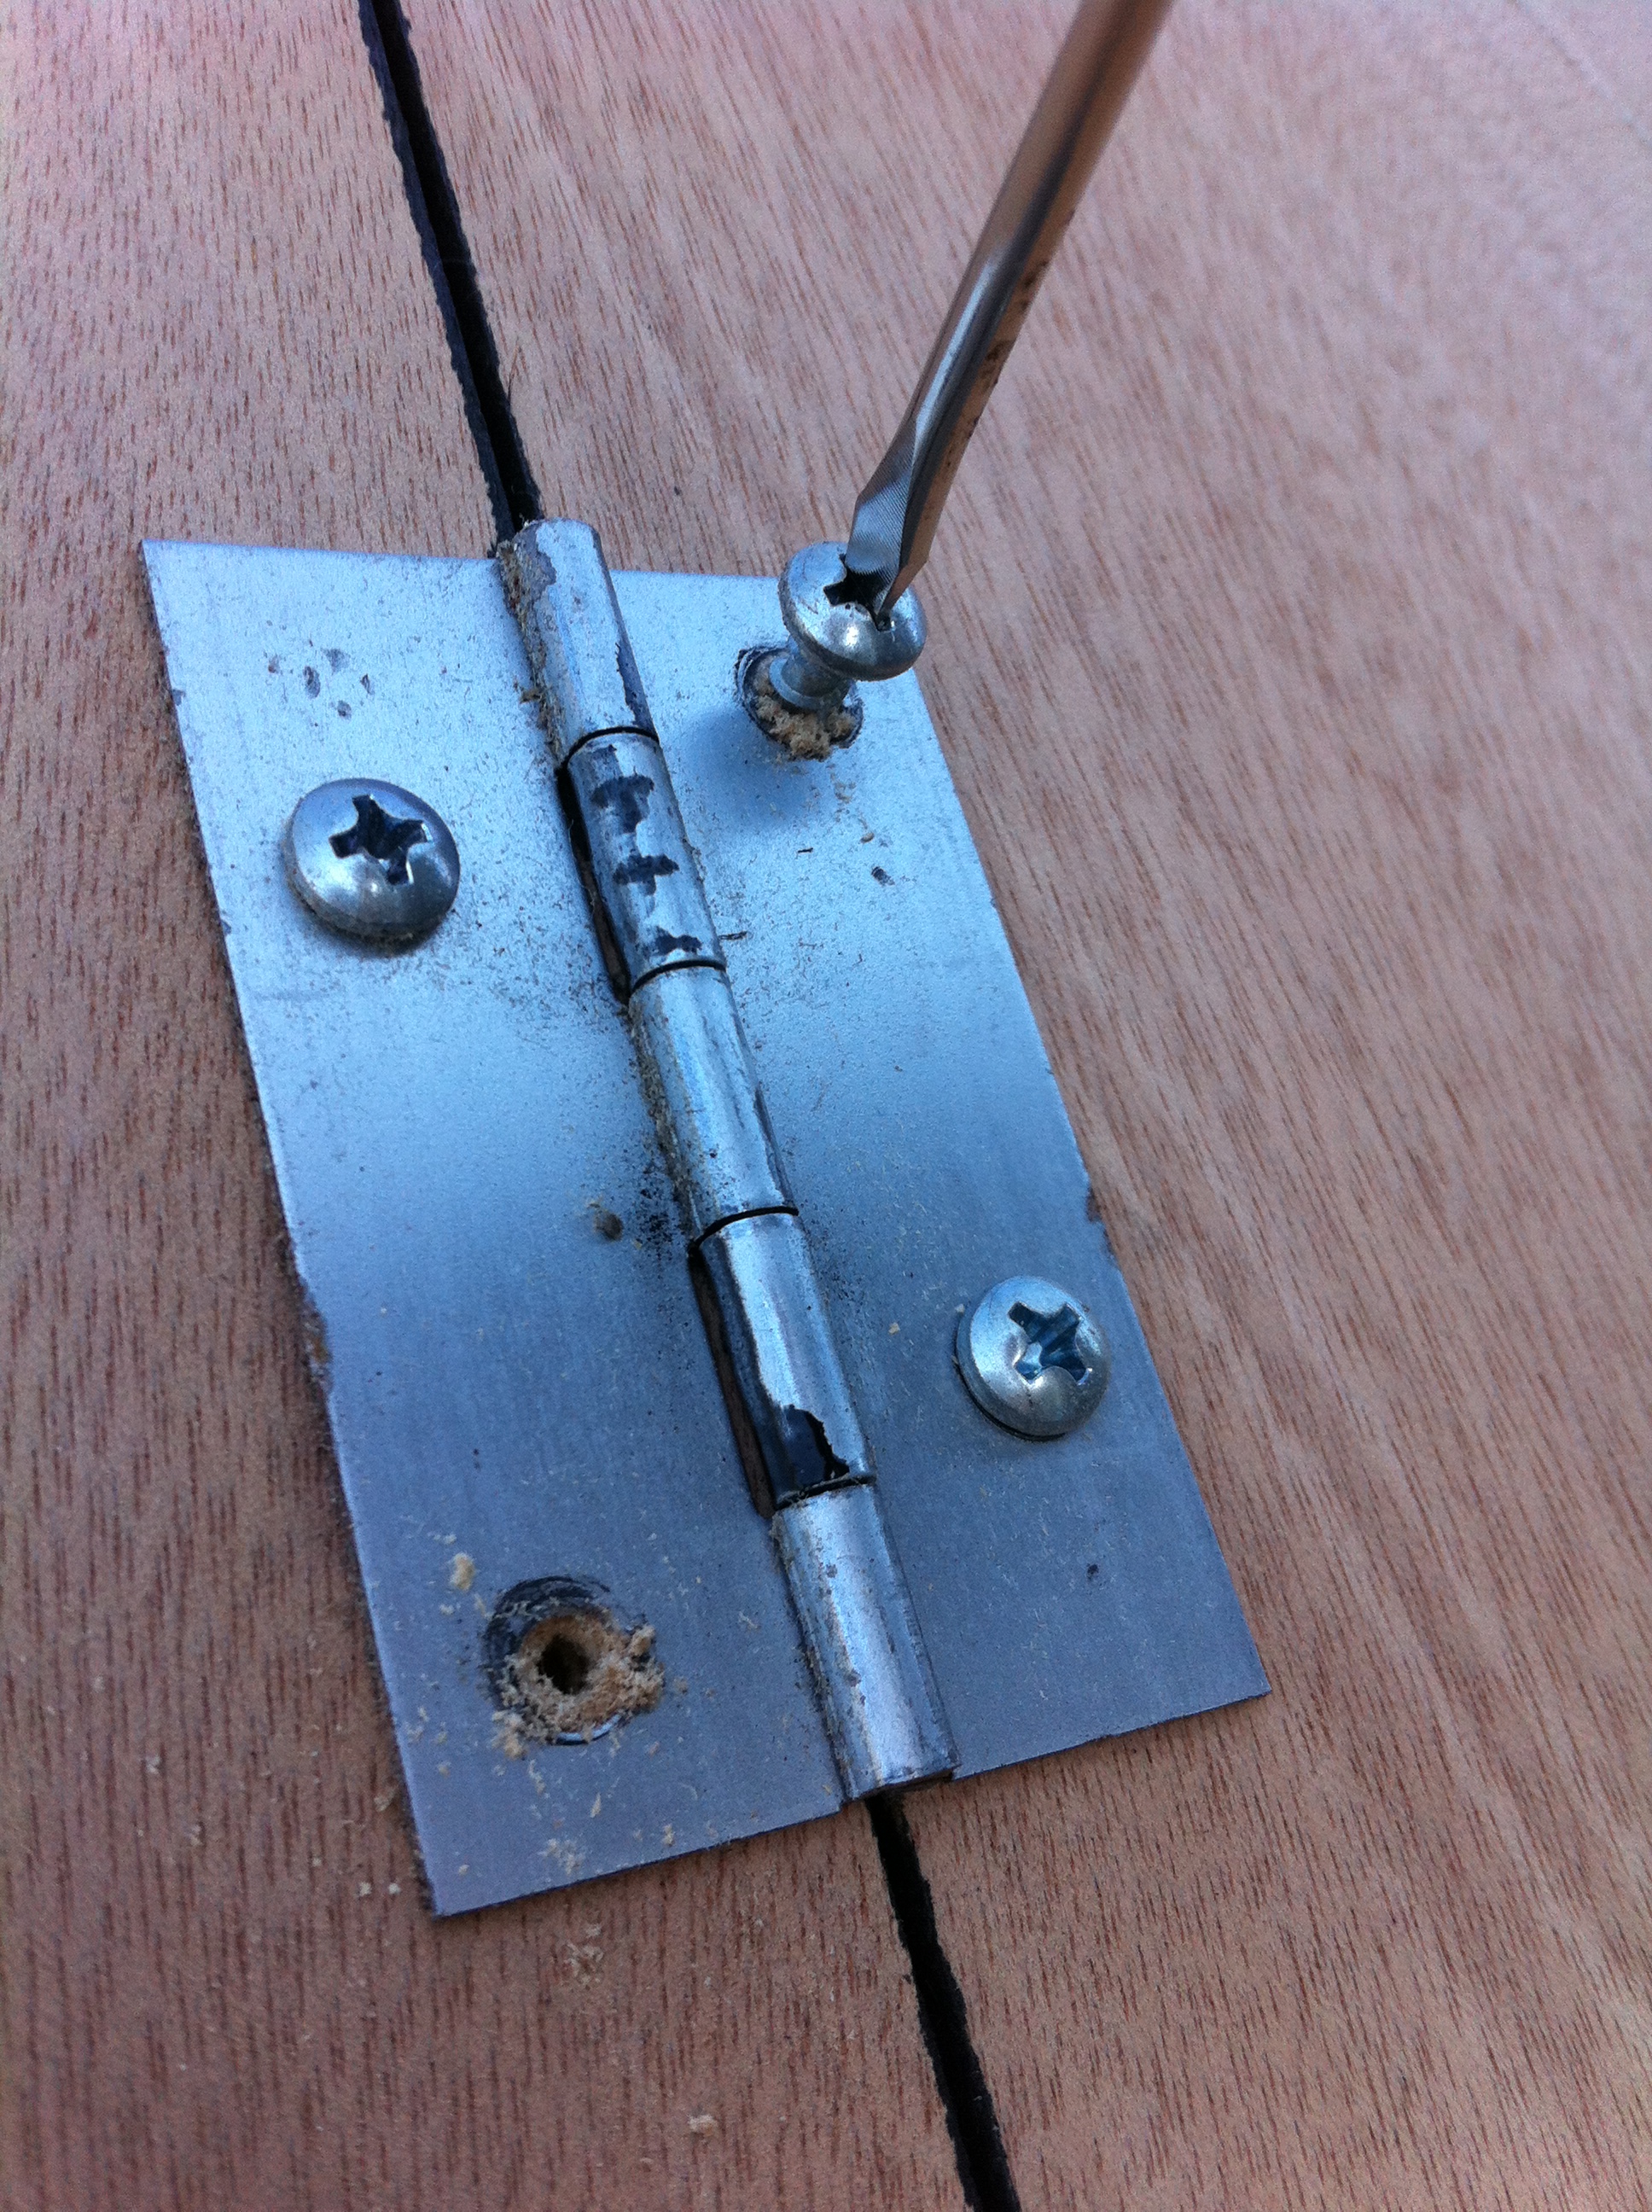
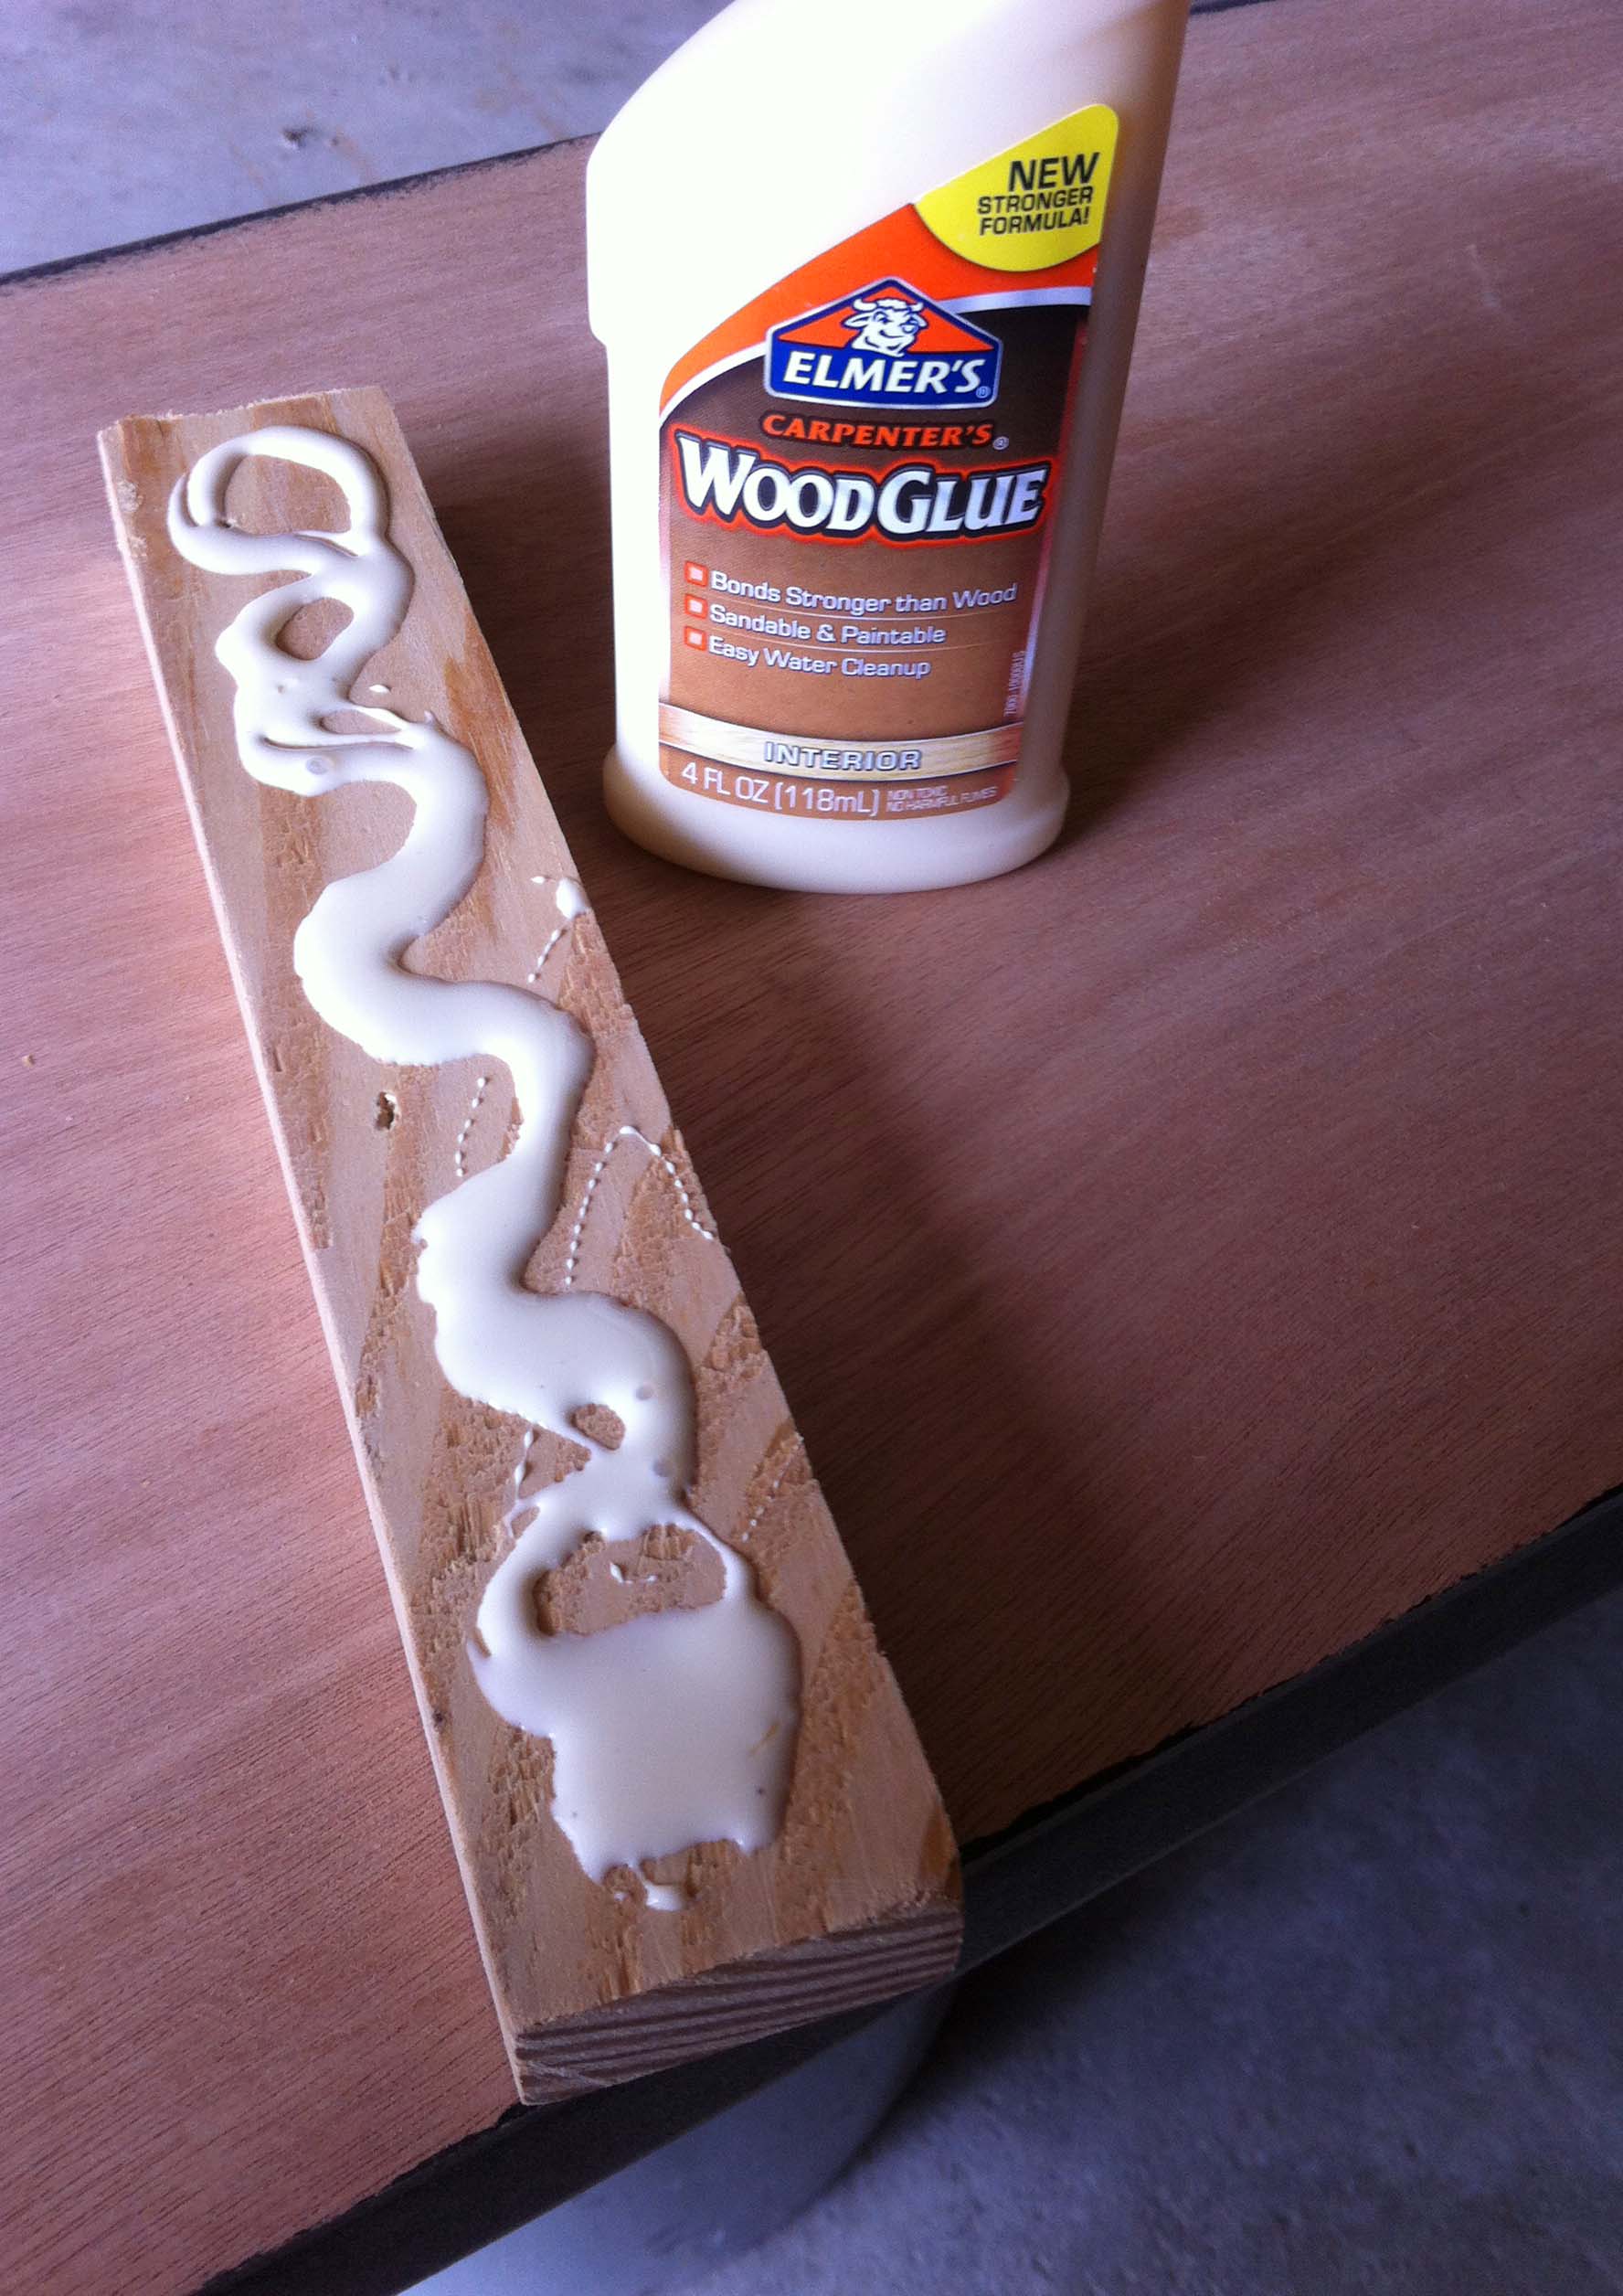
  • Fixing a broken cupboard and creating a microwave shelf
  • Under cabinet lighting
  • Possibly some open shelving in place of the hanging pots and pans rack
  • Window treatment

Since it's so much harder to be objective about your own space, I would love to hear your ideas and feedback! Comment below and tell me what you think!

Kitchen Renovation Before Pic
Kitchen Renovation Paint Swatches

I taped the paint swatches of colors I'm considering to wall so I could get a feel for how the colors looked throughout the day in different lighting. It is amazing how much different they look in natural and artificial light! Some of them turn so blue in the evening! Right now I'm leaning toward the third from the top. It is the lightest and I like the color best at night.

Kitchen Renovation Before Pic

This is the broken cupboard (well, drawer actually) that I mentiond. I'm thinking about removing the drawer and its hardware entirely, the cupboard door beneath it, as well as the brace that separates the two. This will leave a big open space where I can build a shelf for the microwave so that I can reclaim the counter space for something prettier. 

I'm also debating taking down the pots and pans rack and putting up some open shelving. We'll see though, the man of the house is pretty attached to it. ;)

`

`

Here the tin backsplash behind the stove is coming down and the new white subway tile will fill that space. I may also try to add some crown molding. The people who lived here before us boxed in the space between the top of the cupboards and the ceiling, but I think some trim would really give it a more finished look.

Kitchen Renovation Before Pic

The counters are a black granite tile with black grout. Not my fave, but not really in the budget to replace them either. Typically I would coordinate vertical and horizontal surfaces in darks and lights, but I am so tired of keeping these (poorly painted) white cabinets clean! That's why I'm thinking black on the lower cupboards, but a fresh coat of white on the uppers. I'm afraid it would become really dark and heavy with all black or I would just do that. To tie in the transition, I'm contemplating dark grout with the white subway tile.

I would love to hear your opinion or words of wisdom if you've learned by experience! Please use the comment feature below to share your thoughts!

And now, a few pictures I've collected as inspiration. Most of these kitchens go above and beyond the scope of this project, but hey, who doesn't love looking at pictures of pretty kitchens!?

Fall Napkin Rings

A quick, easy, DIY project to get you in the fall mood! 

Wooden Napkin Rings for Fall

These vintage wooden napkins were an amazing find on Etsy. Aren't they gorgeous!? I was tempted to abandon my plan of painting the facets because they were so beautiful but I'm glad I followed through because I love the finished product and I think you will too! 

Here are the before pictures:

I love the lighter lines between the facets and the wood tone is so rich and warm!

To get started, I used a small piece of 220 grit sandpaper to gently scuff the surfaces I wanted to paint. After a good wipe-down I started painting the first side of the napkin rings. I chose a light peach and darker coral and did 4 of each color. When those were all dry I flipped them over and did the opposite side of all 8 in gold metallic. These colors are great for fall and will pair beautifully with the other pieces we are making to use for our fall dinner party. (Stay tuned for those posts!) When purchasing or re-making items I really strive to get multi-season use out of things. I'm excited that these will also look great paired with pastels for spring or bright colors for summer picnics. 

All of the paints were acrylic craft paints, but of the three, I had the hardest time with the light peach. This may have been because it was the lightest and, as you can see, the wood is quite dark, but I also think it may have been because it was a satin finish. It showed brush strokes, left ridges even with suuuuper light coats, and it took more coats overall to cover. I think next time I would stick to a more matte finish and add gloss overtop if needed.

Ok, friends--light a fall-scented candle, pour some pumpkin spice coffee, jump over to Etsy to pick out some wooden napkin rings, then choose your colors and get painting! When you're done, pin your pictures to Pinterest and tag 5 O'Clock Design in the comment so we can see your masterpieces!

Geometric Lamp Makeover

See how these lamps went from outdated orange to gorgeous gold, PLUS, how to use your Ikea Expedit shelving as a home office!

We all have those things in our home that we've fallen out of love with. Our style changes, the season changes, or something just isn't functioning well in a space. It can be expensive (and wasteful) to constantly be buying new things, but it's also no fun to feel stuck with things you don't love. This is when I love trying to re-purpose or refresh something I already own. Often this means altering the look with paint, fabric, etc but other times it just means changing where or how I'm using a particular piece. 

These lamps honestly weren't terrible to begin with. I bought them this color on purpose and used them happily for a few years before I grew tired of the bright orange. While I was ready to be done with the color, I still loved the shape and character. So I turned to my beloved gold spray paint to give them a new look.

Here is what they looked like after the second coat of paint. I did not use a primer, just cleaned the lamps well. The paint adhered well and covered nicely. I thought I wanted to seal the lamp and give it a high-gloss look, so I proceeded to apply a few coats of clear spray acrylic. 

This is what it looked like with the clear gloss. ICK! Again, it's really not awful, it just isn't what I was going for. It feels kind of flat and dull.

*A note about the clear gloss--if you decide to use it, don't freak out if it looks cloudy-white going on! I panicked, but as it dried it cleared right up.

So... back for another round of straight gold spray paint and it's perfect again. I love the gold foil look and the subtle character of the finish. 

With the lamps looking so classy, the shades needed a little re-vamp too!

The linen shade was really beautiful and classic, but it looked out of place with the new gold color. It seemed a little casual and there was absolutely no contrast. I taped off the edges so I wouldn't get paint on the white interior and then went crazy with this "Diva Pink" color.

This is the first time I've tried painting a lampshade and I was so nervous I was going to ruin it. I kept meaning to buy an additive that is supposed to turn any paint into fabric paint but never got around to it. Eventually, I decided to just try it! This is just straight acrylic craft paint and it worked beautifully. I applied the paint with a brush and only did one coat so as not too obscure too much light.

And finally, how the lamps worked with my humble home office!

I know, I know, "home office" might seem like a stretch, but since I do a lot of work right at our dining room table, I needed a place to store the things I use most often. We were using sections of this Ikea Expedit shelf as a bar, but once I finished this bar cart project it became kind of a catch-all for books, a few picture frames, and toys. I decided to re-claim it and make it a more functional work space! 

What do you think--hit or miss with the new look for these lamps? Comment below and tell us what you think of their transformation!

Design Blogs You'll Want to Follow

I am constantly being inspired by others in the design field. I love seeing the unique approaches that are used to creatively solve design challenges and create cohesive styles. Today I wanted to call out some of my favorite interior design blog all-stars and tell you why I think they are each so awesome. 

Photo Credit: David Pascolla 

Sarah, of Sarah M. Dorsey Designs, is one of my all-time favorite DIY interior design bloggers. Here's why I think you'll love her too: Sarah's projects are always super high-quality! She takes the time to be incredibly thorough and she tackles some really impressive pieces. Her husband, David, often helps with the detailed plans and measurements and then they are kind enough to share them in their blog posts, meaning it's easy to follow the instructions and get great results! These gorgeous geometric DIY lights are a great example. Another thing I love about Sarah is her style. Check out her home tour and you'll see what I mean--isn't her office to die for!? 
Okay, enough of me telling you--go see the awesomeness for yourself!


Photo Source: Amber Interiors 

Next is Amber Lewis, of Amber Interiors. This girl has some serious style! The crisp, cool, clean, modern-meets-bohemian vibe that is signature of her work is truly inspiring. I love checking out her before and after shots--like this girls room for Client Sandy Castles, (Oh yeah, she also gives her clients awesome nicknames!) or this guest bath for Client Freakin Fabulous. If I lived in L.A., Amber Interiors is who I would have design my entire house! Check out more of her work and then comment below to share what your faves are!


Photo Credit: LK Griffin Photography

And last, but certainly not least, is Emily Henderson. Emily's design philosophy is one of the warmest, most authentic approaches to design out there. Without compromising her own sense of style, she delivers designs that are truly all about her clients. Take a peek at her portfolio and you will see that the breadth of her talent and styling ability are not to be rivaled. Emily and her team also curate The Fleawhere you can purchase some amaaaazing vintage treasures that are truly one-of-a-kind! Then, if you're like me and can't get enough of Emily's savvy style, check our her HGTV show, Secrets From a Stylist

Make sure to follow these rockstars on Pinterest, Bloglovin, Instagram, and Facebook so you don't miss any of their awesome work! Want to see more of what inspires us? Follow 5 O'CLOCK DESIGN CO. on Pinterest

DIY Sofa Table

With the wee one learning to crawl, I decided it would be a good idea remove the glass coffee table from the middle of our living room. I planned on replacing it with something more toddler-friendly, but having the open space has been perfect for him to play and I've enjoyed the visual openness too. I contemplated end tables, but our living room just isn't big enough for that much furniture. We do need a place to set a coffee cup or water glass down though, so I began focusing my attention on sofa tables.

I decided this would make a great DIY project and started scouting materials. I settled on a pair of bifold doors that we removed from a closet and we no longer had need for. These were a great solution for a few different reasons. First, the doors are pretty cheap, generic versions, but for this use, that was actually great because it meant they are hollow and therefore lighter. The weight was important because instead of using table legs, I opted for go with wall-mounting hardware. The height of these was also a perfect fit for our sofa and the depth is more than sufficient without being bulky or obtrusive. 

Here is the process of their transformation from closet door to sofa table!

I only needed one panel so I took off the hinges and removed the pieces used to hang it from a track in its former life as a door. I then used some wood filler on all the holes before giving it a good sanding. 

Because the doors were hollow, I needed to add something to attach the wall bracket to. I cut pieces of wood to size and used wood glue and clamps to adhere them to the underside of the soon-to-be shelf. I cut the wood strips a few inches shorter than the overall depth so that they wouldn't show from the front. I also used a triangle to place the strips so I could be certain they were straight. 

After the glue dried and pieces were firmly in place, I wiped everything down and painted it this gorgeous cobalt color. Rather than giving everything a first coat, and then a second, I painted two coats on the underside and edges before flipping it over and painting the top. This way the top was never face-down on un-cured paint. 

When attaching the metal wall brackets, I offset them about 1/2" from the shelf rather having the shelf be flush with the wall. This provides a narrow channel for the cords from table lamps to tuck neatly behind the shelf instead of resting on top. 

Overall, I love how it turned out! I also really like the color--its the perfect pop with all the black and white. I think some throw pillows with a little color will be then next project and the finishing touch for this space!