
Last summer, my friend Shauna reached out about helping her give her living room a little pick me up. I introduced the project here and shared the inspiration and direction for the room. With such a cheerful, California Boho vibe it was a lot of fun to work on. It often doesn't require big expensive changes to freshen a space and this room is a great example of that. Rearranging some existing art and decor, a little paint, adding a few new and new-vintage pieces, along with some fresh greenery and I'm loving the result! I'm super excited that she sent some after pictures so I can show you all how it turned out!


Before and After: A Living and Dining Room Makeover
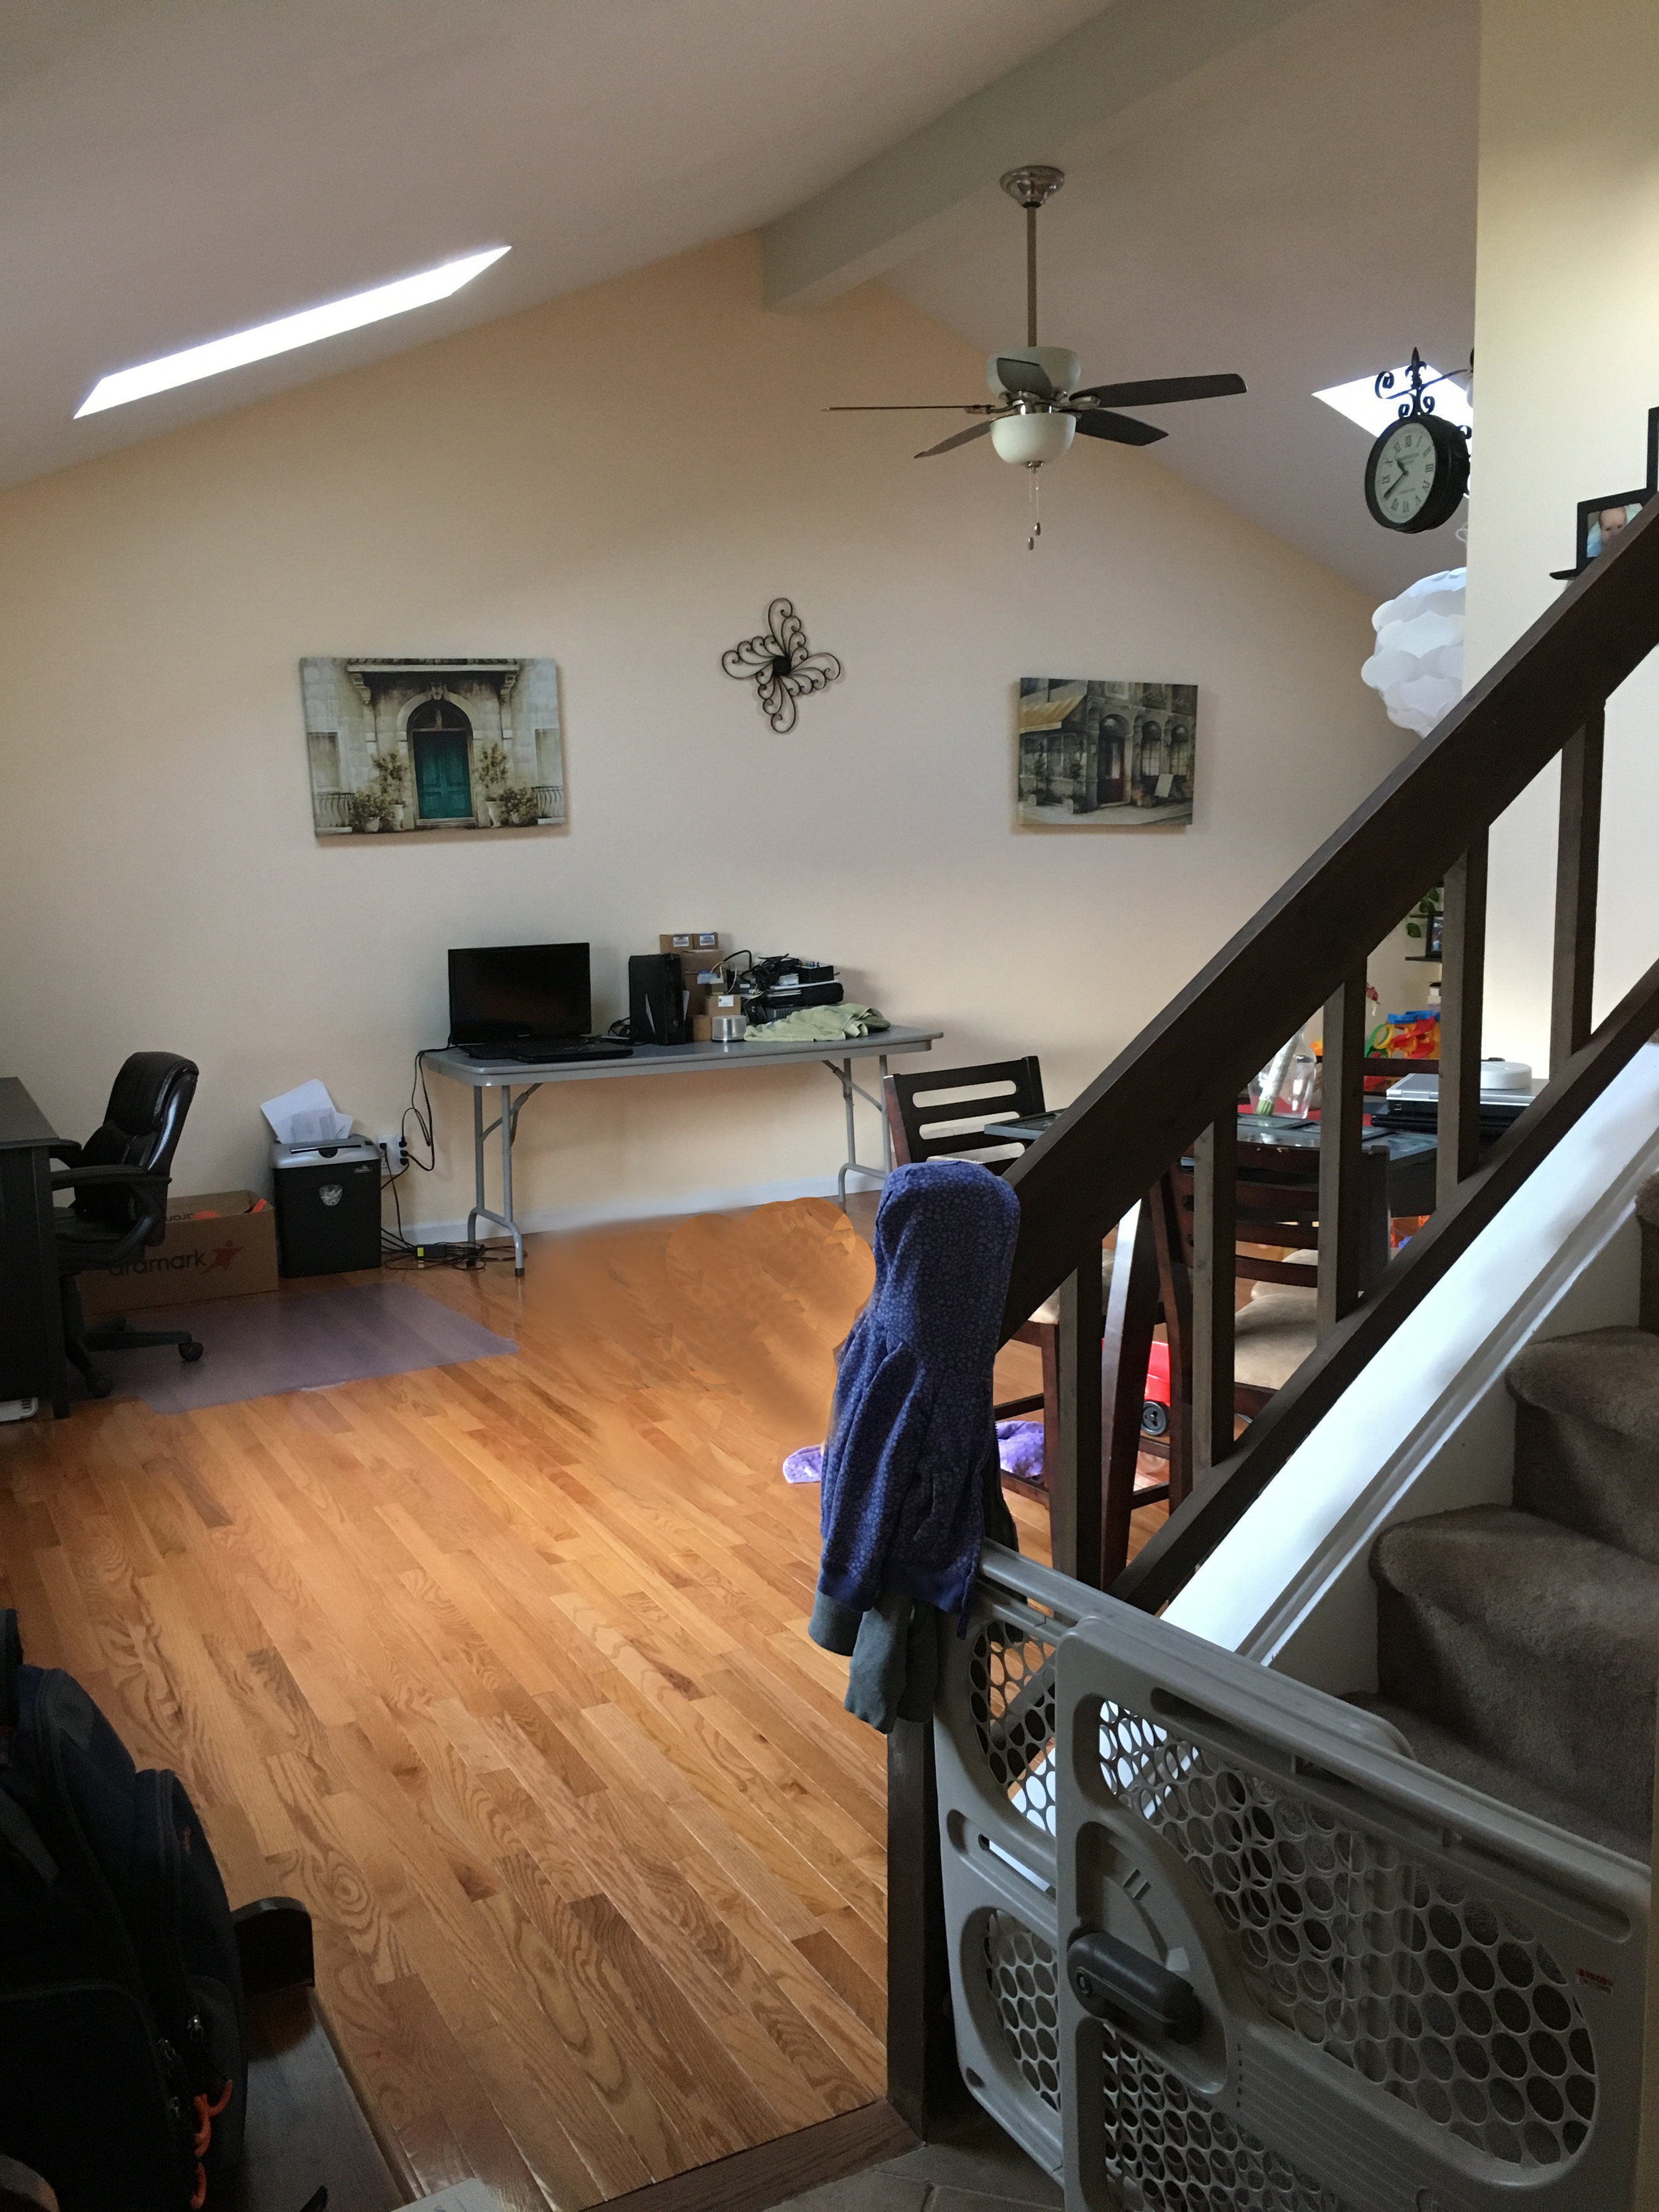
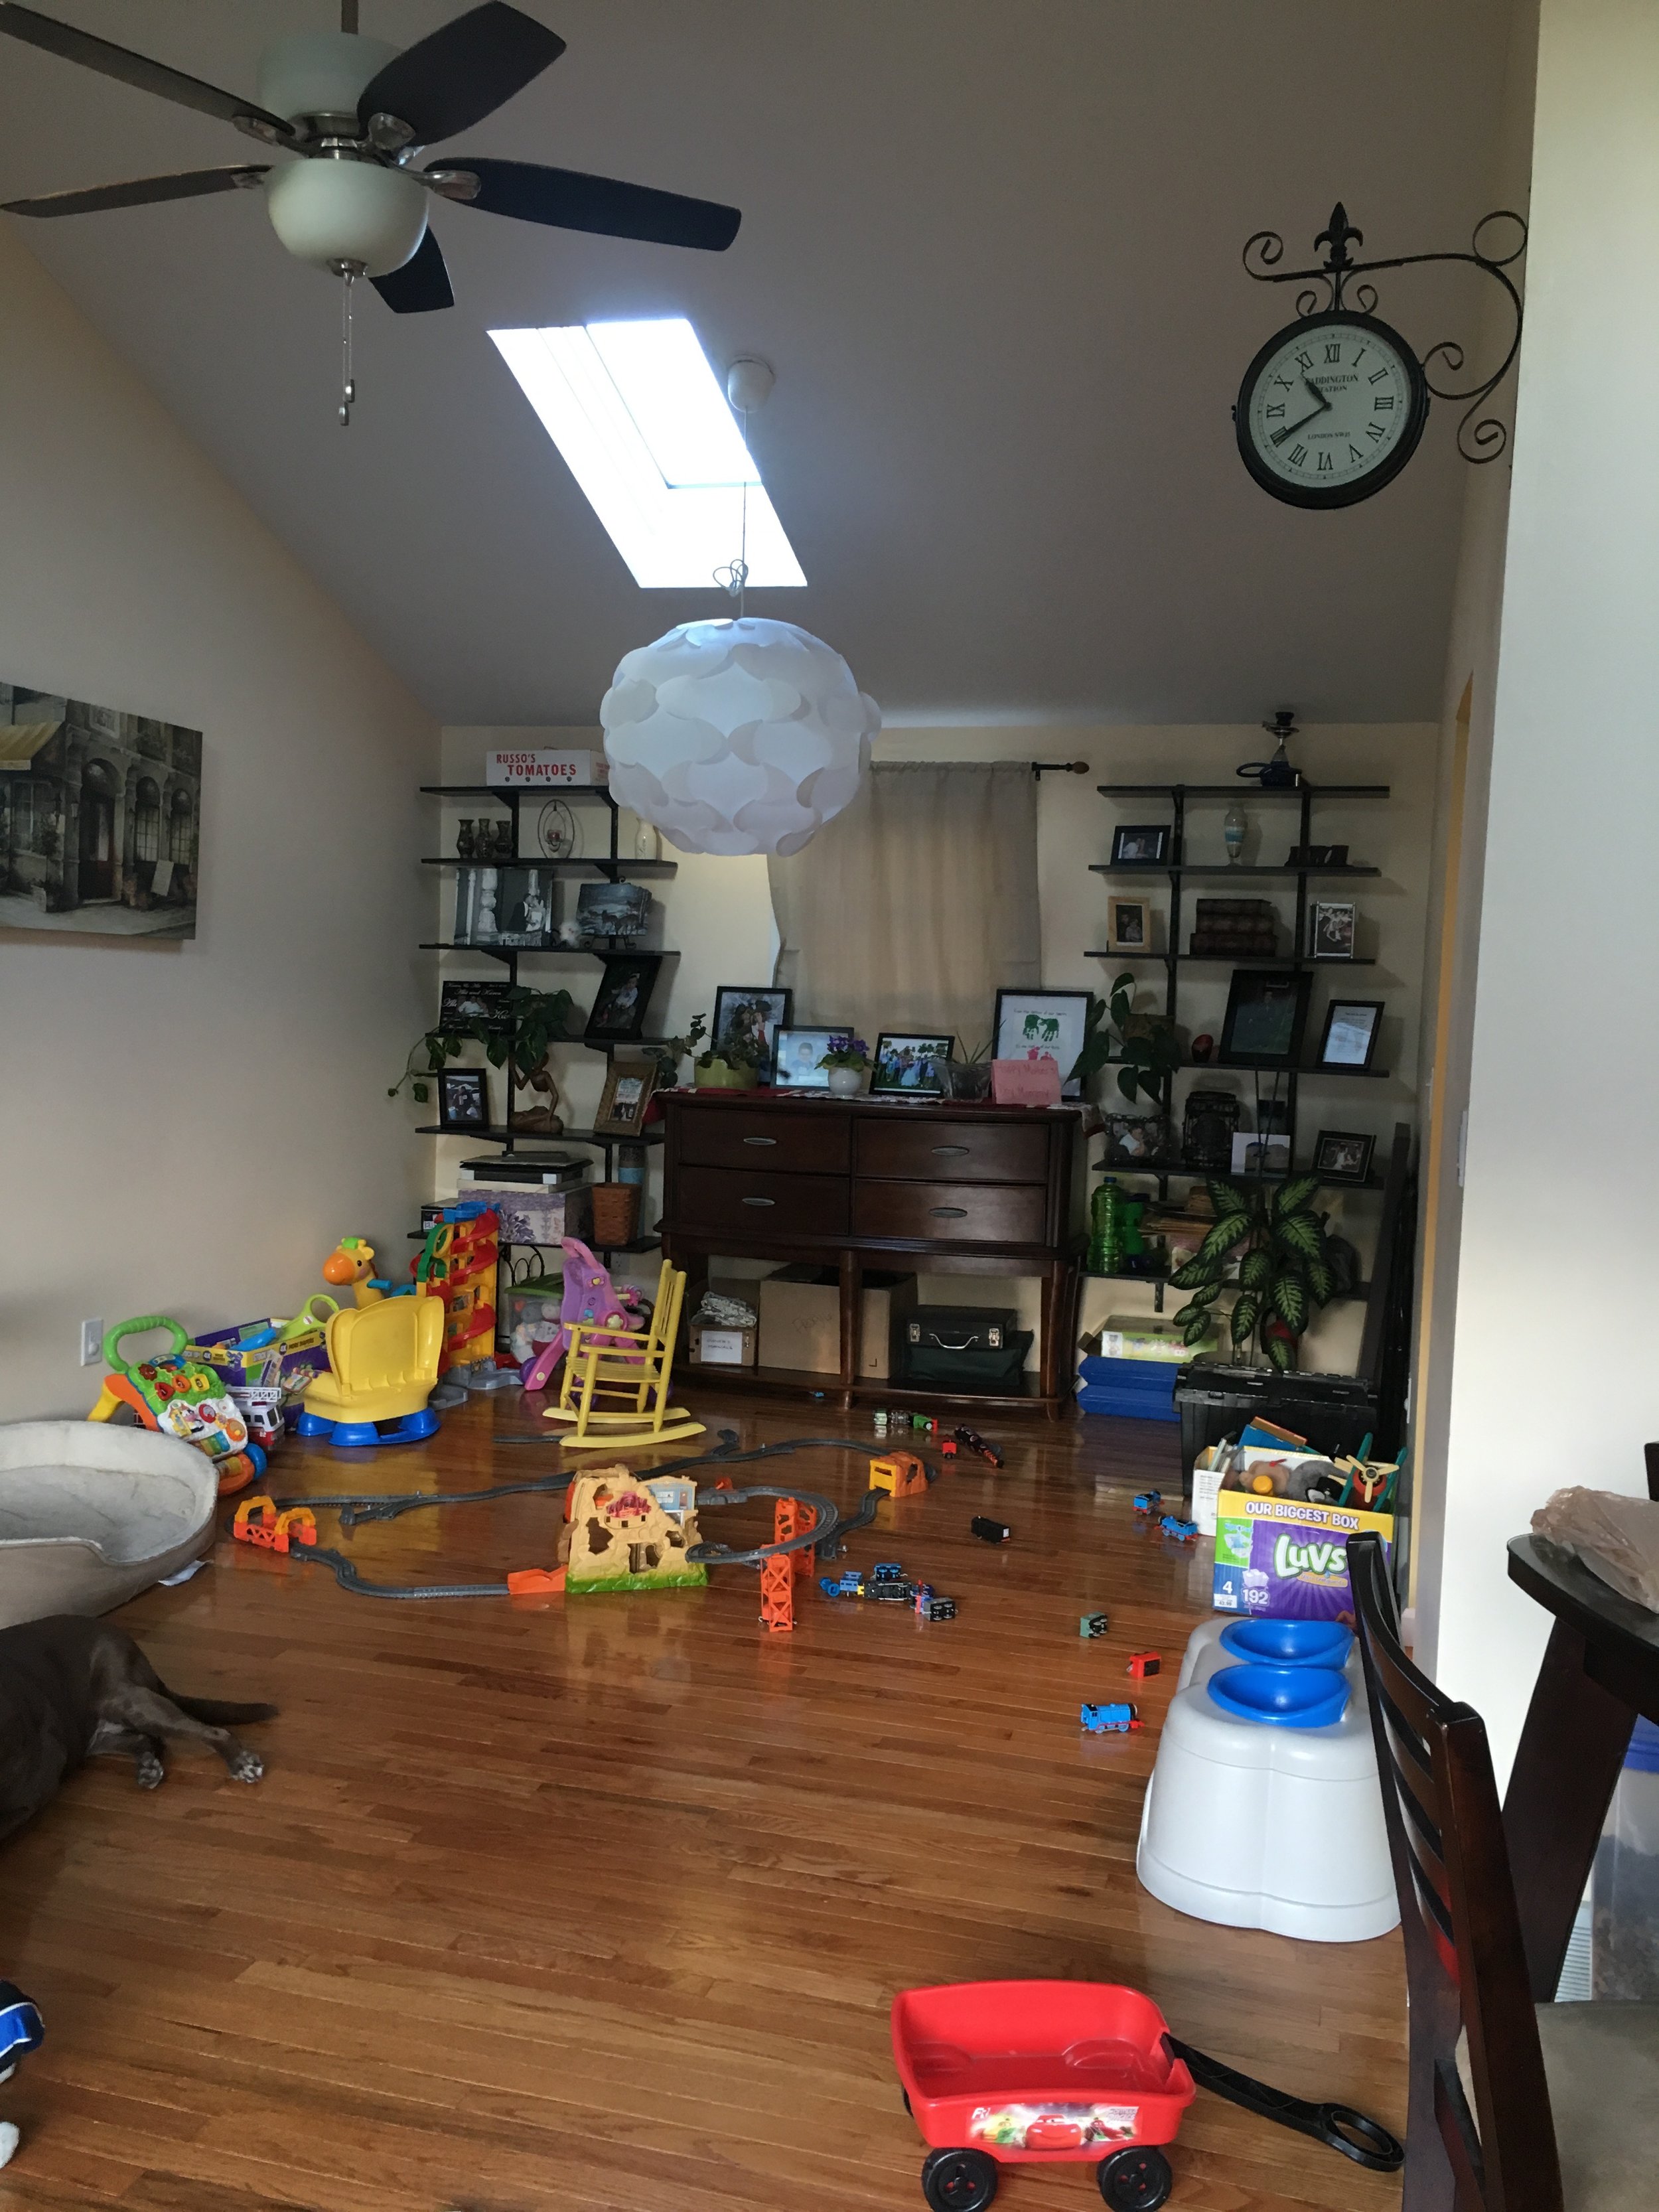
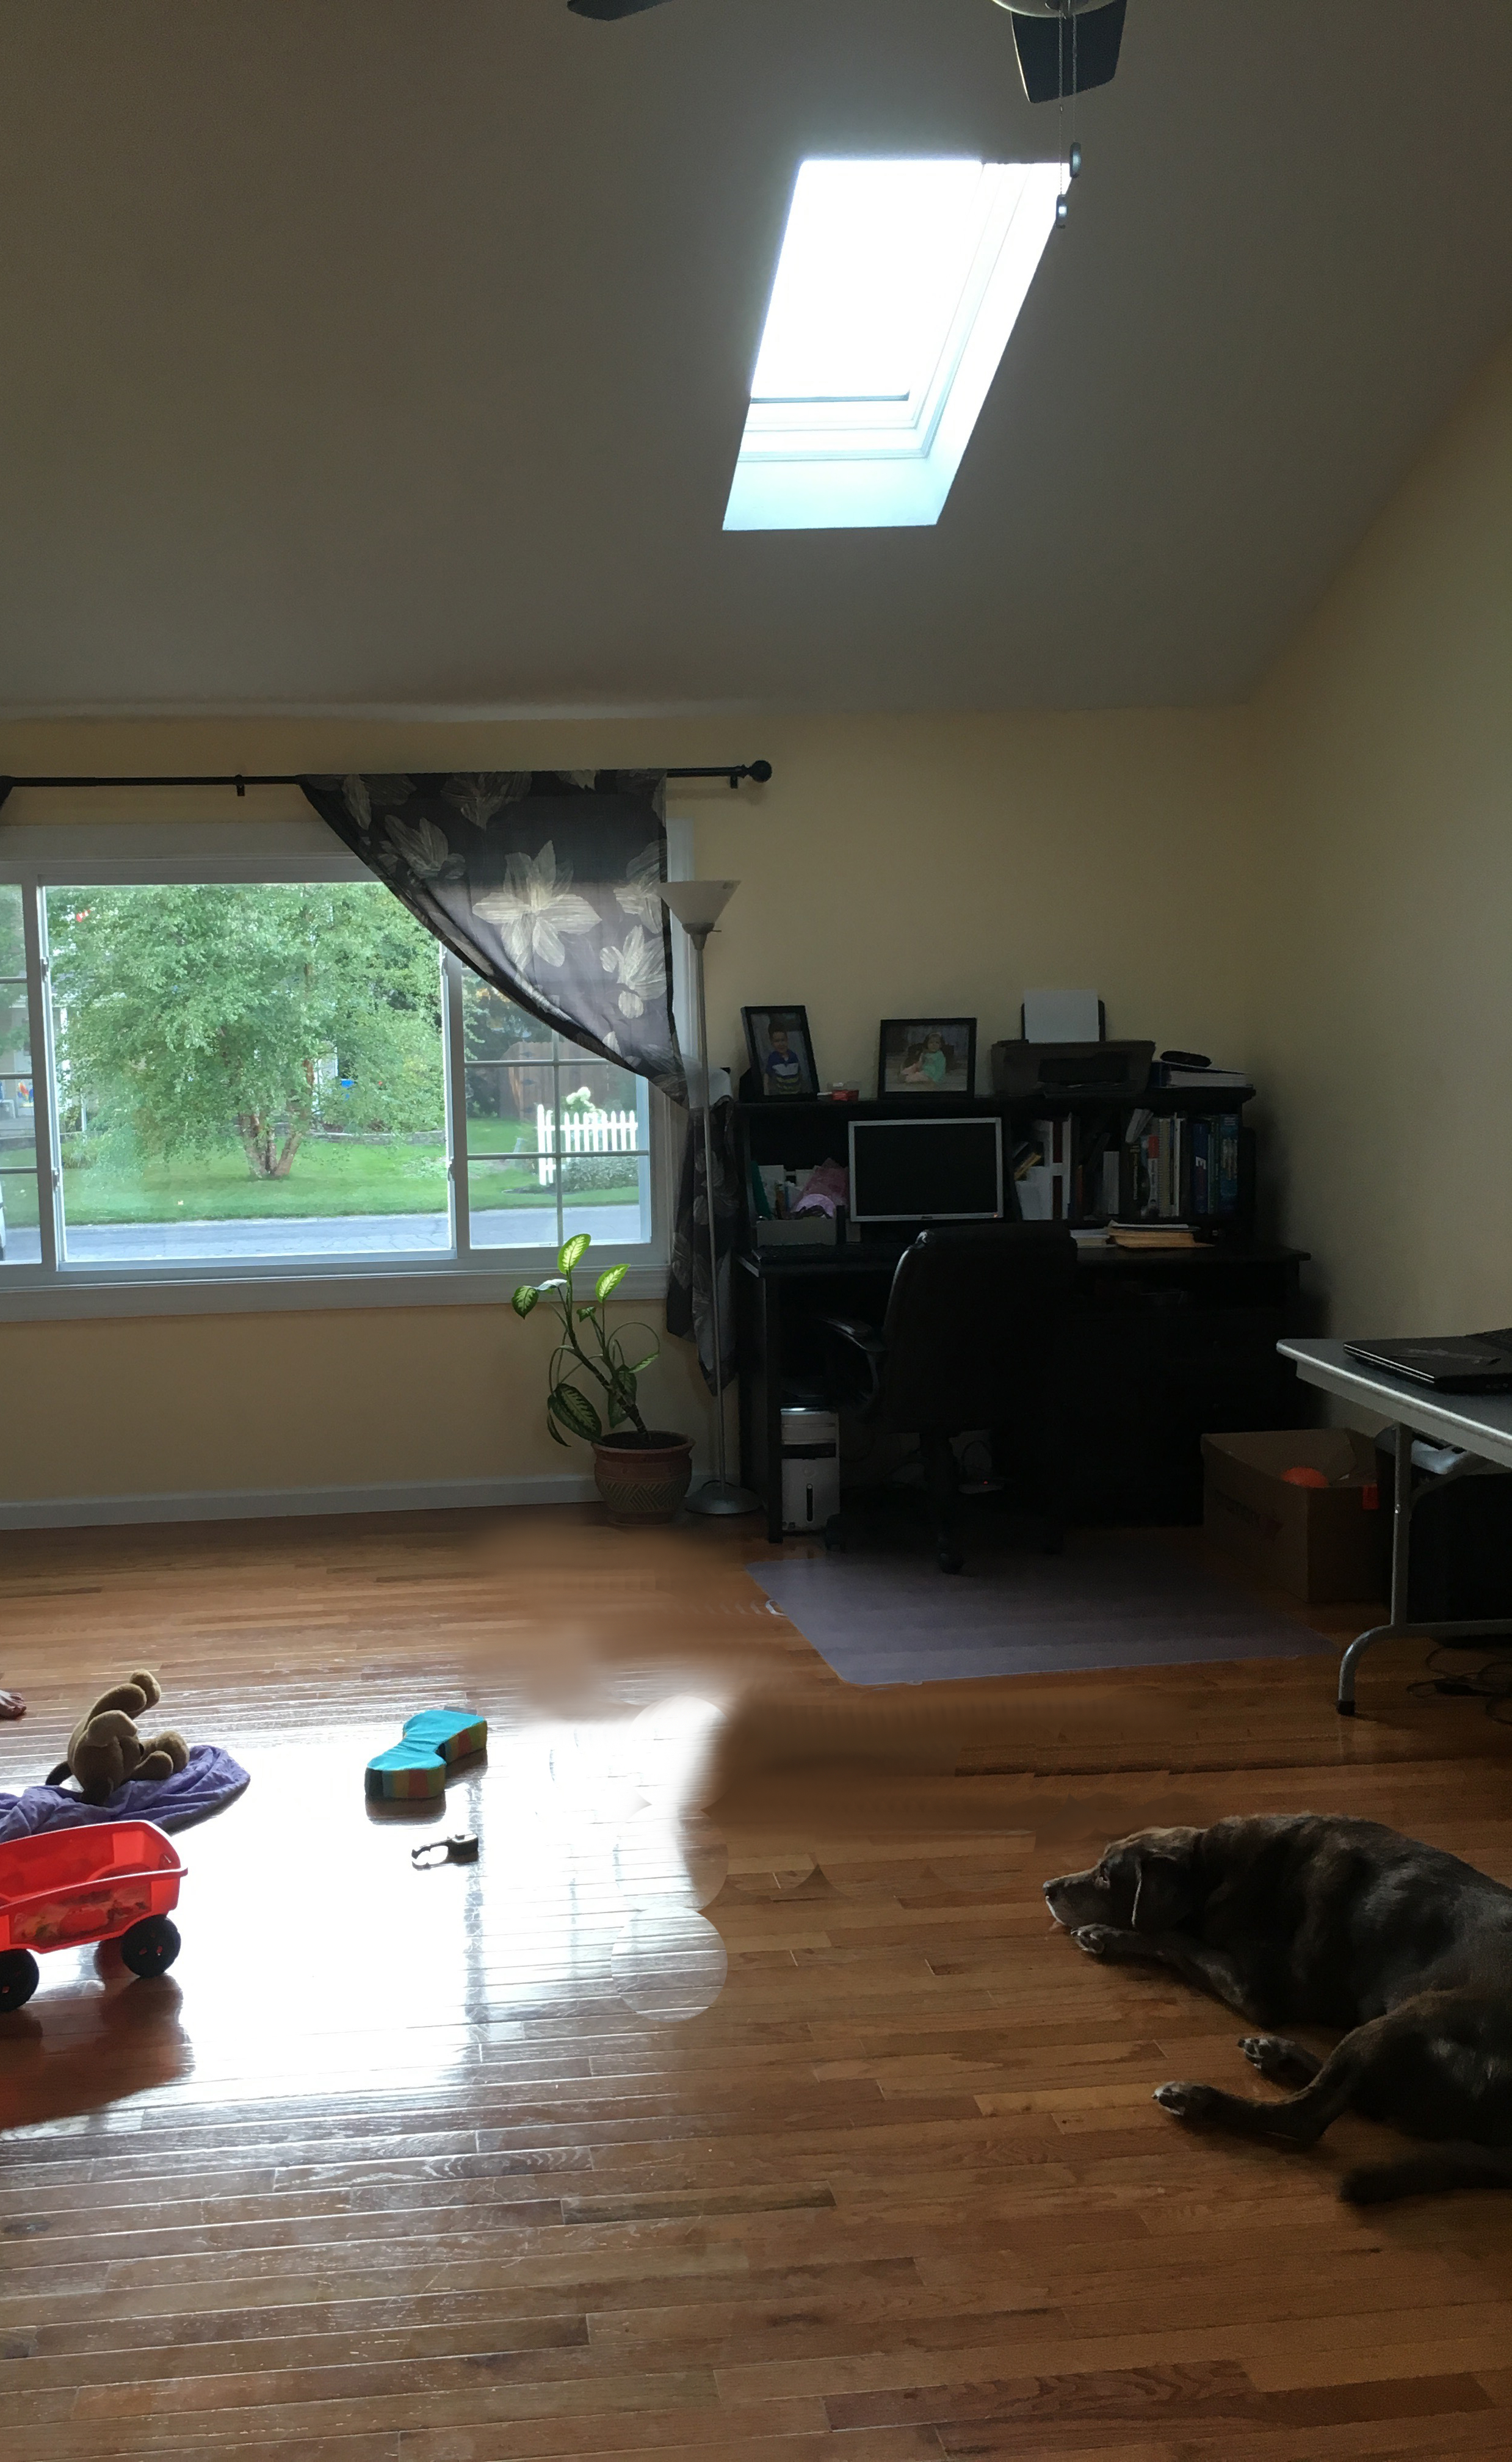
When the client first contacted me about this project, I was pretty excited to tackle this multi-use space. The set up they currently had was functioning as a playroom, office, and catch-all area that was drastically underutilized but there was SO MUCH space, gorgeous vaulted ceilings, and they didn't want to keep any of the current furniture. Can I just tell you how much I love a blank a canvas!? The challenge was to reclaim a portion as an adult living area and a separate dining area, which meant two whole rooms worth of furniture and accessories on a modest budget. I also love a good challenge!
Here are the before pictures:
After we met with the client and went over their answers to our Style Survey, we put together two looks for them to choose from. One is a little softer and more casual, the other uses darker tones and conveys a bit more formality. They said they really wanted a sectional sofa, but there just wasn't room in the floor plan and we opted for a sofa with an attached chaise. This a great option if you want that lounge-y feel but don't have the space for a full-sized sectional!

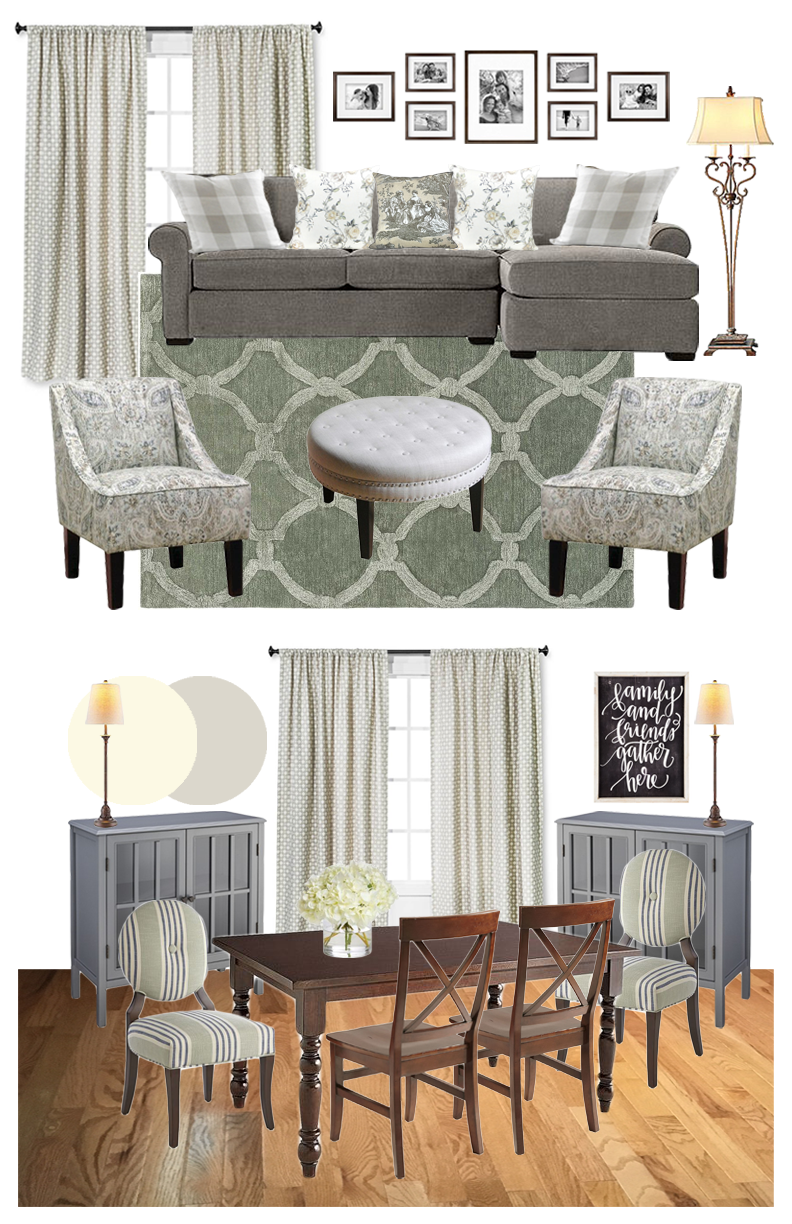
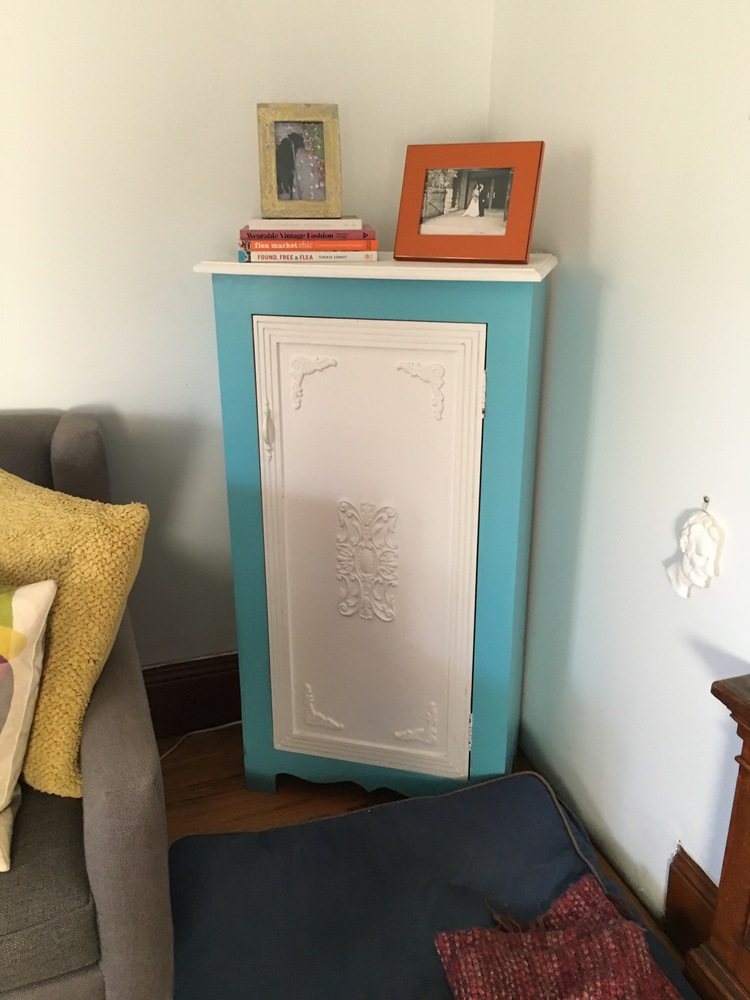
The client chose the softer, more casual design but said they would prefer something other than leather for the armchairs and a coffee table with some storage. The other piece they weren't crazy about were the side cabinets for the dining room, and said they wanted more detail on the doors. So we sent over the following options for these three items.


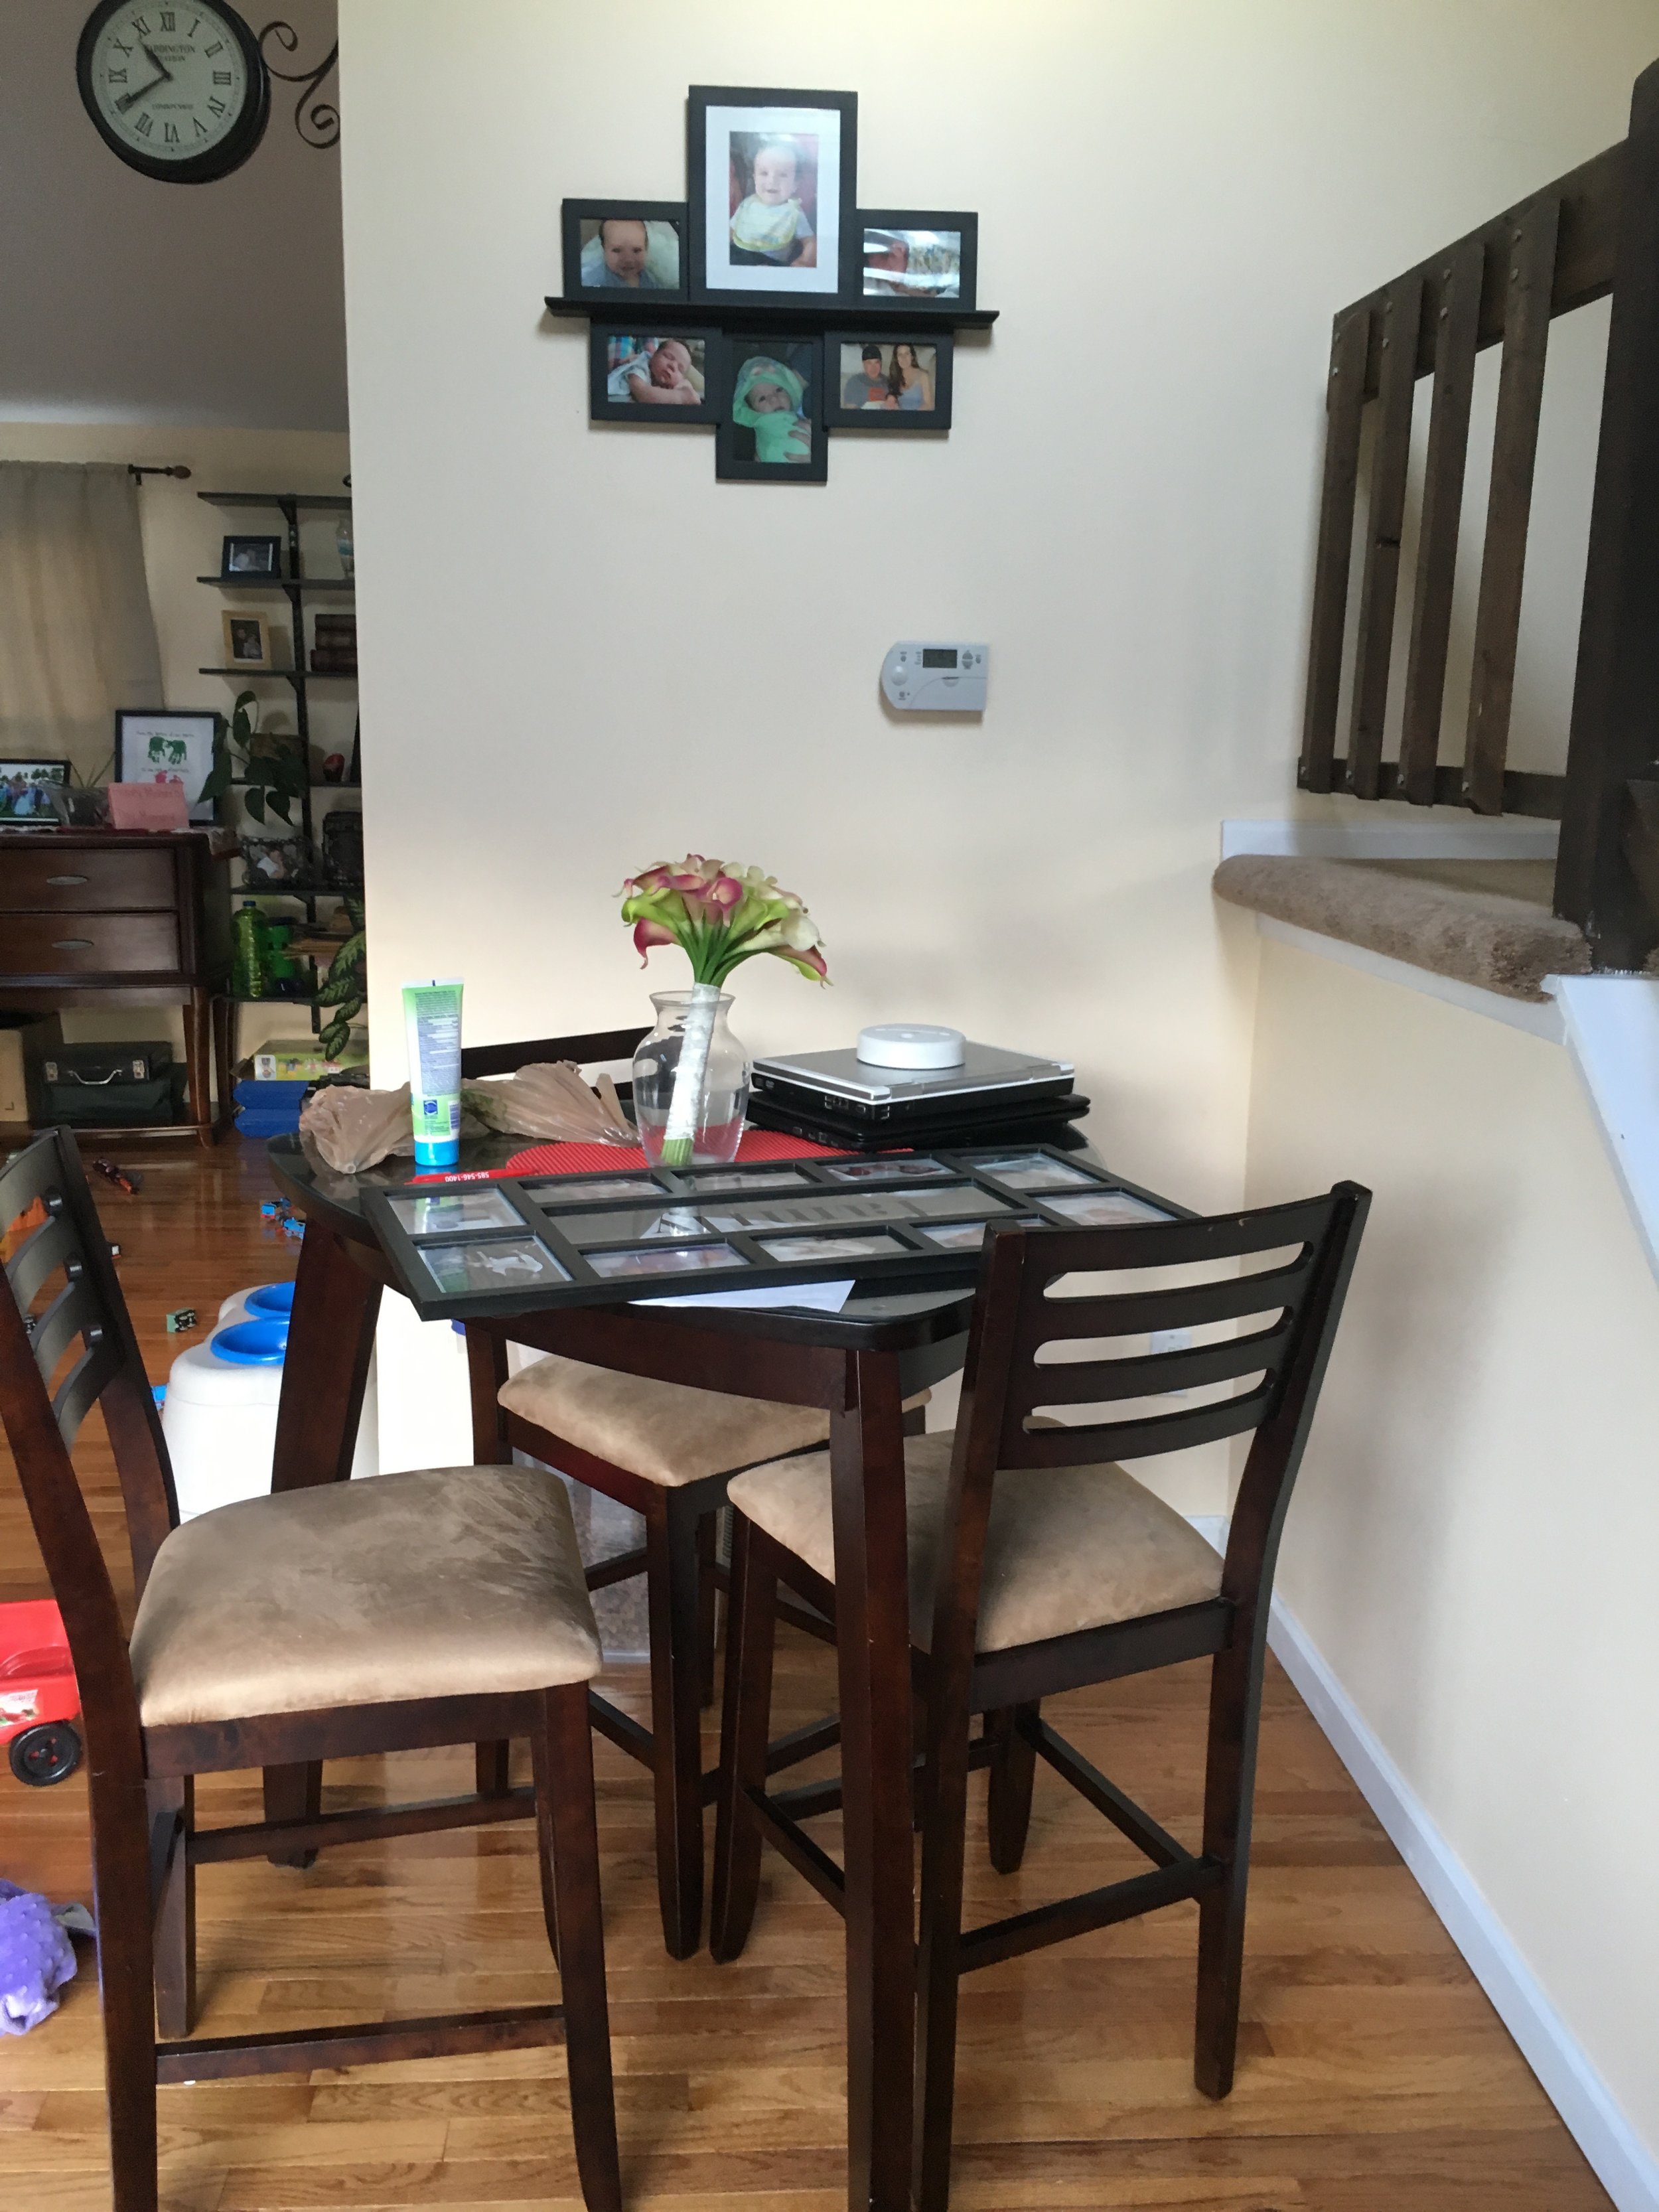
They went with Option 2 for the armchair, Option 1 for the coffee table, and Option 2 for the dining room cabinet. (I was secretly hoping they would go with that cabinet because I love how the mint chairs and dark green work together!)
After all the new pieces arrived, we scheduled the install/styling session and in about four hours they had a grown up living area, dining room, and welcoming entryway furnished, accessorized, and under budget!


Master Bathroom Reveal
I can't even begin to tell you how excited I am to show you photos from this gorgeous master bath and bedroom! In case you missed the "before" pictures, you can find them here. WHAT A DIFFERENCE, right!?
One of my favorite details is all the natural light. Using a glass shower enclosure and half wall take full advantage of the light pouring through the window (don't worry, it's privacy glass!) and then the large mirror over the vanity reflects the light into every corner of the room and overall makes the space appear larger. Orienting the sliding doors in front of the window means that when they are open the sunshine can spill right into the bedroom too.
Speaking of those doors, they are another favorite! The clients indicated that they would really like to use the doors that had been removed in the demolition phase when two bedrooms became one open loft. I'm always a fan of recycling materials so naturally I loved this idea and we made sure to size the new openings accordingly. As an added bonus, these doors are original to the house so they really help to maintain the character and tie in the old and new construction seamlessly.
Take a look at the finished space below and let us know what you think!
All photos by Rachel Liz Photography


We would love to help you make your space the home of your dreams! Check out our design services and let us know how we can help!
Pillow Fort: a New Option for Styling an Affordable Kid's Bedroom
Today Target released a new line of home goods geared towards children. First, let's all acknowledge how adorable the name is--Pillow Fort--I mean, could it get any cuter? And a cute name isn't all it has going for it; this stuff is the bees knees! With both modern and traditionally inclined pieces, you could pull off a Pottery Barn Kids/Land of Nod look (for a fraction of the price) or go for a more Ikea meets Urban Outfitters vibe. Different collections feel better suited for different ages, ranging from nursery design to pieces even young teens would love.
I rounded up a few of my favorites into two mini design boards. All items pictured are from Target, and most are from the Pillow Fort line itself.
Boy's Room: Outdoor Adventure
Sources:
Giraffe Head / Zebra Head / Bear Head / Woodgrain Canvas Bin / Lamp / Tepee / Fox Pillow / "Hello" Sign / Black and White Bedding / Night Stand / Striped Rug / Wild and Free Sign / Green Paint - Benjamin Moore Absolute Green / Blue Paint - Benjamin Moore Morning Sky / Mural Inspiration
Girl's Room: Sunshine Chic
Sources:
Black Vinyl Adhesive Stripes / White Dresser / Yellow Chevron Curtains / Unicorn Head / Mint Junior Cafe Chairs / Flower Pillow / Flamingo Sheets / Hello Sunshine Pillow / Night Stand / Lemon Comforter Set / Pink Spindle Floor Lamp / Mint House Cubby / White Basket / Fabulous Wall Art / Pink Paint - Benjamin Moore Melted Ice Cream / Yellow Paint - Benjamin Moore Sundance
**At this time, many of the items are only available online, but there is currently a 10% discount on most of the Pillow Fort line (as well lot's of other Home Goods!!) with coupon code: HOMESAVE10. If you spend $125 or more you save 15% but this cannot be combined with the above promo code.
Kitchen Update: Stripping Cupboards and Finish Selections
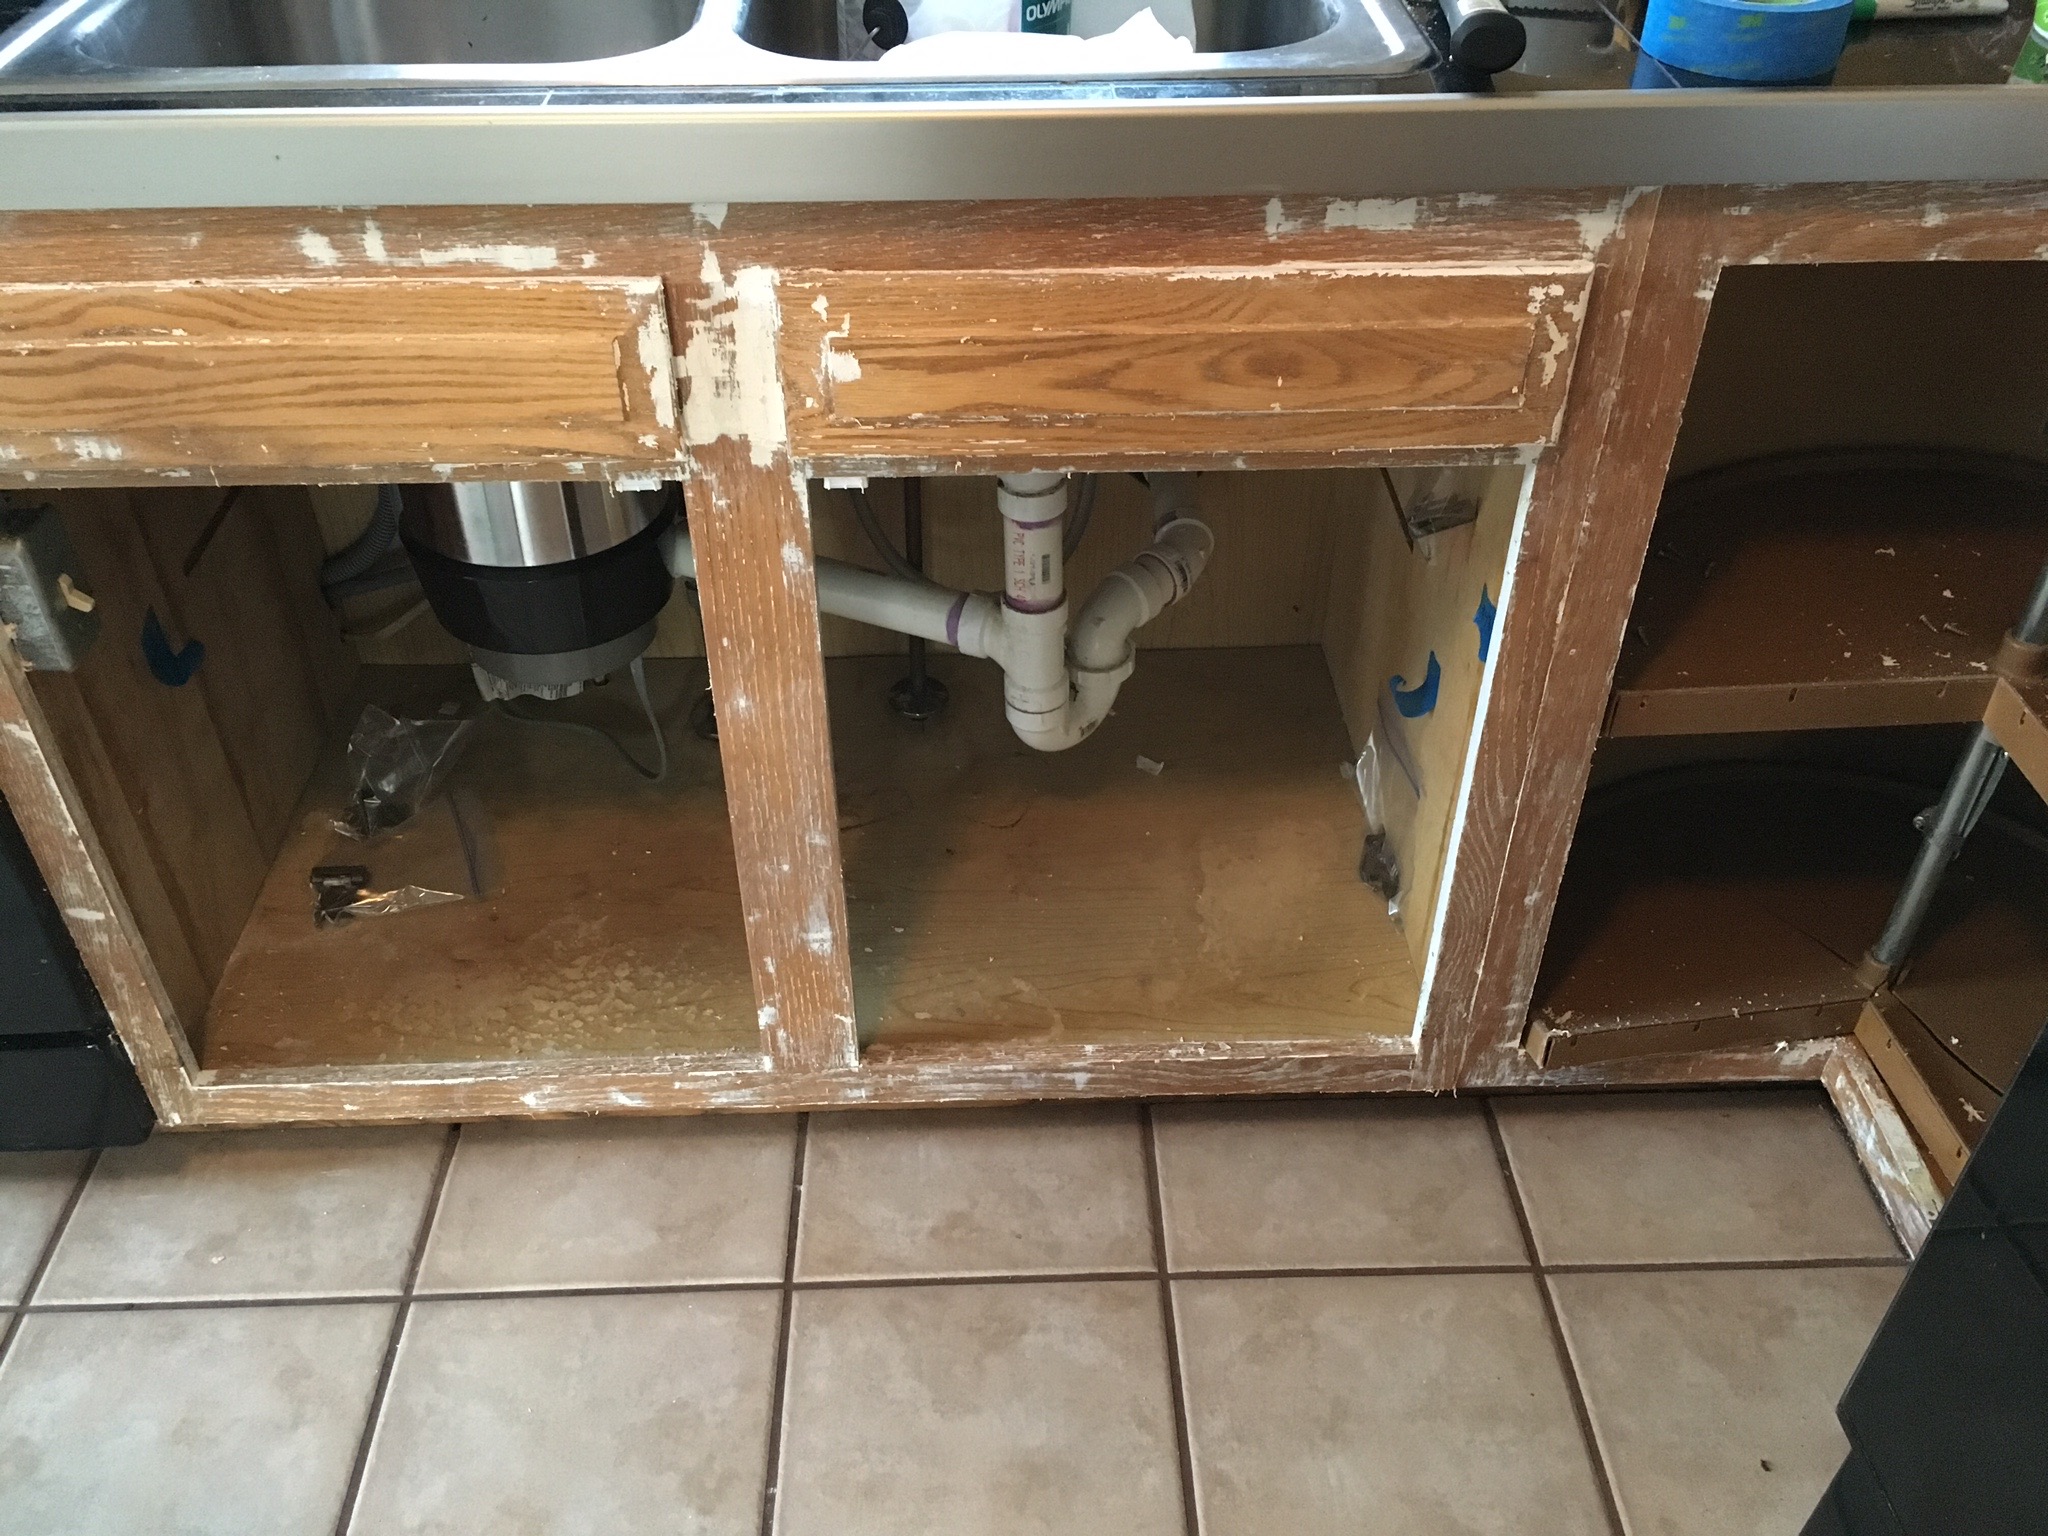
The last week and a half have been consumed by this kitchen renovation. (If you missed that this was happening, you can catch up on the details here.) A little bit of trial and error, a LOT of hard work, and a few late nights, but we are making progress!
Here are some of the finishes we've made a decision on:


Originally I thought I wanted true black paint for the lower cabinets, but after some helpful feedback and some continued Pinterest browsing, we settled on this dark, charcoal gray instead. It is Kendall Charcoal by Benjamin Moore. I am literally jumping up and down in excitement to get this on the cupboards to see how it looks! Also, the guy at the paint store was so nice and full of helpful tips. Hooray for happy, nice people--you make me smile!
I was almost 100% sure that I wanted to use a dark grout with my white subway tile but I was still a little nervous about it being SO DARK. Then I found this medium gray grout that Jen over at With Heart blog used in her kitchen makeover and I knew that this was the one! I also discovered that I can create and pay for an order online with Home Depot and then when I get to the store with baby in tow, it will be waiting for me--no running around finding everything! How awesome it that!?
Another change in the paint game: I really, really wanted a pale, icy blue for the wall color. I taped paint chips to the wall for at least a week so I could be sure of the exact shade... then, when i got the first coat on, I realized I had a made a mistake. The rest of the house just doesn't work with my beautiful ice blue. Instead I'll go with the neutral gray we've used throughout the house: Silver Spoon by Olympic Paint.
And here's the nitty gritty of what we've been working on!


Image progression: existing cabinet where the microwave is sitting, me checking to see if there is tile underneath the cupboard, YES! there was, so I ripped that sucker out! (all by myself, I might add!)
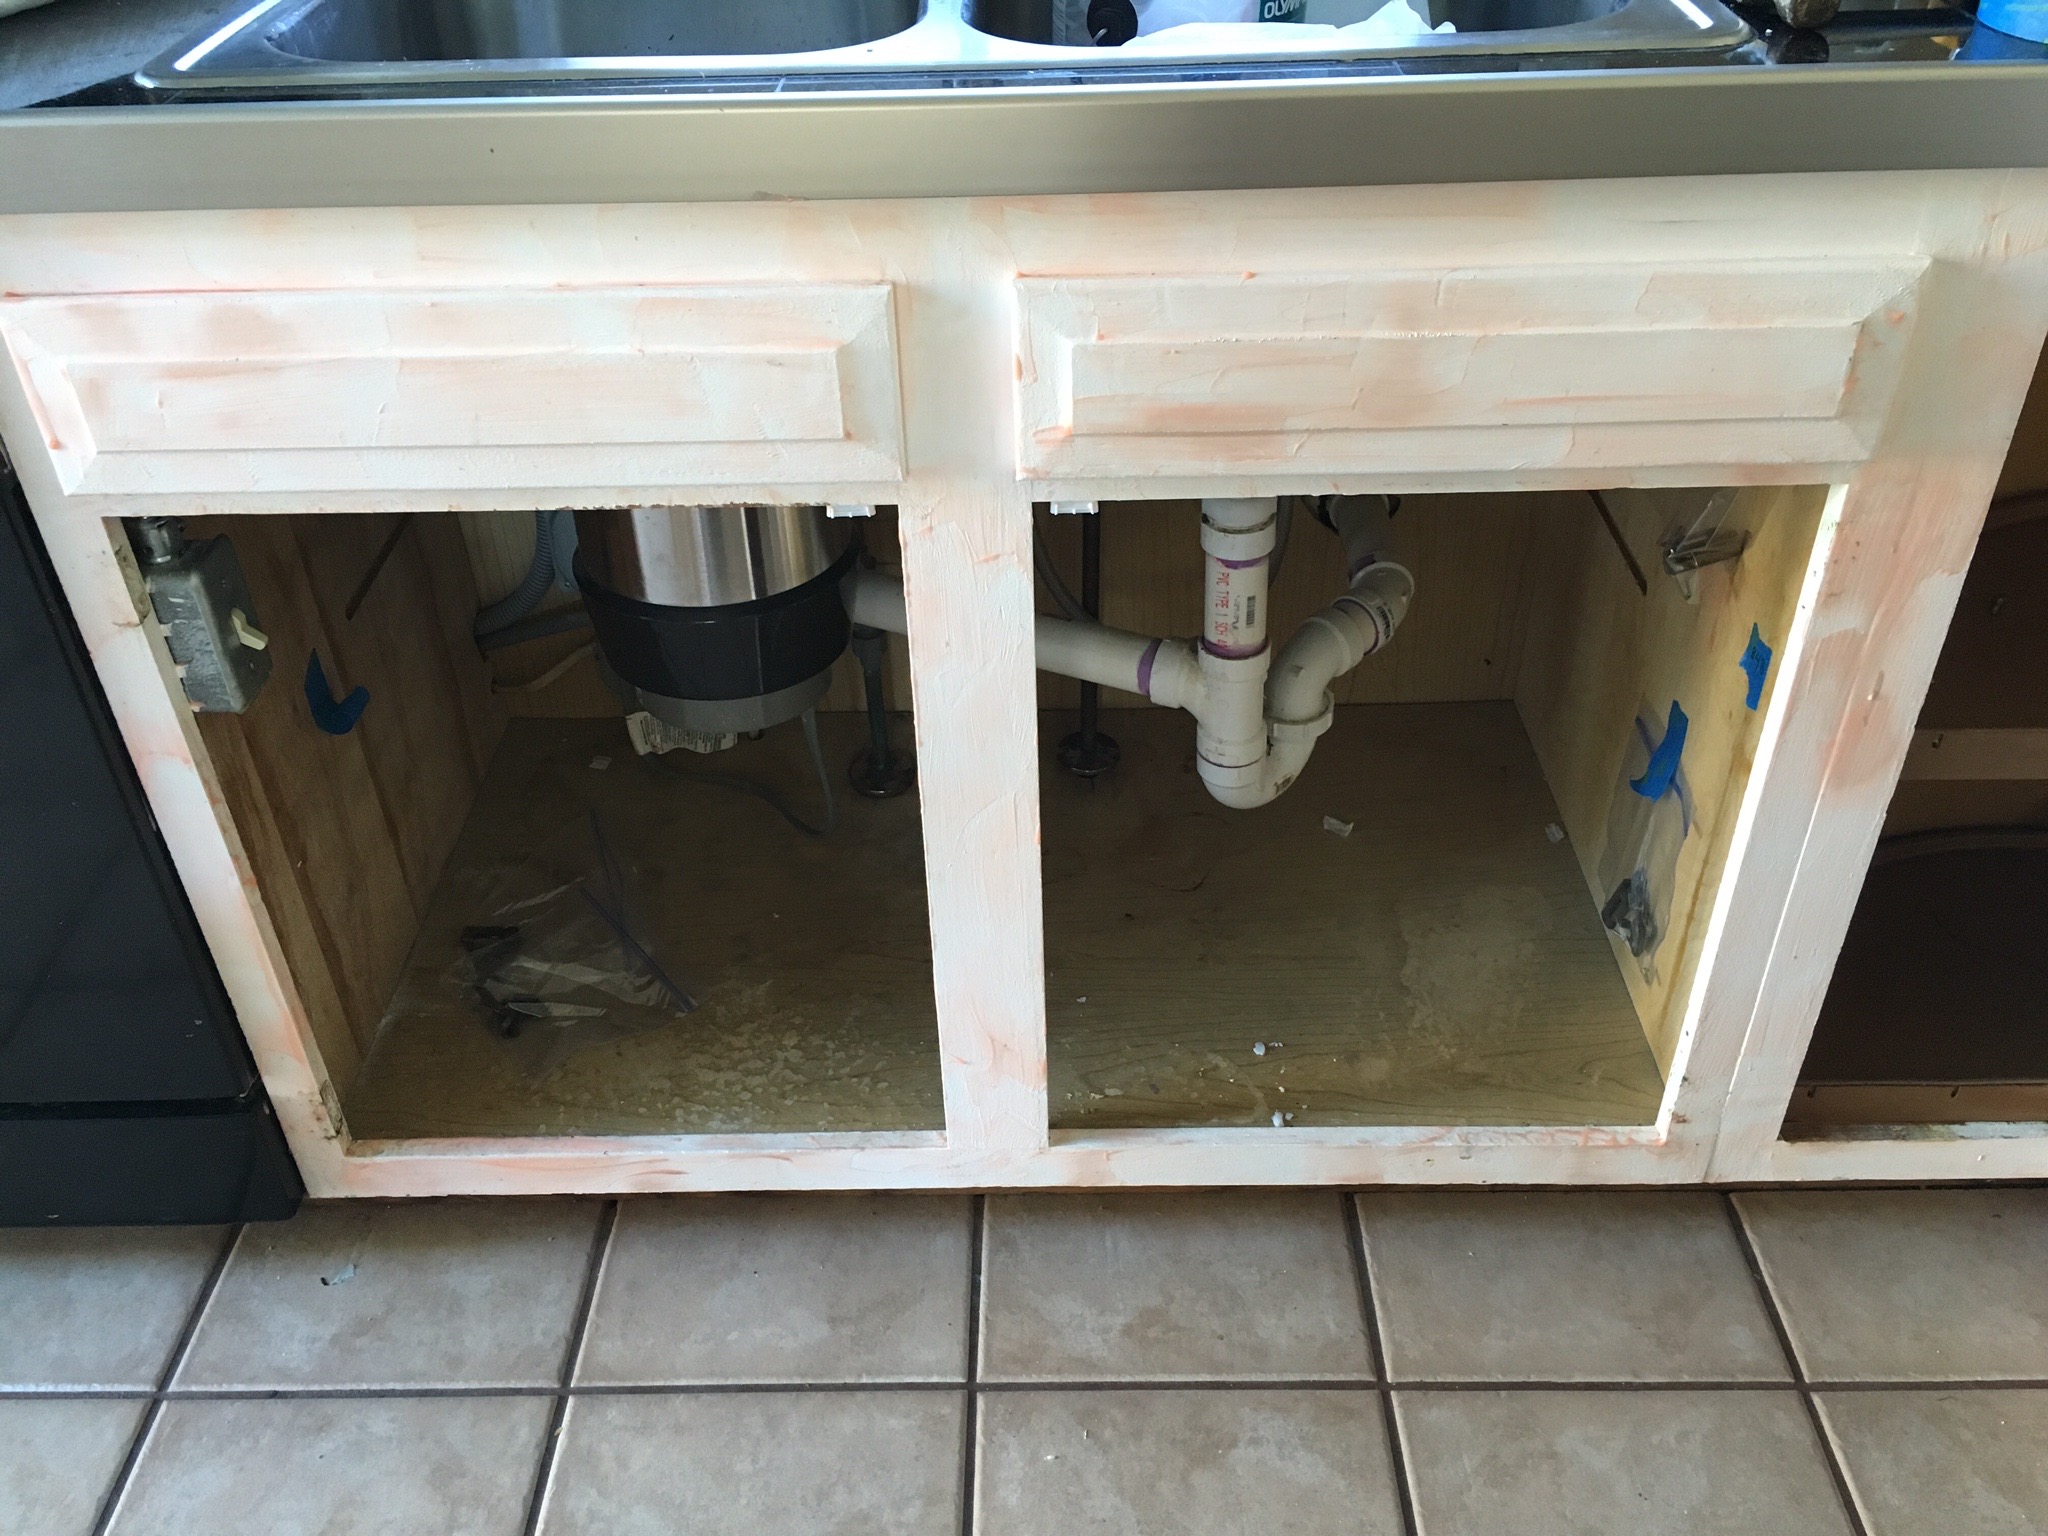

Because the previous paint job was so bad--lots of texture, drips, etc--I decided it would be worth the effort to strip it all off before starting with the new paint layers. I'm using Citrustrip because it isn't as harsh as and chemically as others and so far I have been happy with the results. This part is almost done and my poor fingers will be happy for the break!