Bohemian Living Room Refresh

When Shauna sent me a note saying she needed help refreshing her living room, and that she loved the vintage bohemian vibe, I was super pumped for this project! She already had several pieces, both furniture and art, that she wanted to continue using, but was looking to freshen up the space and incorporate some pink. 

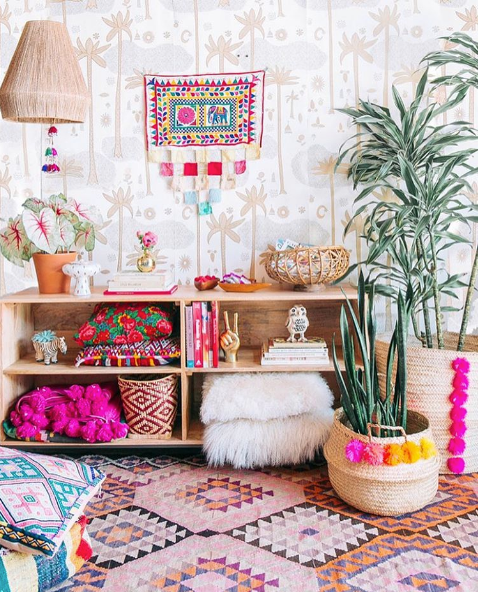
Inspirational Images

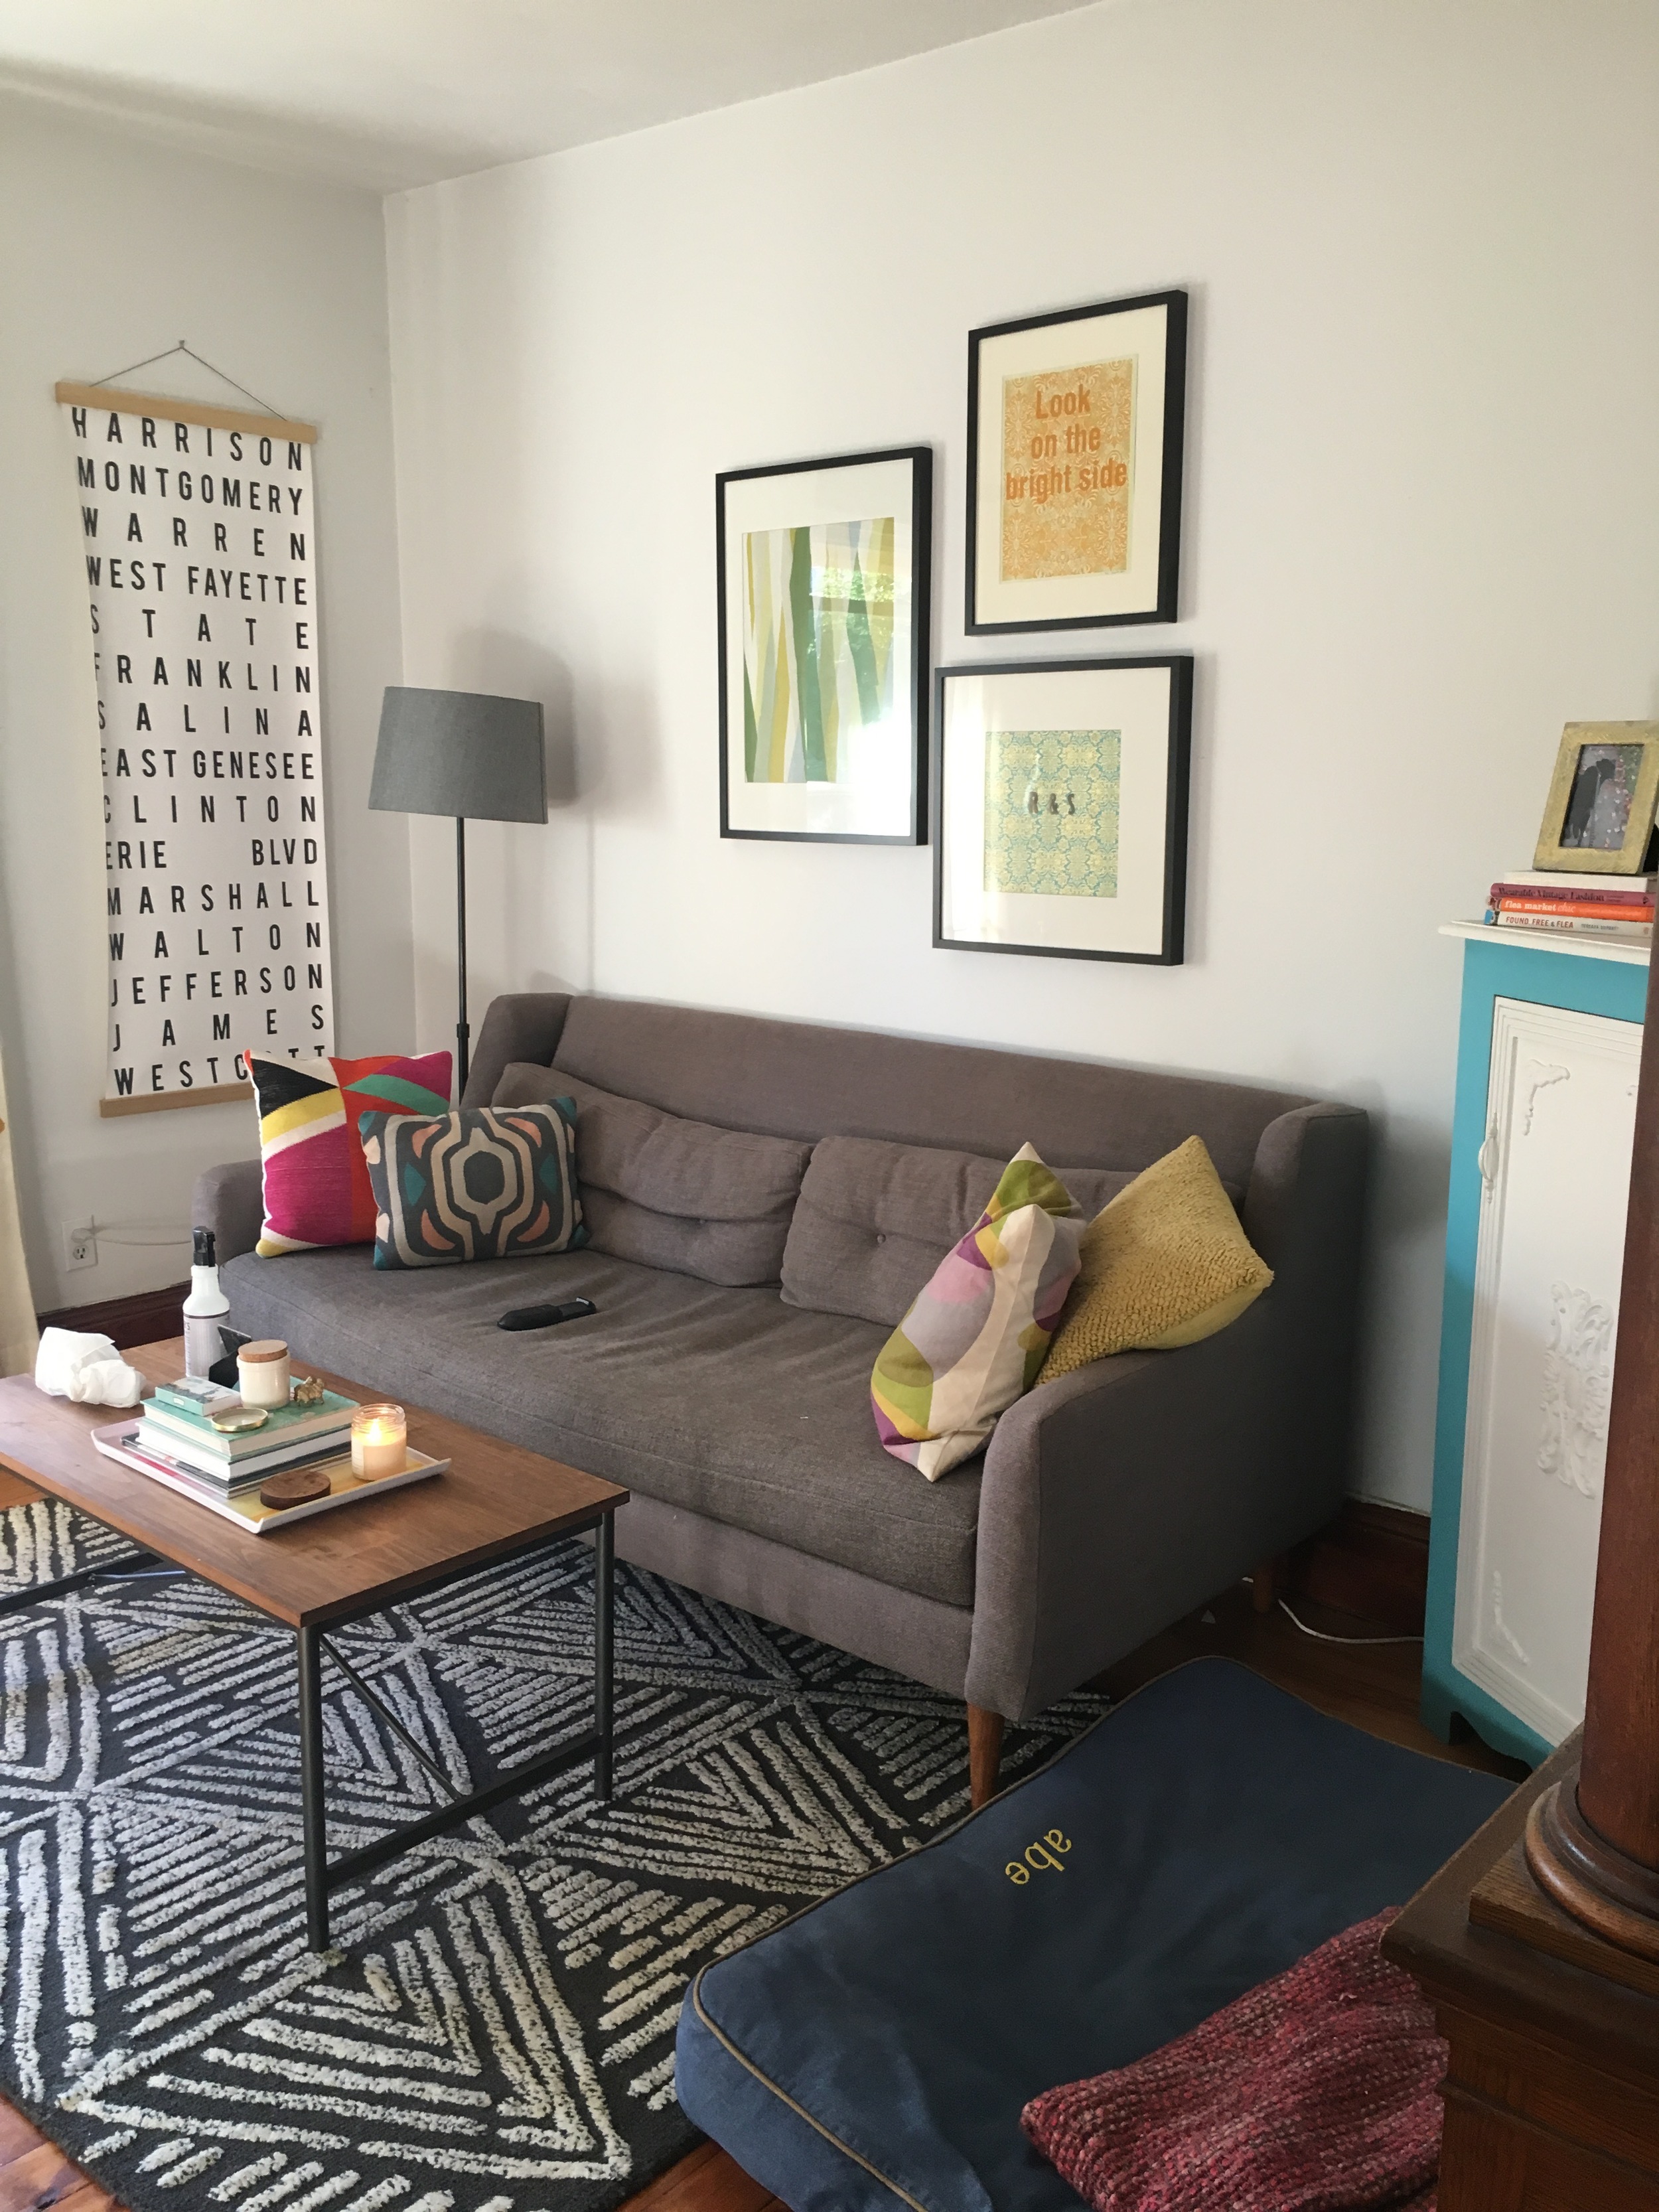
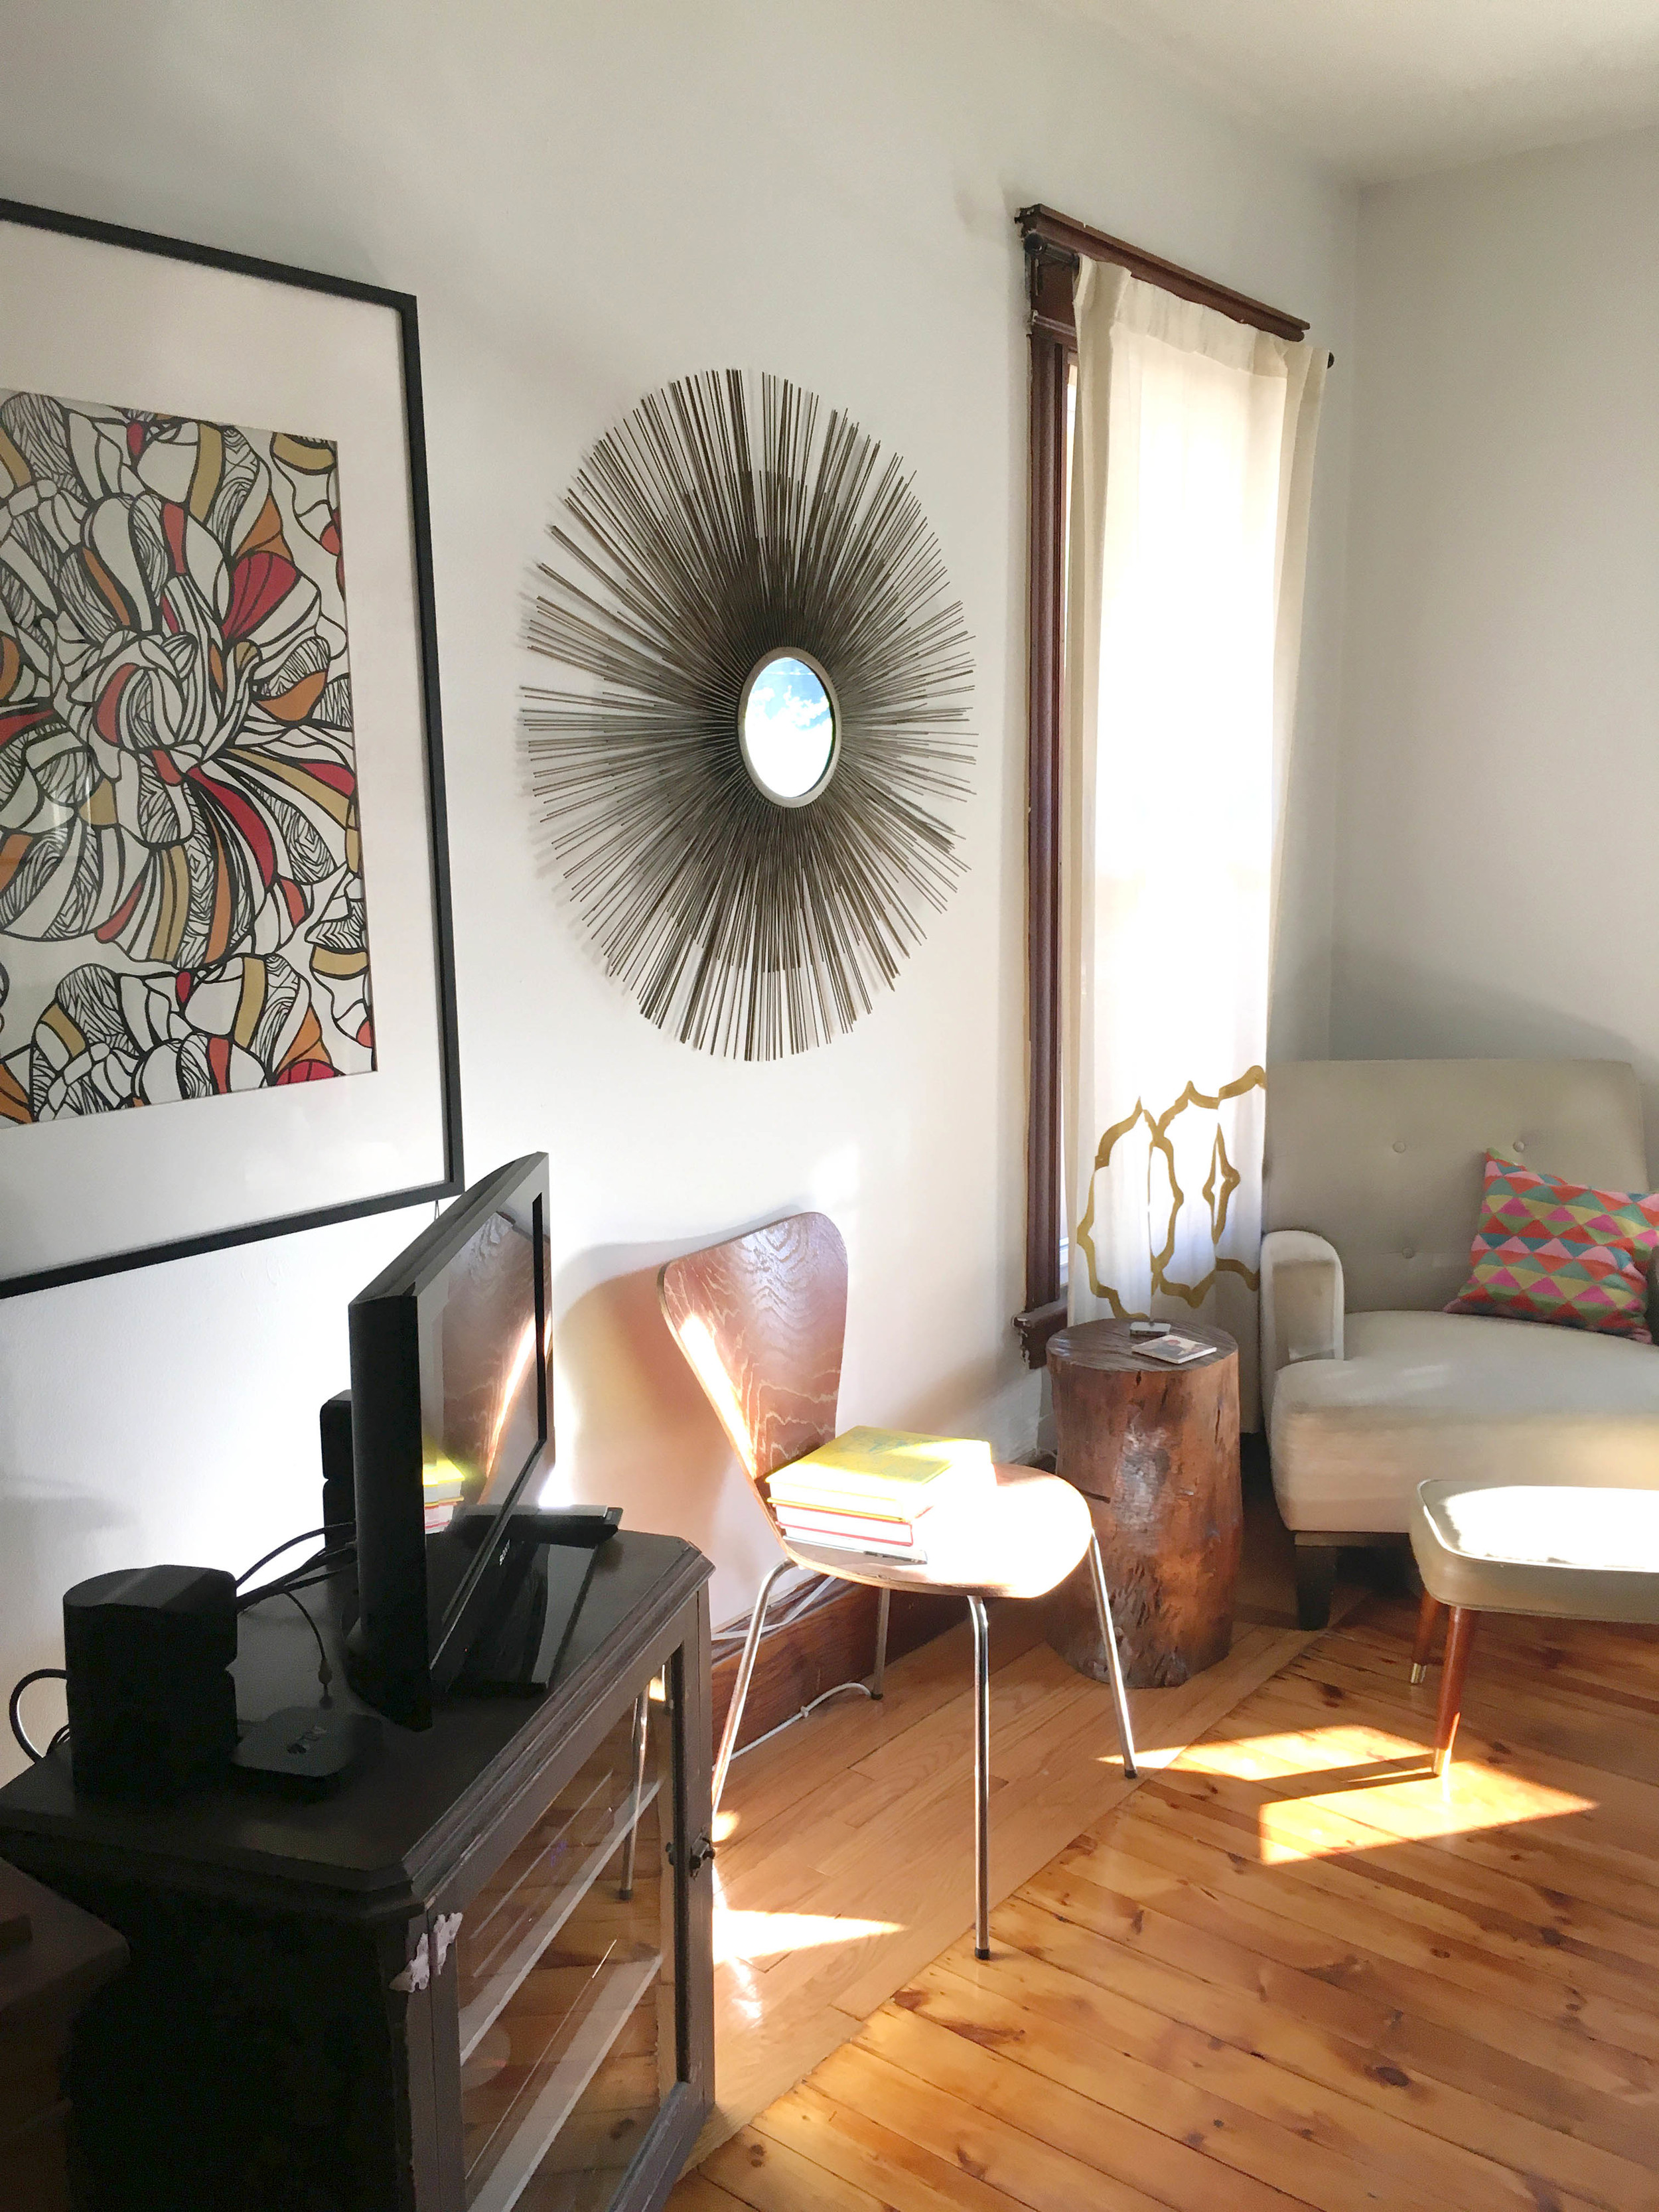
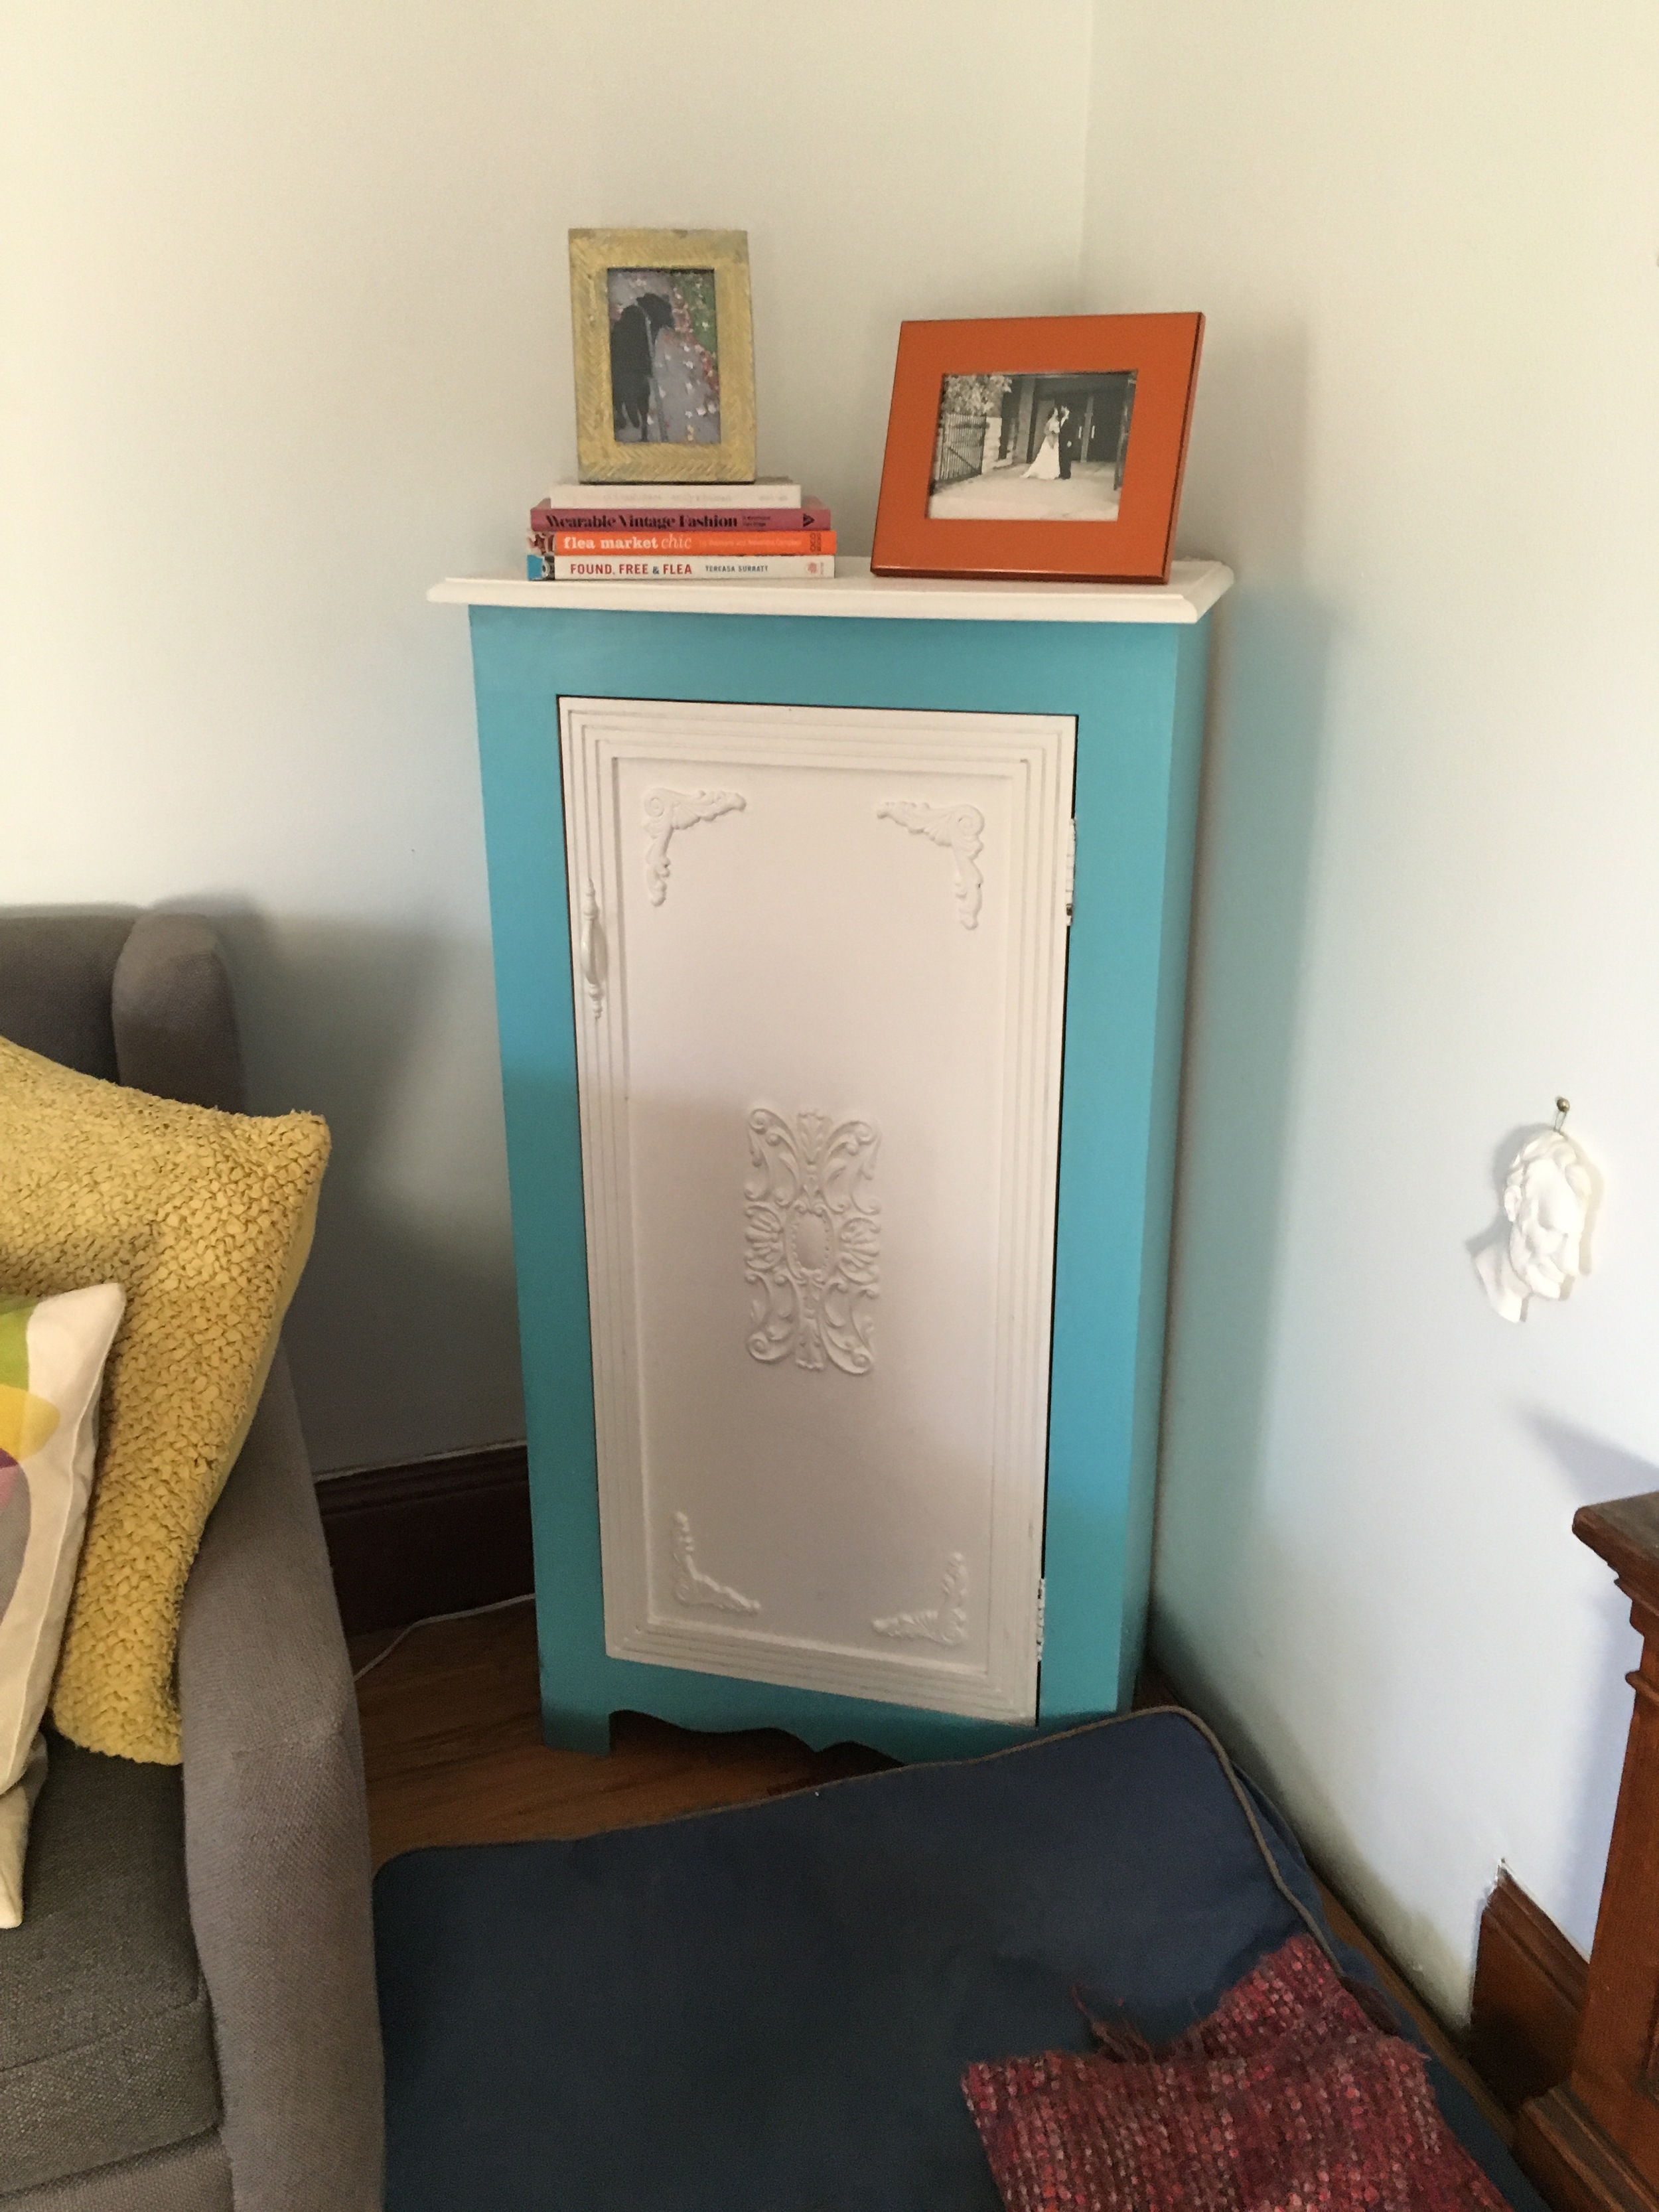
Before Pictures and the "Keep List"

From these "before" pictures, she wanted or needed to keep the following: 

  • Sofa
  • Coffee Table
  • Beige Chair and Ottoman
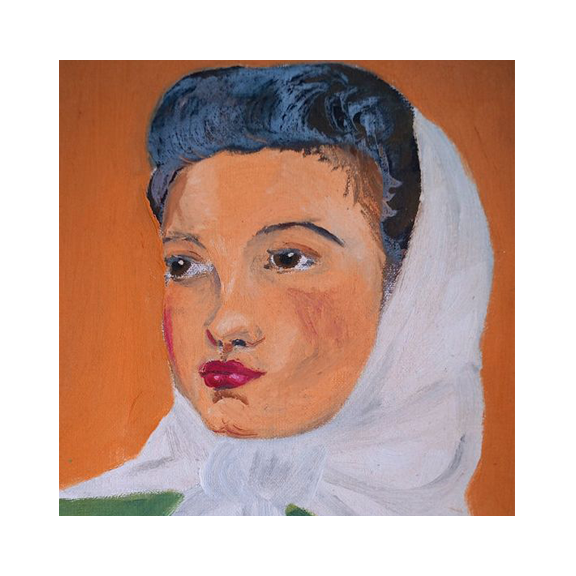
  • Art over Sofa
  • Black and White Syracuse Street Name Art
  • Blue and White Cabinet (open to painting)
  • Starburst Mirror
  • Vintage Rug (not shown in pictures)

The client also had a pink heart print she wanted to use and requested a silhouette of her puppy, Abe, be incorporated.  

Achieving Bohemian Style 

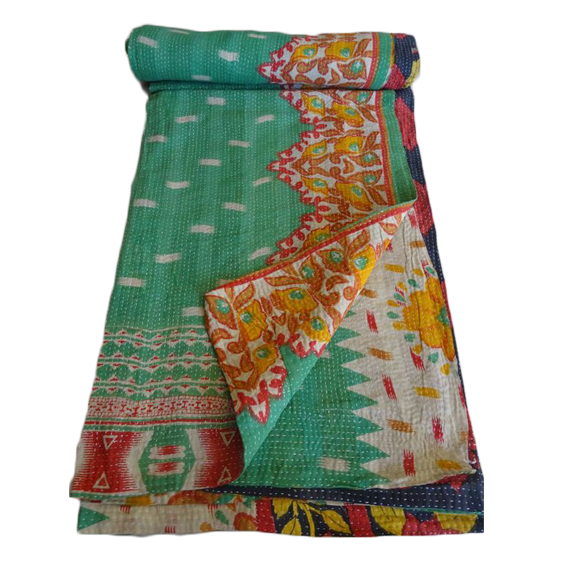
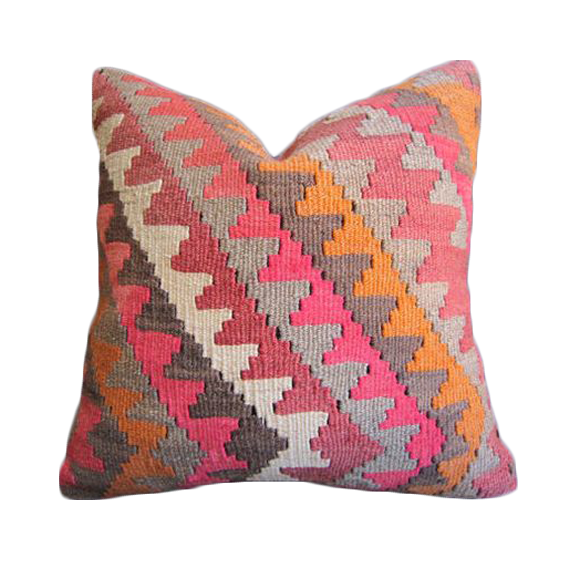
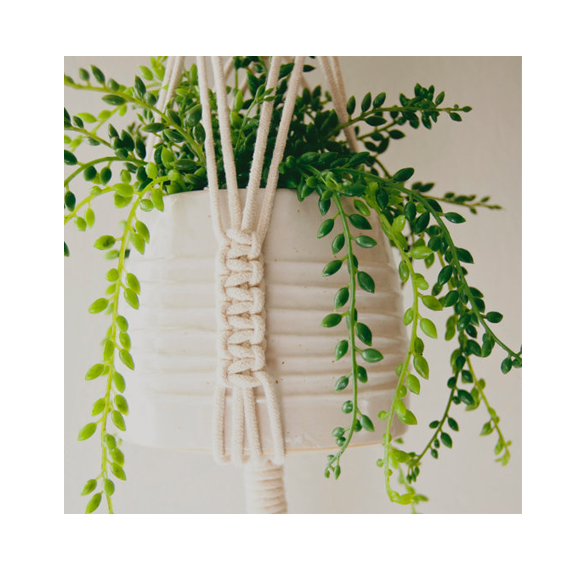
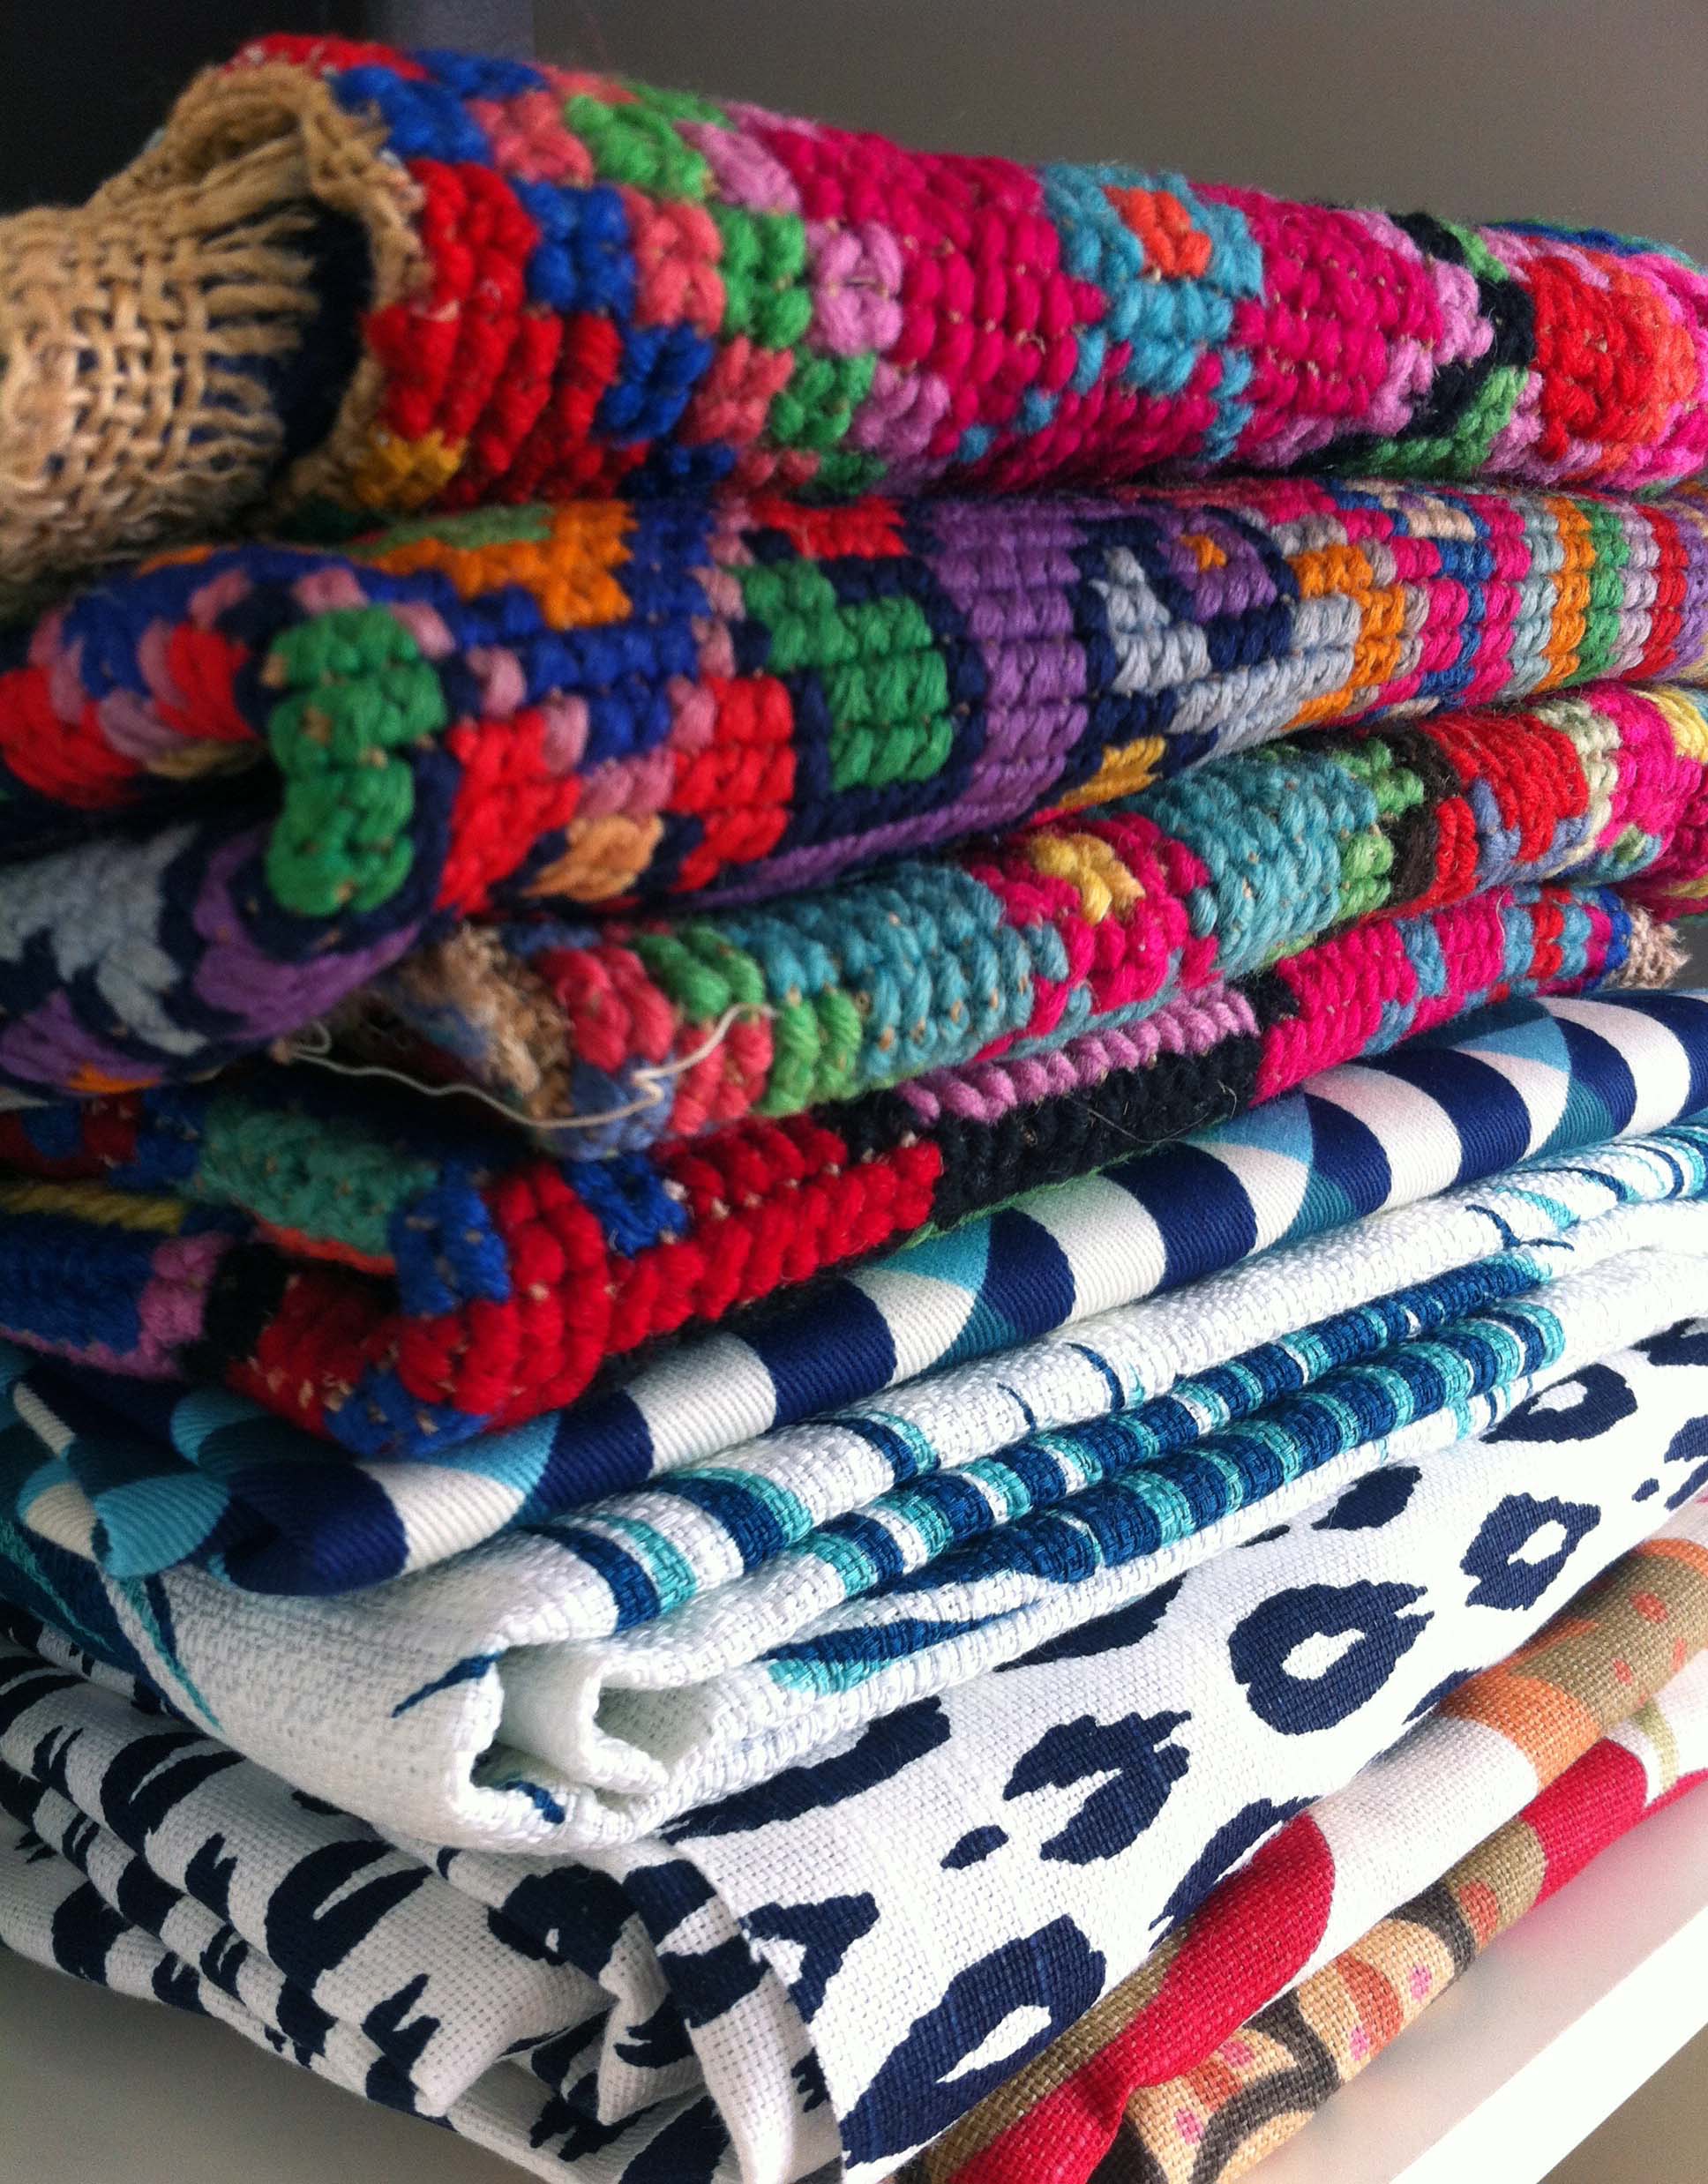
When trying to achieve an eclectic, bohemian feel the key is to layer things in a way that feels collected and accumulated but not cluttered. To accomplish this, quality and authenticity are incredibly important! While rattan and kilim patterns are en vogue right now, choosing vintage items rather than reproductions helps to establish a rich, storied environment. A few original paintings balance the pop art and adding plants is a must for any bohemian inspired room. 

When searching for vintage furniture, art, and accessories, Craigslist, Etsy, Chairish, and 1st Dibs are all great places to start.

The mood board we sent the client shows new and "new vintage" items mixed with the furniture and art from their "keep list". Rearranging, painting furniture, and some new textiles can go a long way in updating a room!

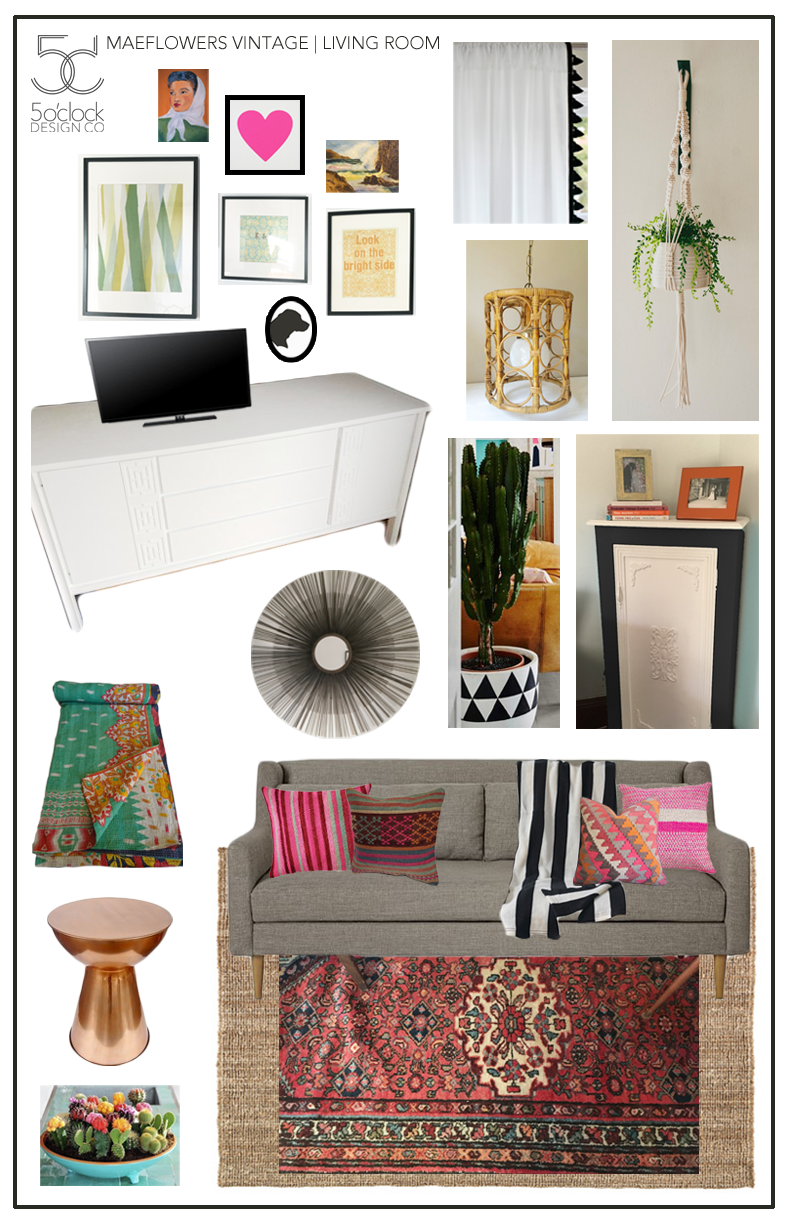
I can't wait to share pictures of the finished room once it all comes together, but for now, here are some links to shop this look for your own home!

Shop the Look

Geometric Lamp Makeover

See how these lamps went from outdated orange to gorgeous gold, PLUS, how to use your Ikea Expedit shelving as a home office!

We all have those things in our home that we've fallen out of love with. Our style changes, the season changes, or something just isn't functioning well in a space. It can be expensive (and wasteful) to constantly be buying new things, but it's also no fun to feel stuck with things you don't love. This is when I love trying to re-purpose or refresh something I already own. Often this means altering the look with paint, fabric, etc but other times it just means changing where or how I'm using a particular piece. 

These lamps honestly weren't terrible to begin with. I bought them this color on purpose and used them happily for a few years before I grew tired of the bright orange. While I was ready to be done with the color, I still loved the shape and character. So I turned to my beloved gold spray paint to give them a new look.

Here is what they looked like after the second coat of paint. I did not use a primer, just cleaned the lamps well. The paint adhered well and covered nicely. I thought I wanted to seal the lamp and give it a high-gloss look, so I proceeded to apply a few coats of clear spray acrylic. 

This is what it looked like with the clear gloss. ICK! Again, it's really not awful, it just isn't what I was going for. It feels kind of flat and dull.

*A note about the clear gloss--if you decide to use it, don't freak out if it looks cloudy-white going on! I panicked, but as it dried it cleared right up.

So... back for another round of straight gold spray paint and it's perfect again. I love the gold foil look and the subtle character of the finish. 

With the lamps looking so classy, the shades needed a little re-vamp too!

The linen shade was really beautiful and classic, but it looked out of place with the new gold color. It seemed a little casual and there was absolutely no contrast. I taped off the edges so I wouldn't get paint on the white interior and then went crazy with this "Diva Pink" color.

This is the first time I've tried painting a lampshade and I was so nervous I was going to ruin it. I kept meaning to buy an additive that is supposed to turn any paint into fabric paint but never got around to it. Eventually, I decided to just try it! This is just straight acrylic craft paint and it worked beautifully. I applied the paint with a brush and only did one coat so as not too obscure too much light.

And finally, how the lamps worked with my humble home office!

I know, I know, "home office" might seem like a stretch, but since I do a lot of work right at our dining room table, I needed a place to store the things I use most often. We were using sections of this Ikea Expedit shelf as a bar, but once I finished this bar cart project it became kind of a catch-all for books, a few picture frames, and toys. I decided to re-claim it and make it a more functional work space! 

What do you think--hit or miss with the new look for these lamps? Comment below and tell us what you think of their transformation!