Kitchen Renovation

 I can't believe that I am sitting here writing this post with my windows open, my bare feet, and in a short sleeve shirt. I know to some of you this may not seem like a big deal, but it is NOVEMBER! and in Central New York, anything over 45 degrees this late in the year is like being on vacation! Seriously, I might go pull out my bathing suit and work on my tan. (joking!)

Ok, so all kidding aside, I am so excited to start this next project. It's going to be a biggie, but I'm diving in head first--I'm finally going to tackle my kitchen! It's the one room in the house I haven't really done a lot with since moving in. It's not that it's awful, it's just not me. But that is about to change! 

I thought I would start by showing you some before pictures and then share some images I've pulled for inspiration. I would classify this as a medium-sized renovation. Here's what I plan on updating:

  • Painting the walls
  • Painting the cabinets (I'm thinking dark on the lowers and light on the uppers)
  • Hardware for the cabinets
  • Light Fixtures
  • White subway tile backsplash with dark grout
  • Fixing a broken cupboard and creating a microwave shelf
  • Under cabinet lighting
  • Possibly some open shelving in place of the hanging pots and pans rack
  • Window treatment

Since it's so much harder to be objective about your own space, I would love to hear your ideas and feedback! Comment below and tell me what you think!

Kitchen Renovation Before Pic
Kitchen Renovation Paint Swatches

I taped the paint swatches of colors I'm considering to wall so I could get a feel for how the colors looked throughout the day in different lighting. It is amazing how much different they look in natural and artificial light! Some of them turn so blue in the evening! Right now I'm leaning toward the third from the top. It is the lightest and I like the color best at night.

Kitchen Renovation Before Pic

This is the broken cupboard (well, drawer actually) that I mentiond. I'm thinking about removing the drawer and its hardware entirely, the cupboard door beneath it, as well as the brace that separates the two. This will leave a big open space where I can build a shelf for the microwave so that I can reclaim the counter space for something prettier. 

I'm also debating taking down the pots and pans rack and putting up some open shelving. We'll see though, the man of the house is pretty attached to it. ;)

`

`

Here the tin backsplash behind the stove is coming down and the new white subway tile will fill that space. I may also try to add some crown molding. The people who lived here before us boxed in the space between the top of the cupboards and the ceiling, but I think some trim would really give it a more finished look.

Kitchen Renovation Before Pic

The counters are a black granite tile with black grout. Not my fave, but not really in the budget to replace them either. Typically I would coordinate vertical and horizontal surfaces in darks and lights, but I am so tired of keeping these (poorly painted) white cabinets clean! That's why I'm thinking black on the lower cupboards, but a fresh coat of white on the uppers. I'm afraid it would become really dark and heavy with all black or I would just do that. To tie in the transition, I'm contemplating dark grout with the white subway tile.

I would love to hear your opinion or words of wisdom if you've learned by experience! Please use the comment feature below to share your thoughts!

And now, a few pictures I've collected as inspiration. Most of these kitchens go above and beyond the scope of this project, but hey, who doesn't love looking at pictures of pretty kitchens!?

Let's Do Coffee

We would really love to be able to sit down and share coffee and scones with each one of you, (after which you give us a complete home tour of course!) but since that isn't possible, we thought it would be fun to put together a few questions that will help us get to know you better. Not only are we looking forward to reading your responses, your answers will help us know what type of content you'd like to see more of. Thanks in advance for your answers!

Also, as a thank you for your time, one participant will receive a cozy coffee care package! The winner will be chosen at random and contacted via email for a shipping address.

**The contest is now closed, (congratulations, Sarah B!) but we always love reading your responses and appreciate the feedback!

How to Paint a Striped Wall

striped wall // black and white stripes // entryway

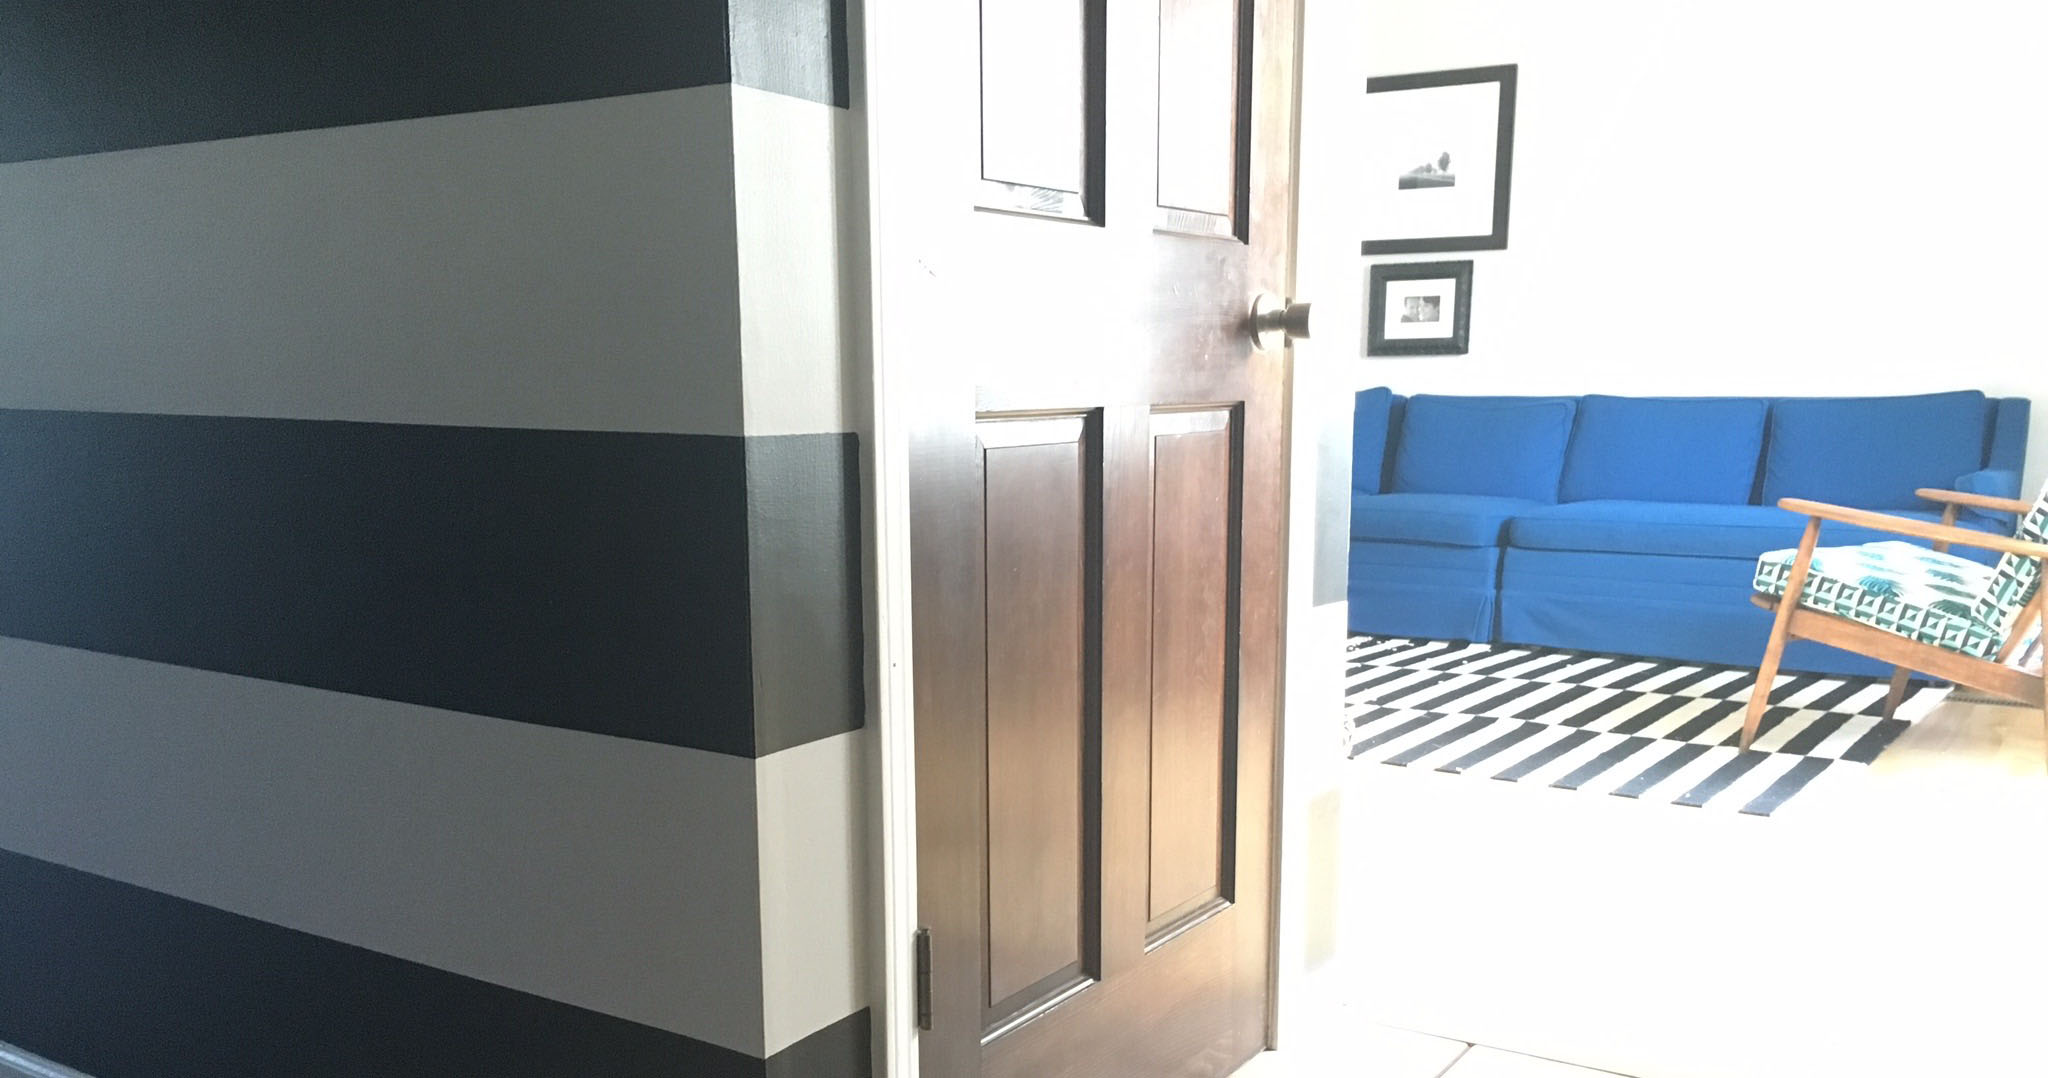
I am so excited to share this project with you because I absolutely love how it turned out! I've been thinking about it for awhile but hadn't found the time, or nerve, or something to get it done. This isn't my first go-around with painting stripes on my walls, but this is definitely the most bold. Last time, I painted a wall in our living room with vertical stripes in two very similar shades for a calm, subtle look. This time I decided horizontal stripes were right for two reasons: with high contrast colors I didn't want to risk the circus tent effect, and because this is in an entry/hallway I felt like the horizontal stripes would be welcoming and draw you into our home. 

So, without further ado--our new striped entryway!

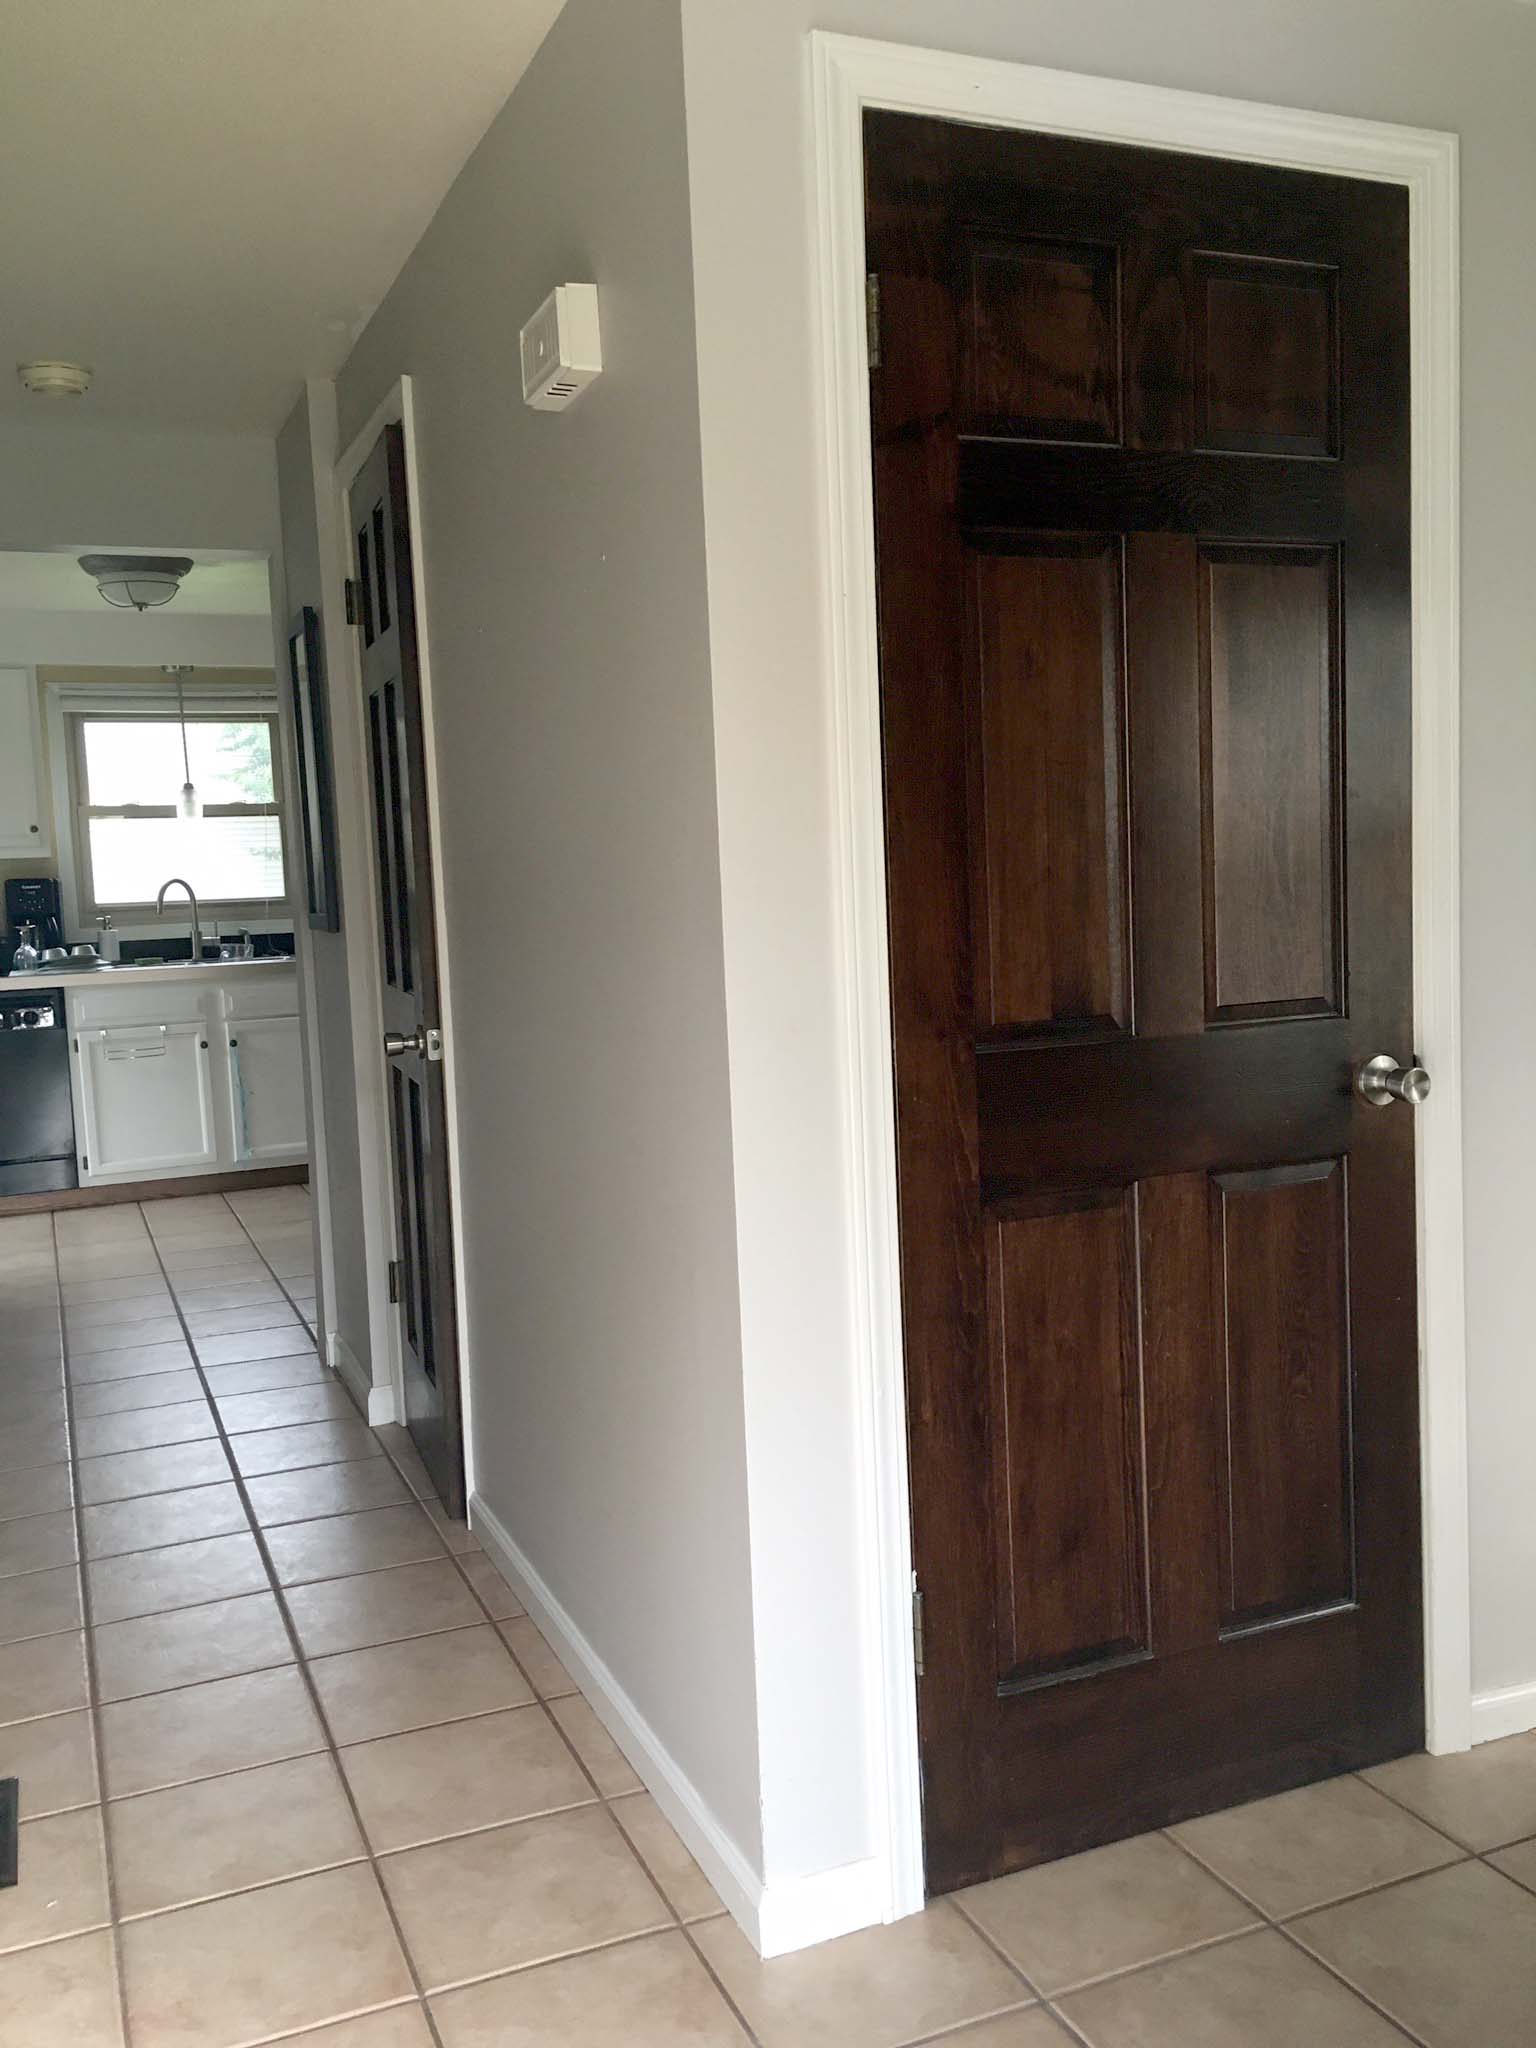
Before pictures:

Before I started with any taping or painting, I made a quick sketch of the wall and made note of the wall height so I could calculate how many stripes I wanted and what size they needed to be. The wall is 90" - 3" baseboards, so the total height I needed to divide into stripes was 87". 87/9 = 9.66 or 9 2/3. I decided to make my marks at 9 3/4 because this was an easier increment with the tape measure I had on hand. I started measuring from the bottom, so that the difference would be made up at the top of the wall, further from the eye. I decided to measure and then tape each line as I went so I didn't risk losing, or confusing, my tiny pencil marks. My husband was so kind to help me with this part of the process (it is MUCH easier with two people!) and had the genius idea to use a chalk line. This helped connect our measurements in a straight line that we then used as a reference to tape. 

Pro Tip: When measuring and taping, remember that the tape counts in your measurement. The stripes that are meant to be painted will appear larger because the size of the tape (in this case 1") is being counted into the height of the not-to-be-painted stripes. This means that for the sections you wish to paint, measure between the tape, and for the other sections, measure including the tape.

Pro Tip: Place a small piece of tape inside the stripes that you are not going to paint so you can clearly see the difference. 

Pro Tip: Seal down the edges of your tape with paint the same color as the wall/not-to-be-painted stripes. This ensures that any tiny bleed through or wicking of paint will blend right in, giving you a crisp, clean line. 

striped wall // black and white stripes // entryway

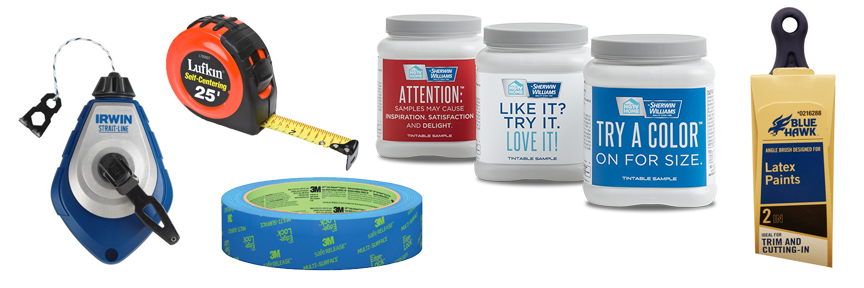
Tools for this project:

  • Tape measure
  • Chalk line
  • 3M brand painters tape (don't skimp and go generic brand here, you want a good seal for crisp, clean lines)
  • A good trim brush--this one is my favorite
  • 1 Quart of Sherwin Williams sample paint (This paint is less than $4 for a quart! It is actually meant for trying out a color on a wall before committing to a larger qty and is only available in an eggshell finish.)
     
how to paint a striped wall // black and white stripes // entryway

Styling a Fall Dinner Party

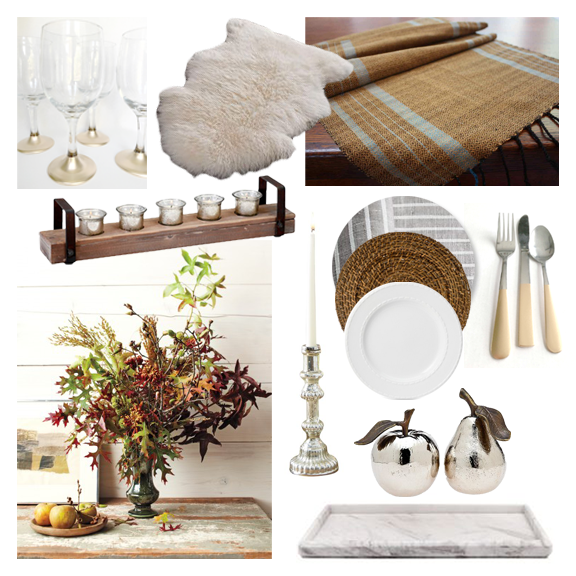
Fall is wonderful because it is everything warm and cozy! Earthy colors, spicy scents, and warm drinks are in abundance this time of year, meaning, I am in heaven. I think that is why I have had so much fun planning our fall dinner party. Even though seasons have traditional flavors, color, and decor, that doesn't mean you have to trade in your own signature style to embrace seasonal elements. Here are three style collections, each inspired by autumn colors, textures, and patterns, that maintain distinctly different looks. Which one would fit best in your home? Leave a comment below and tell us!

Farmhouse Chic

Classic, cozy, and chic, the layers of texture really make this collection. Pour some red wine, serve this Spicy Pumpkin Chipotle Hummus, and settle into a cozy evening with friends. 

Fall Dinner Party // Table Decorations

Gatsby Glamour

Inspired by an art deco vibe, this collection provides just the right amount of sophistication to an intimate dinner party. We think a cheese board (like this) with figs, cured meats, olives, and other delicious noshes is the perfect accompaniment.  

Fall Dinner Party // Table Decorations

Spray Paint Saves the Day

If you've been following along the last few weeks, you know we've working on the preparations for a fall dinner party. We updated some wooden napkin rings, customized silverware, and now it's time to break out the wine glasses. First I'm going to show you what didn't work. 

I've been wanting to try these gold, oil-bases Sharpies for ages and have thought of at least half-a-dozen projects I think they would be great for, so I finally ordered some. To start, I cleaned my glasses, taped off a starting/stopping point for my design, and pulled the markers out of their package.

I was so excited to use them on these glasses. I had visions of creating fancy, boutique-type stemware. Boy was I disillusioned! I won't try and pin it all on the markers, and I think they would be great on a different surface, but I was not loving how the gold looked on the glass. When you looked at the paint straight on, you could almost see though it. And again, not entirely the fault of the markers, but it just wasn't transforming the glasses the way I had envisioned. So... I used some nail polish remover to take it all off, washed the glasses a second time, and started again!

I had some gold spray paint left from the geometric lamp makeover we did, so I grabbed it and decided to try a dipped look on the base. I used painters tape to get a clean line, then covered the remaining exposed glass with tinfoil.

The weather was perfect for spray painting so I took them out for a quick coat. I cannot say enough good things about this spray paint! (And I'm not getting paid to tell you that--this stuff is the bomb!) It only took one coat and they looked amazing.

Gold Stemware
Gold Stemware
Gold Stemware

Finally, you need something to put in your gorgeous new glasses! Here are our top three picks:

First up, a Vanilla Vodka Chai by Tina at My Life as a Mrs.
Here, chai tea, vanilla vodka, amaretto, simple syrup and half & half combine to create a delicious fall treat. I love how it manages to be cozy and refreshing all at once. The flavors are so fall-like but the fact that it is served iced makes it an excellent choice for warmer autumn days.

Next, we have a Maple Bourbon Cocktail by Emily at Jelly Toast
This drink reminds me of crisp leaves, wool sweaters, and crackling fireplaces. Bourbon, orange juice, pure maple syrup, and bitters come together in perfect harmony. Whether you serve this at a dinner party with friends or enjoying one on a cozy night in, I don't think you'll be disappointed!

And lastly, Honeycrisp Apple Sangria by Sally at Sally's Baking Addiction 
Mmm... This is the most perfect fall sangria ever concocted! Cider, red wine, brandy, orange juice, apples, lemon, cinnamon sticks and club soda--nothing is left out of this recipe. Make a pitcher, (or two!) invite the neighbors over, and pair with some pumpkin spice donuts and a bonfire for the perfect fall evening.