I know that we still have a few weeks of summer left, and I promise we won't skip over cozy fall decor posts, but can you believe that there are less than 18 weeks until Christmas!? It's true! Which is why it's not too soon to start thinking about holiday decorations and home decor. Or rather, let us think about it for you!
We are so excited to announce our new Holiday Box design service!

What It Is
Completely customized to match your style, home, and entertaining needs, each box contains a collection of holiday decor items and styling instruction cards. Boxes are comprised of both new and vintage* items and are specific to a particular room in your home.
Current Holiday Box options are:
- Entryway
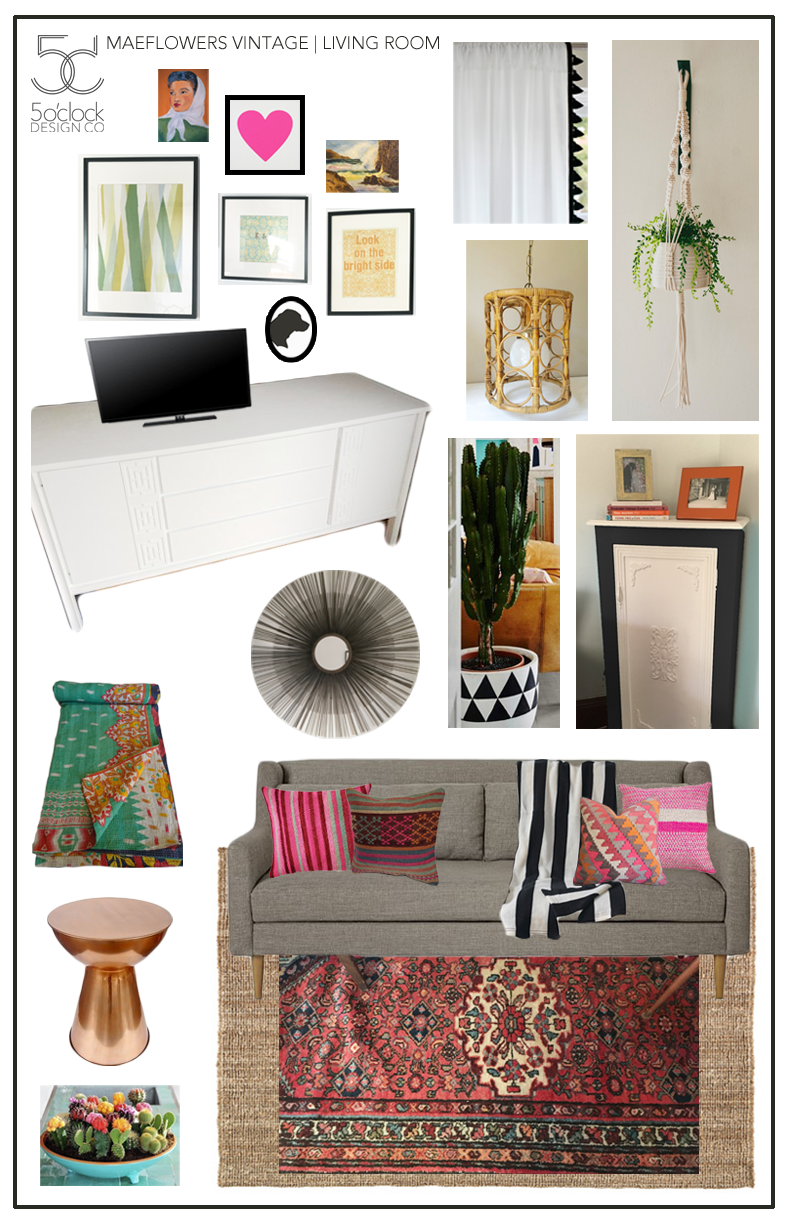
- Living Room
- Dining Room
- Kitchen
- Bedroom
- Guest Room
- Tree Trimmings (tree not included)
*If you prefer not to have vintage items included in your box, simply select that option on the holiday style questionnaire
How It Works
- Purchase your Holiday Box
- Complete a brief holiday style questionnaire
- Sit back and relax while we hand-select decor specifically for your home
- Receive a collection of holiday items delivered to your doorstep
Pricing
- $350/room
- +$35 shipping fee (one time fee regardless of how many rooms are purchased)
Because of the time required to source the perfect items for each box, the number of Holiday Boxes available is limited to ten and boxes will not be available for purchase after October 1st.
Purchase your Holiday Box today let us help you enjoy a beautifully decorated home this holiday season!
FAQ
When Will I Receive My Holiday Box?
Holiday Boxes will ship on November 28th so can enjoy your holiday decor all season long.
What If I Don't Celebrate Christmas?
You may choose which winter holiday you would like your box directed toward, or simply choose "Winter" for non-holiday specific items that you can leave up for as many wintry months as you like.
Do I Get To Choose What Goes In My Holiday Box?
No, we don't want you to have to worry about a thing! And we're confident that with the answers you provide on the Holiday Style Questionnaire along with the photos you send us of the room to be decorated, we will curate a look you'll love.